

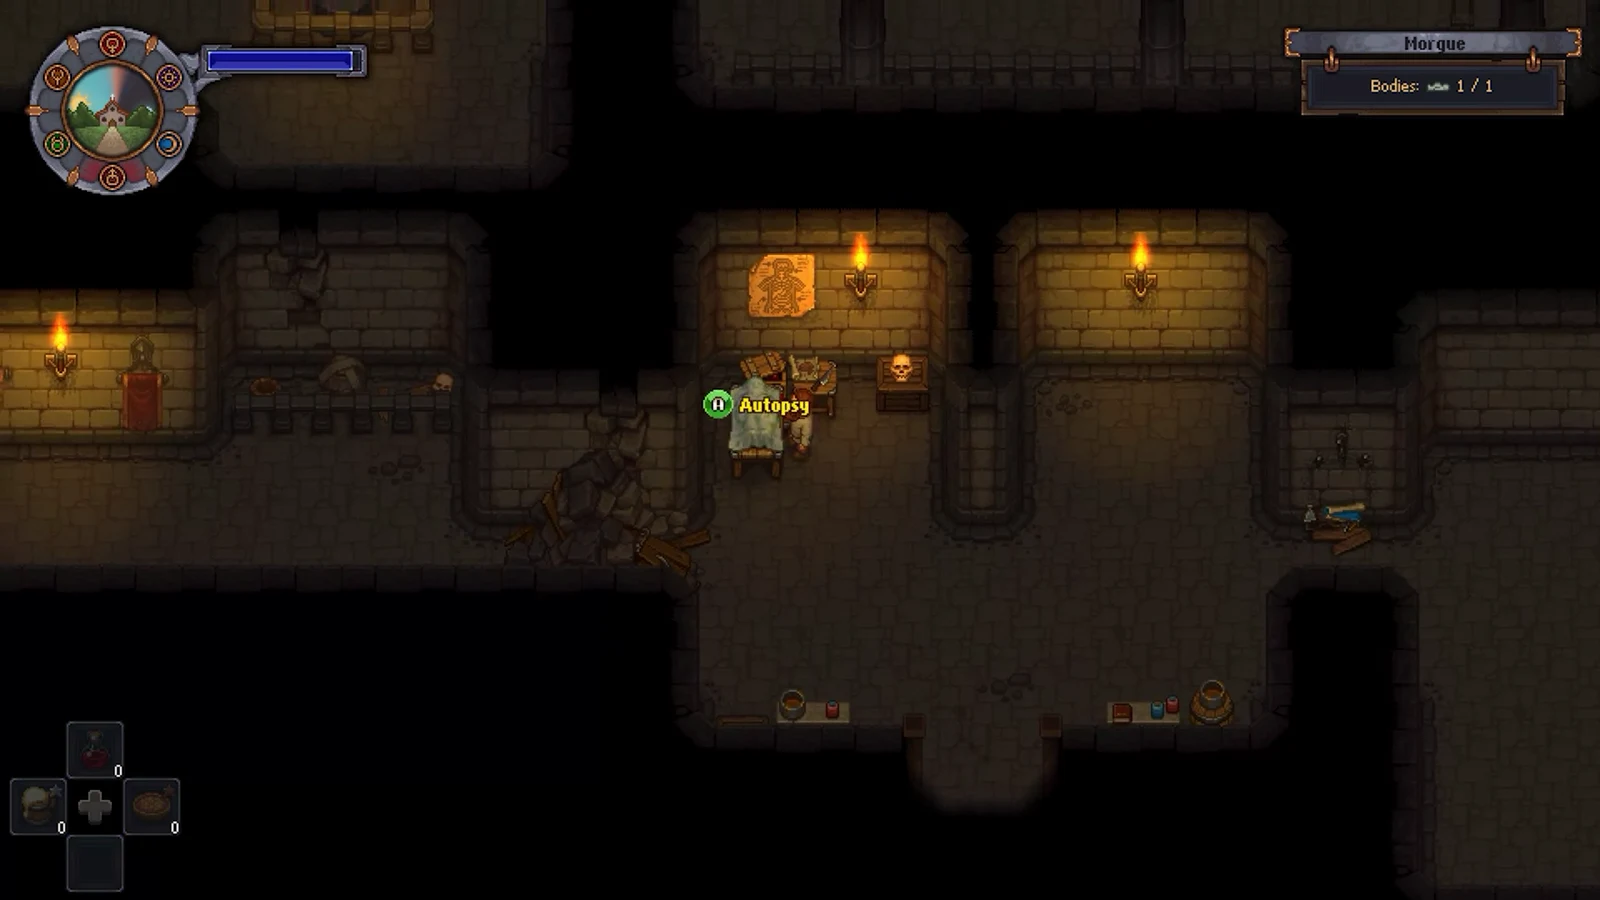
The autopsy is the first real system Graveyard Keeper hands you, and it stays relevant until the end of the game. Every corpse the donkey drops off carries a skull meter, and that meter sets the ceiling on how much rating the grave you bury it in can ever earn. Cutting the right parts out raises that ceiling. Cutting the wrong ones sinks it.
Quick answer: Carry the body into the morgue, drop it on the preparation place, interact with the table, then extract blood and fat. Each removal converts one red skull into a white skull.
White, red, and green skulls on the corpse meter
The icons above a corpse are its rating. Read them before you touch anything, because they decide which removal order you should use.
- White skulls set the maximum rating a grave can reach. A corpse with one white skull caps that grave at +1, no matter how good the gravestone is.
- Red skulls each subtract 1 from the grave rating, and they are counted before any white skulls are applied.
- Green sick faces come from decay and behave exactly like red skulls.
The ideal corpse has many white skulls, with no red or green skulls at all.
Corpse freshness and decay timing
A delivered body shows a percentage above it. That is freshness, and it starts at 100 percent and begins dropping the moment the delivery bell rings. Once it falls below 90 percent, one white skull turns green, and that happens again for every further 10 percent of decay.
Bodies decay more slowly indoors, slower still on a pallet, and a fridge pallet holds them in place. A tier 1 preparation place slows decay; the tier 2 version stops it. Later on, a restore injection halves accumulated decay and a preservative injection freezes it, but in the early hours you have none of that, so the only real answer is to work fast.
Every pallet and every autopsy table you build raises your morgue capacity, and a higher capacity means the donkey brings bodies more often. If you already feel behind, stop building storage.
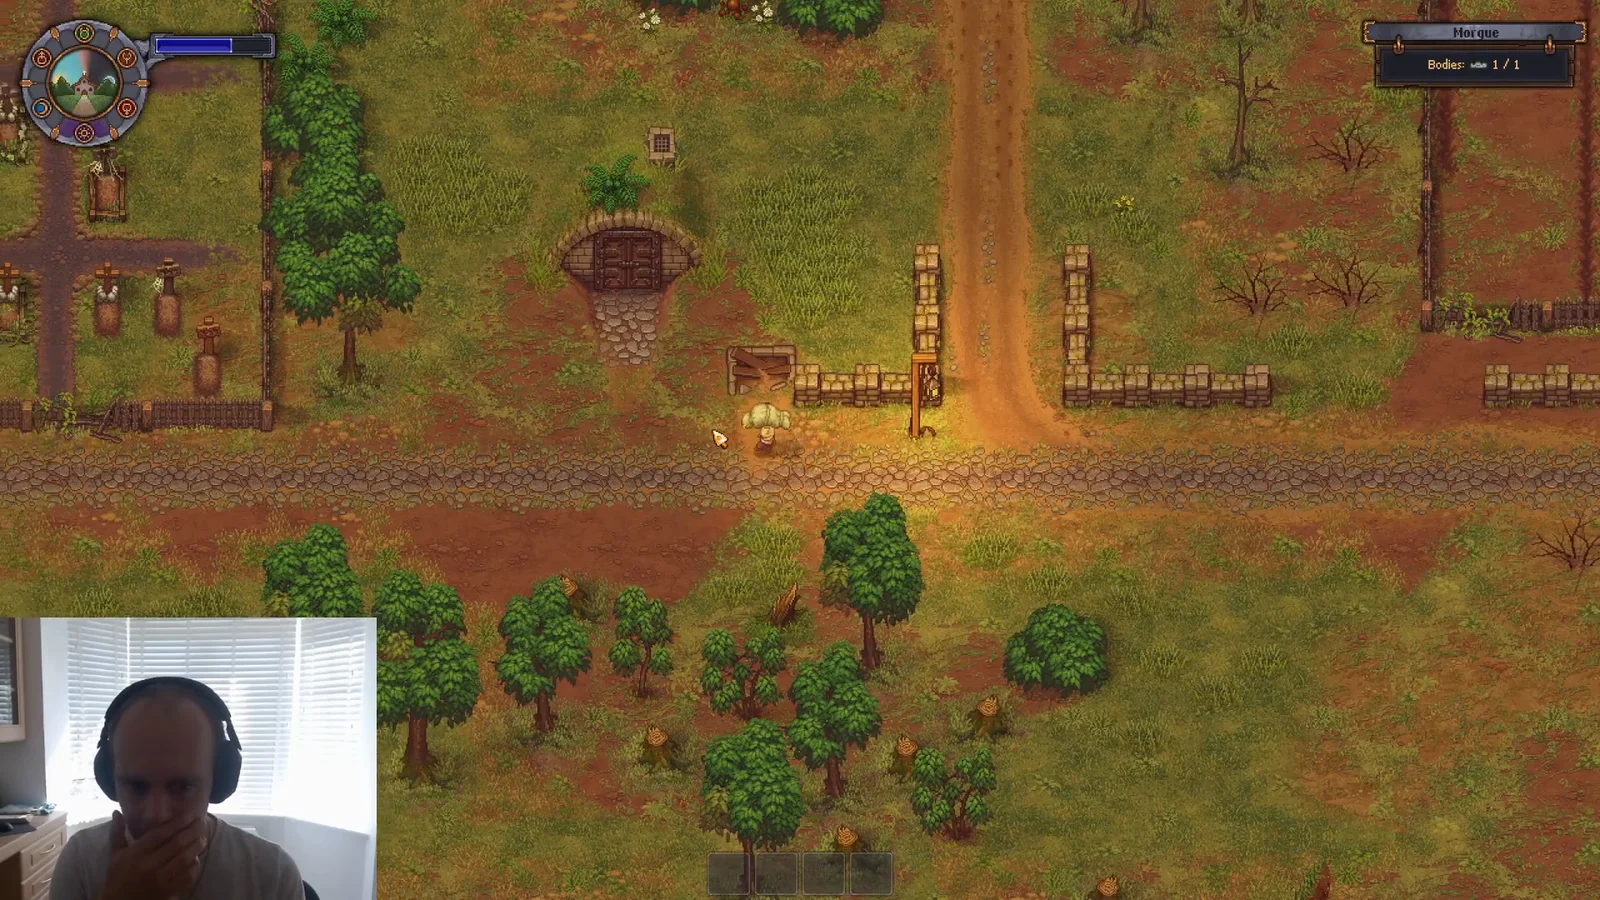
Perform the autopsy at the preparation place
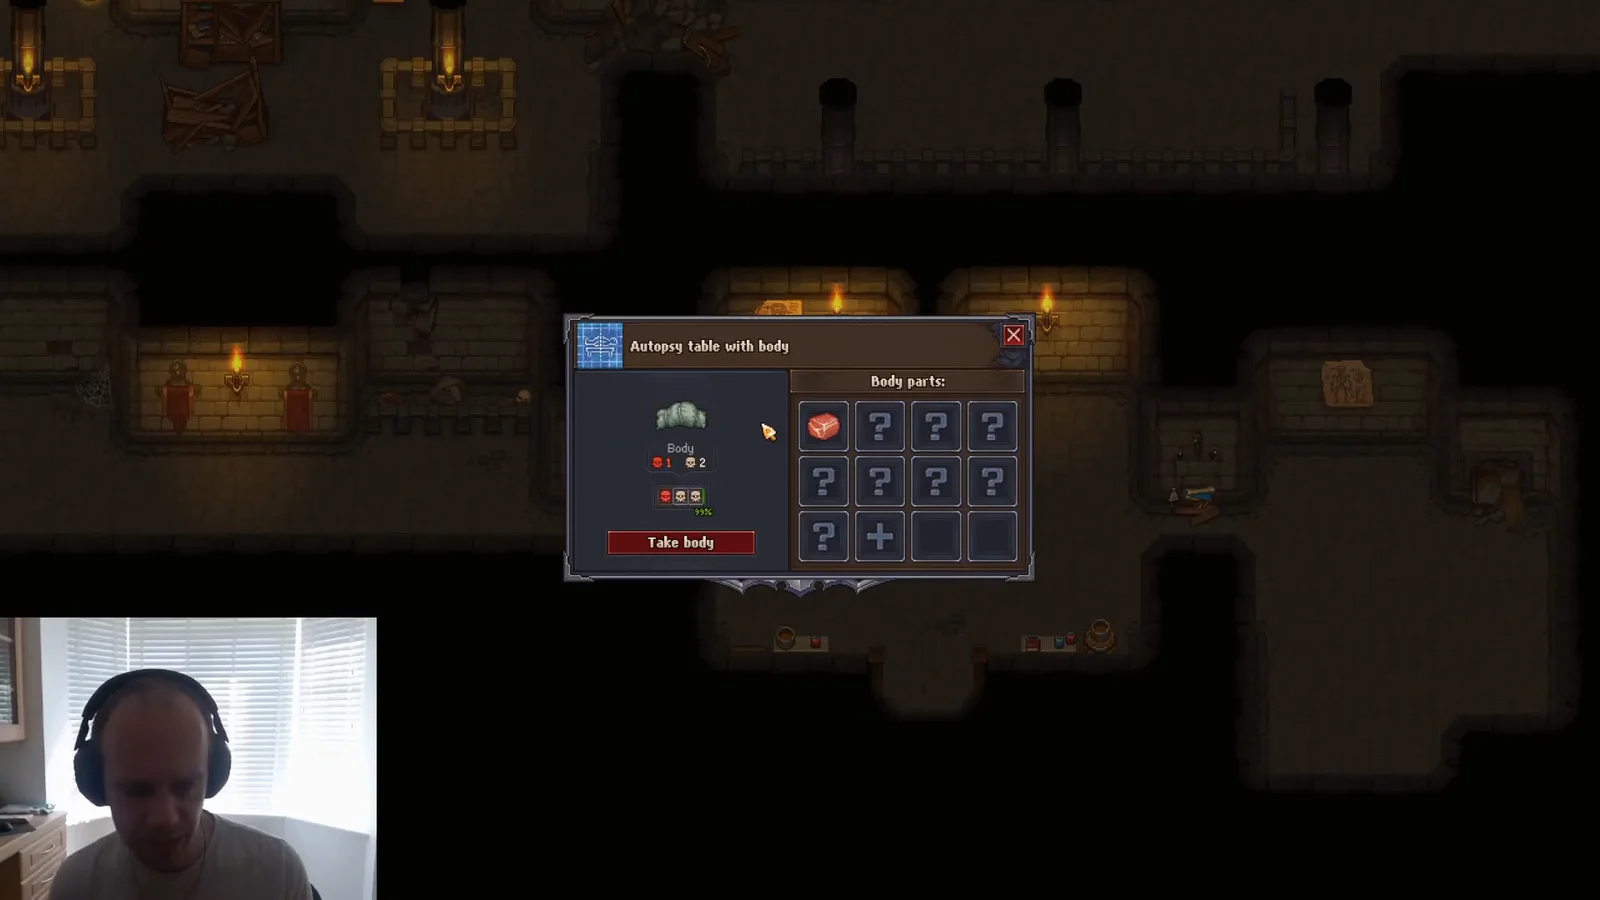
The plus icon in the same menu is Insert. It puts a missing part back in and simply undoes that part’s removal effect, which is how you swap a bad organ for a better one you are carrying. You cannot insert a part the body already has.
Body part removal effects
| Part removed | Effect on the meter |
|---|---|
| Flesh | Removes 1 white skull |
| Blood | Removes 1 red, adds 1 white |
| Fat | Removes 1 red, adds 1 white |
| Bone | No effect |
| Skin | Adds 1 red, removes 1 white |
| Skull | Adds 1 red skull |
| Brain | Random, set per corpse |
| Heart | Random, set per corpse |
| Intestines | Random, set per corpse |
| Dark brain / heart / intestines | Removes 4 red and 1 white |
Blood and fat are the only two fixed removals that improve the meter, and they add the white skull even when there is no red skull left to consume. Flesh, skin, and skull all make a corpse worse on their own, which is why the skull is only ever pulled deliberately, as fuel for the trick below.
Technologies that unlock each part
- First slice — flesh, plus the preparation place blueprint itself.
- Softspares — blood and fat.
- Hardspares — bone, skin, and skull.
- Important parts — brain, heart, and intestines.
- Dark bodies — dark brain, dark heart, and dark intestines.
The first three are cheap enough that you can comfortably own all of them before the end of your first in-game week, which is what makes the red-skull trick available early.
Brain, heart, and intestines: the gamble organs
These three do not have fixed values. Each corpse is generated with a value assigned to each organ, drawn from a set list, so one body’s heart might clear two red skulls while another’s strips two whites. Common outcomes are removing two red, removing one red and one white, or removing two white, and larger swings of up to three skulls in either colour show up as well.
Because the value is fixed at generation, reloading the day does not reroll it. What reloading does let you do is try a different organ on the same body, since the three organs usually hold different values.
The permanent fix is the Cultist perk, which costs 300 blue tech points and displays the exact skull value of each part before you cut. Read it carefully: the numbers shown describe what the part contributes while it is still inside the body, so removing it produces the opposite result. Blood, for example, reads as adding a red and removing a white, and extracting it does the reverse.
An organ that produces white and red skulls can be more useful than one producing whites alone, because blood, fat, and later injections let you convert those reds into whites.
Surgeon’s Mistake and how to reduce it
Surgeon’s Mistake appears at random while you are pulling parts. It shows up in the corpse menu as a part-shaped icon you cannot remove, and it costs you one white skull while adding one red. There is no way to undo it on that body.
Three things lower the odds. The butcher perk helps with soft and hard spares such as blood, fat, skin, flesh, bone, and the skull. The surgeon perk covers the important organs. Upgrading to preparation place II reduces the chance on top of both.
Removal order: adding a red skull to gain a white one
Blood and fat only pay their full value when there is a red skull for each of them to eat. If a corpse arrives with just one red skull, you would waste one of the two conversions, so you manufacture a second red skull by pulling the skull out.
Take a starting corpse with 1 red and 2 white. Extract blood and it becomes 3 white. Extract the skull and it becomes 3 white and 1 red. Extract fat and you finish on 4 white skulls and no red, one skull longer than the body arrived.
With two red skulls already present, skip the skull entirely. Blood and fat clean both reds and leave the meter the same length, all white. With three or more reds, pull an organ first to knock the red count down before converting, and only then take blood and fat.
A late-game example shows how far this scales. A body with 5 white and 4 red drops to 7 white and 2 red after blood and fat. Remove the skull to reach 7 white and 3 red, then spend gold and silver injections to convert all three, giving 10 white. A glue injection lands the corpse at 11 white skulls with no red. Substituting a lye injection for the skull removal, where you have one, nets an extra white skull on top.
Embalming injections and their skull values
Once the embalming table is researched and built in the morgue, you stop being limited to what you can cut out. Injections go into the corpse and adjust its quality, decay rate, and decay level directly.
| Injection | Effect |
|---|---|
| Lye | Adds 1 red and 1 white |
| Glue | Adds 1 white |
| Acid | Removes 1 red and 1 white |
| Silver | Removes 1 red, adds 1 white |
| Gold | Removes 2 red, adds 2 white |
| Dark | Adds 2 red |
| Restore | Halves current decay |
| Preservative | Stops decay |
Gold injections are the turning point, and they sit deep in the tech tree behind a gold supply. Until then, lye and silver carry most of the work: lye deliberately plants a red skull you can convert later, which is how you extend a meter past its delivered length.
Confirming the autopsy worked
Verification happens on the meter itself. After each confirmed removal the skull row updates immediately, so you can see the red icon disappear and a white one take its place. Nothing is applied until you accept the confirmation prompt, and Surgeon’s Mistake is visible in the menu the moment it occurs.
The payoff shows up at the grave. An empty gravesite sits at a base rating of -2 and takes on the corpse’s rating once a body is placed in it. Gravestones and fences then stack on top, but the total can never exceed the corpse’s white skull count. A first-tier stone gravestone gives +2 and a stone stone fence adds another +2, so a corpse with at least four clean white skulls and both decorations produces a +4 grave. The practical ceiling for a single grave is 12 decor, which is why 12 white skulls is the highest useful number.
If a body ends up worse than you wanted, take the parts you need and then get rid of it. Dumping it in the river removes it instantly with no burial certificate, while the crematorium south of the morgue returns salt and ash and still issues the certificate. Bodies already in the ground are not permanent either. Exhumation Permission from the Royal Services box outside the church lets you dig one back up, re-cut it, and bury it again.





