The Toe Biter Buggy is the first mount in Grounded 2: Into the Abyss that you can ride both on land and underwater, which makes it the fastest way to move around Skunk Pond. Unlocking it takes several separate steps. You need to find an optical disk to unlock the recipes, defeat a hidden boss for an egg, gather pond materials for the nest and saddle, then hatch the egg.
Quick answer: Collect the Gnarly Bark Aquatic Optical Disk inside the dead tree, return it to a Ranger Station to buy the Toe Biter Buggy and Toe Biter Nest recipes for 5,000 Raw Science, defeat Papa Toe Biter behind the Memorial picture frame for a Toe Biter Egg, then build the nest, craft the saddle, and hatch the egg in a Hatchery over 12 in-game hours.
What you need before you start
Most of this process happens around the Gnarly Bark region and the pond, so bring endgame gear. You will need diving equipment and high-tier tools to collect the crafting materials, plus enough Raw Science to buy the recipes.
| Requirement | Why it matters |
|---|---|
| 5,000 Raw Science | Buys the Toe Biter Buggy and Toe Biter Nest recipes at a Ranger Station |
| Tier 3 Shovel | Digs Koi Fish Scales from the pond floor |
| Tier 3 Omni Clippers | Harvests Horsetail Stems and Pond Moss |
| Gill Tube and Fuzzy Parka | Lets you dive deep and survive the cold water while collecting Sunken Bones |
| A pet ant (optional) | Carries the egg and materials back to base for you |
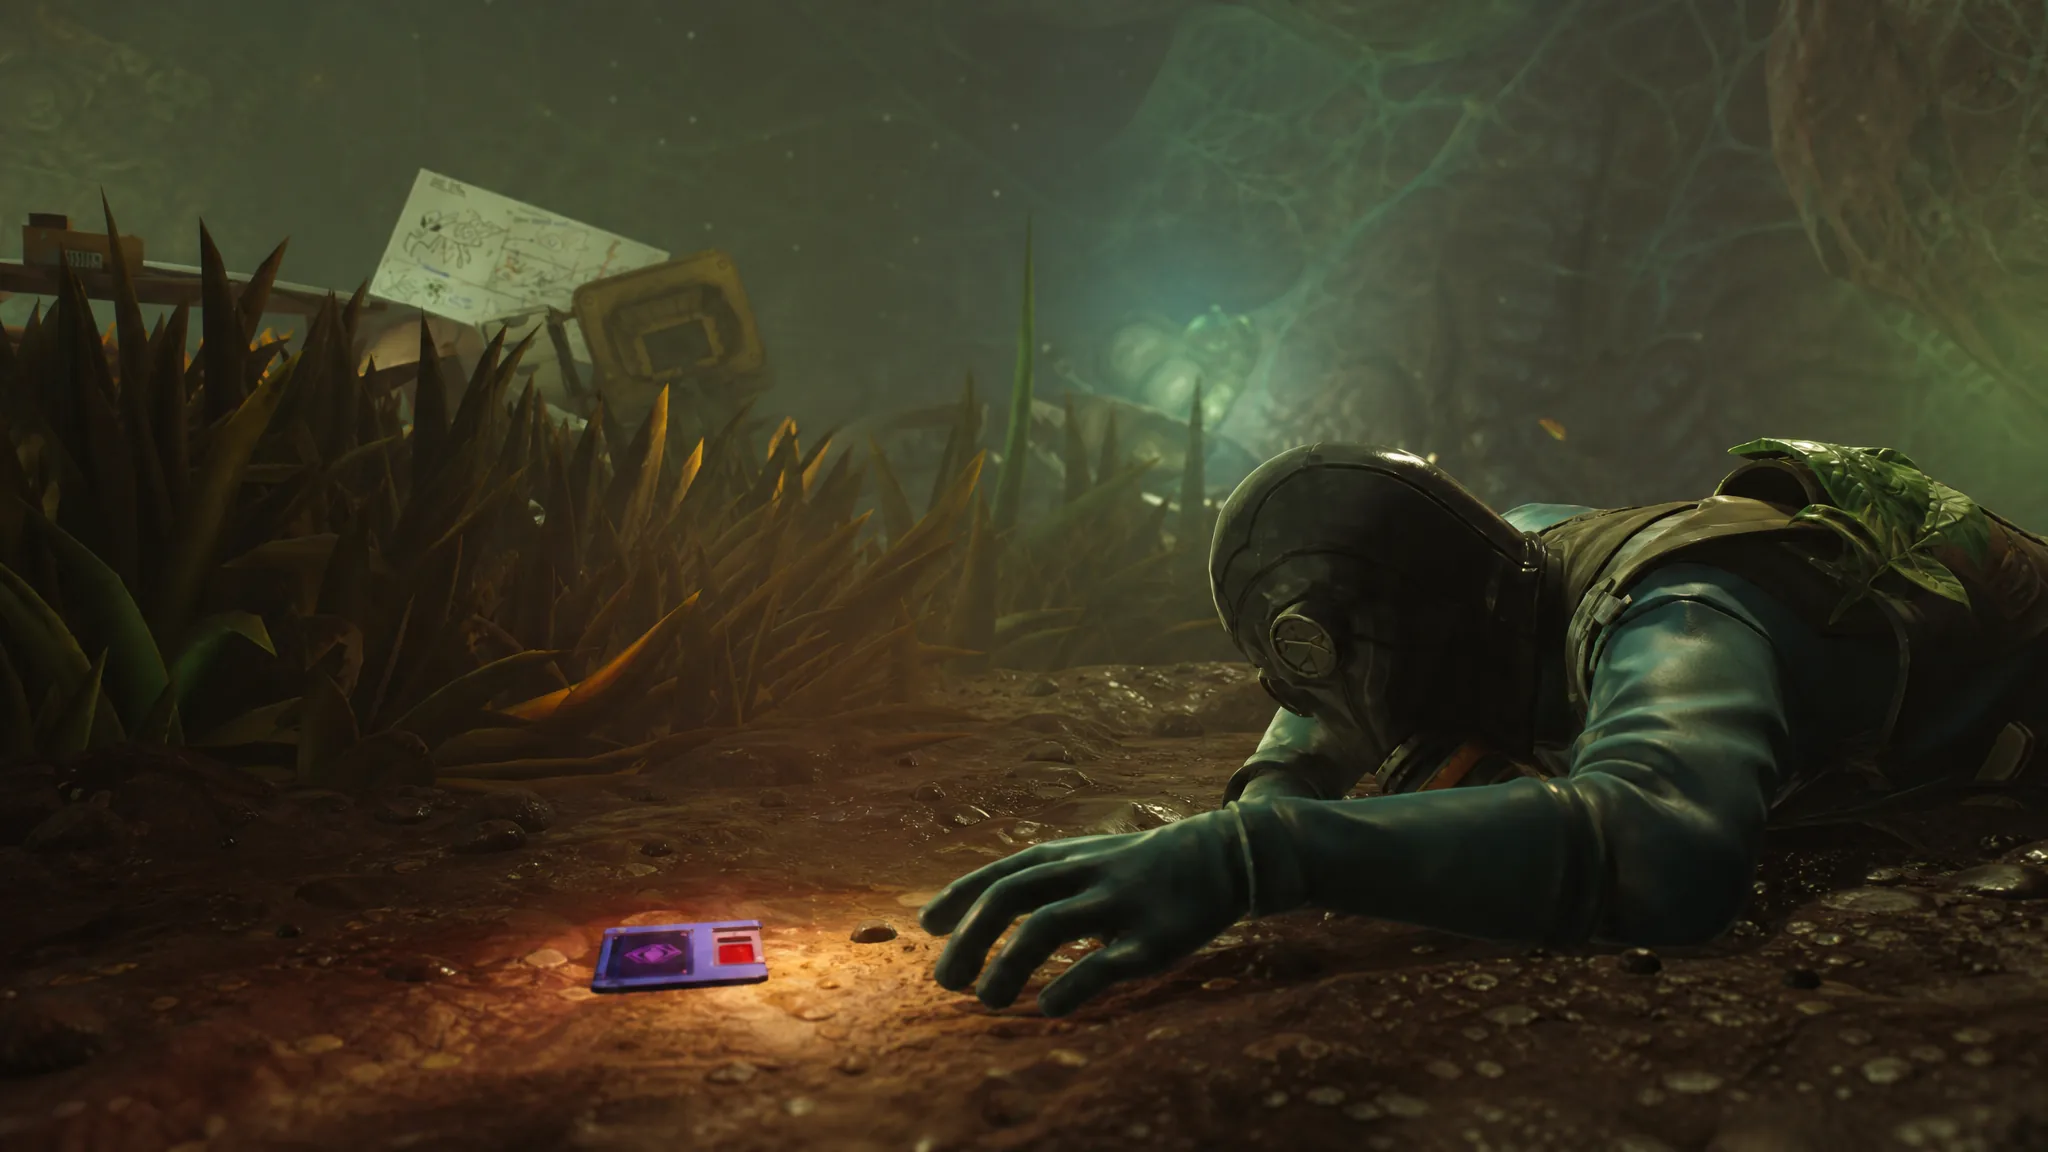
Find the Gnarly Bark Aquatic Optical Disk
The disk unlocks both the Toe Biter Buggy recipe and the Toe Biter Nest schematic. It sits inside the dead tree at Gnarly Bark, and your buggy cannot follow you up, so plan to climb on foot after the initial ascent.
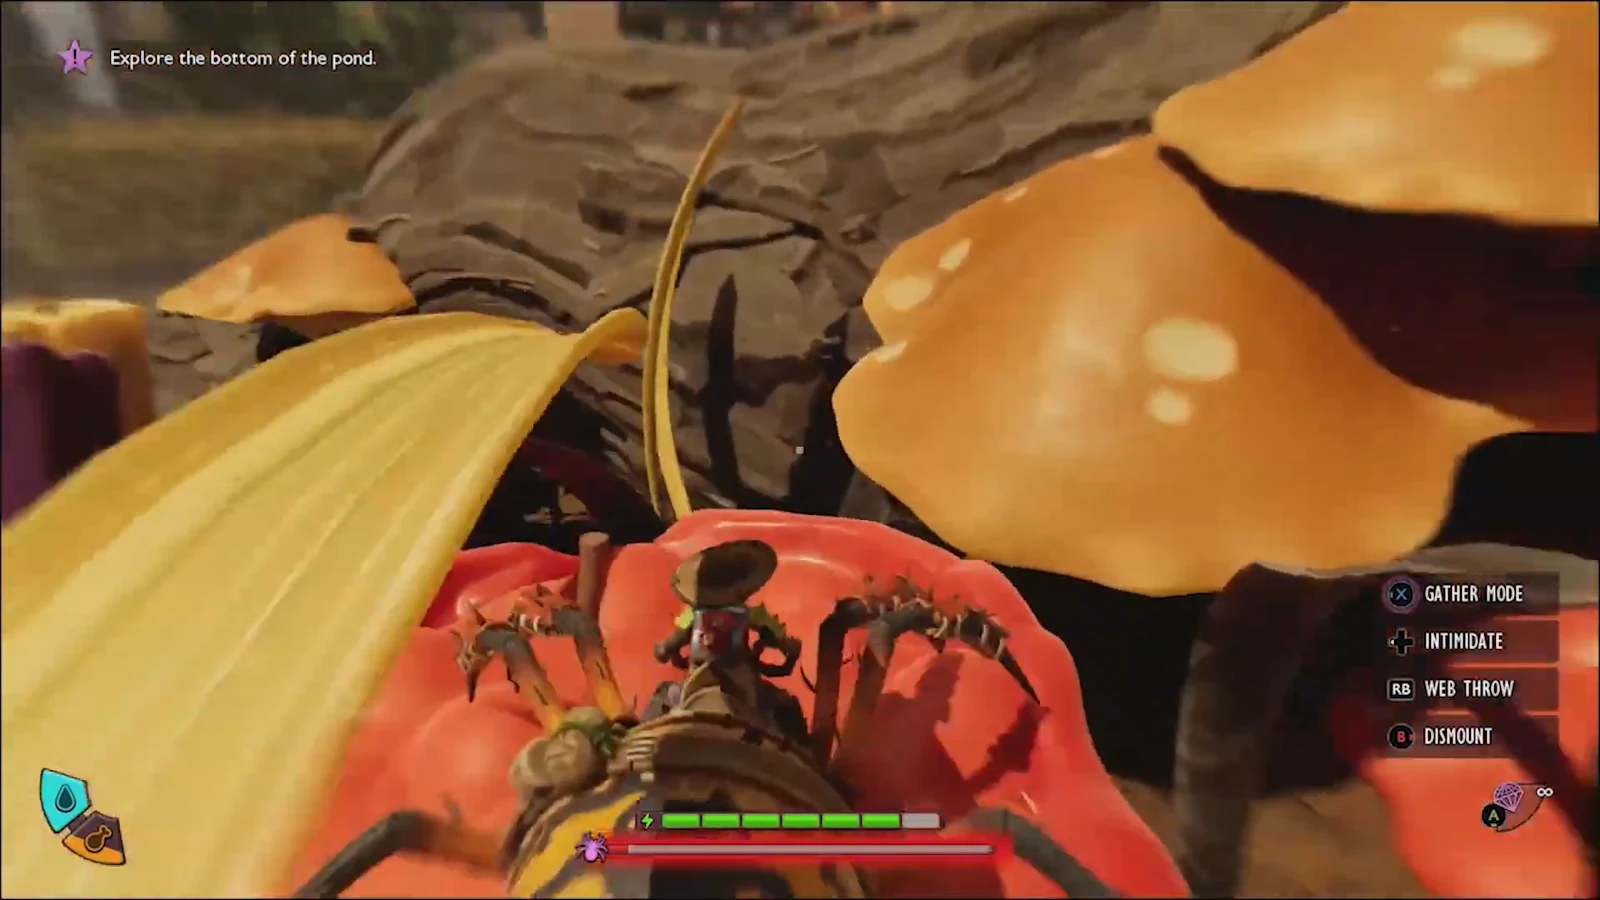
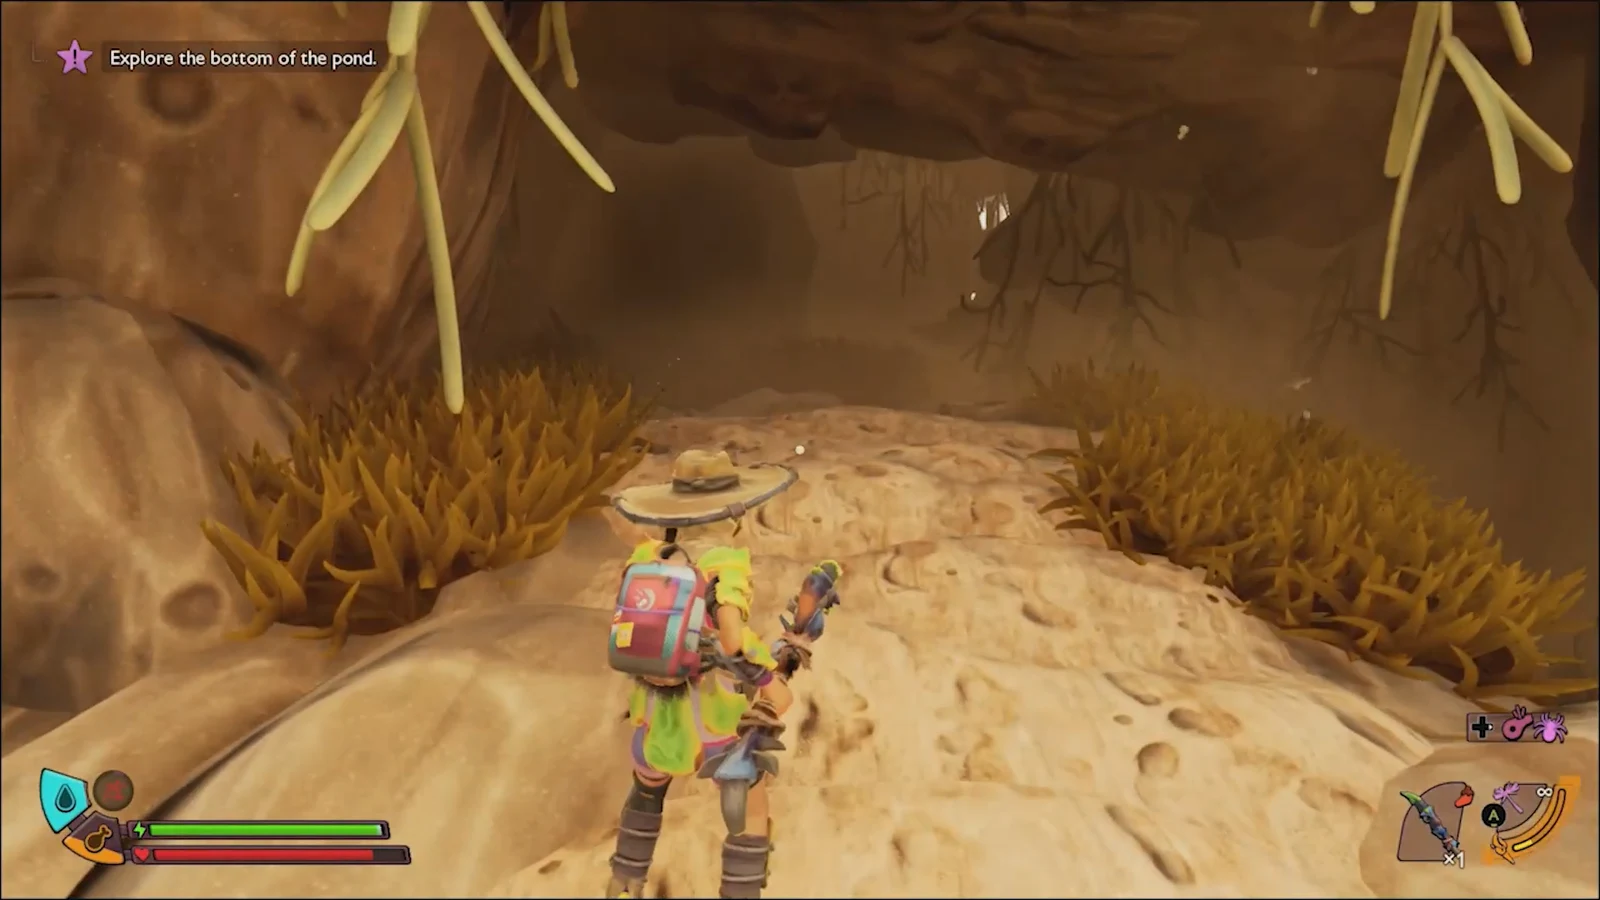
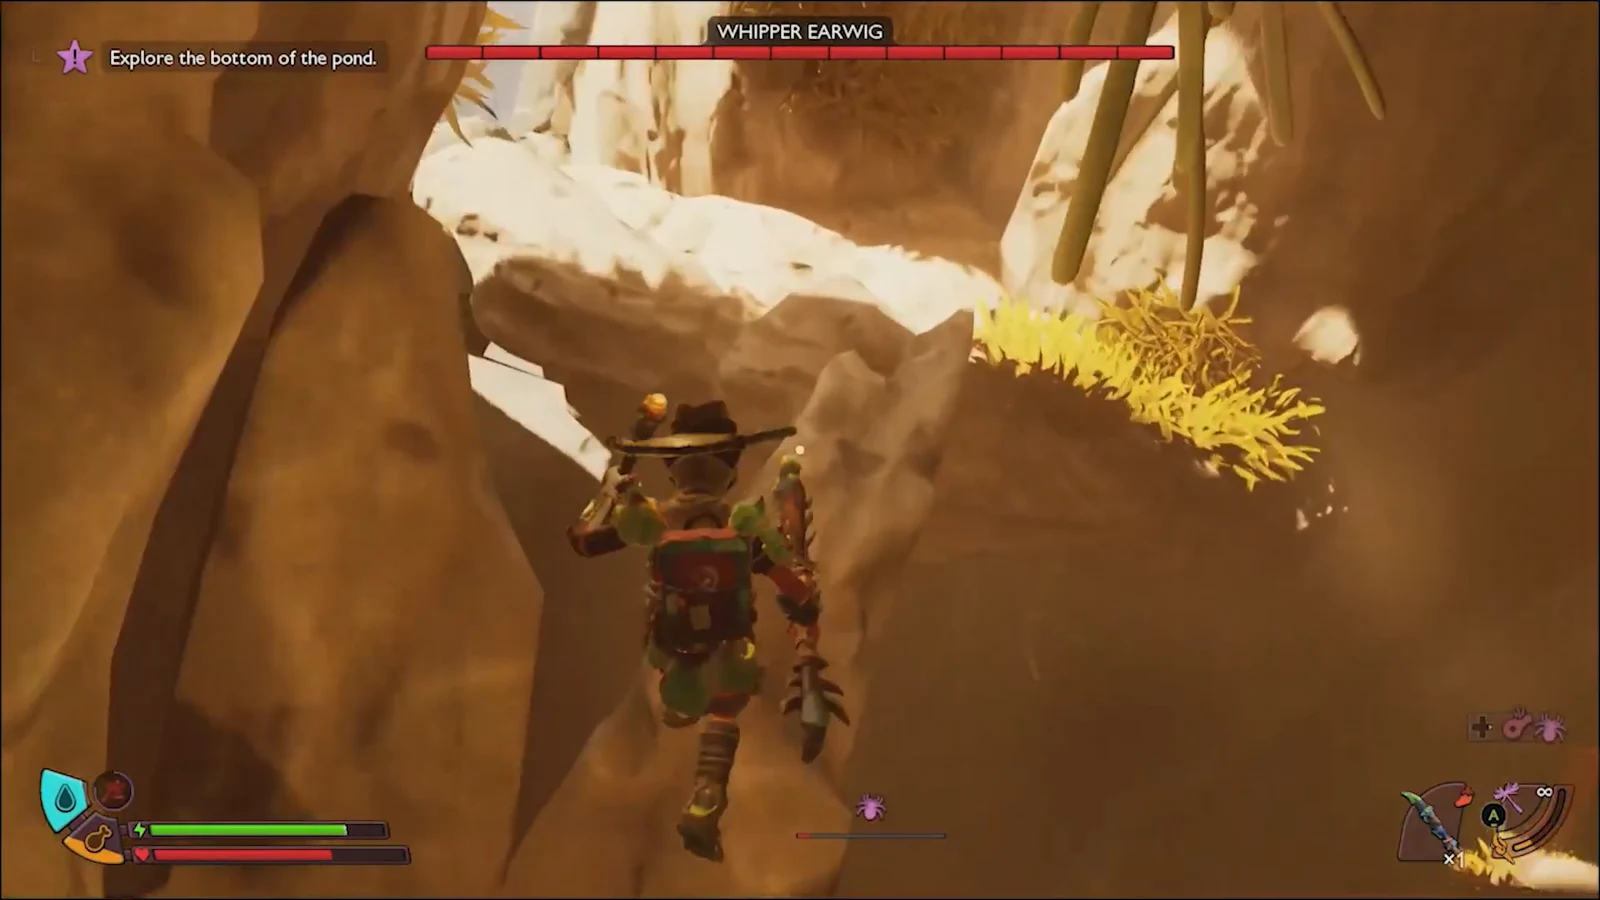
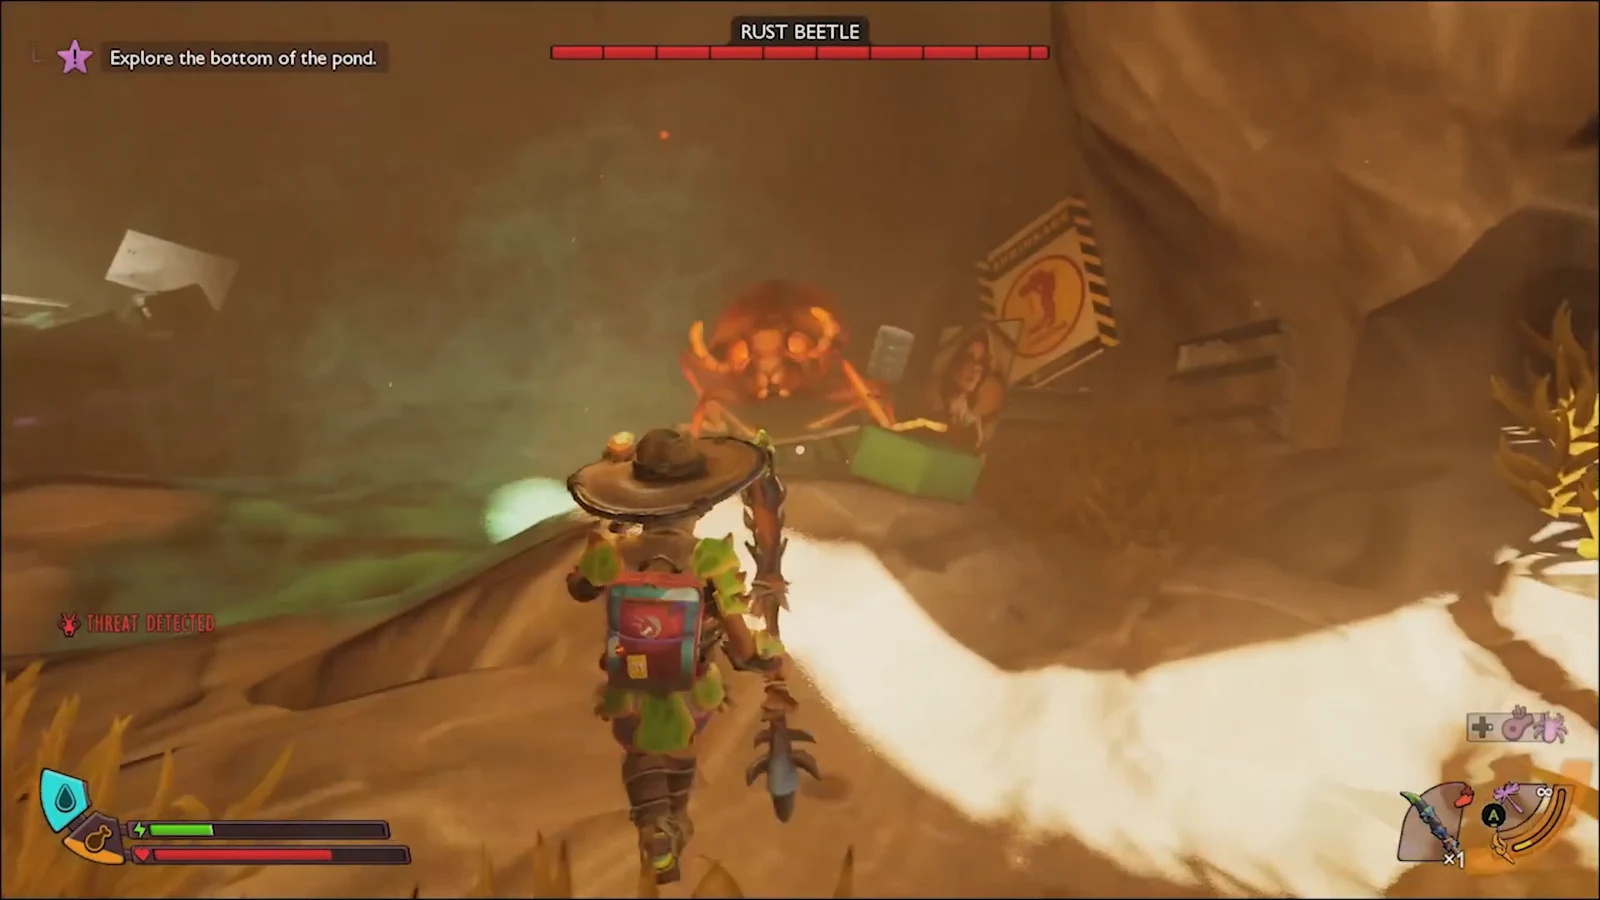
Note: Remember this cavern’s location. You will come back to the area below it for the Toe Biter Egg once the disk is deciphered.
Unlock the recipes at a Ranger Station
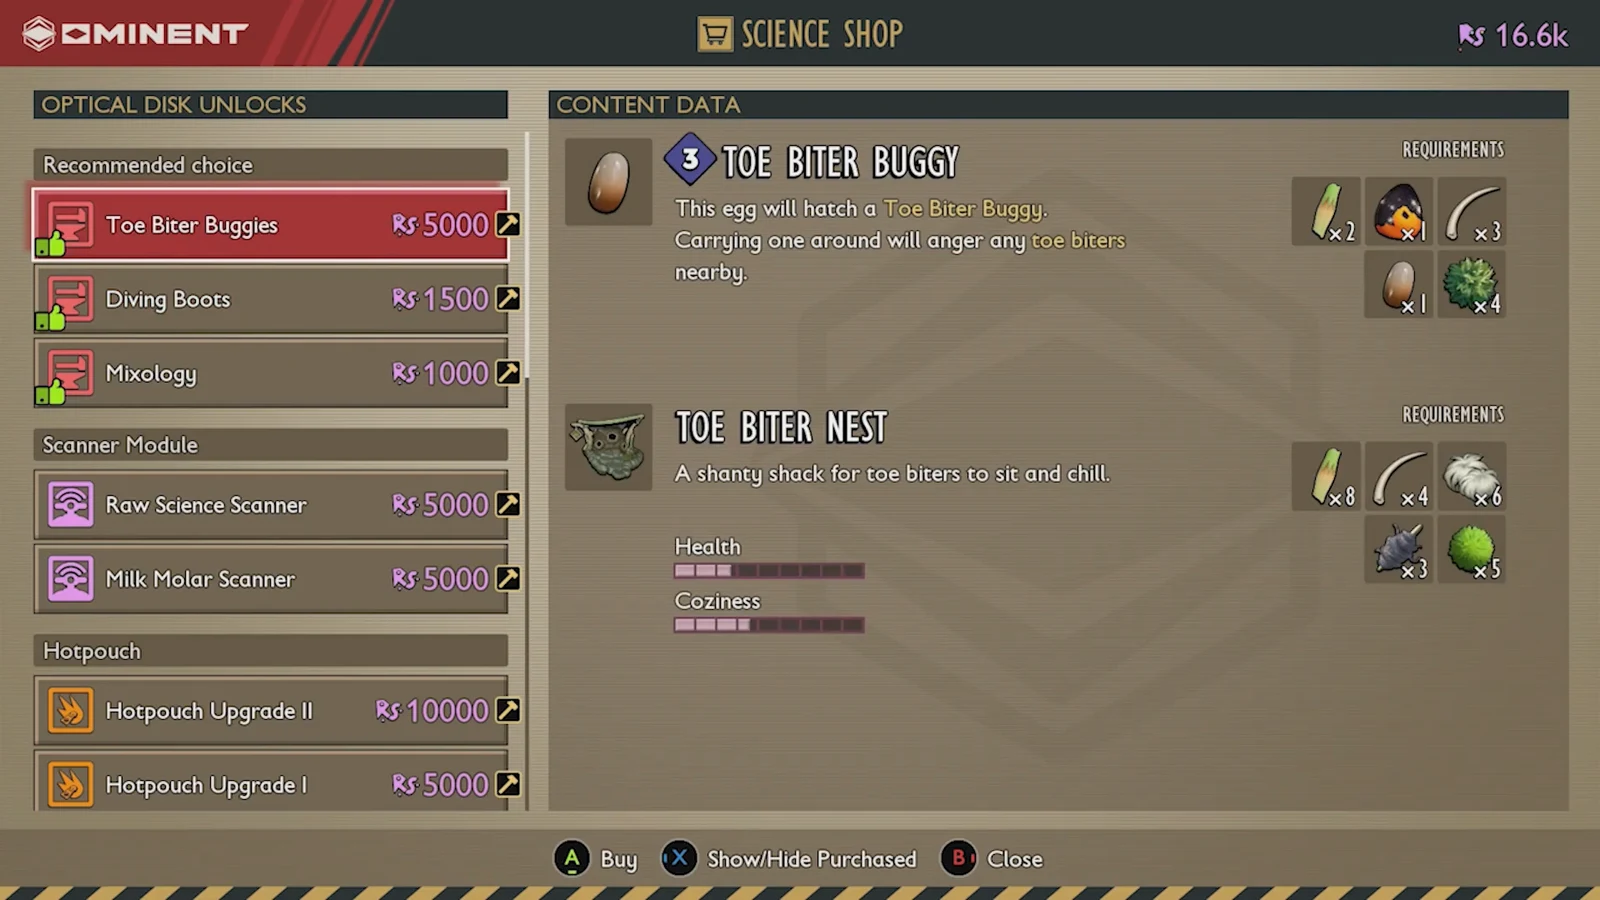
Carry the Aquatic Optical Disk to any Ranger Station and insert it into the terminal. This deciphers the disk and adds the Toe Biter Buggies entry to the Science Shop. Purchase the recipe for 5,000 Raw Science to unlock both the Toe Biter Buggy and the Toe Biter Nest for crafting.
Defeat Papa Toe Biter to get the egg
The buggy needs a Toe Biter Egg to hatch, and that only drops from Papa Toe Biter, a hidden boss found below the cavern where you took the disk. The fight is tough because the boss constantly spawns Toe Biter Nymphs, so buff yourself with food such as Cheese ‘n’ Fries and Green Machine before you drop in.
Tip: Because you have to carry the egg by hand, order a pet ant to hold it and haul it back to base, which frees you up to fight anything on the way out.
Gather the nest and saddle materials
The Toe Biter Nest and the saddle both need pond resources, several of which sit deep underwater. Collect everything below before you start building.
| Structure | Materials |
|---|---|
| Toe Biter Nest | 6x Cattail Fluff, 8x Horsetail Stem, 3x Lint Rope, 4x Sunken Bones, Algae |
| Toe Biter Saddle | 2x Horsetail Stems, 1x Koi Fish Scale, 3x Sunken Bone, 4x Pond Moss |
| Material | Where to find it |
|---|---|
| Cattail Fluff | Chop fallen cattails near the pond and bridge area with a Tier 3 Axe |
| Horsetail Stem | Cut Horsetail plants in and around the water with clippers, or on land with an axe |
| Koi Fish Scale | Dig Muddy Scales with a Tier 3 Shovel near Admiral Grand, upper-right of the bridge |
| Sunken Bones | Dive deep into Skunk Pond and dig them from the pond bed (Gill Tube and Fuzzy Parka recommended) |
| Pond Moss | Cut green moss nodes deep underwater with Tier 3 Omni Clippers |
Hatch the egg and confirm the buggy is ready
You will know it worked when the Toe Biter appears as a rideable mount. Craft the saddle, then ride it straight into Skunk Pond. It swims far faster than you can on foot, and on land it can use a Charge attack, a Leg Sweep (F key) that knocks bugs back, and a three-hit combo.
Diving Boots unlock alongside the buggy
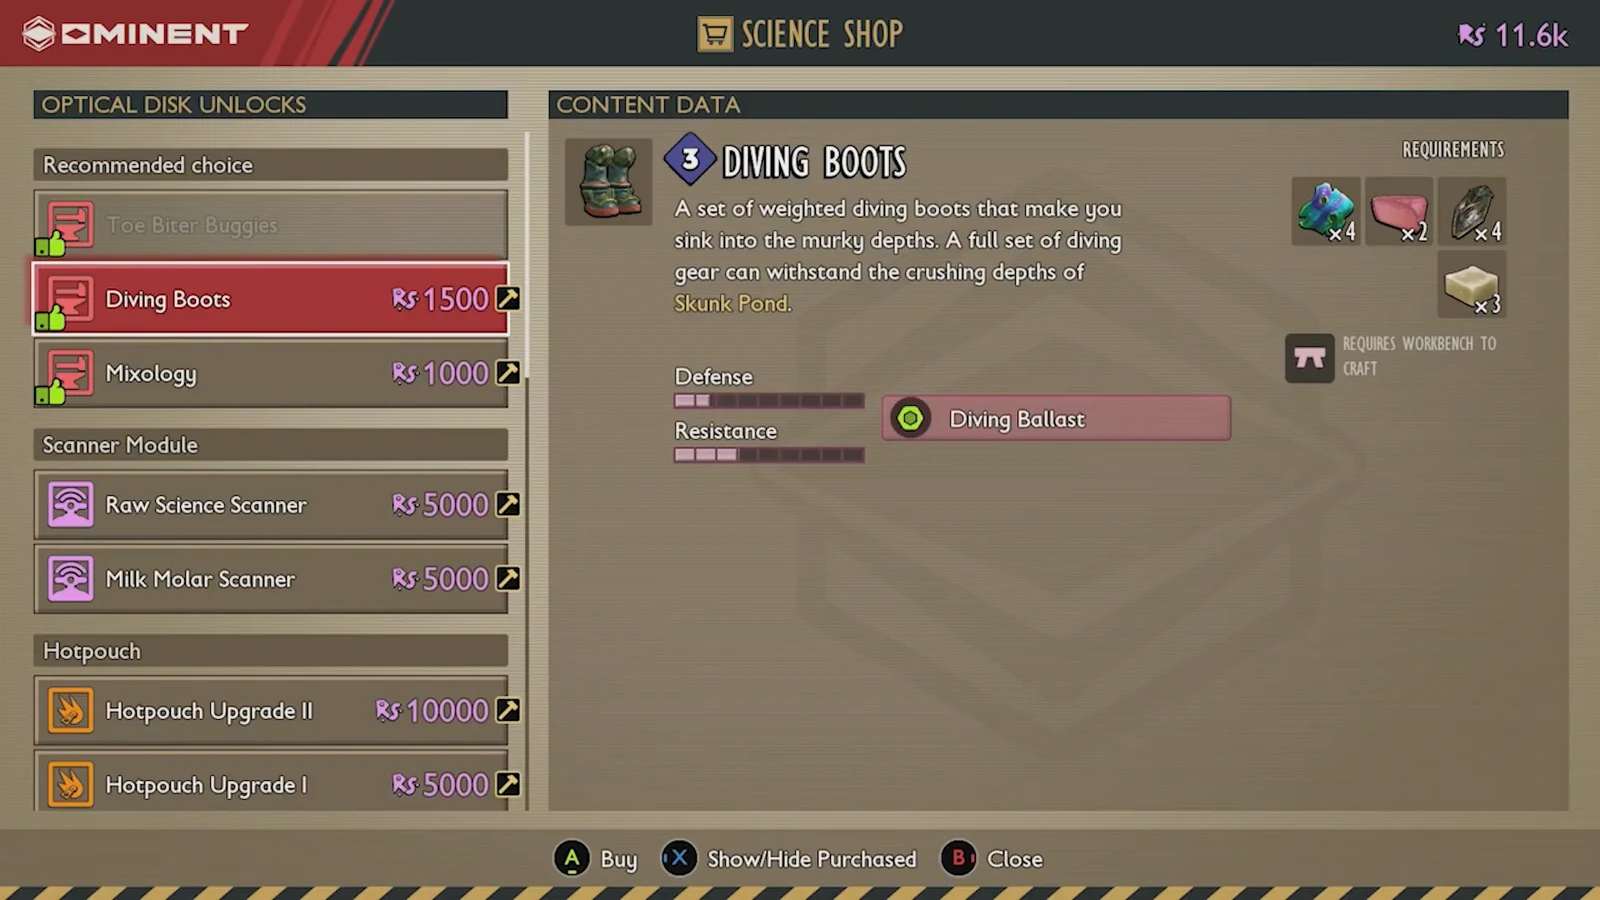
When you unlock the buggy recipes, the Science Shop also offers Diving Boots for 1,500 Raw Science. They provide a Diving Ballast effect that helps you descend, which pairs well with the deep dives you already need to make for Sunken Bones and Pond Moss.
With the disk deciphered, the boss cleared, the pond materials gathered, and the egg hatched, the Toe Biter Buggy becomes your best option for crossing Skunk Pond quickly and holding your own in underwater fights.