

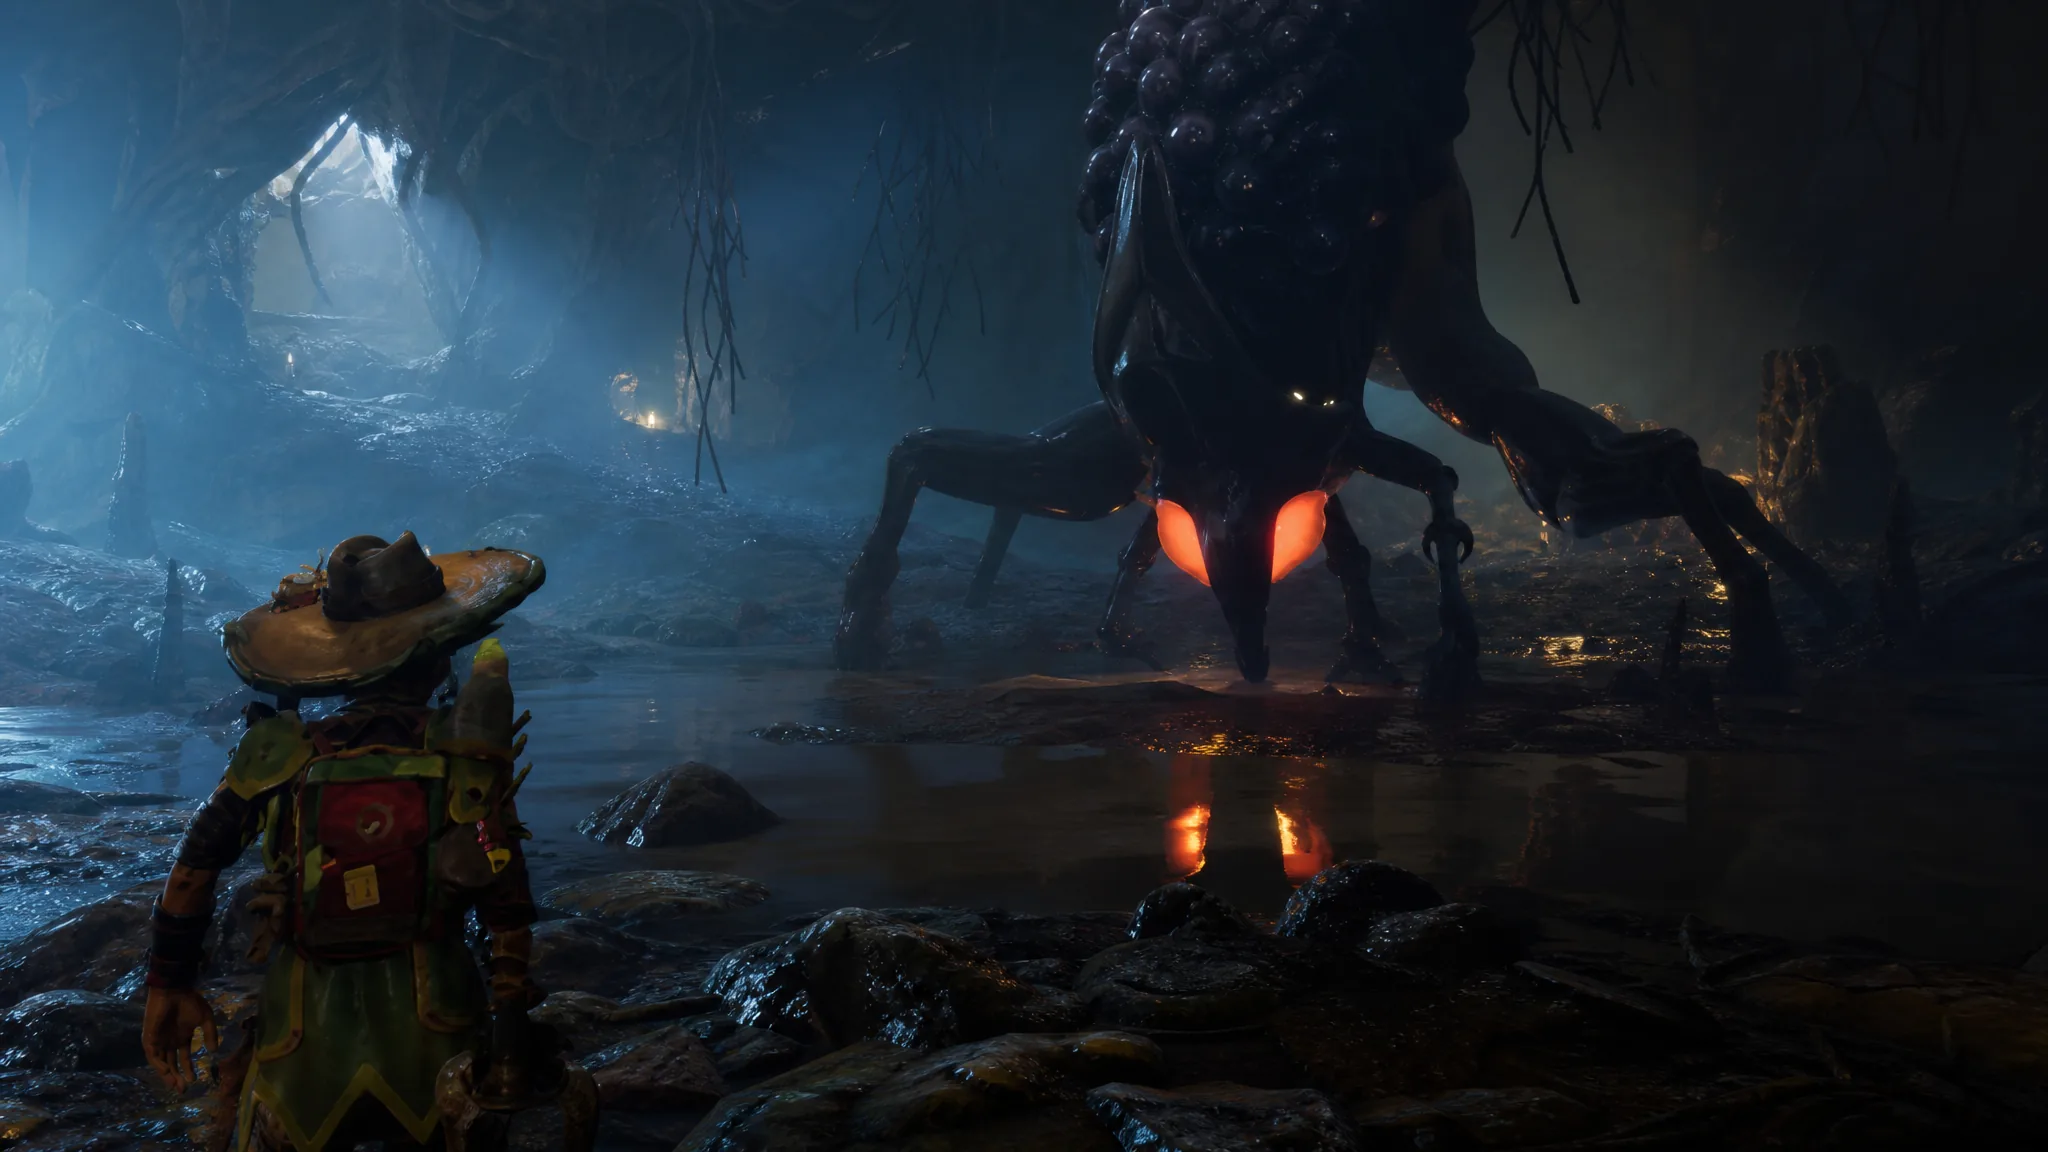
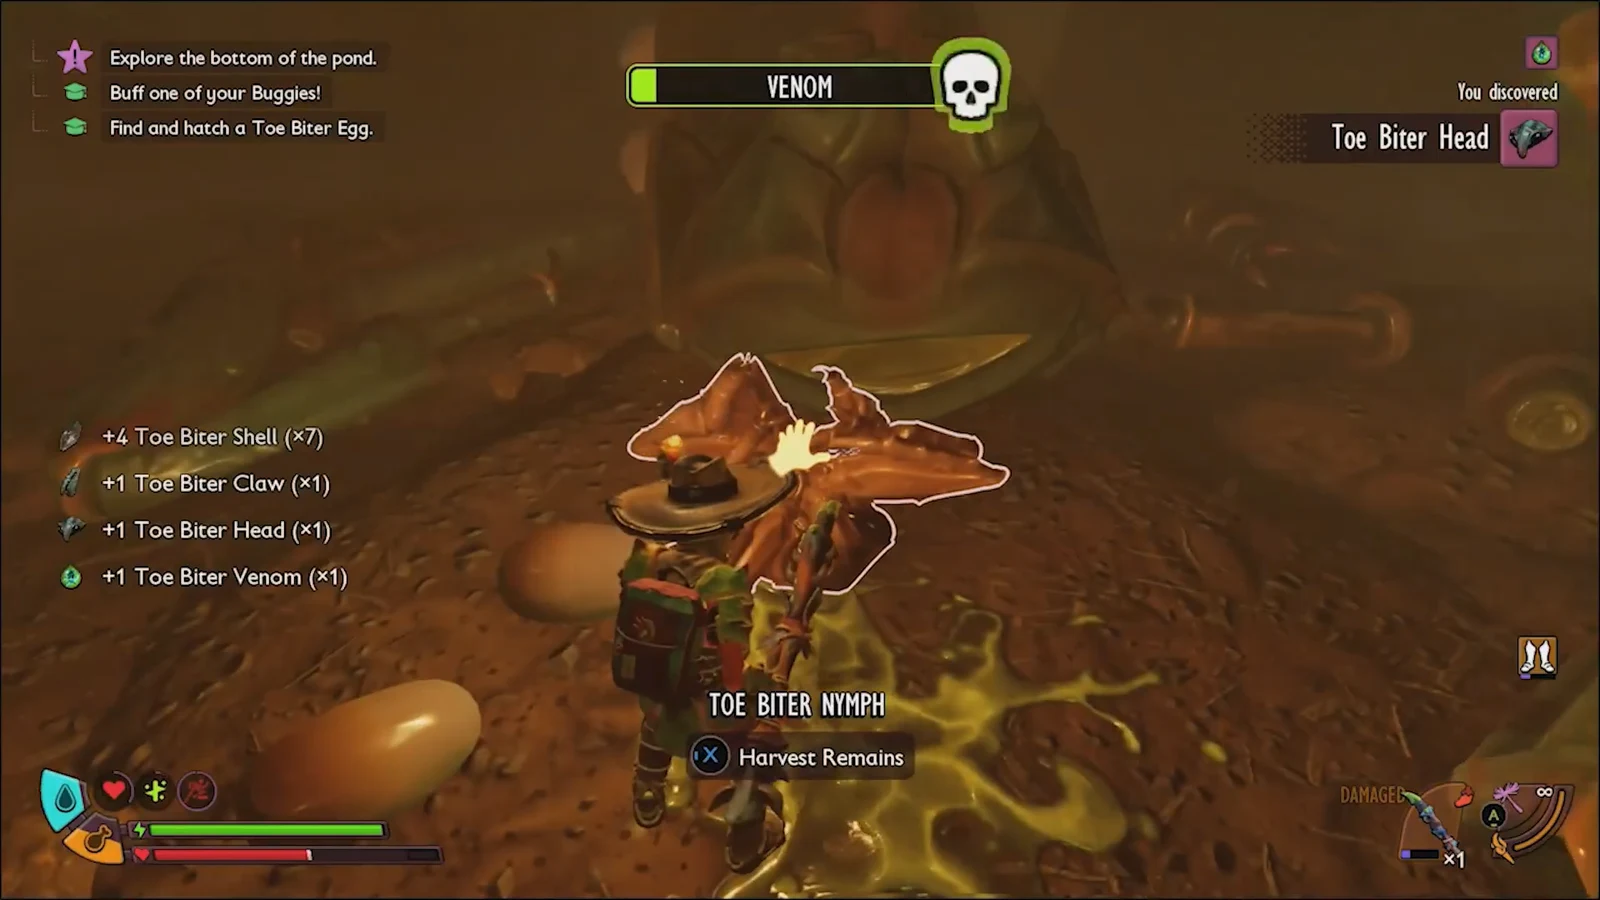
Toe Biter Eggs only come from one place in Grounded 2: the body of the Papa Toe Biter boss, hidden in a cave under the Memorial landmark in the Gnarly Bark region. Beat the boss, pick up a single egg, haul it home, and you can hatch the amphibious Toe Biter Buggy that Into the Abyss added for exploring the pond.
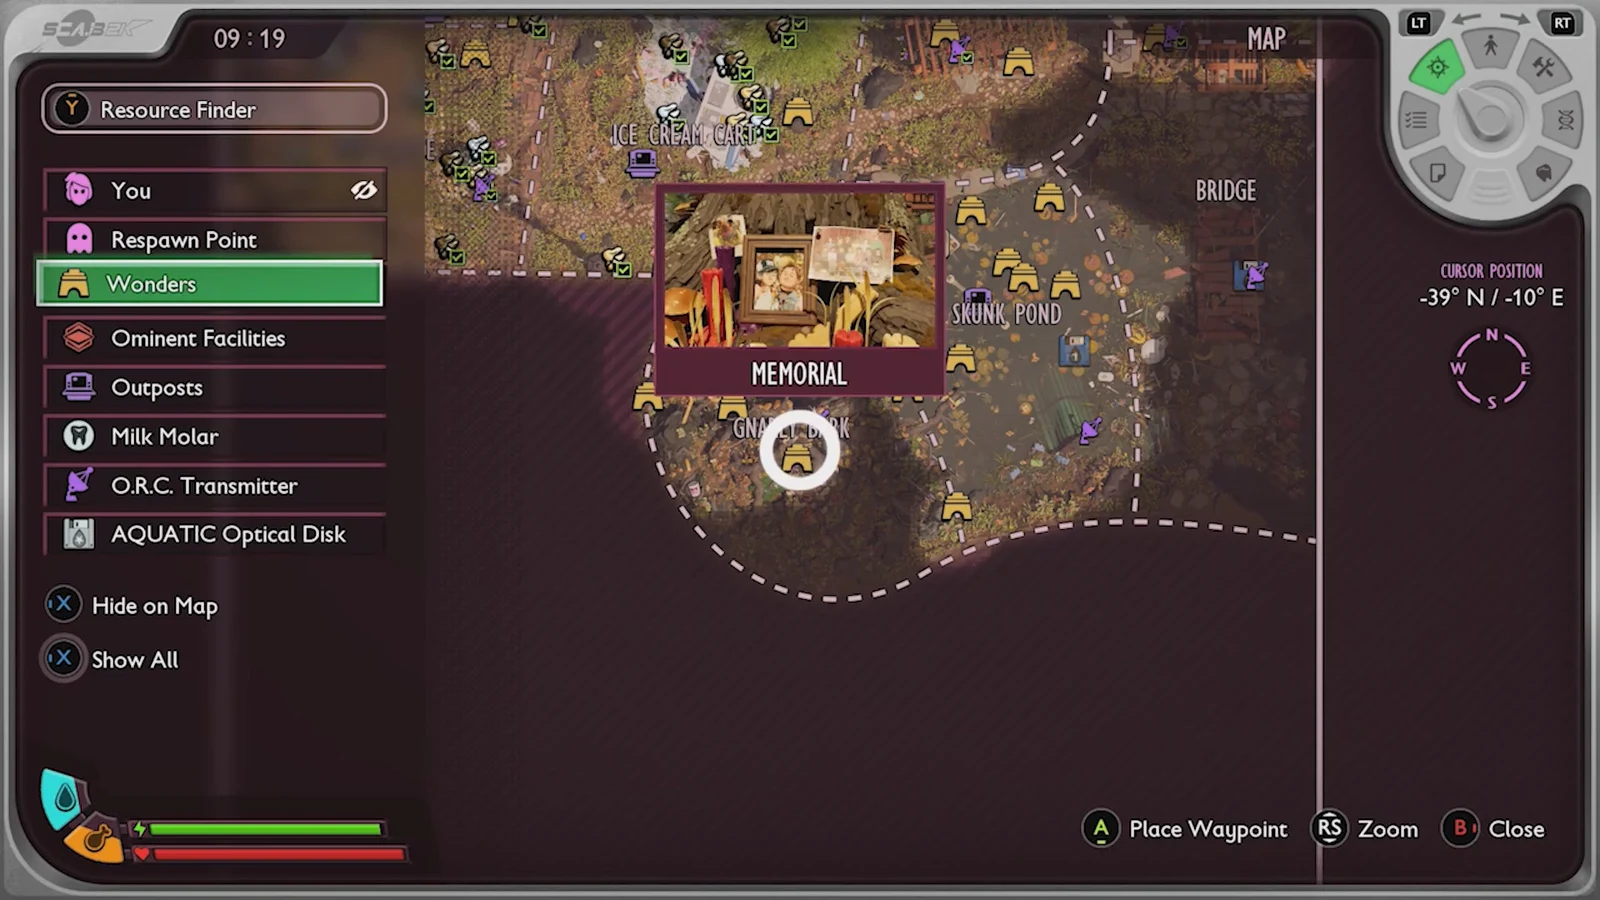
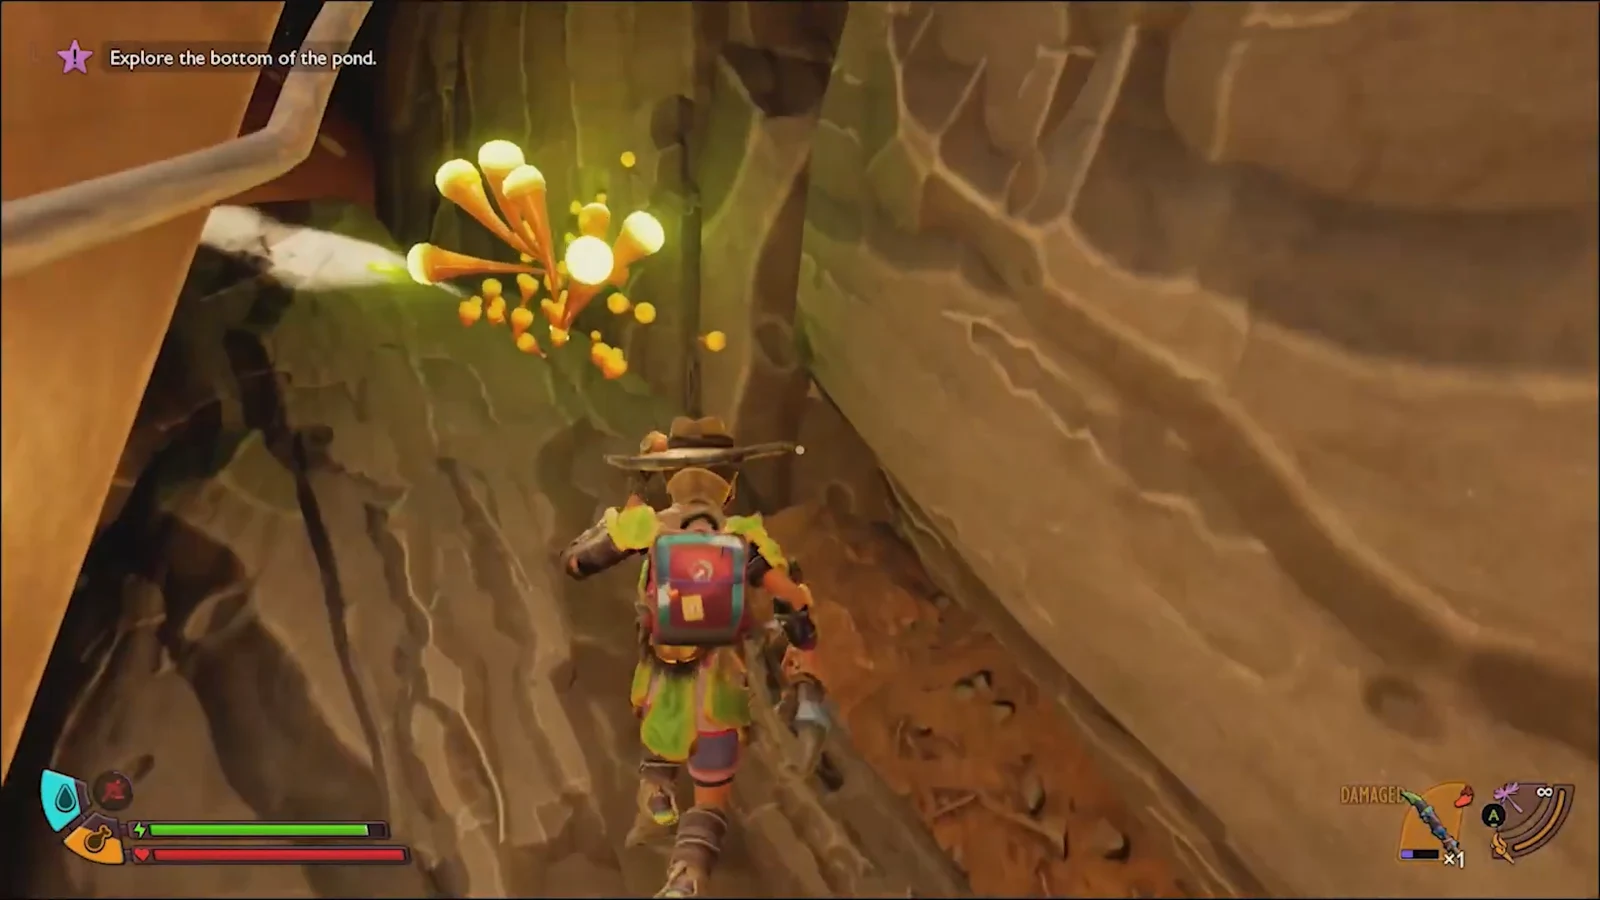
Quick answer: Go to the Memorial in Gnarly Bark (coordinates -39° N / -10° E), climb to the candles, look behind the framed photo to open a hidden entrance, drop in, and defeat Papa Toe Biter. Its remains drop the Toe Biter Egg.
What you need before hunting the egg
The egg itself is a boss drop, but the boss only appears after you unlock the Toe Biter content. That means grabbing an Optical Disk and turning it into a recipe first, then building a place to hatch what you carry back.
You need the Aquatic Optical Disk to unlock the Toe Biter Nest schematic and the Toe Biter Buggy recipe. Optical Disks turn up around the Bridge, Skunk Pond, and Gnarly Bark areas. The Aquatic Optical Disk sits next to a corpse beside a Sour Tang puddle in Gnarly Bark, in the same zone just above the boss cave. Scan a disk at a Ranger Outpost to unlock the Hatchery blueprint, and expect a cost of 5,000 Raw Science for the nest recipe.
You also want a Buggy that can carry the heavy egg for you. The Soldier Black Ant Buggy or the sturdier Ladybug Buggy both work well, both for the climb in and for hauling the egg out.
Finding the Papa Toe Biter cave in Gnarly Bark
The whole run starts at the Memorial, a Wonder inside the Gnarly Bark biome, south of the Pebble Village Lunchbox. Open your map and select Wonders to pin its exact spot at -39° N / -10° E.
Beating Papa Toe Biter
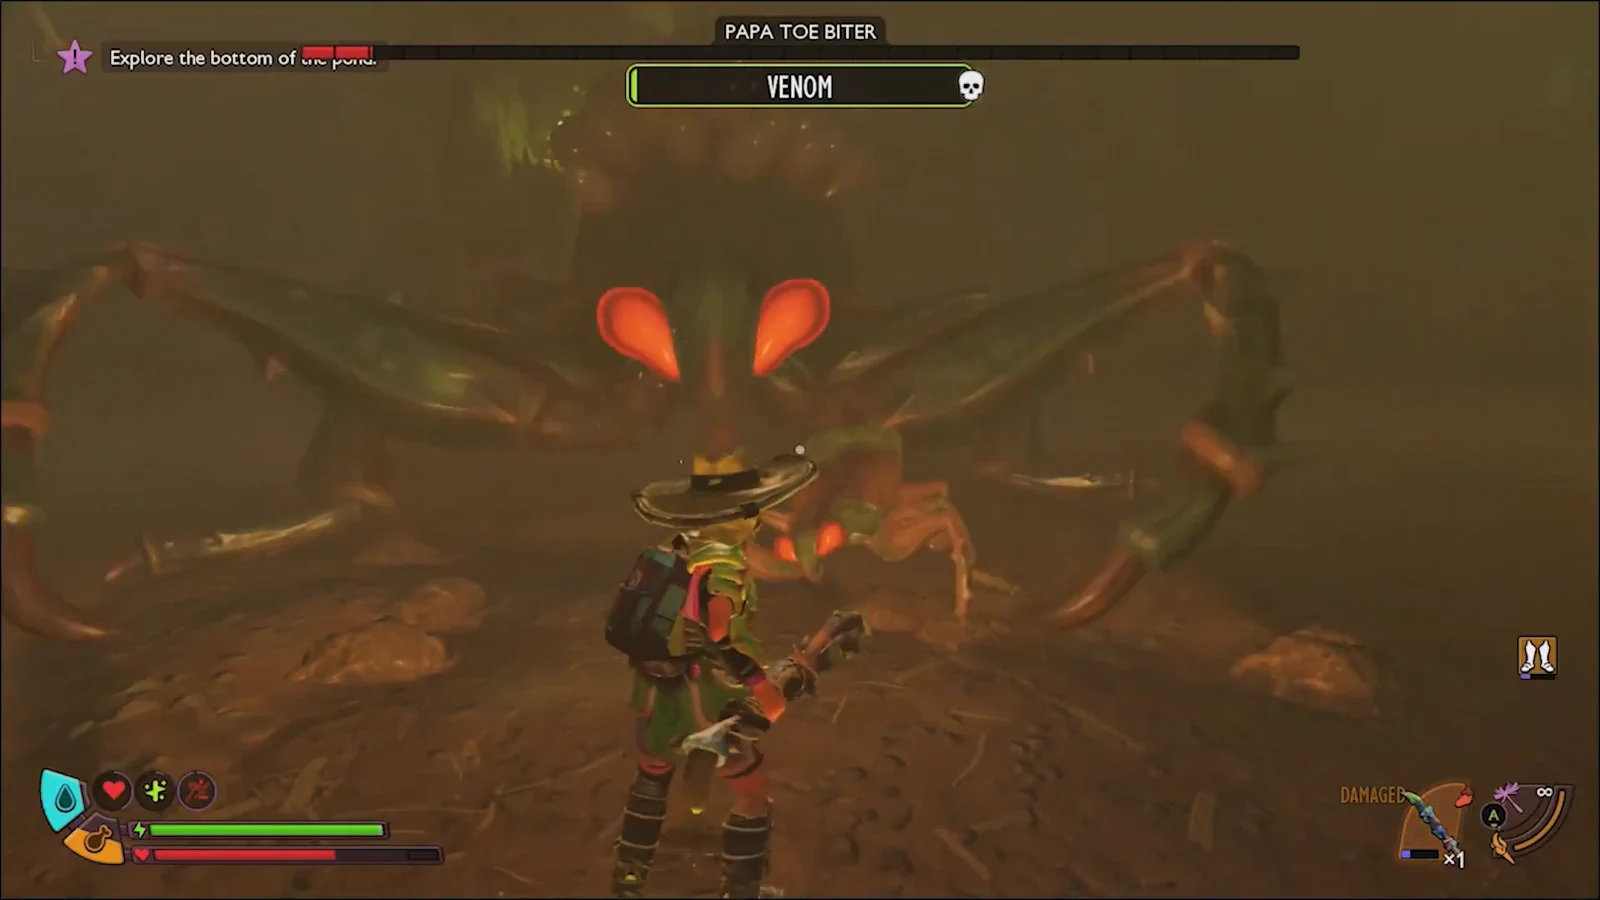
The boss has a clear weakness to Spicy damage, so a weapon carrying the Spicy element does far more work here than anything ranged. Ranged shots barely scratch its carapace, so keep the fight up close. A Rusty Spear upgraded with Spicy, paired with the Earwig armor set, is a strong loadout.
| Prep | Why it helps |
|---|---|
| Spicy weapon (e.g. Rusty Spear) | Hits the boss’s main weakness |
| Cheese ‘n’ Fries food | Boosts stamina for blocking |
| Green Machine food | Improves defense |
| Tang Staffs / AoE staffs | Clears spawning Nymphs faster |
| Ladybug Buggy | Tanky distraction while you flank |
Papa Toe Biter never fights alone. It keeps spawning Toe Biter Nymphs through the whole encounter, and they swarm if you ignore them. Puddle-based staff attacks are handy because the Nymphs take extra damage standing in them.
Watch your stamina and block the boss’s heavy hits, since those can knock you across the arena. Do not overextend your combos either, or the Sweep attack will punish you. The same rule applies if you circle behind it while your Buggy holds its attention.
Grabbing the egg and getting out
Hatching the Toe Biter Buggy at base
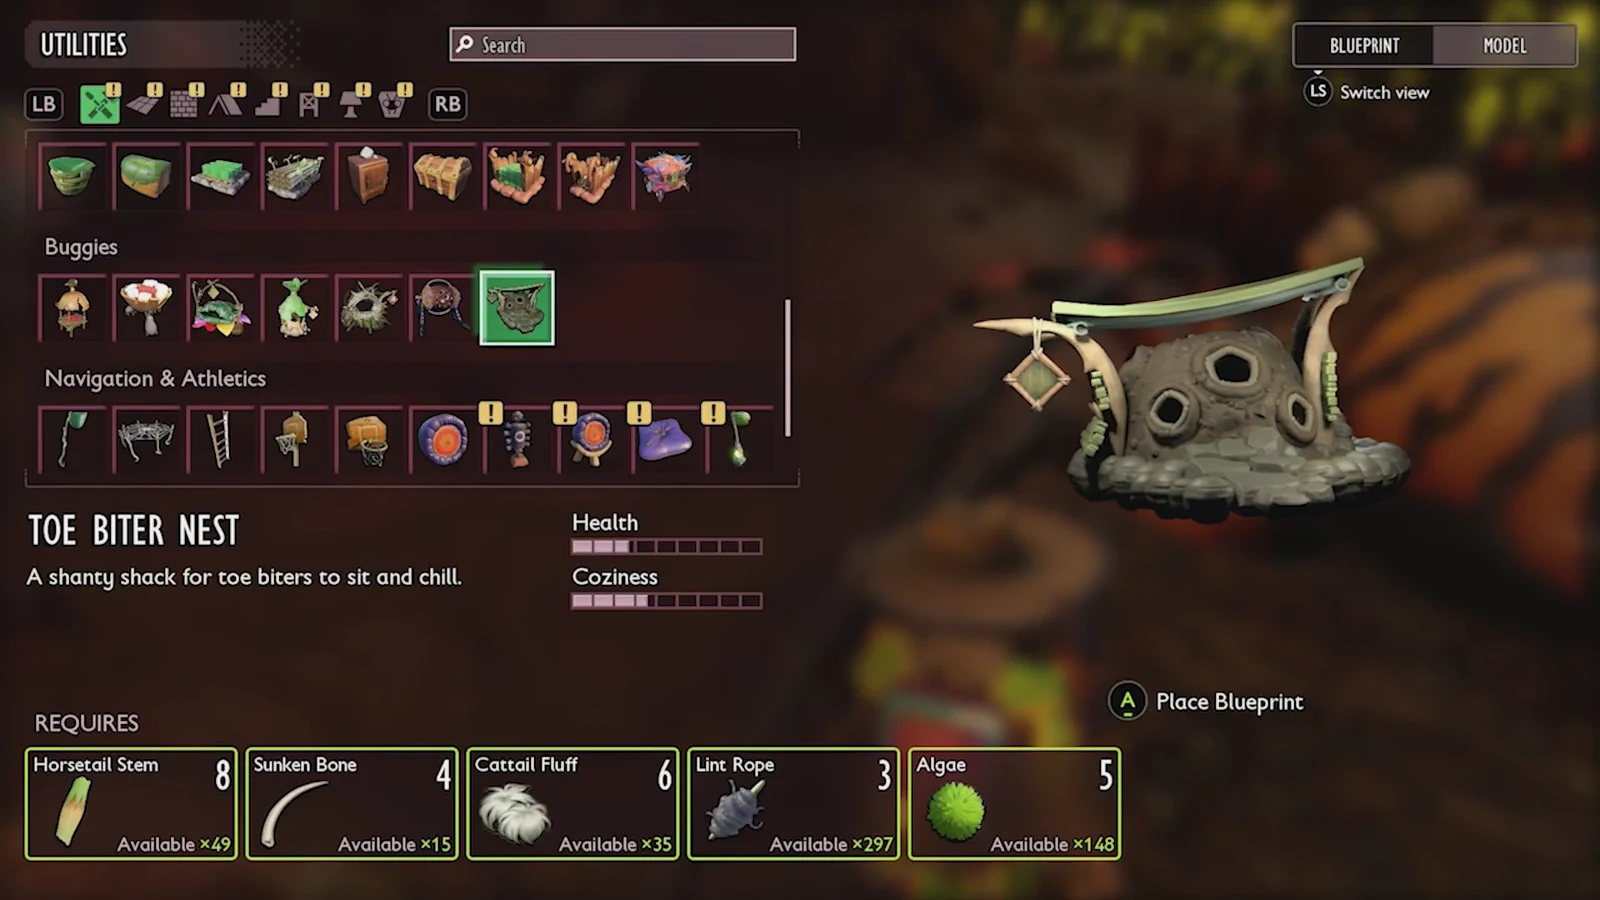
Back home you need two things standing: a Toe Biter Nest and a Hatchery. Build the nest from the schematic the Aquatic Optical Disk unlocked.
| Toe Biter Nest | Amount |
|---|---|
| Horsetail Stem | 9 |
| Sunken Bone | 4 |
| Cattail Fluff | 6 |
| Lint Rope | 3 |
| Algae | 5 |
Place the egg in the Hatchery along with the saddle materials, then start the timer. The recipe needs the ingredients below and runs a 12 in-game hour incubation.
| Toe Biter Buggy (Hatchery) | Amount |
|---|---|
| Toe Biter Egg | 1 |
| Horsetail Stem | 2 |
| Koi Fish Scale | 1 |
| Sunken Bone | 3 |
| Pond Moss | 4 |
Sleep through the night or go build for a while to skip the 12 hours. When it finishes, send your current Buggy back to its nest and collect the newly hatched Toe Biter from the Hatchery. Seeing the mount appear in the Hatchery slot and being able to ride it confirms the whole chain worked.
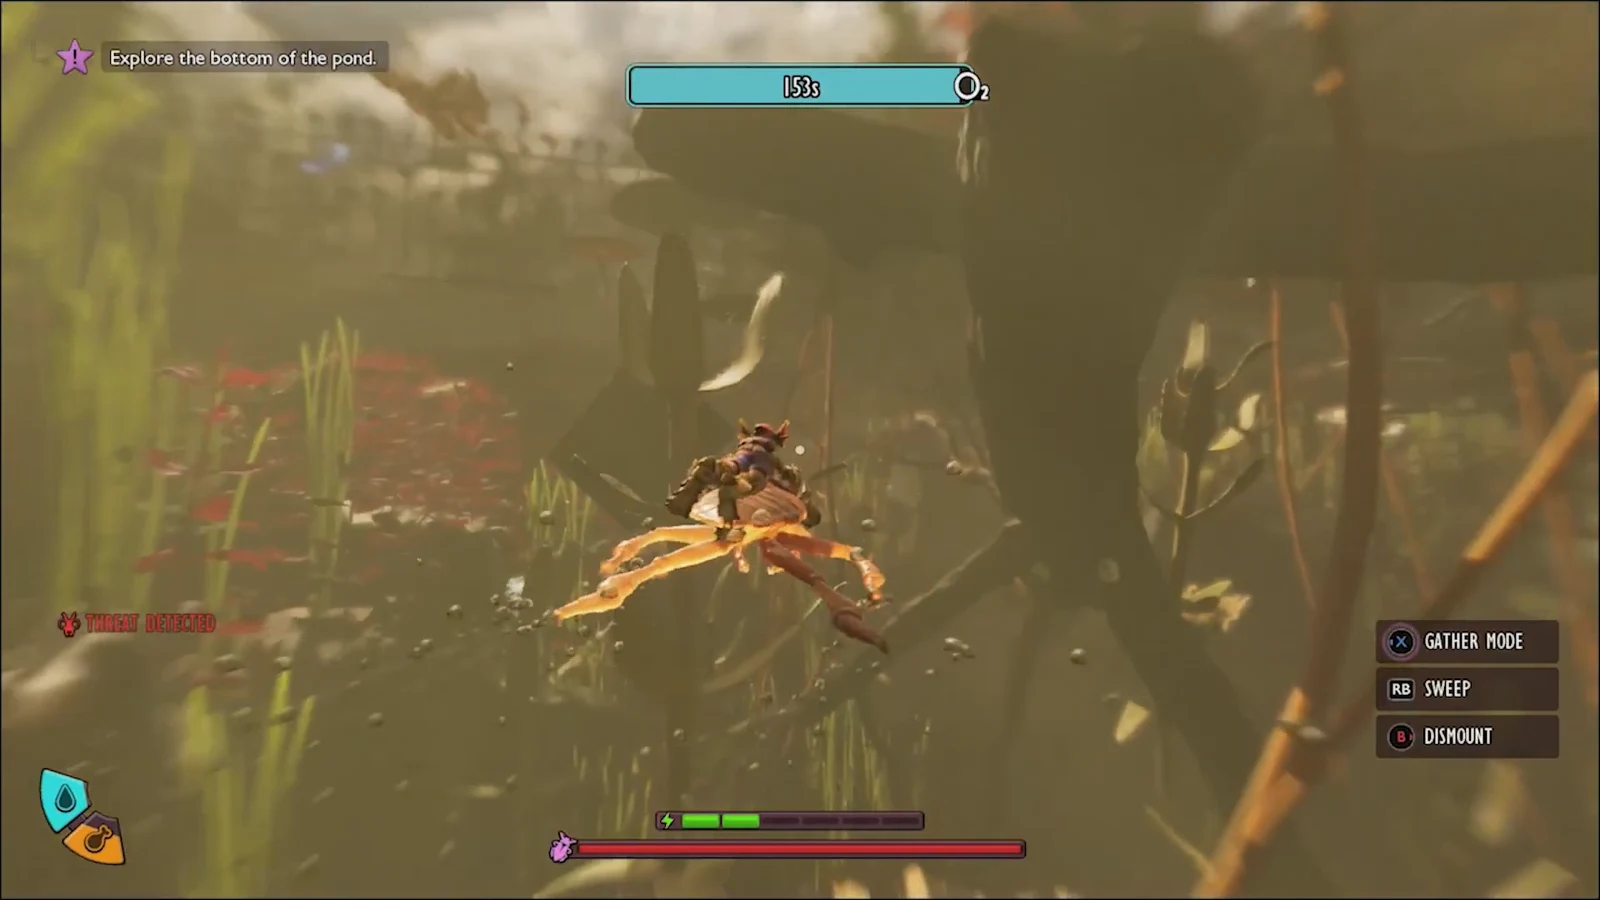
The payoff is a fast aquatic mount that makes crossing Skunk Pond far quicker than swimming, and it keeps a Sweep attack on land that knocks back and damages nearby bugs. It moves a little slower on dry ground, but underwater it is the best way to explore the flooded depths that Into the Abyss opened up.





