

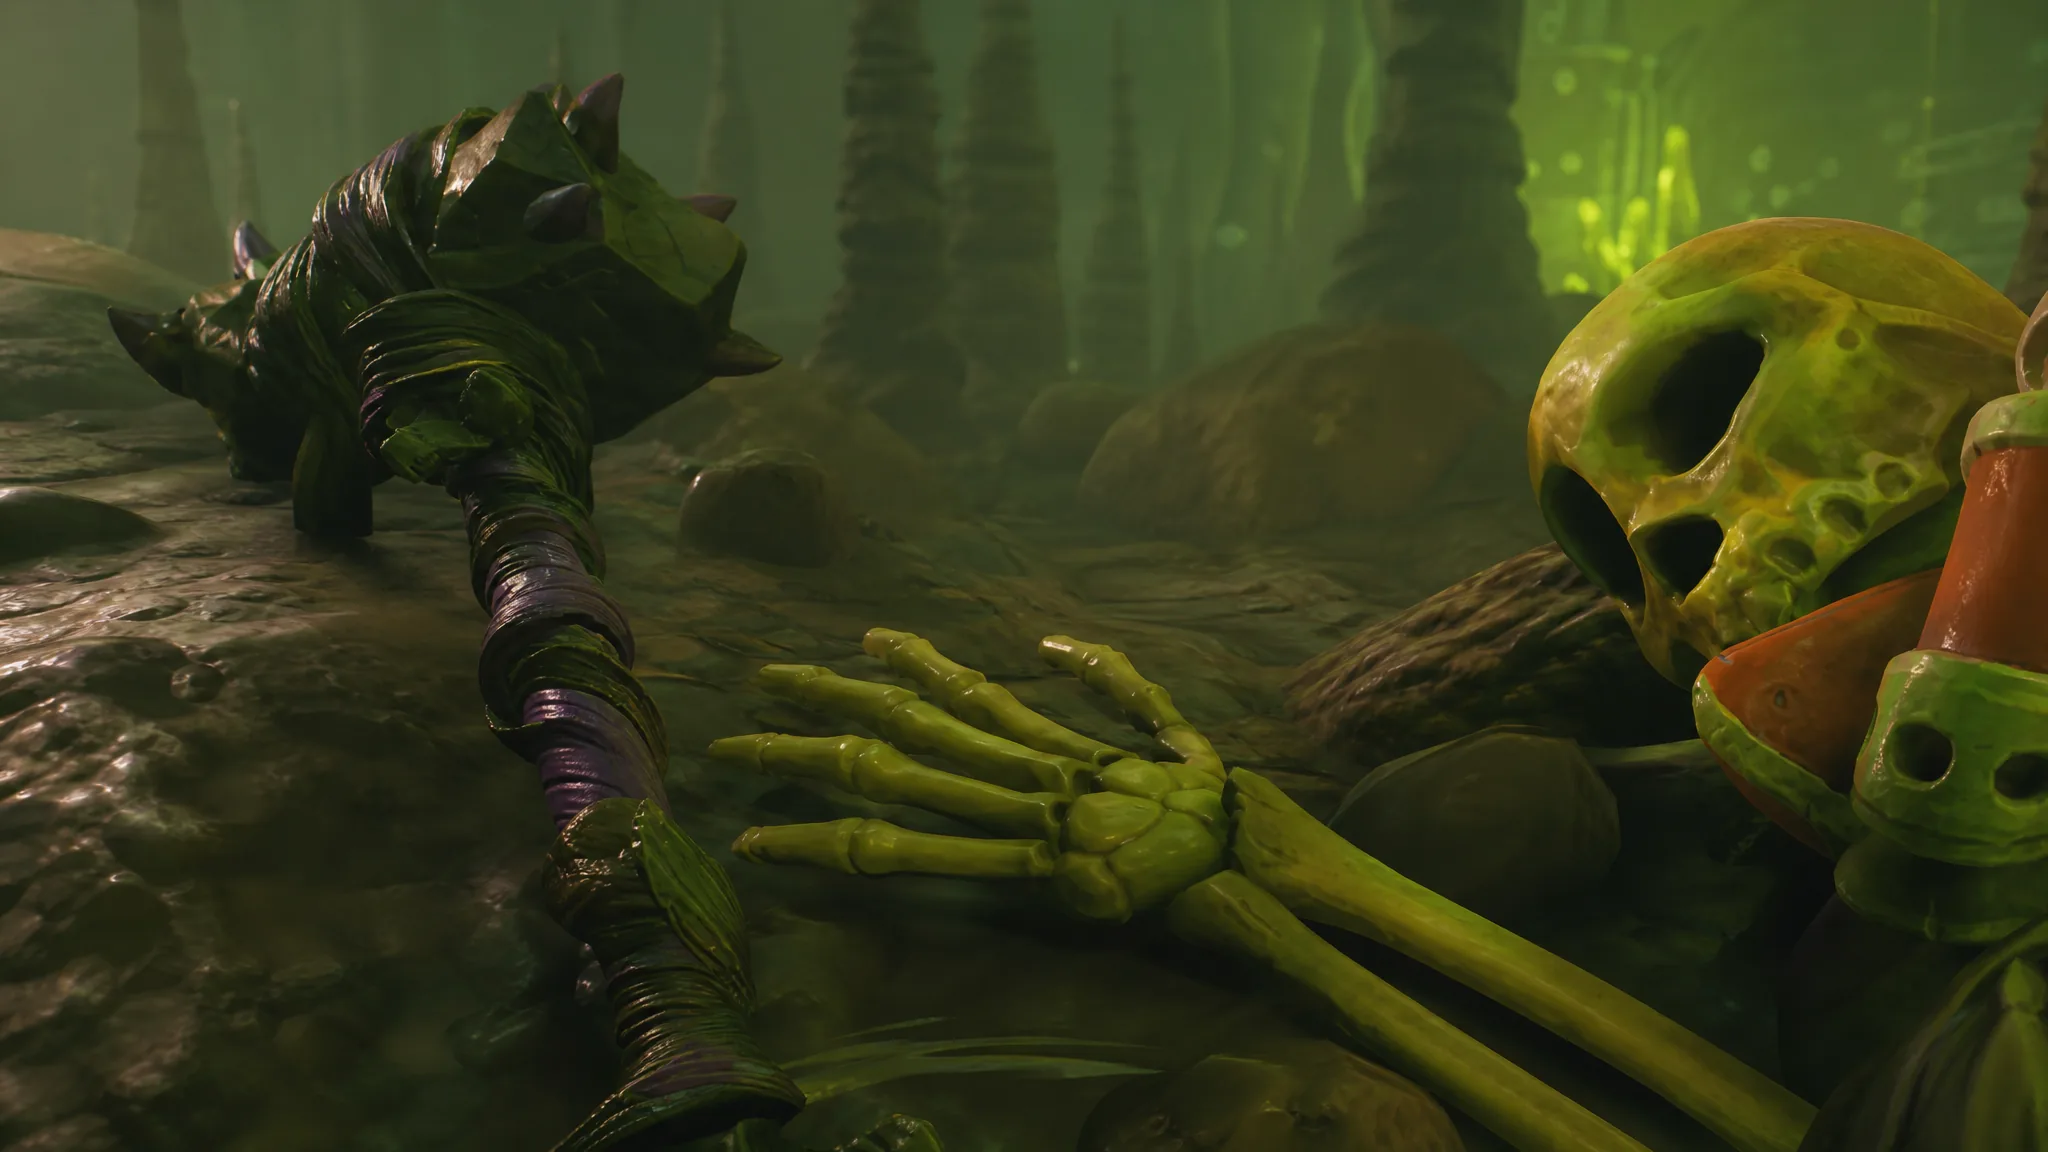
The Fellafeast is a secret heavy smashing hammer added with the Into the Abyss update for Grounded 2. It sits next to a fallen Ominent employee inside a flooded cave system under the bridge in Brookhollow Park, and reaching it means diving deep, cutting through blocked passages, and pushing past several underwater creatures.
Quick answer: Dive under the bridge near the giant gnome to find the submerged tunnel at about -18° N / 39° E, cut through two sets of Soggy Roots with a Tier 3 Omni-Clipper, beat the Toe Biter in the final chamber, and grab the Fellafeast off the skeleton at about -21° N / 32° E.
What you need before diving for the Fellafeast
The route is gated by two things. Without them, you cannot open the passages or survive long enough to reach the weapon.
- Underwater breathing gear. A diving helmet or full diving setup lets you stay under long enough to clear the whole cave without drowning.
- Tier 3 Omni-Clipper. The Omni-Clipper must be upgraded to level 3 to cut the Soggy Roots blocking the tunnels.
- Recommended armor. Koi Scale Armor (helmet, chestplate, greaves) helps in the water, and the Merteen mutation improves underwater movement.
- An underwater weapon. A spear works well for the Diving Bell Spiders and the Toe Biter you will fight along the way.
- Optional transport. A Toe Biter Buggy makes the swim in and out faster if you have one.
Fellafeast location and full route
The entrance is in the water beneath the bridge, close to the bridge gnome landmark and the hanging fishing hook. From there the cave runs mostly in one direction, broken up by rooted passages you have to clip open.
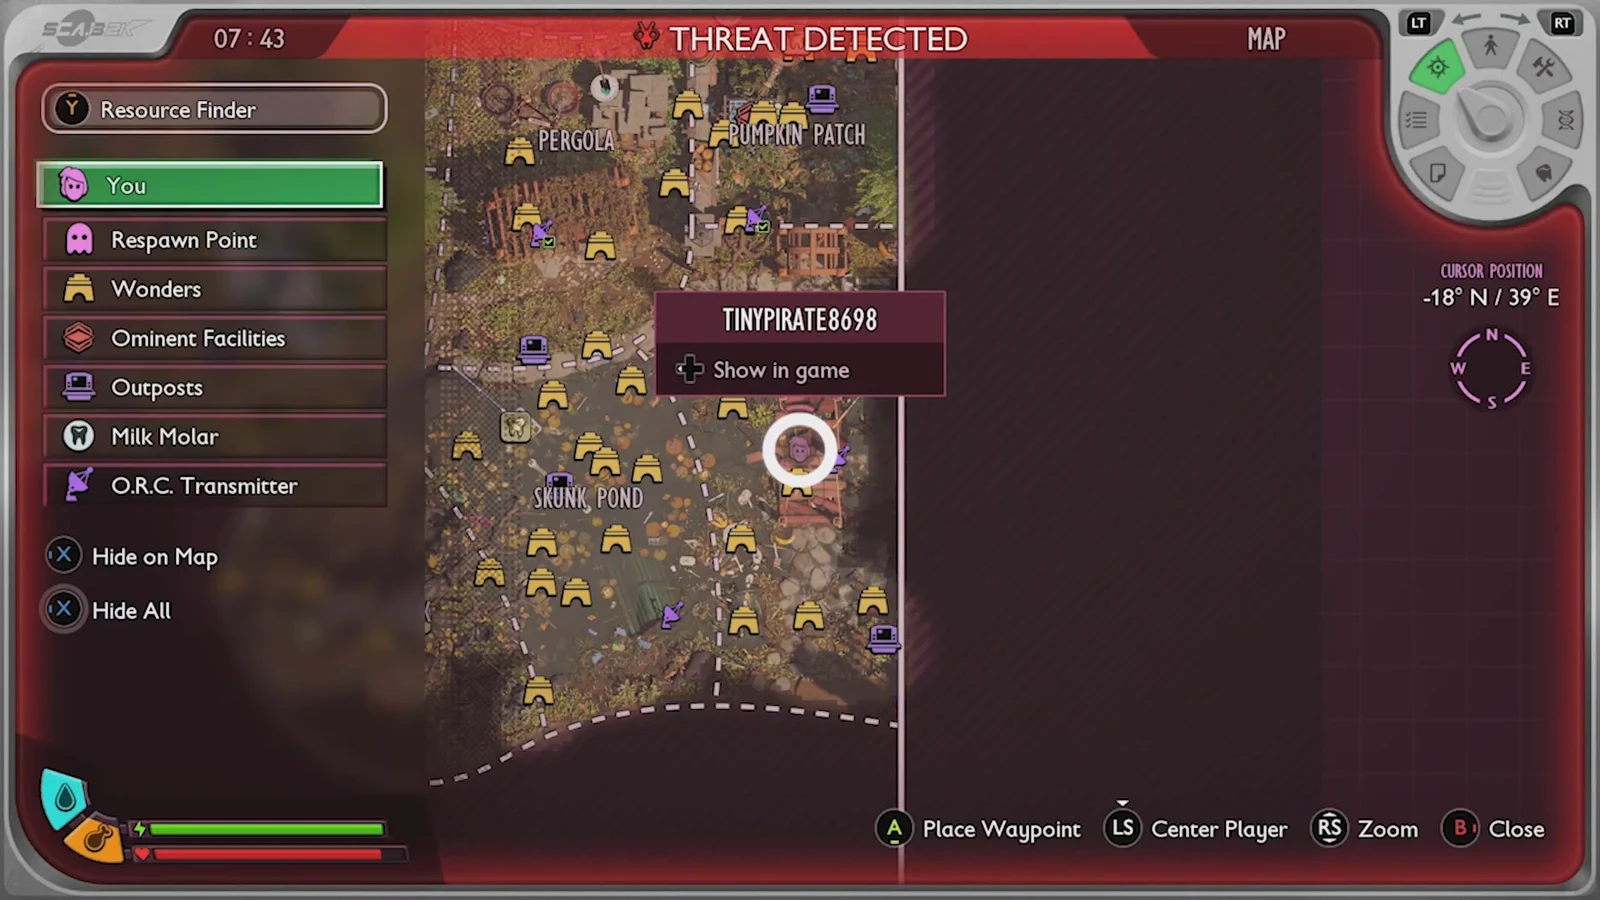
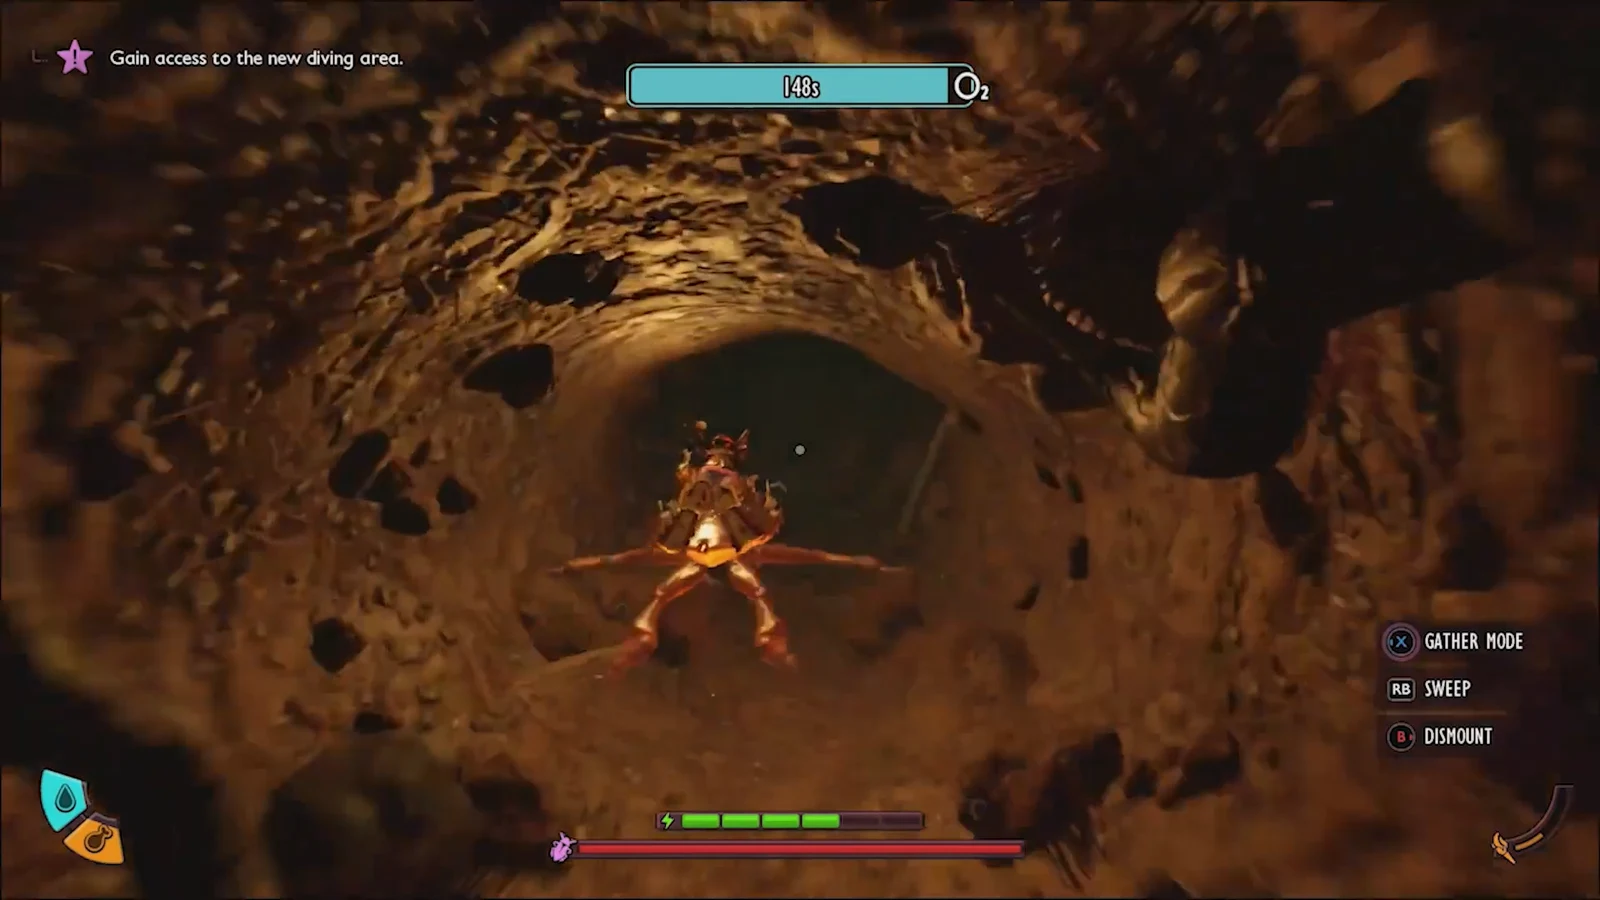
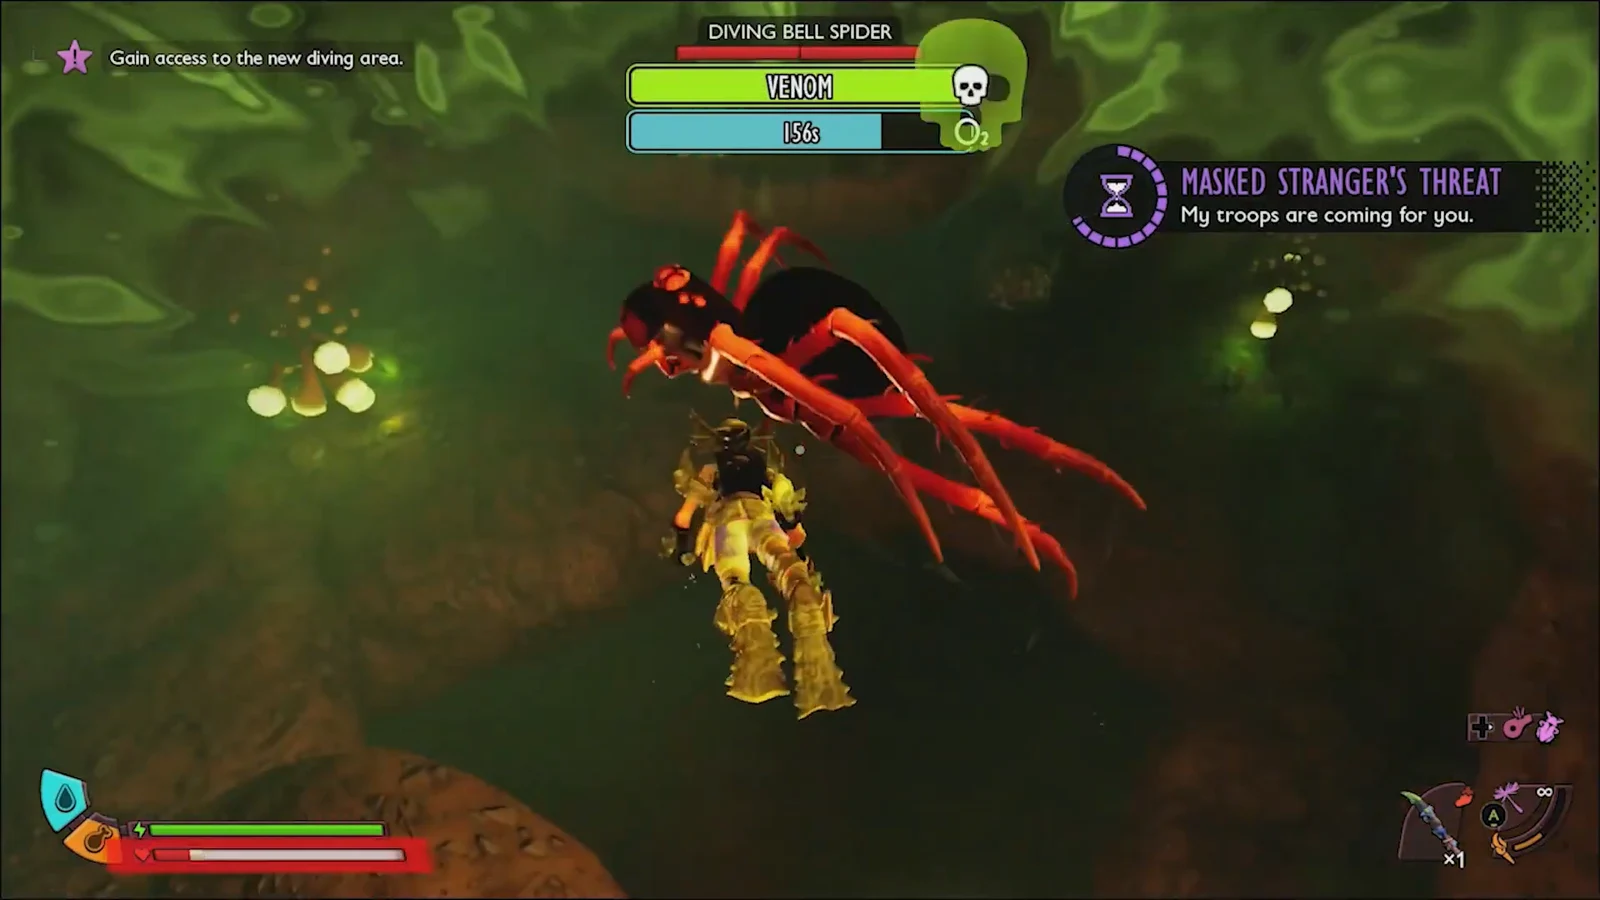
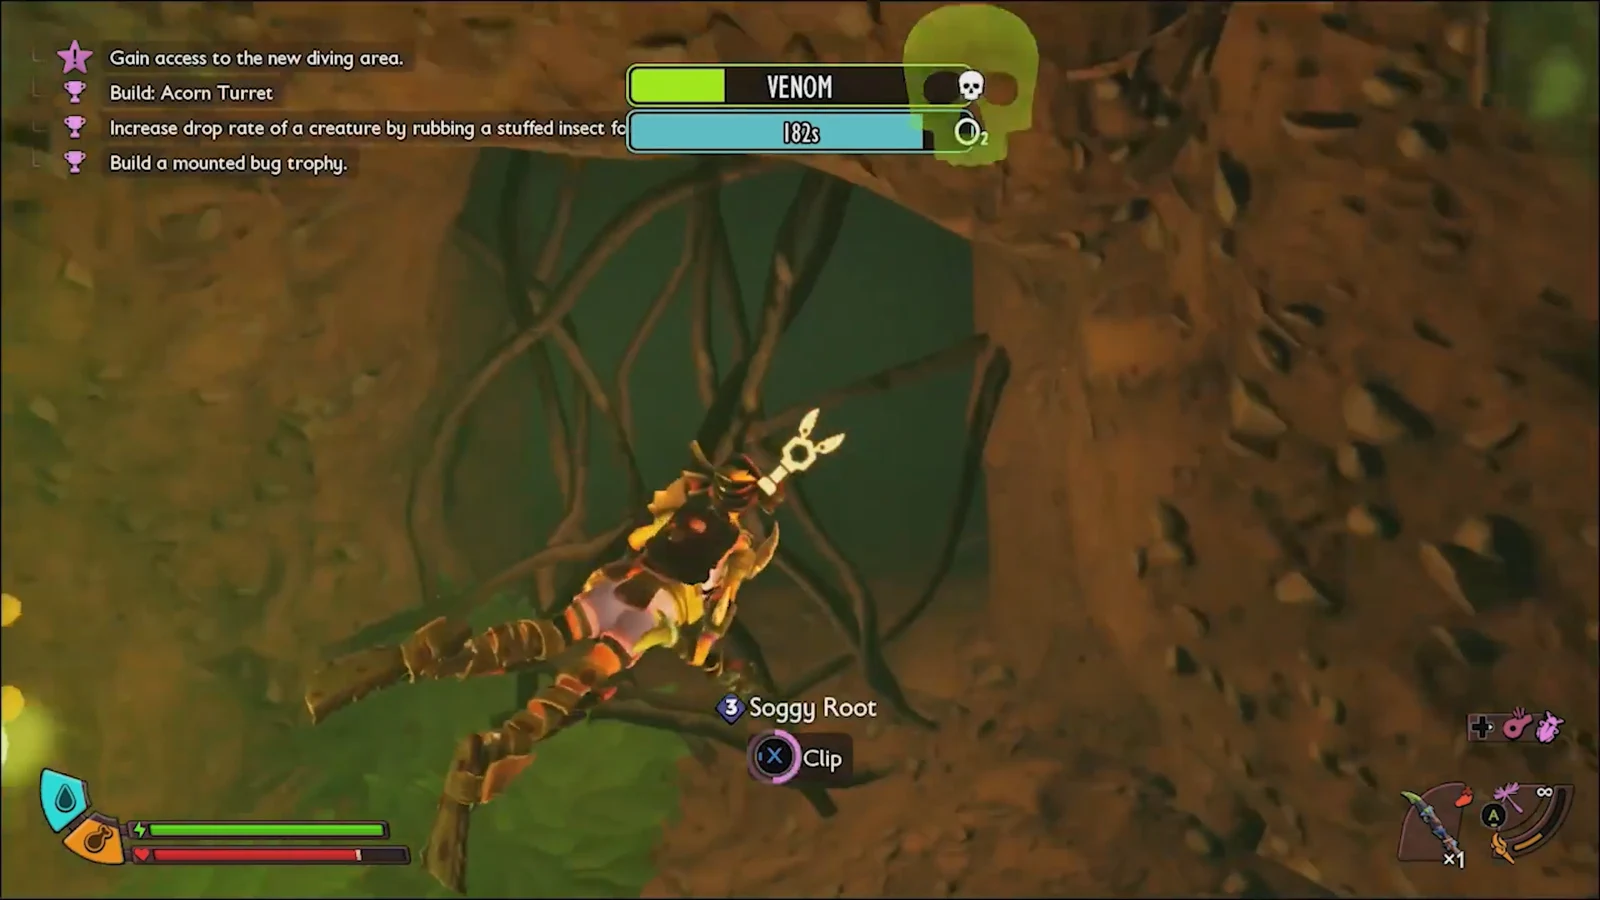
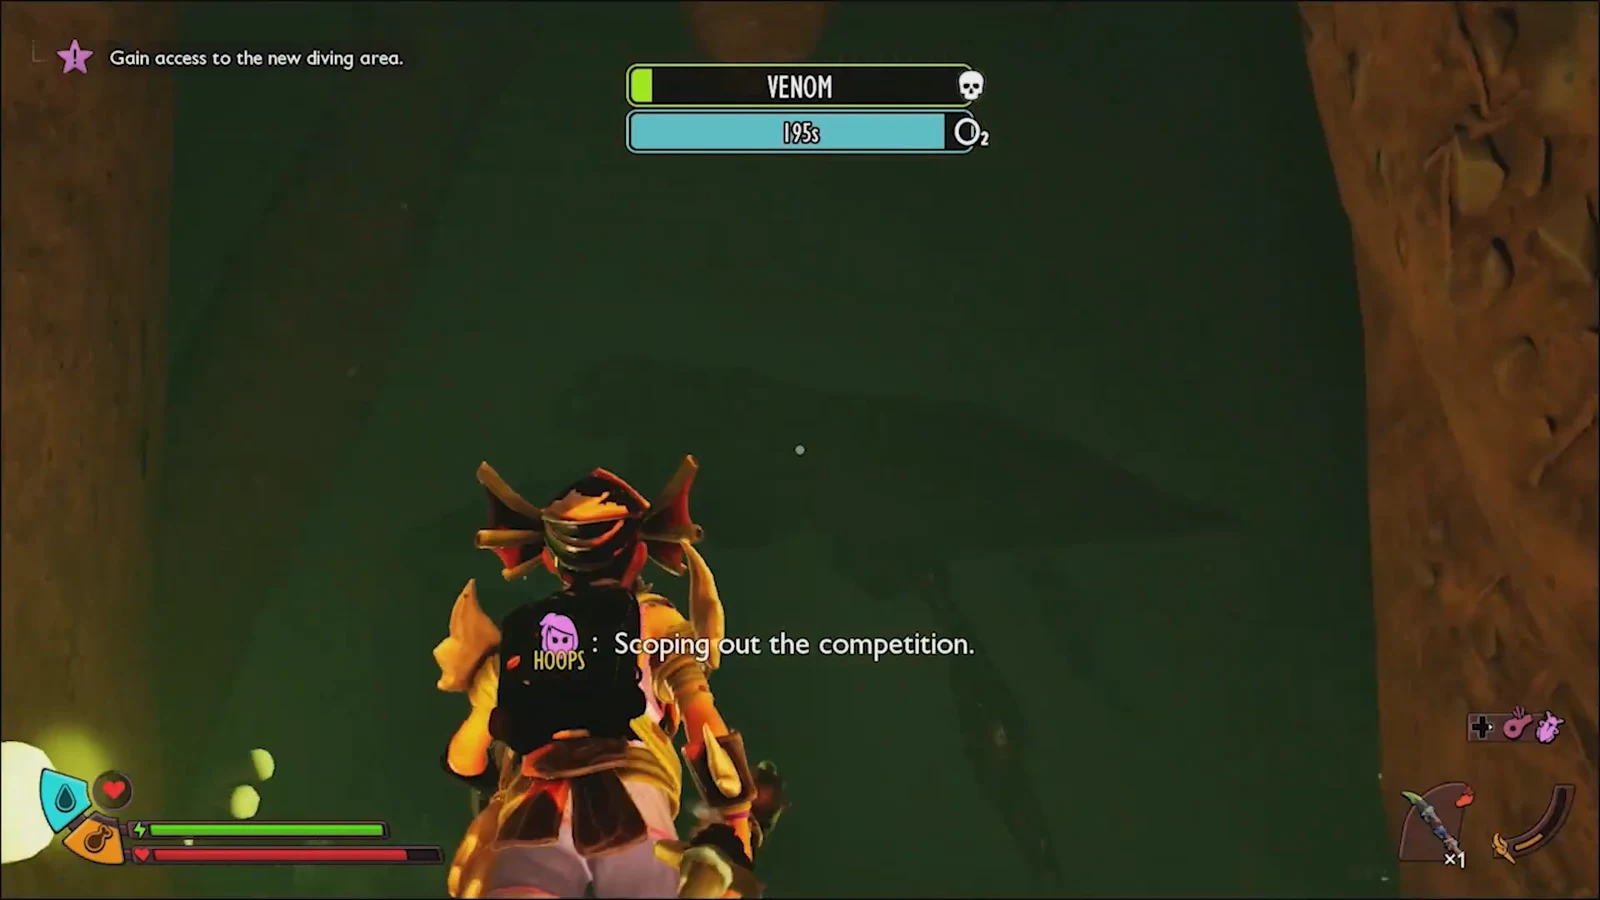
Before you leave, mine the Supreme Marble tucked around the corners of the cave, since you are already deep and it saves a second trip.
You will know the pickup worked when the Fellafeast appears in your inventory and the Requisition Form is added to your Data menu, which describes the underwater testing of the recovered weapon.
Fellafeast stats and perk
The Fellafeast is a Tier 3 Smashing weapon built around raw damage, stun, and self-healing rather than speed. Its charged attack heals you, making it strong for slow, deliberate fights.
| Attribute | Value |
|---|---|
| Damage type | Smashing (Tier 3) |
| Damage | 8 |
| Stun | 8 |
| Speed | 1 |
| Critical | 2 |
| Perk | Charged Life Steal — charged attacks heal the player |
Upgrading the Fellafeast and crafting limits
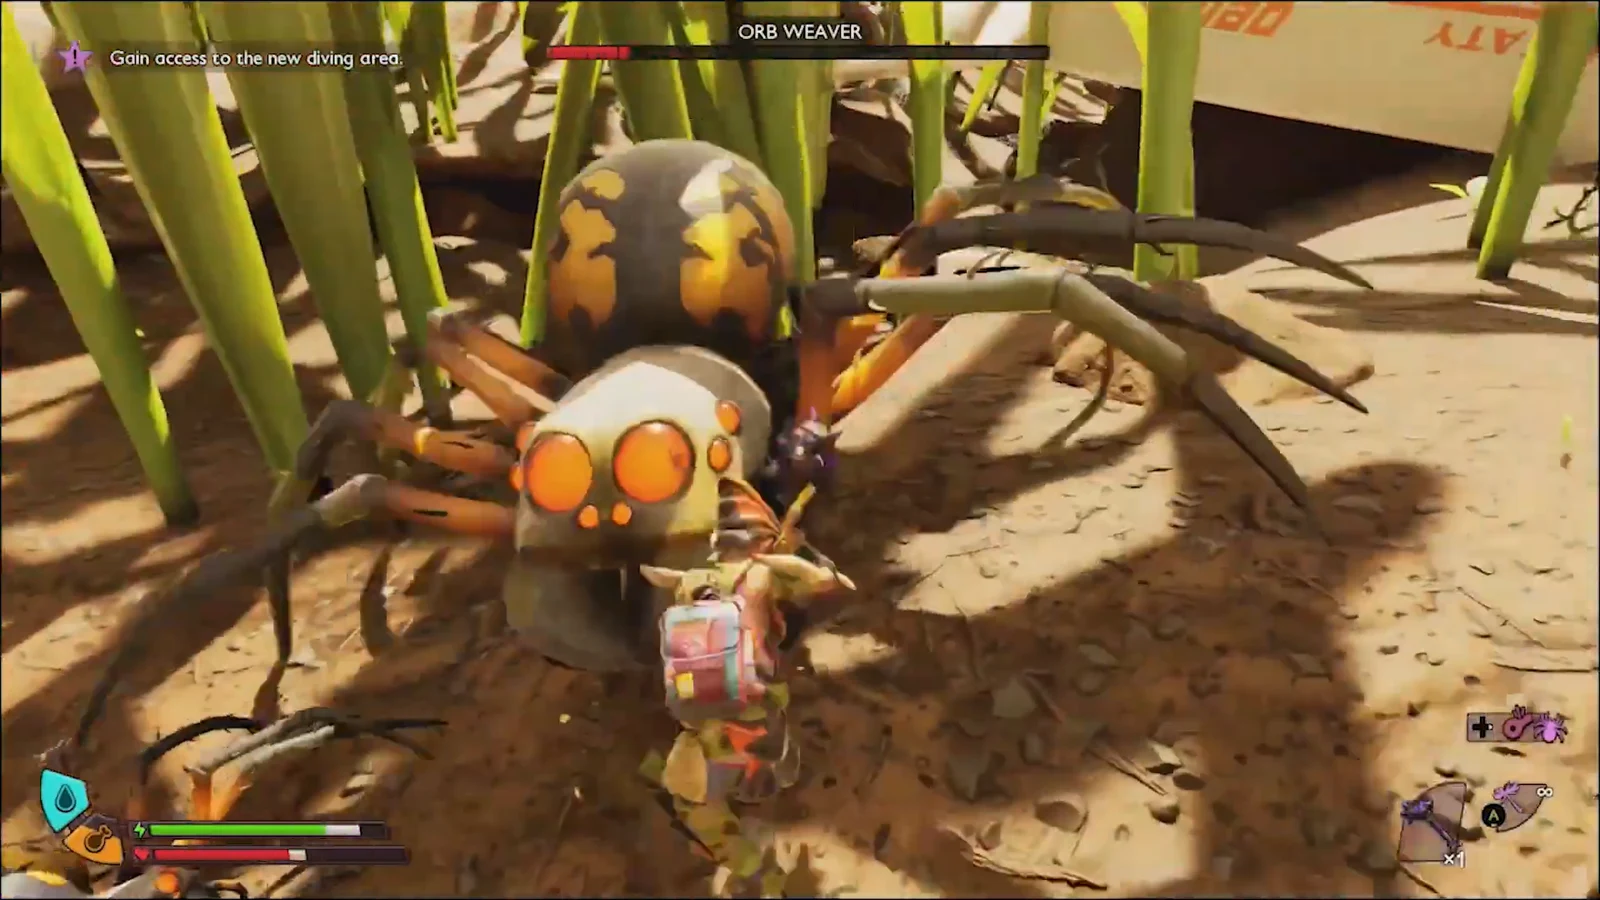
You can improve the Fellafeast at the Smithing Station. Taking it up the Mighty path unlocks Vampiric Haste, which briefly speeds up your attacks after a life-steal hit and chains that healing into faster damage.
The Fellafeast currently cannot be crafted at the Forbidden Workbench, so the underwater cave is the only way to obtain it. Grab it directly from the skeleton, then upgrade the copy you found rather than expecting to build more.





