Gaming How-To

Grounded 2 Into the Abyss: How to Find the Secret Bridge Ranger Outpost

The hidden lab sits behind an underwater tunnel near the Bridge, and reaching it needs diving gear, a Gas Mask, and 700 Science.

The hidden lab sits behind an underwater tunnel near the Bridge, and reaching it needs diving gear, a Gas Mask, and 700 Science.

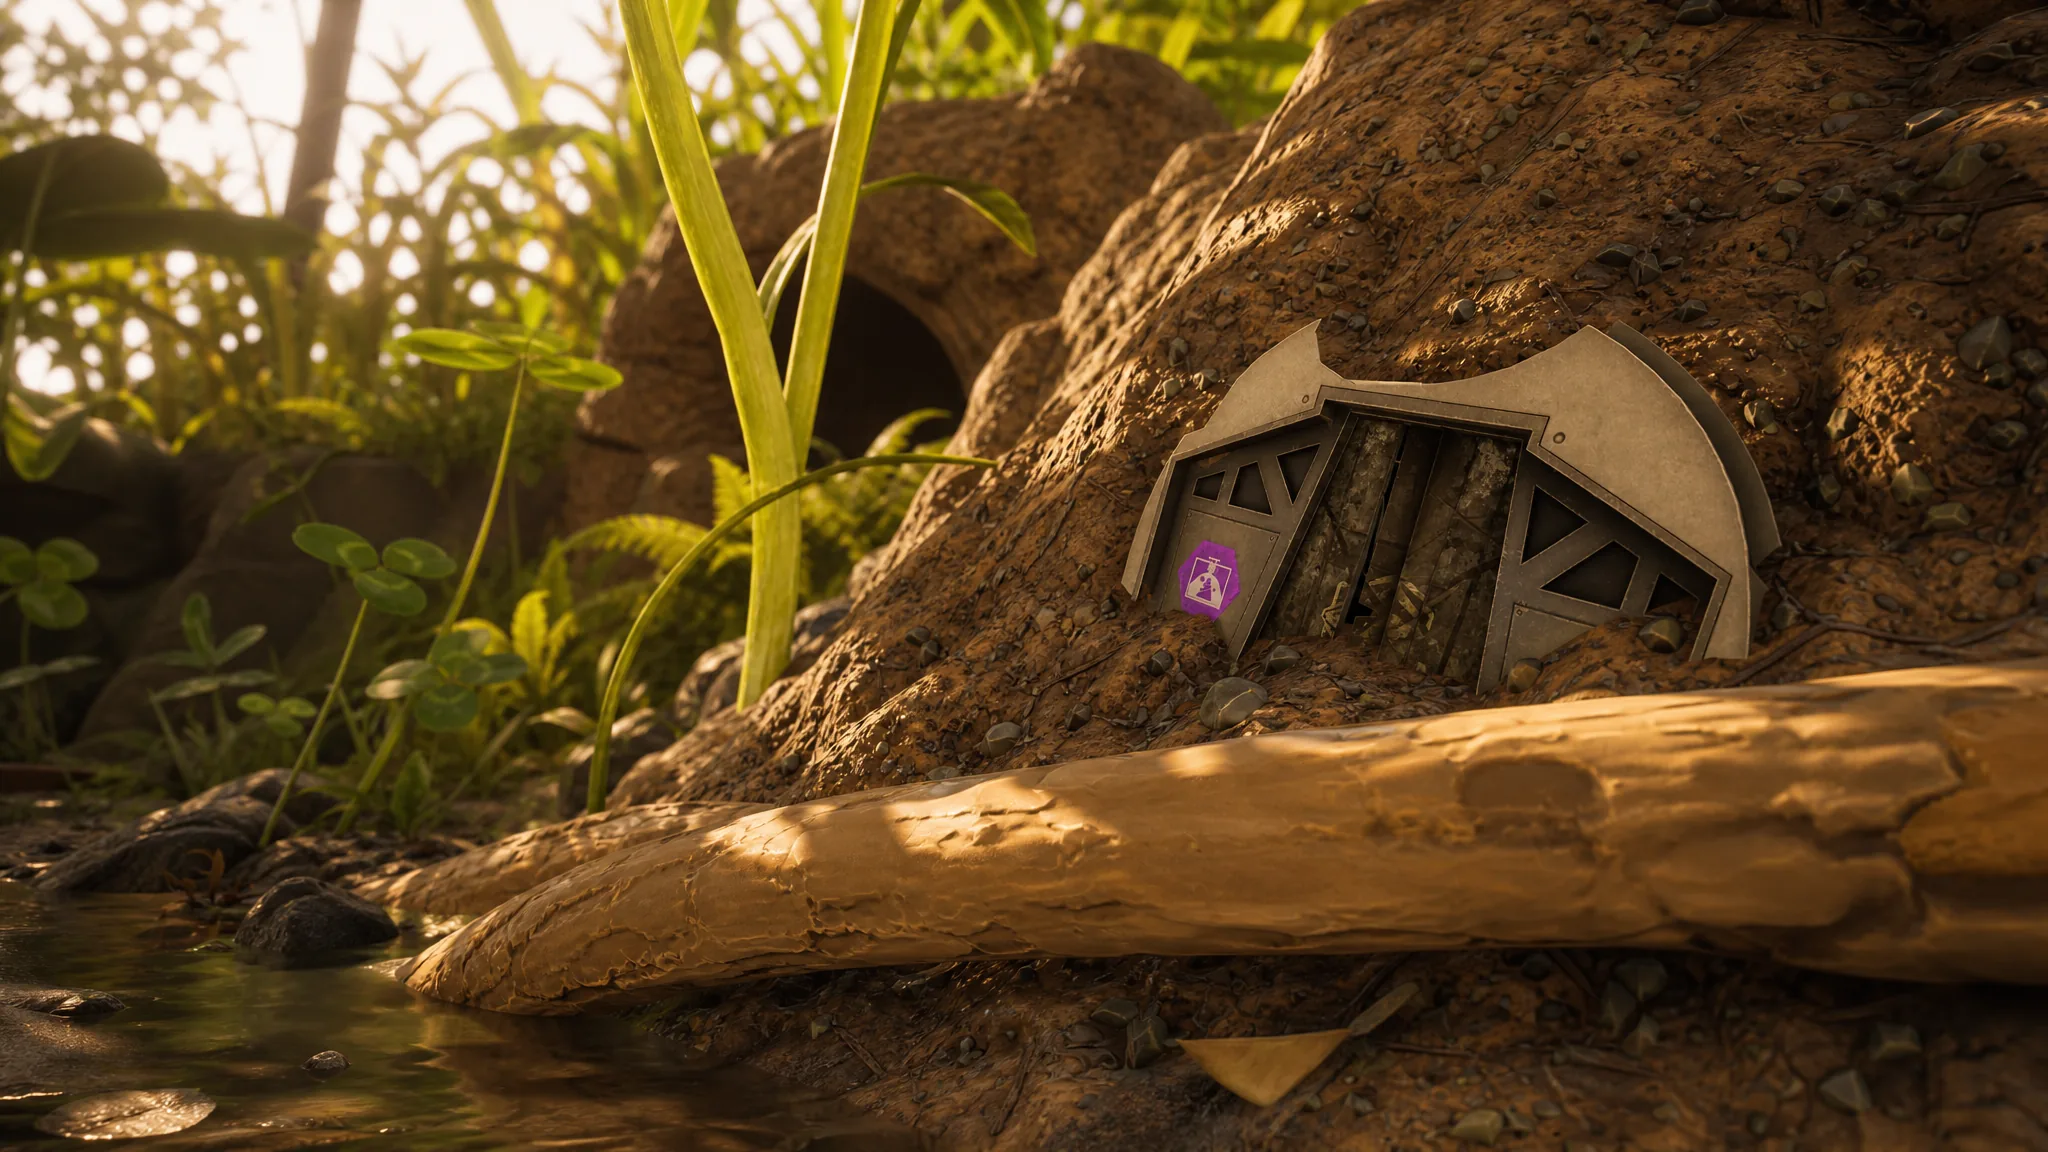
The Bridge Ranger Outpost is a hidden lab in Grounded 2 that you reach by swimming through a flooded tunnel rather than walking up to a sprinkler like most outposts. Inside sits the Steamed Science research item and a Pneumatic Transit System fast travel point, but the route runs through a spider-filled cave and a pocket of toxic gas. The entrance is tucked near the Bridge area, close to Shunk Pond, at coordinates -38° N / 22° E.

Quick answer: Equip a Diving Helmet, dive into the water at -38° N / 22° E near the Bridge, swim the underwater tunnel, put on a Gas Mask when you surface in the gas cave, climb past the Toe Biter Nymph, open the locked door with a SCA.B 2K Scanner, then pay 700 Science at the PTS station to unlock fast travel.


Gear you need before you go

The swim to this outpost is long, and the cave on the other side will start draining your health the moment you climb out of the water. Bring both pieces of protection below or you will not survive the trip.

ItemWhy it is required
Diving Helmet (or Koi Helmet)Lets you breathe during the long underwater tunnel swim.
Gas MaskStops the toxic “Woozy” effect inside the gas-filled cave before the lab.

Tip: The tunnel is home to Diving Bell Spiders, and a Toe Biter Nymph waits near the lab entrance. Neither has to be killed, so you can swim and climb past both if you would rather save your supplies.


How to reach the Bridge Ranger Outpost

Travel to the water entrance near the Bridge and Shunk Pond at coordinates -38° N / 22° E. Open your inventory and equip the Diving Helmet in your Head slot so you can breathe underwater.
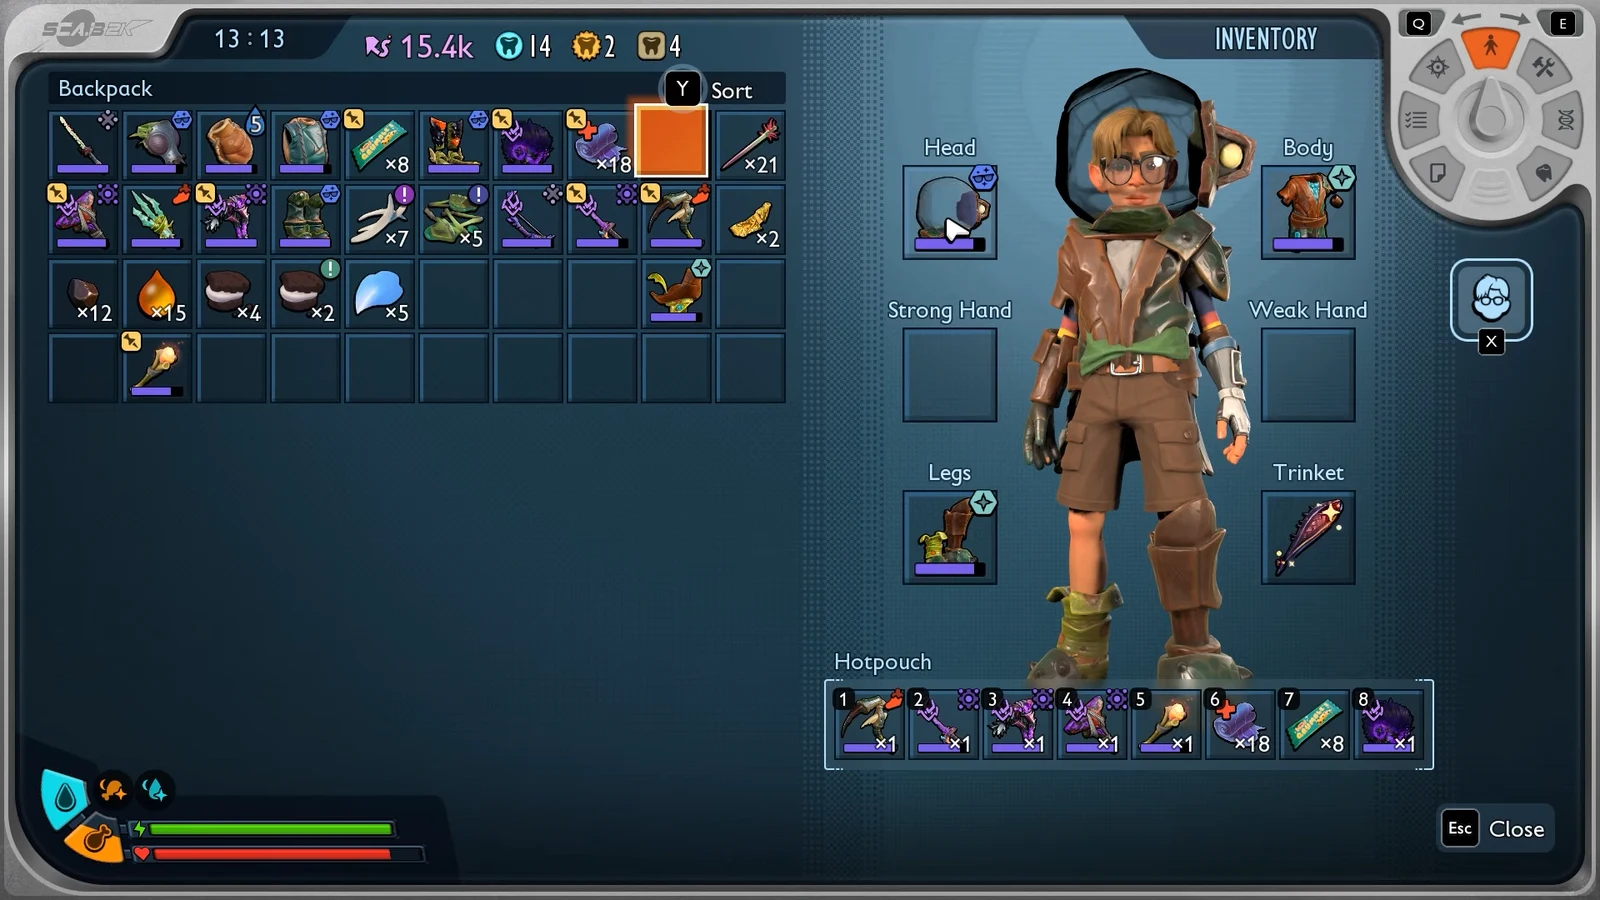
Equip a Diving Helmet in the Head slot from your inventory. Image credit: Obsidian Entertainment / via @HeRo2u200:08
Equip a Diving Helmet in the Head slot from your inventory. Image credit: Obsidian Entertainment / via @HeRo2u2. Shown at 00:08 in HeRo Survival Guides’s video.
Dive into the water and follow the long underwater cave tunnel. Keep moving and steer around the Diving Bell Spiders along the way, since you do not need to fight them to pass.
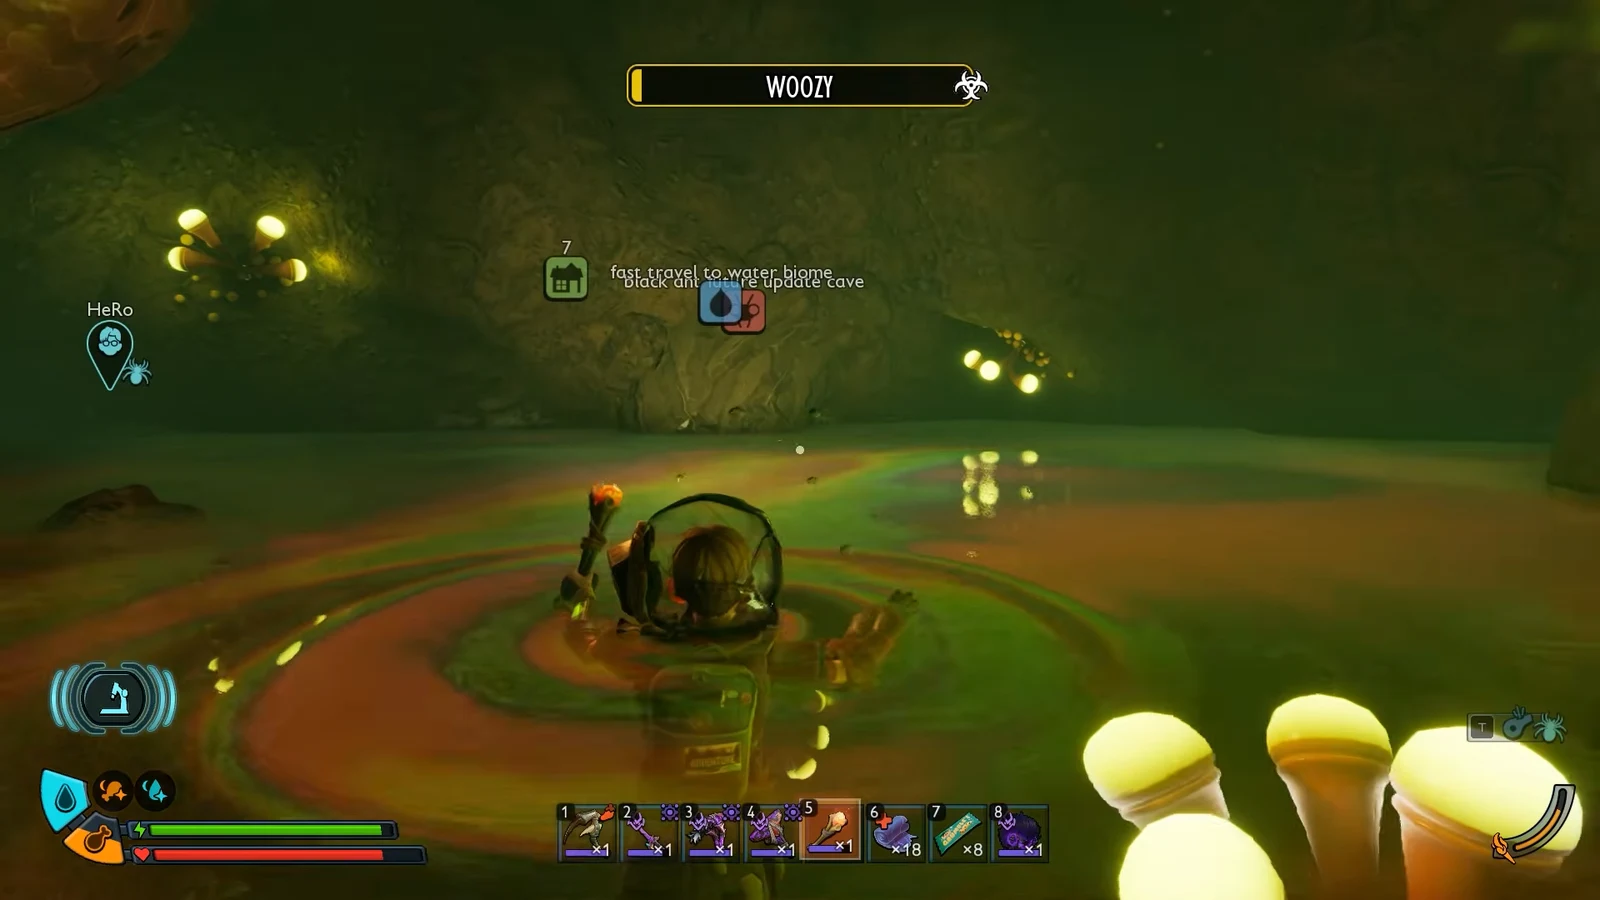
When you surface inside the cave, the air here carries toxic gas that triggers the “Woozy” effect. Swap to your Gas Mask straight away to stop the damage while you cross the cave.
You surface into the flooded, gas-filled cave that leads to the lab. Image credit: Obsidian Entertainment / via @HeRo2u200:55
You surface into the flooded, gas-filled cave that leads to the lab. Image credit: Obsidian Entertainment / via @HeRo2u2. Shown at 00:55 in HeRo Survival Guides’s video.
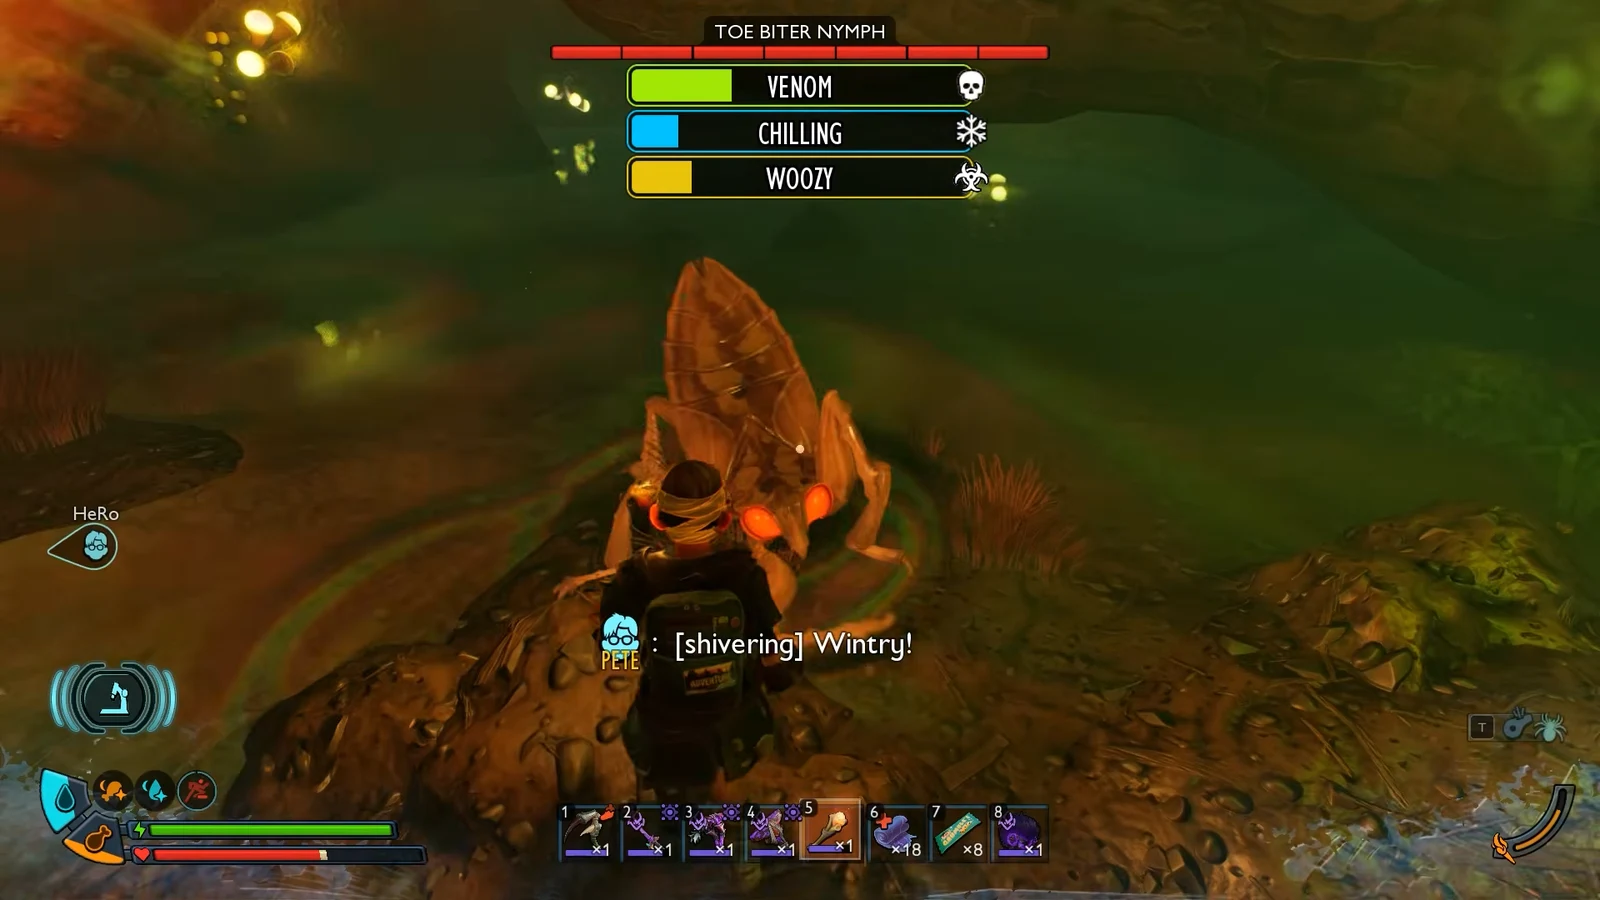
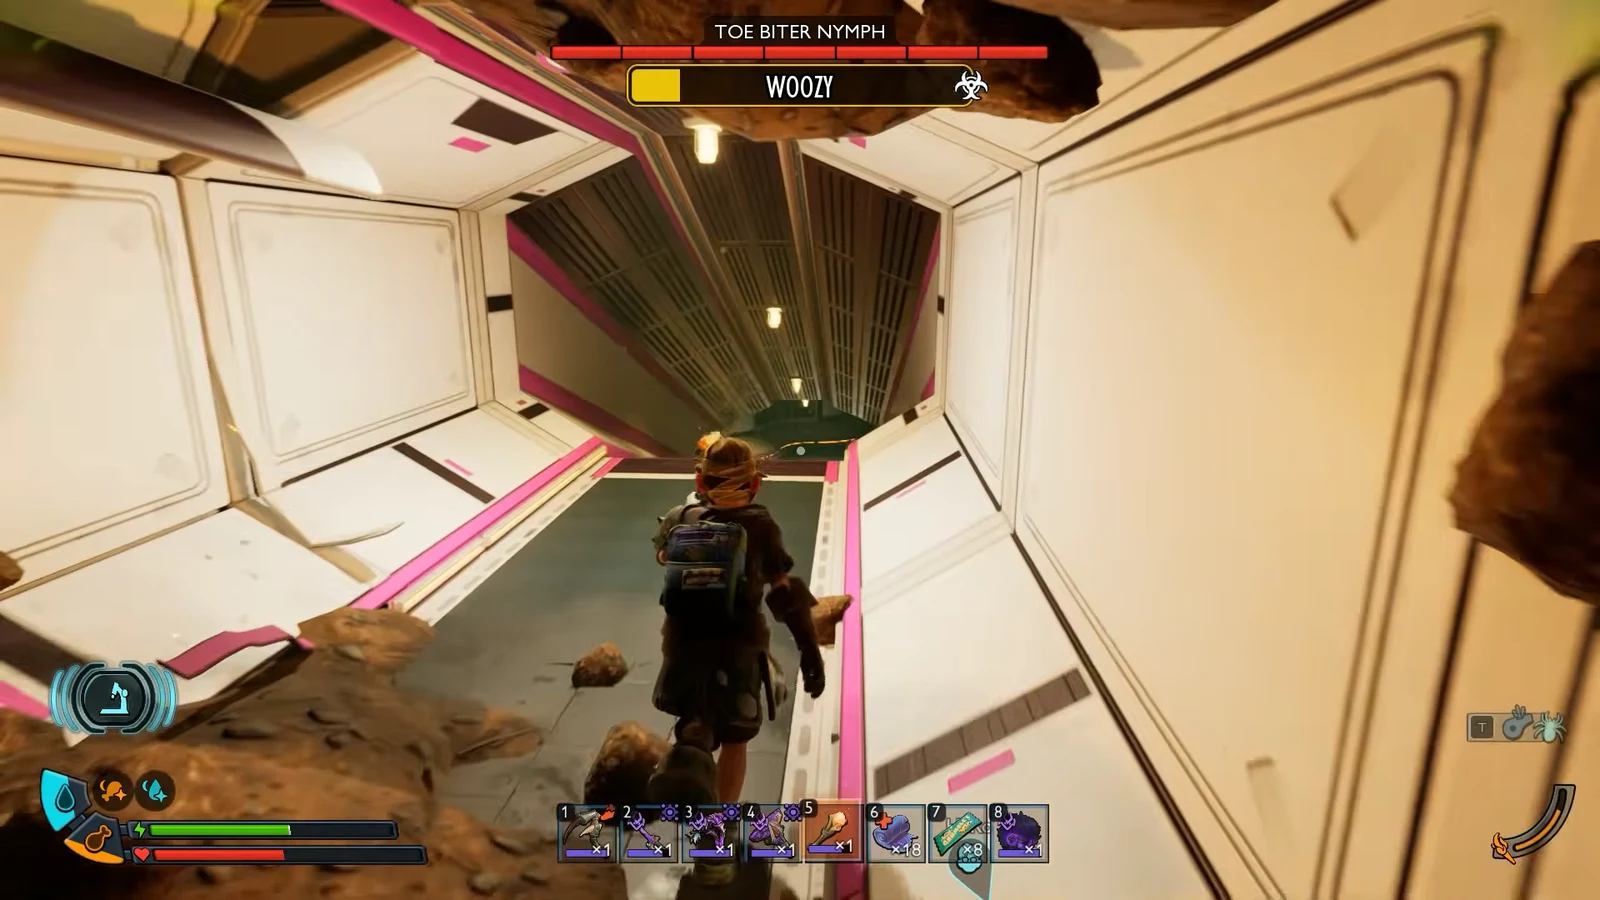
Follow the root path upward, slipping past the Toe Biter Nymph guarding this stretch. At the top you reach the clean, white-walled lab corridor that marks the outpost itself.
The Toe Biter Nymph blocks the root path just before the lab corridor. Image credit: Obsidian Entertainment / via @HeRo2u201:10
The Toe Biter Nymph blocks the root path just before the lab corridor. Image credit: Obsidian Entertainment / via @HeRo2u2. Shown at 01:10 in HeRo Survival Guides’s video.
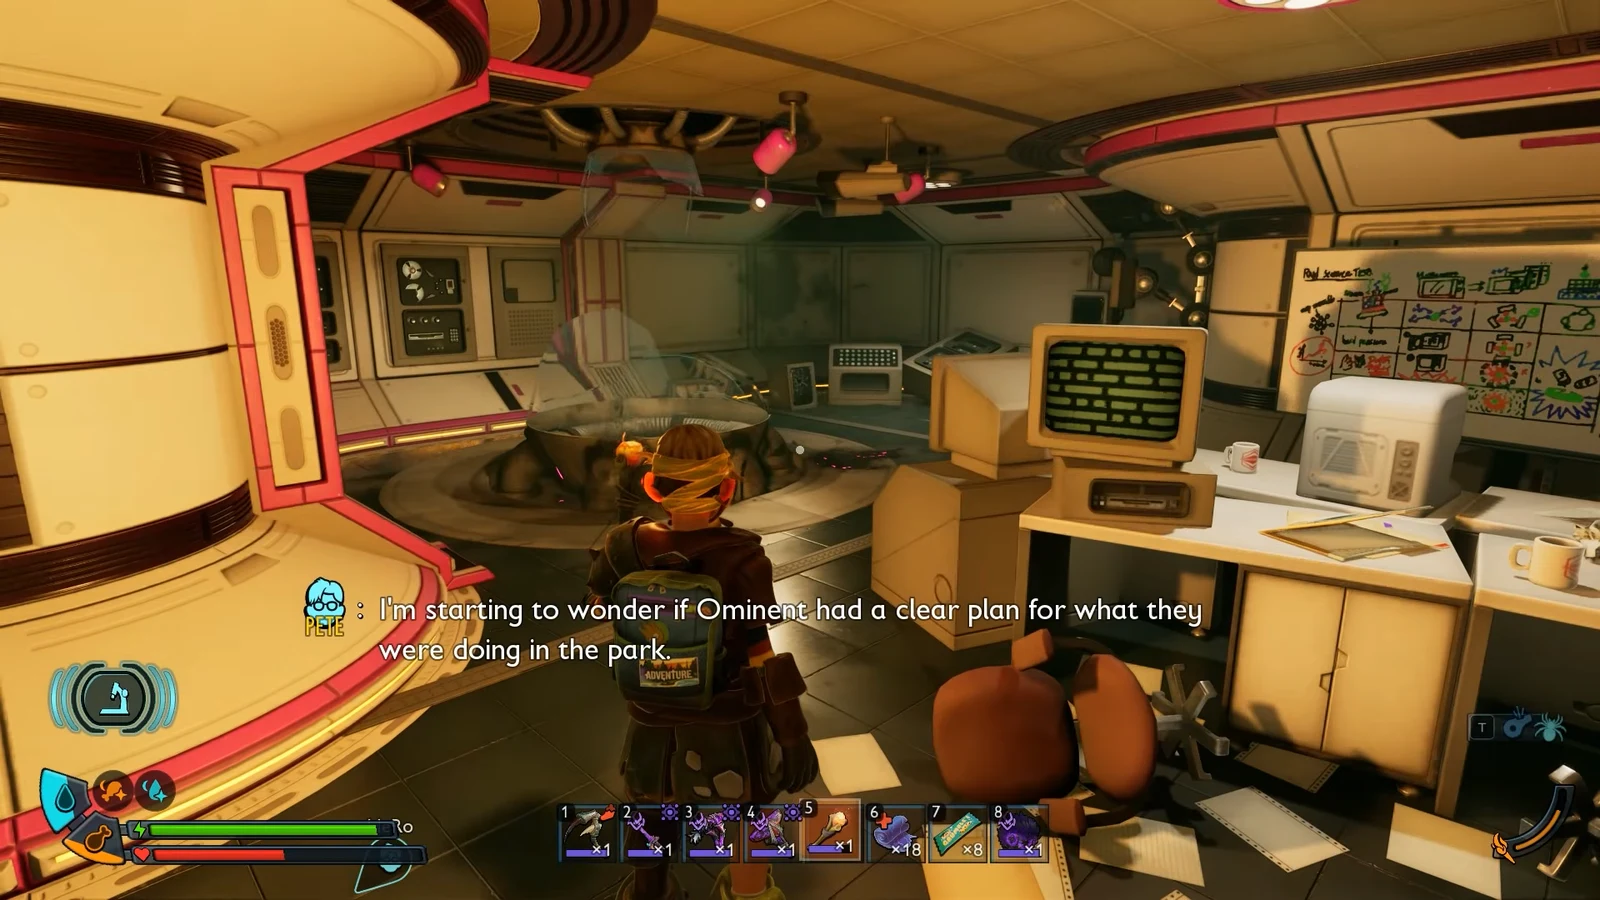
Move through the lab until you reach the secure door. Use the SCA.B 2K Scanner on it to unlock the mechanism, then step into the sealed room.
Head deeper into the lab to reach the SCA.B 2K scanner door. Image credit: Obsidian Entertainment / via @HeRo2u201:28
Head deeper into the lab to reach the SCA.B 2K scanner door. Image credit: Obsidian Entertainment / via @HeRo2u2. Shown at 01:28 in HeRo Survival Guides’s video.
Inside the room, pick up the Steamed Science research note resting on the desk. This is the main collectible reward for making the trip.
The sealed room holds the Steamed Science research note on the desk. Image credit: Obsidian Entertainment / via @HeRo2u201:48
The sealed room holds the Steamed Science research note on the desk. Image credit: Obsidian Entertainment / via @HeRo2u2. Shown at 01:48 in HeRo Survival Guides’s video.

Activate the fast travel station for 700 Science

The outpost includes a Pneumatic Transit System (PTS) fast travel station. Find the terminal and pay 700 Science to power it on. Once active, the Bridge outpost appears on your fast travel map, so you can hop straight here later without repeating the underwater swim.
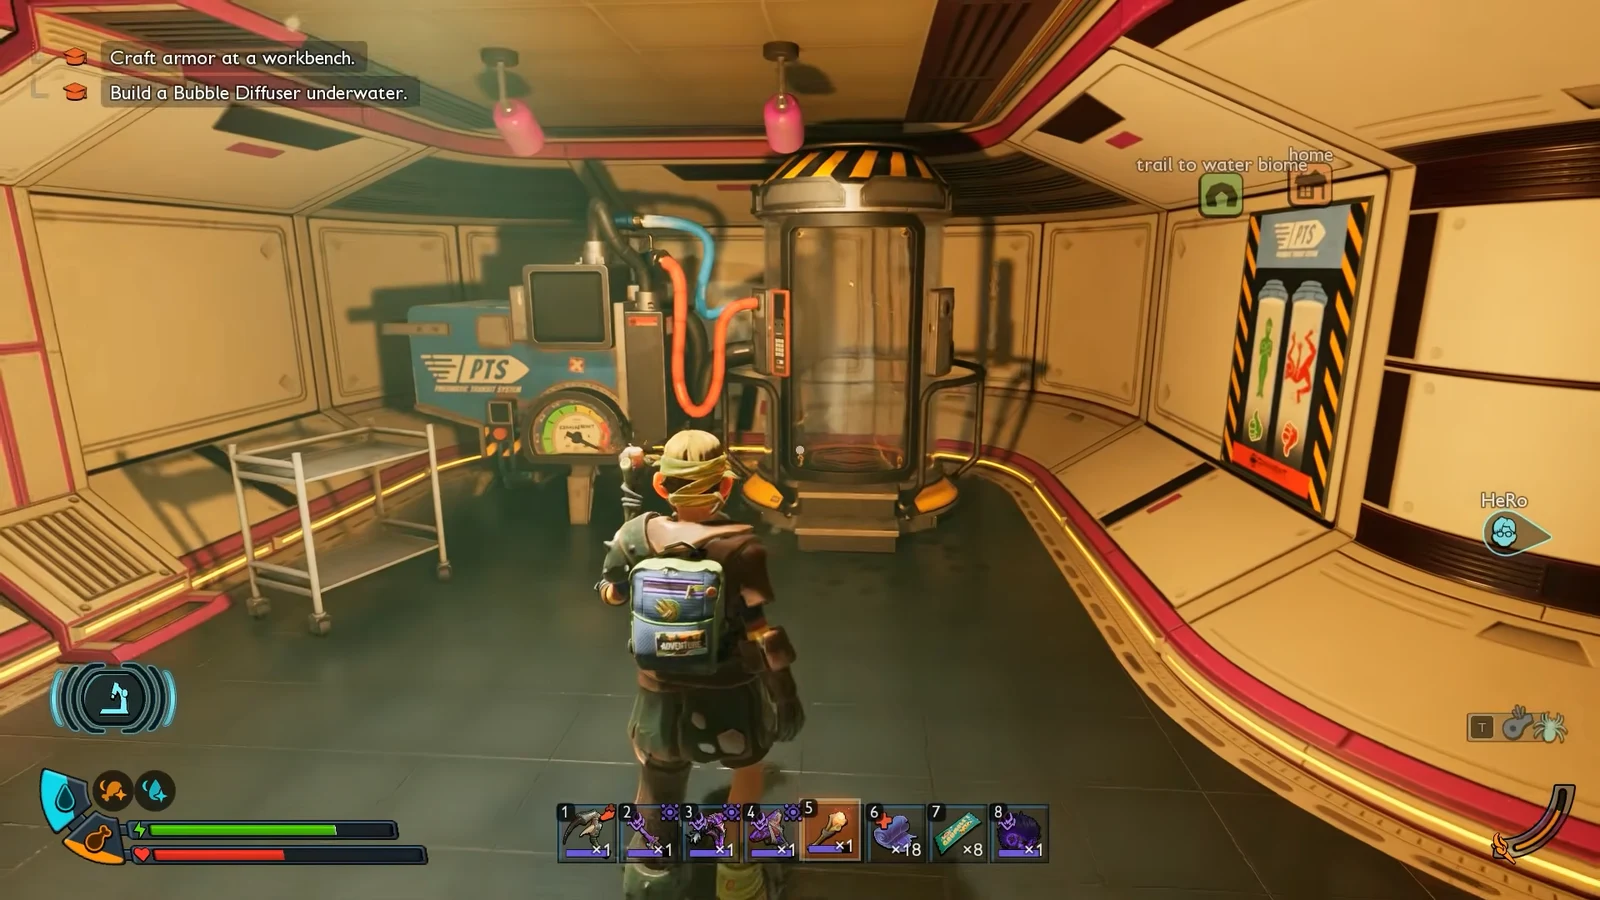
Activating the PTS station adds the Bridge outpost to your fast travel network. Image credit: Obsidian Entertainment / via @HeRo2u202:04
Activating the PTS station adds the Bridge outpost to your fast travel network. Image credit: Obsidian Entertainment / via @HeRo2u2. Shown at 02:04 in HeRo Survival Guides’s video.

You will know it worked when the fast travel map opens with the Bridge outpost added as a selectable destination. If the station does not respond, you are short on the 700 Science cost. If the “Woozy” meter is climbing while you stand at the terminal, your Gas Mask is not equipped.


With the station online and the Steamed Science note collected, this hidden lab becomes a fast, safe waypoint for exploring the Bridge and Shunk Pond zones added in Into the Abyss. Keep your Diving Helmet and Gas Mask handy whenever you plan to return by the tunnel route, since the spiders and gas cave are still there even after the outpost is unlocked.