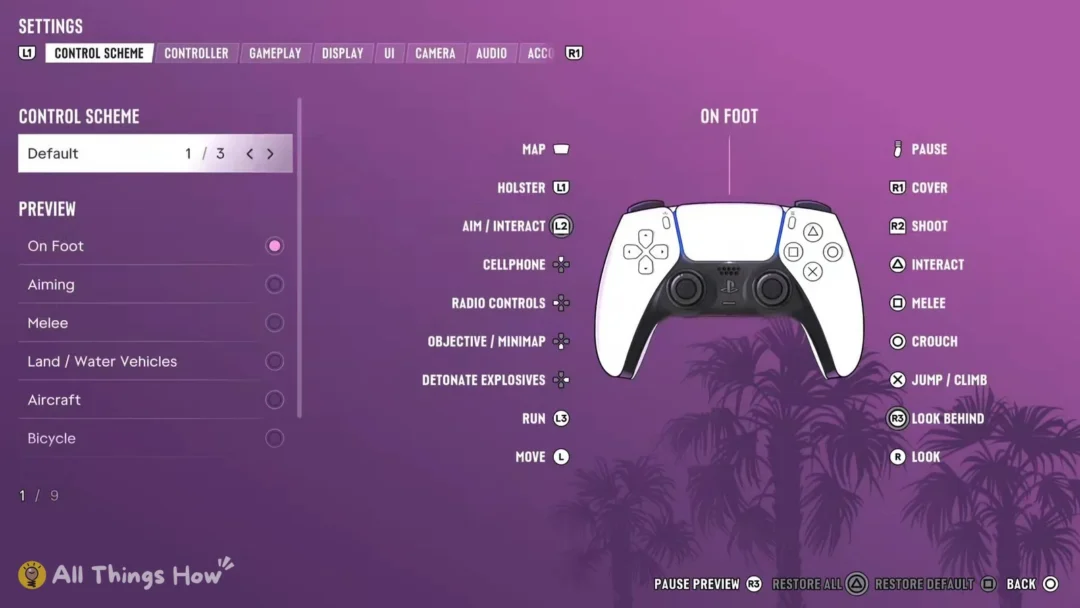
GTA 6 on PS5 doesn’t keep its accessibility settings in one place. You’ll find a few of them on the setup screens before the game starts, and the rest are spread across the Settings tabs in the pause menu. Below is where each one is, what it’s set to on a fresh install, and how the game describes it.
Quick answer: Pause, open Settings and press L1/R1 to switch tabs. The Gameplay tab has an ACCESSIBILITY group, and the other options sit in the UI, Display, Camera, Audio and Controller tabs.
GTA 6 first-start accessibility setup
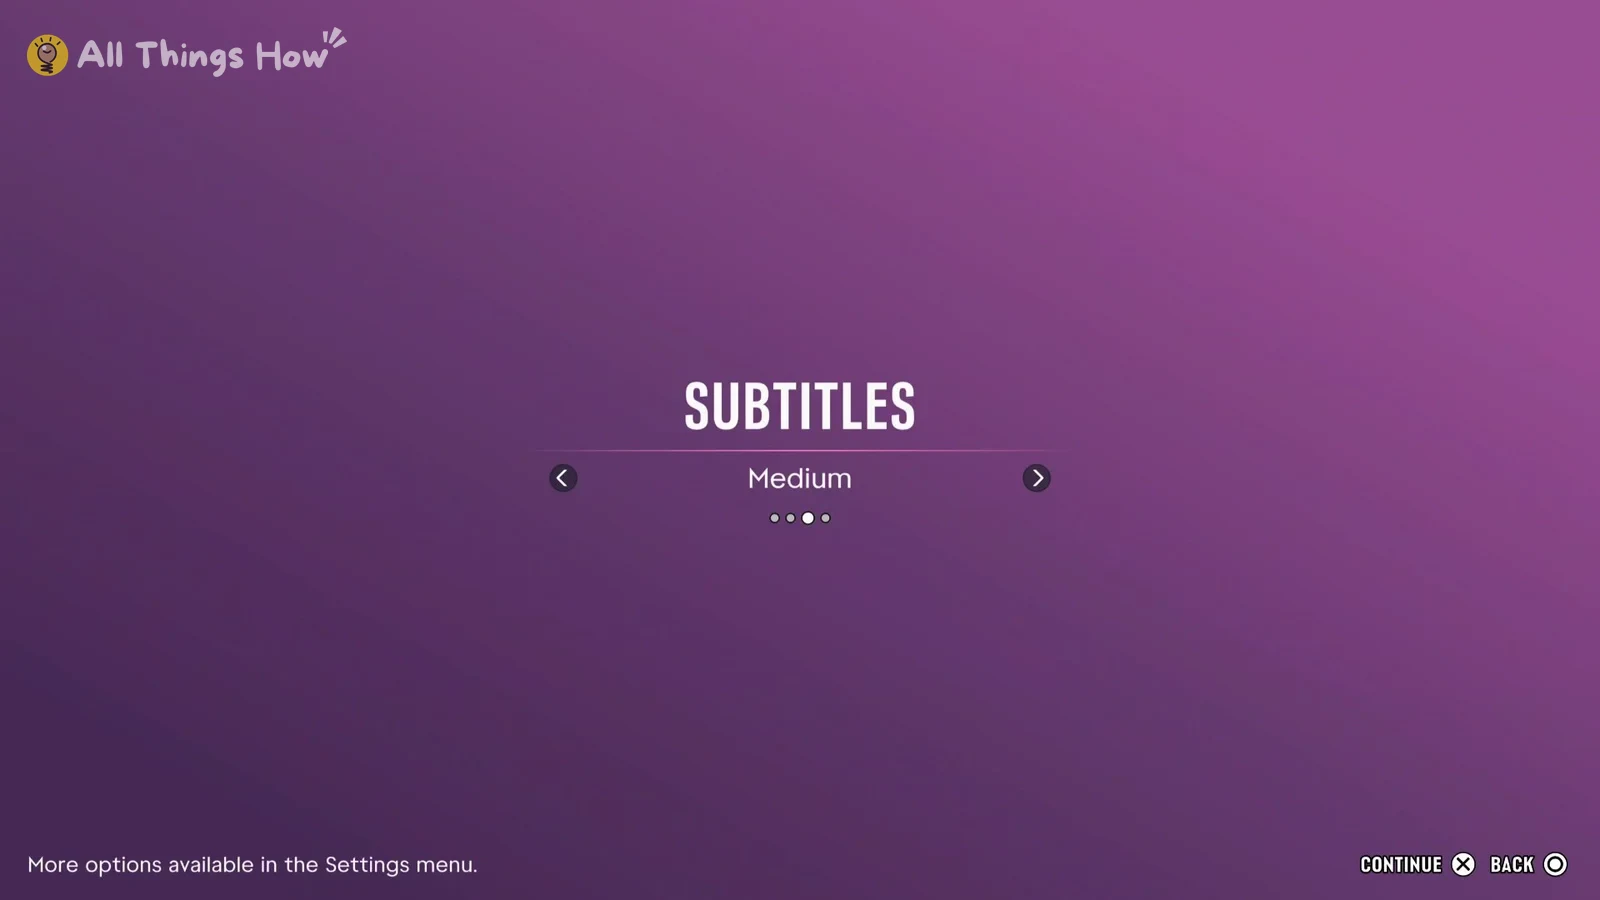
Before the game begins, it asks you to set three things. You can change all of them later in Settings, so nothing you pick here is locked in.
- Screen Narration is Off by default. Press Square on the first screen to turn it on or off.
- UI Text Size comes in Small (Default), Medium, Large and X Large.
- Subtitles can be Off (Default), Small, Medium or Large. The screen adds “More options available in the Settings menu.”
How to open GTA 6 Settings on PS5
Vision and reading: text size, subtitles and captions
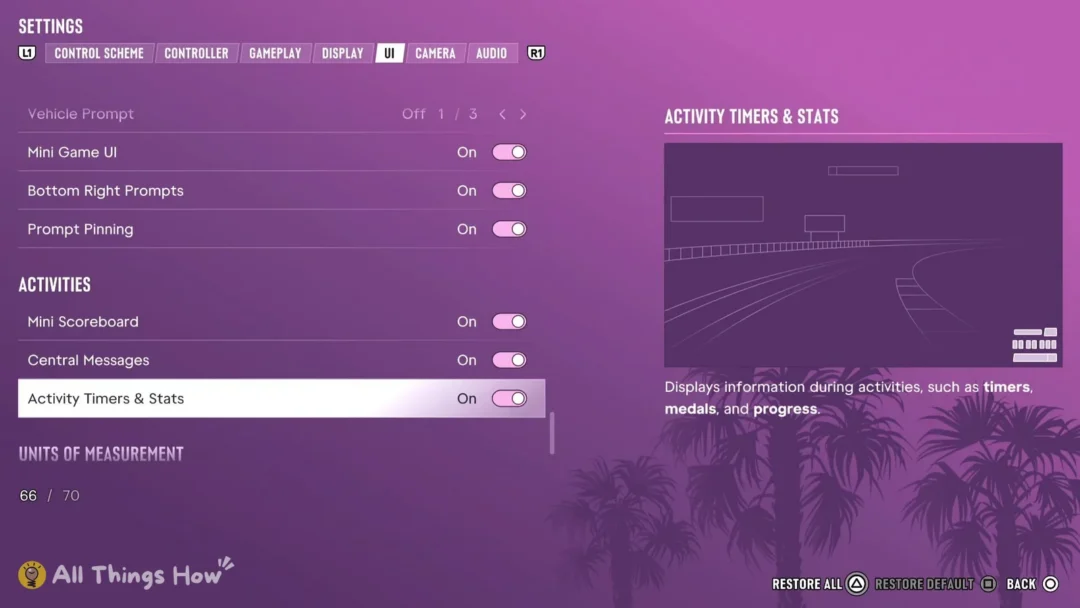
These options are all in the UI tab, split between two groups headed SCALING & READABILITY and SUBTITLES & CAPTIONS.
| Setting | Where | Default | Choices |
|---|---|---|---|
| Language | UI tab | English | 12 |
| UI Text Size | UI tab | Small | 4 |
| Color Adjustments | UI tab | Off | 4 |
| Map Blip Size | UI tab | Default | 2 |
| Minimap Blip Size | UI tab | Default | 2 |
| In-World Marker Size | UI tab | Default | 2 |
| Subtitles | UI tab | Set by first-start choice | 3 |
| Closed Captions | UI tab | Off | 4 |
| Size | UI tab | Set by first-start choice | 3 |
| Speaker Names | UI tab | Off | On/Off |
| Background | UI tab | Off | 3 |
Language is described as “The language of the UI.” In-World Marker Size covers more than the markers out in the world: “The size of in-world markers and blips on the compass.” Map Blip Size and Minimap Blip Size handle the icons on the full map and the minimap.
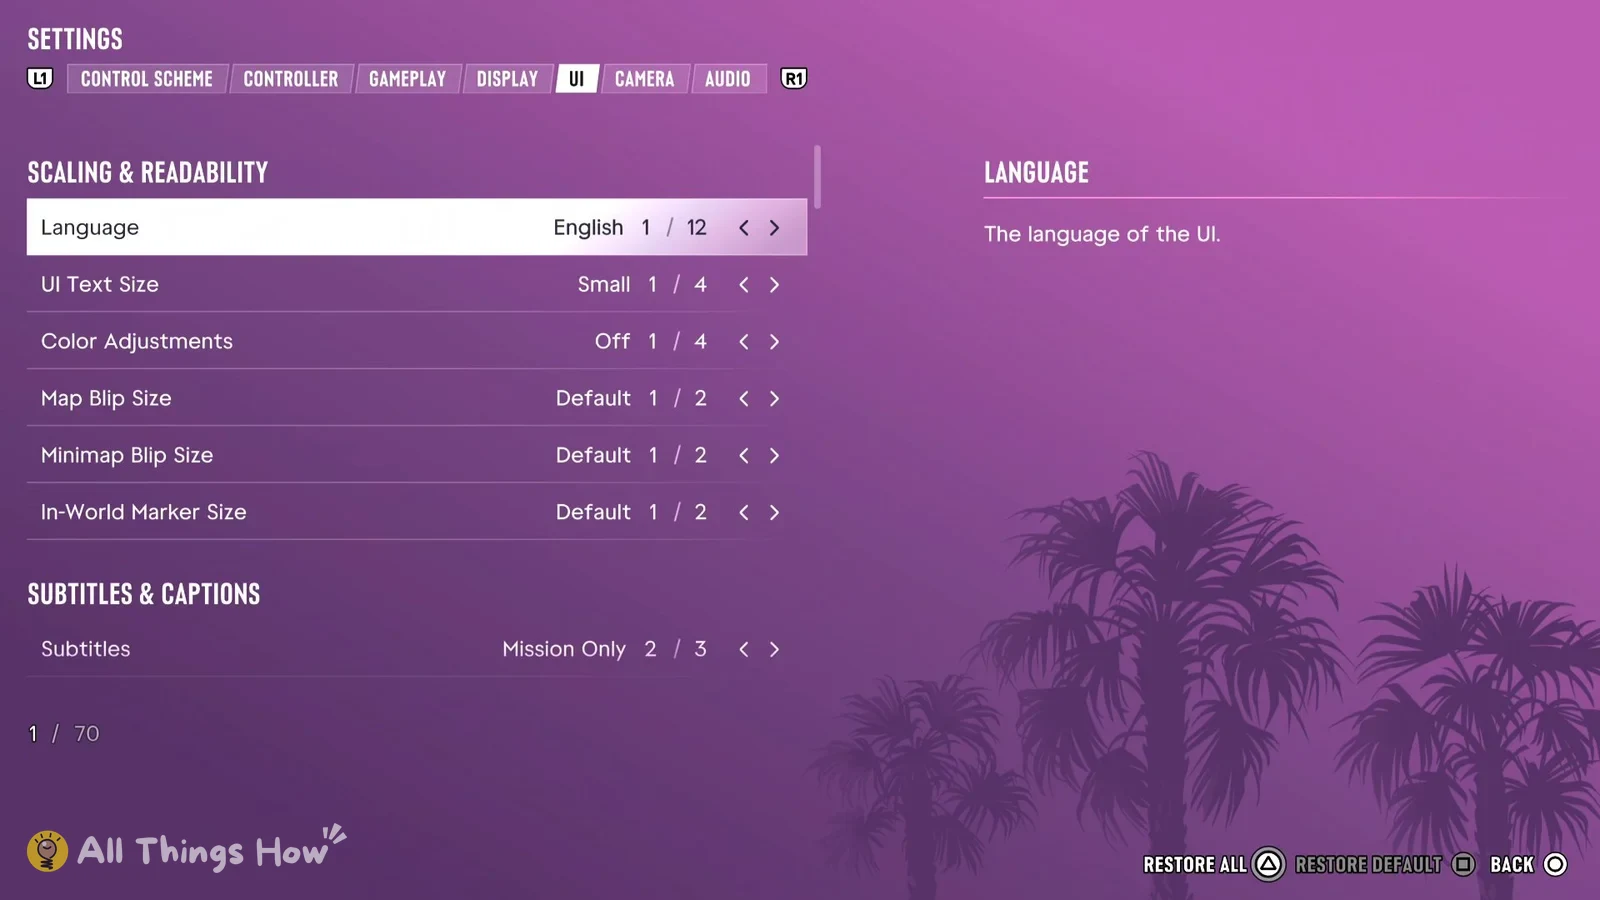
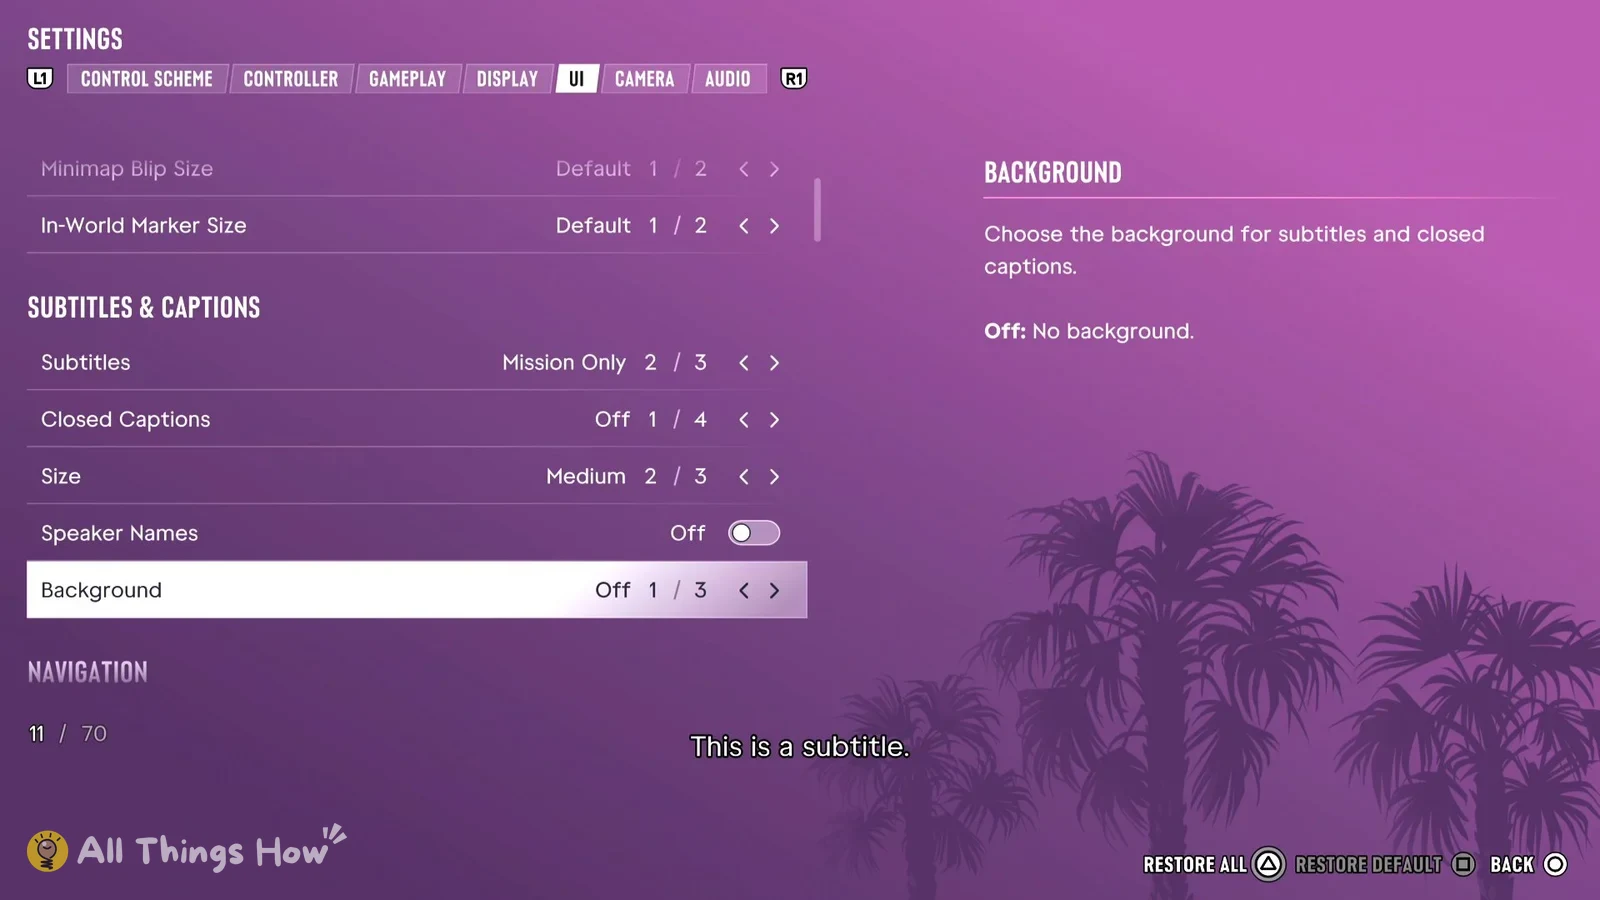
Picking a subtitle size during first-start setup carries over into Settings. After choosing one there, Subtitles reads Mission Only (2 of 3) and Size reads Medium (2 of 3). Speaker Names and Background then control how each line looks. For Background, the game explains “Choose the background for subtitles and closed captions. Off: No background.” It also previews your choice with a sample line, “This is a subtitle.”, so you can check how readable it is before going back into the game.
Motor and input: Tap Assist, Hold Assist and aiming
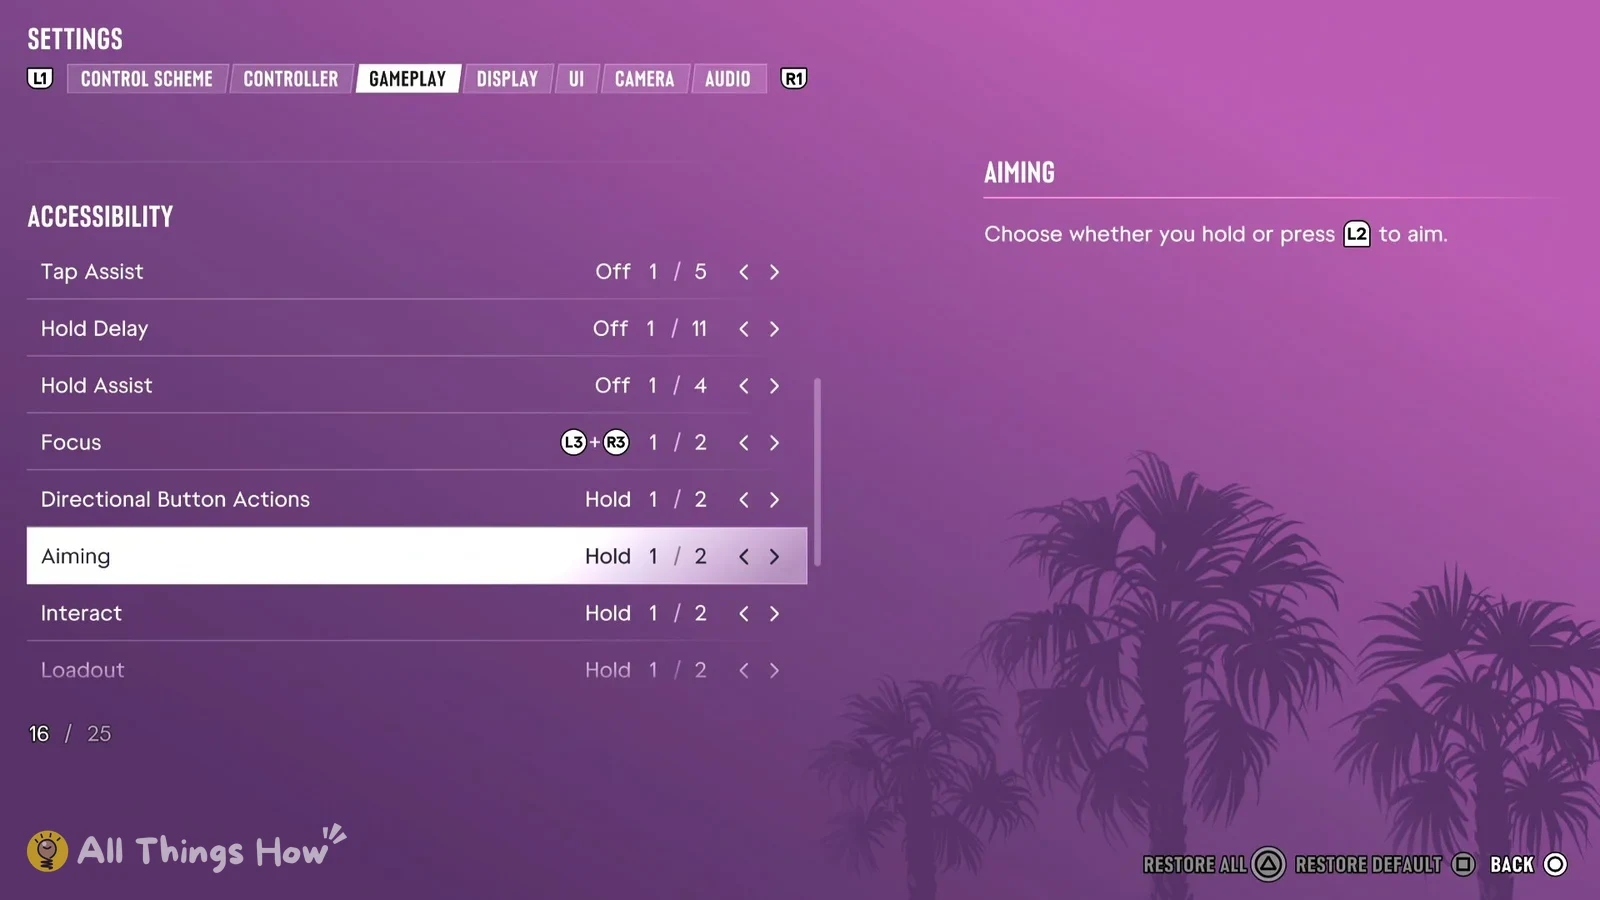
The Gameplay tab has a group headed ACCESSIBILITY. Tap Assist, Hold Delay, Hold Assist, Focus, Directional Button Actions, Aiming, Interact and Loadout are in that group.
| Setting | Where | Default | Choices |
|---|---|---|---|
| Tap Assist | Gameplay tab | Off | 5 |
| Hold Delay | Gameplay tab | Off | 11 |
| Hold Assist | Gameplay tab | Off | 4 |
| Focus | Gameplay tab | L3 + R3 | 2 |
| Directional Button Actions | Gameplay tab | Hold | 2 |
| Aiming | Gameplay tab | Hold | 2 |
| Interact | Gameplay tab | Hold | 2 |
| Loadout | Gameplay tab | Hold | 2 |
Tap Assist is for repeated presses. Turn it on and a single press can count as 2, 3 or 4 presses, or you can swap the repeated presses for a hold. Hold Delay and Hold Assist sit right under it. Directional Button Actions, Aiming, Interact and Loadout each have two choices and start on Hold, and for Aiming the game spells it out: “Choose whether you hold or press L2 to aim.”
Outside the ACCESSIBILITY group, the Gameplay tab has more settings that change how much timing and precision the game asks for.
| Setting | Where | Default |
|---|---|---|
| Simplified Mini Games | Gameplay tab | Off |
| Targeting | Gameplay tab | Partial (3 choices) |
| Aim Assist Strength | Gameplay tab | 4 |
| Shooting Assist | Gameplay tab | On |
| Drive-By Assist | Gameplay tab | On |
The game says Simplified Mini Games “simplifies the interactions needed for situations such as exercising, hotwiring, and basketball”. Partial, the default Targeting choice, works like this: “Aiming will move towards a nearby target but will not lock on”.
The Controller tab covers the rest of the physical input:
- Stick deadzones
- Vibration & Haptics Strength
- Adaptive Triggers Resistance and Vibration
- Look and aim sensitivity, set to 7 by default
- Inverted controls
Motion and comfort: center dot, camera shake and screen effects
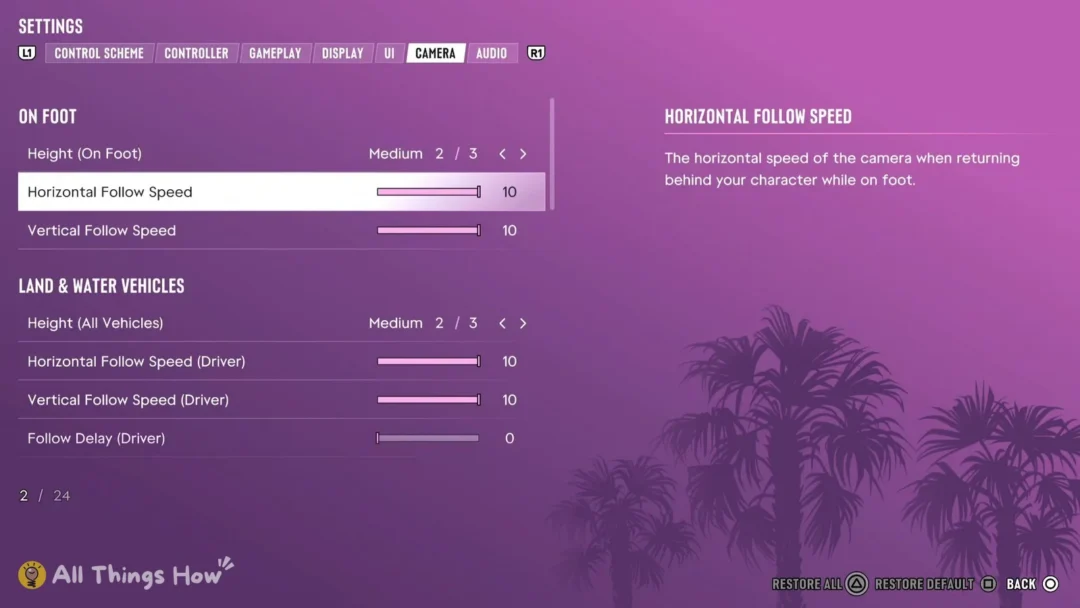
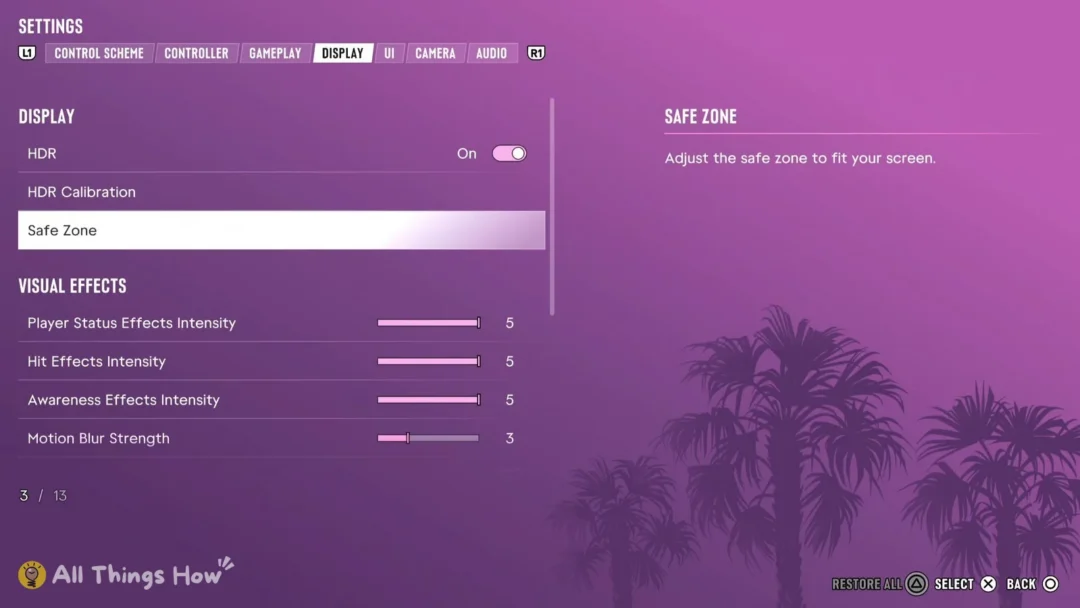
Motion settings live in three tabs. The center dot is in the UI tab under Reticle, the camera options are in the Camera tab under Comfort, and blur, flashes and screen-edge effects are in the Display tab.
| Setting | Where | Default |
|---|---|---|
| Persistent Center Dot | UI tab > Reticle | Off |
| Camera Shake | Camera tab > Comfort | On |
| Weapon Sway | Camera tab > Comfort | On |
| Camera Bob | Camera tab > Comfort | 10 (slider) |
| Motion Blur Strength | Display tab | 3 (slider) |
| Flashbang | Display tab | Bright (2 choices) |
| Brightness Reduction | Display tab | Off |
| Player Status Effects Intensity | Display tab | 5 |
| Hit Effects Intensity | Display tab | 5 |
| Awareness Effects Intensity | Display tab | 5 |
| Focus Trail Colorblind Mode | Display tab | Off |
| Dismemberment | Display tab | On |
| Blood & Gore Intensity | Display tab | High (3 of 3) |
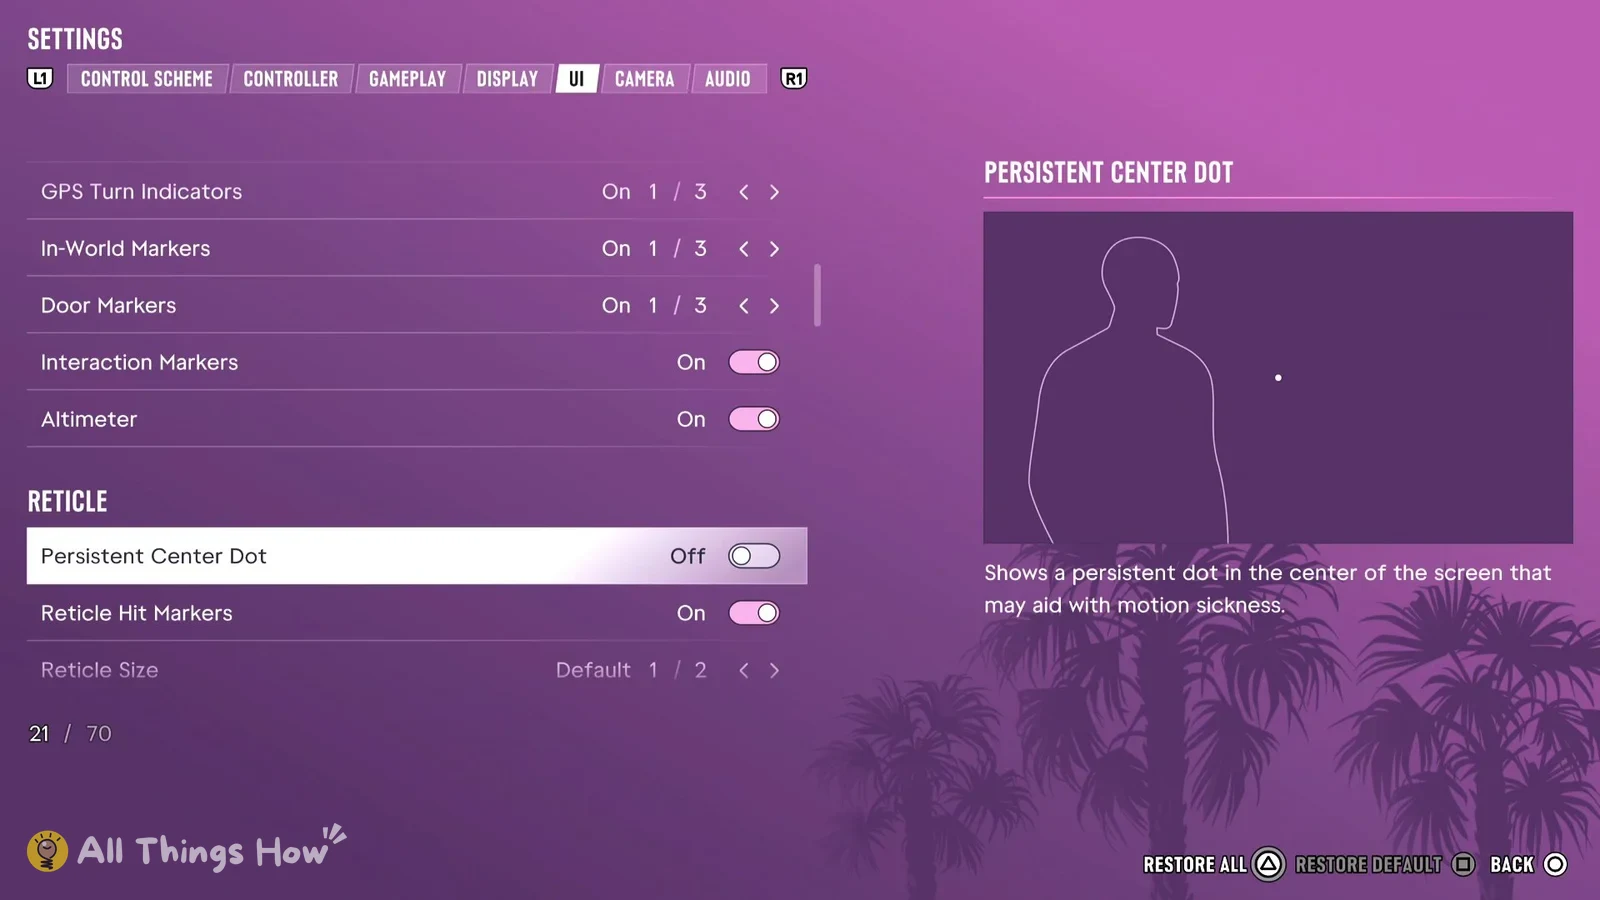
If moving cameras make you feel sick, the Persistent Center Dot is the setting the game points to: “Shows a persistent dot in the center of the screen that may aid with motion sickness.” Camera Shake, Weapon Sway, Camera Bob and Motion Blur Strength are all on or partway up by default, so you’ll need to turn each one down yourself.
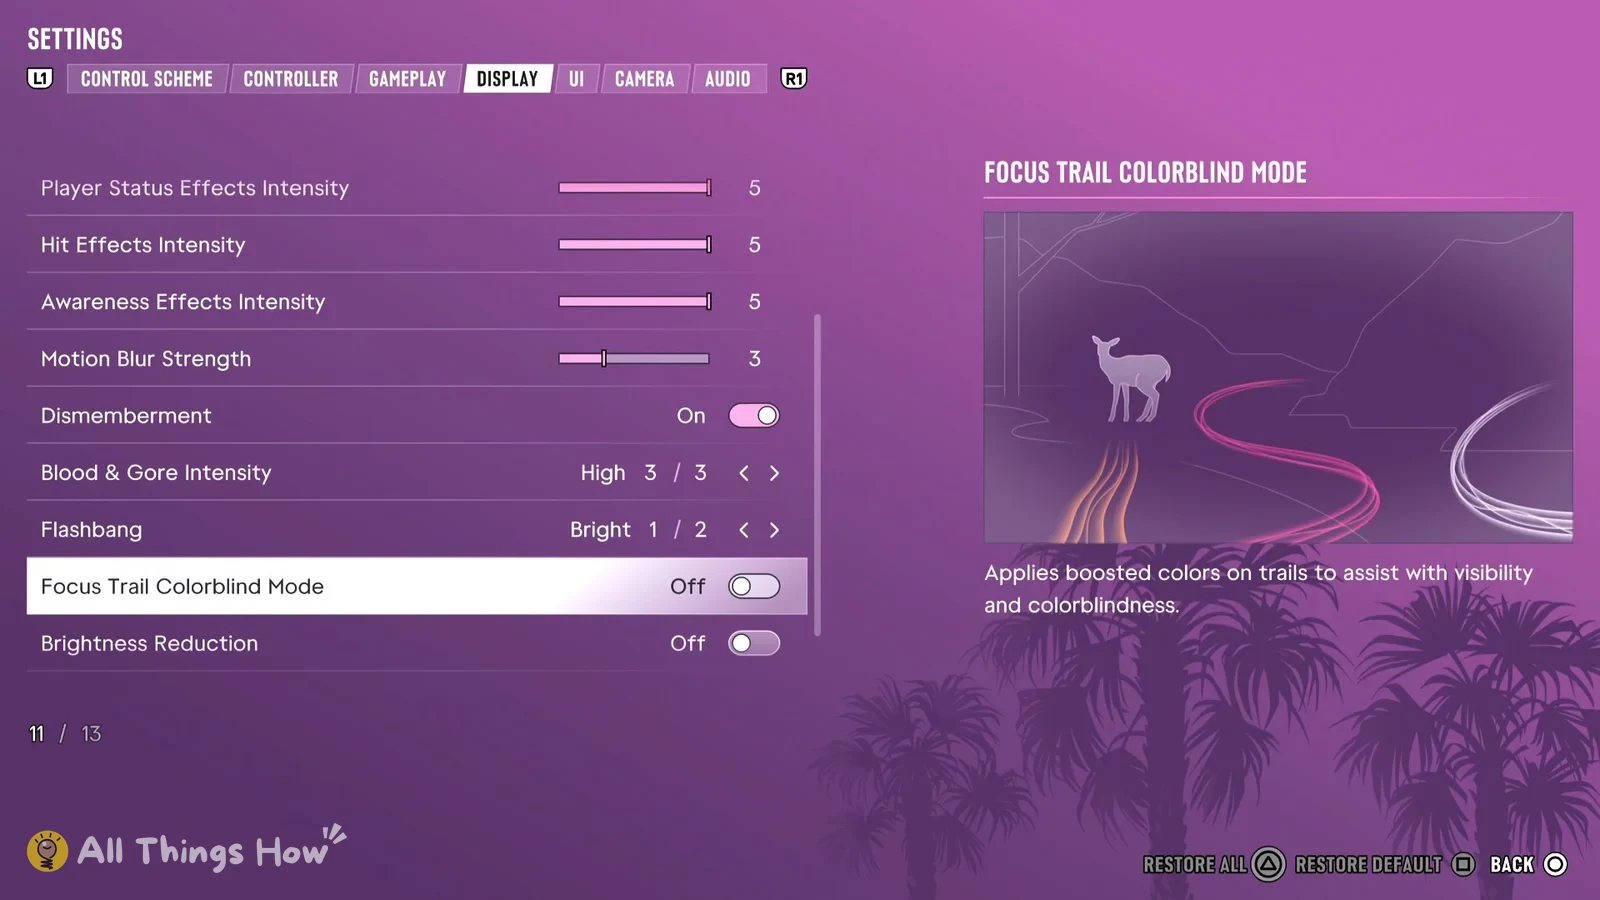
Awareness Effects Intensity controls “The intensity of screen edge effects that warn of cops and off-screen threats.” Focus Trail Colorblind Mode “Applies boosted colors on trails to assist with visibility and colorblindness.” Dismemberment and Blood & Gore Intensity are both in the Display tab too, if you’d rather cut down on gore.
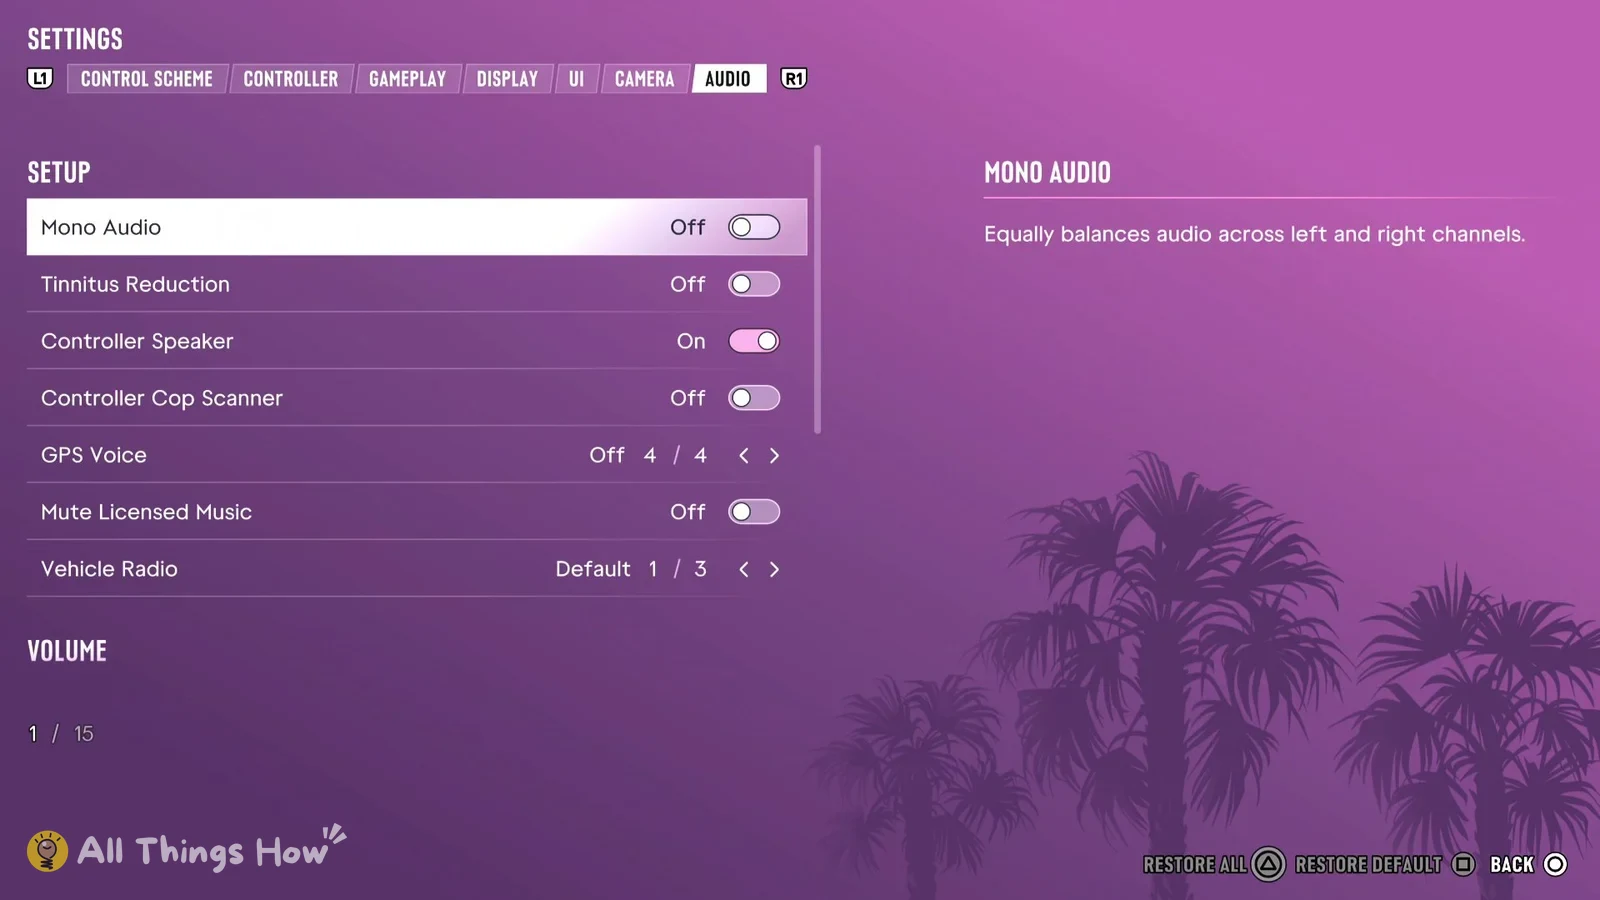
Hearing and audio: Mono Audio, Tinnitus Reduction and threat cues
Most hearing-related options are in the Audio tab. The on-screen combat indicators, which show threats you might not hear, are in the UI tab under Combat.
| Setting | Where | Default |
|---|---|---|
| Mono Audio | Audio tab | Off |
| Tinnitus Reduction | Audio tab | Off |
| Controller Speaker | Audio tab | On |
| Controller Cop Scanner | Audio tab | Off |
| GPS Voice | Audio tab | Off (4 of 4) |
| Threat Indicators | UI tab > Combat | On |
| Damage Region Highlights | UI tab > Combat | On |
Mono Audio “Equally balances audio across left and right channels.” The Audio tab also has separate sliders for Master Volume, Dialogue, Music and Media, so you can turn dialogue up over everything else. Threat Indicators, on by default, “Displays on-screen indicators for threats nearby or when they’re in combat with you.”