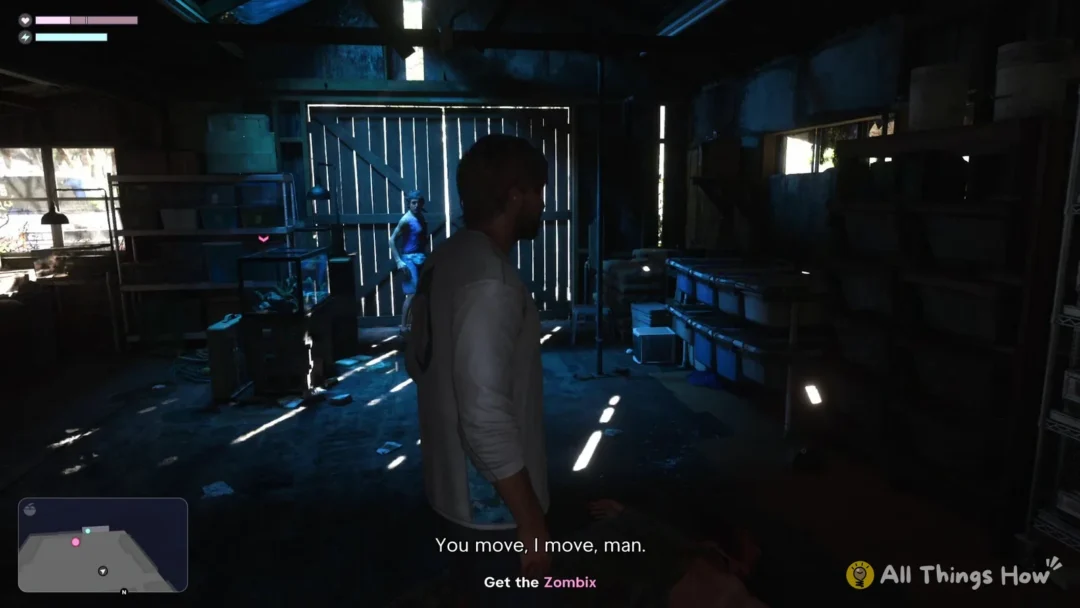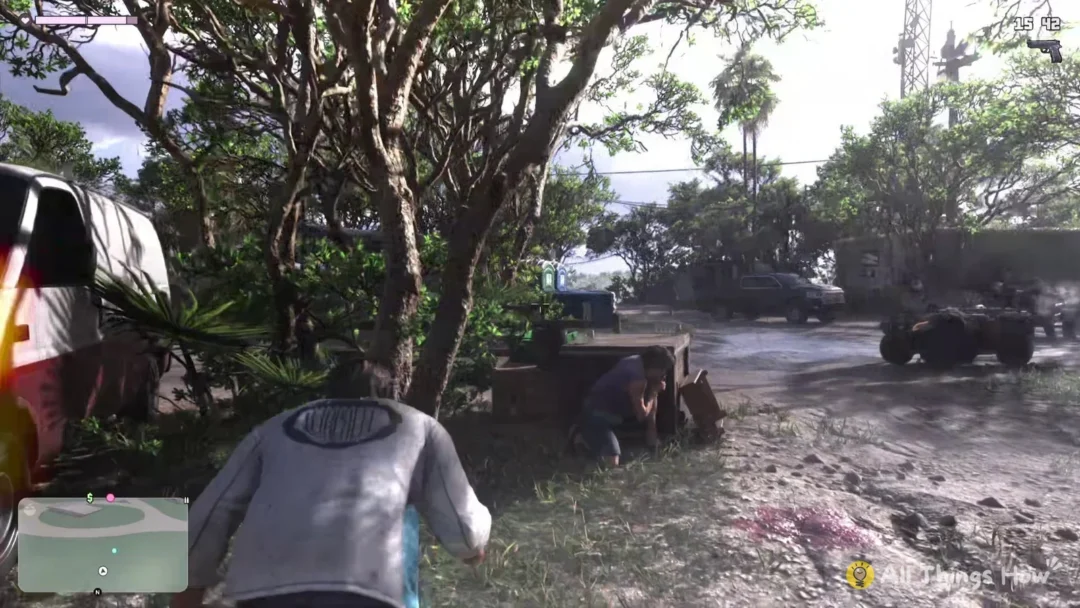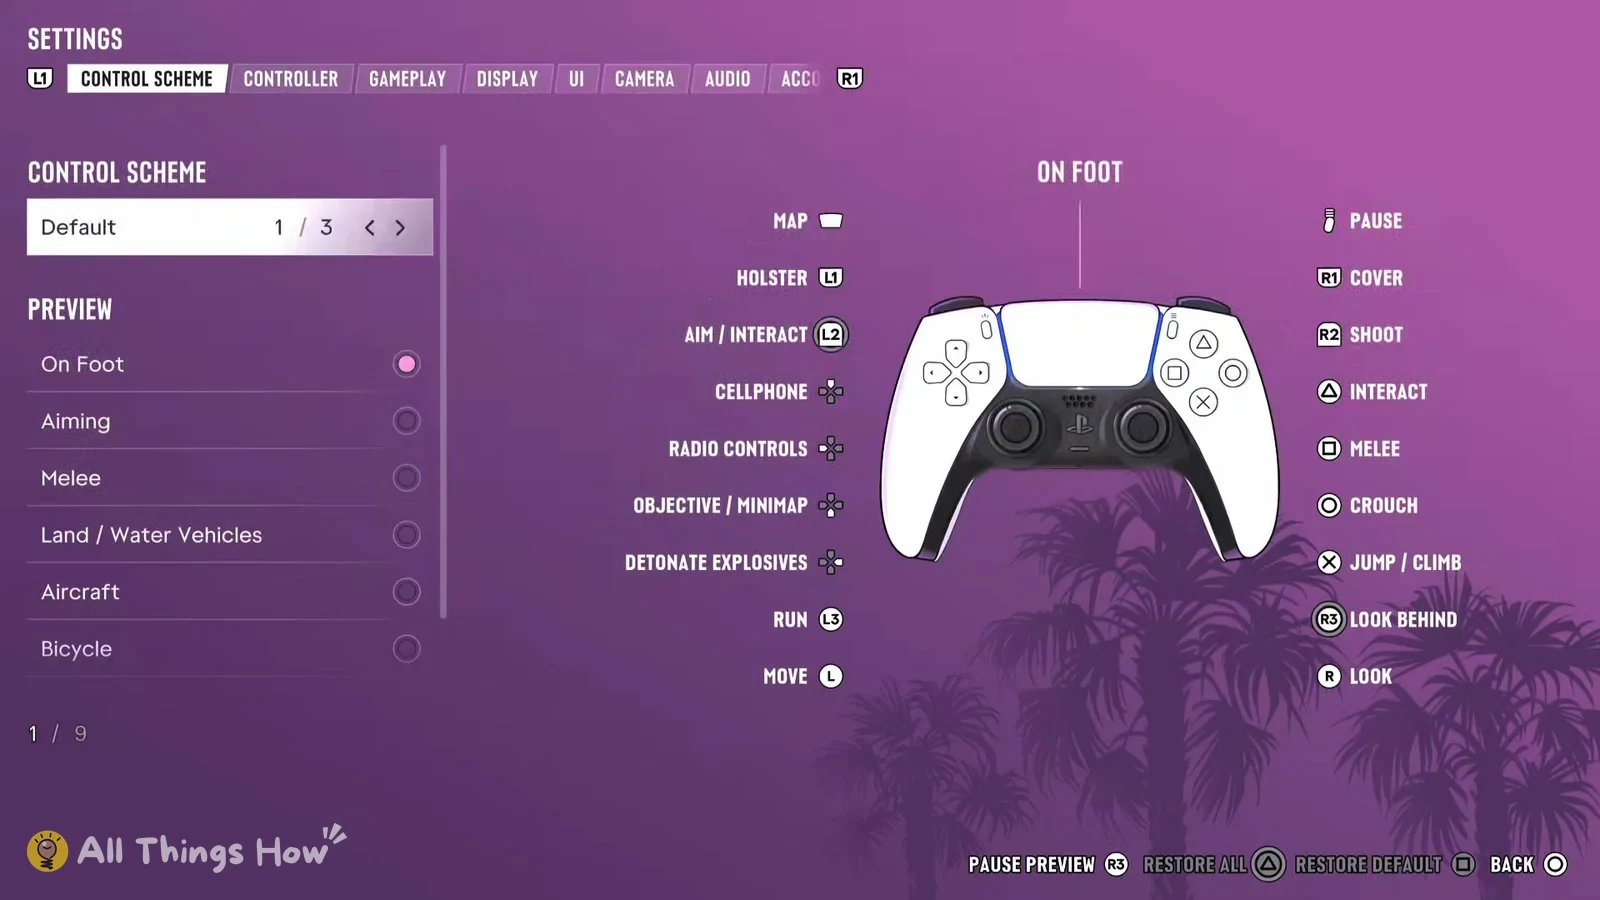
To change lock-on aiming in GTA 6, open Targeting under Settings in the pause menu. When it’s set to “Partial”, holding L2 during a shootout draws your crosshair toward an enemy without locking on, so you could end up aiming at scenery instead of a foe.
Quick answer: Press Options, open Settings, press R1 twice to reach the Gameplay tab, then set the first row, Targeting, to “Lock-On” with left or right on the d-pad.
Turn on Lock-On in GTA 6’s Gameplay settings
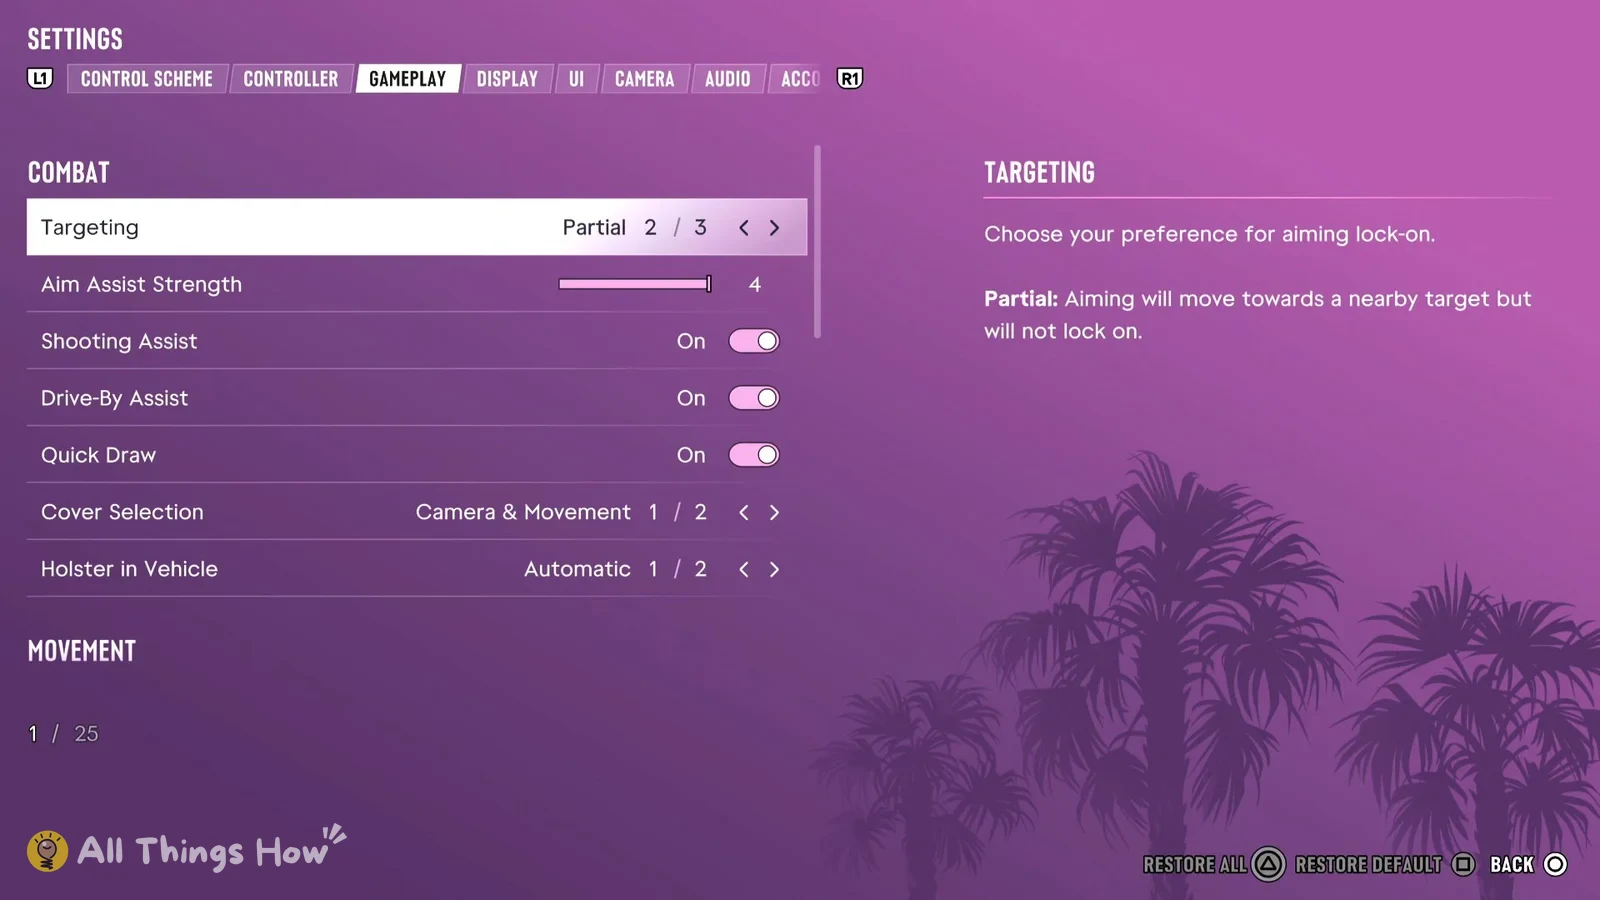
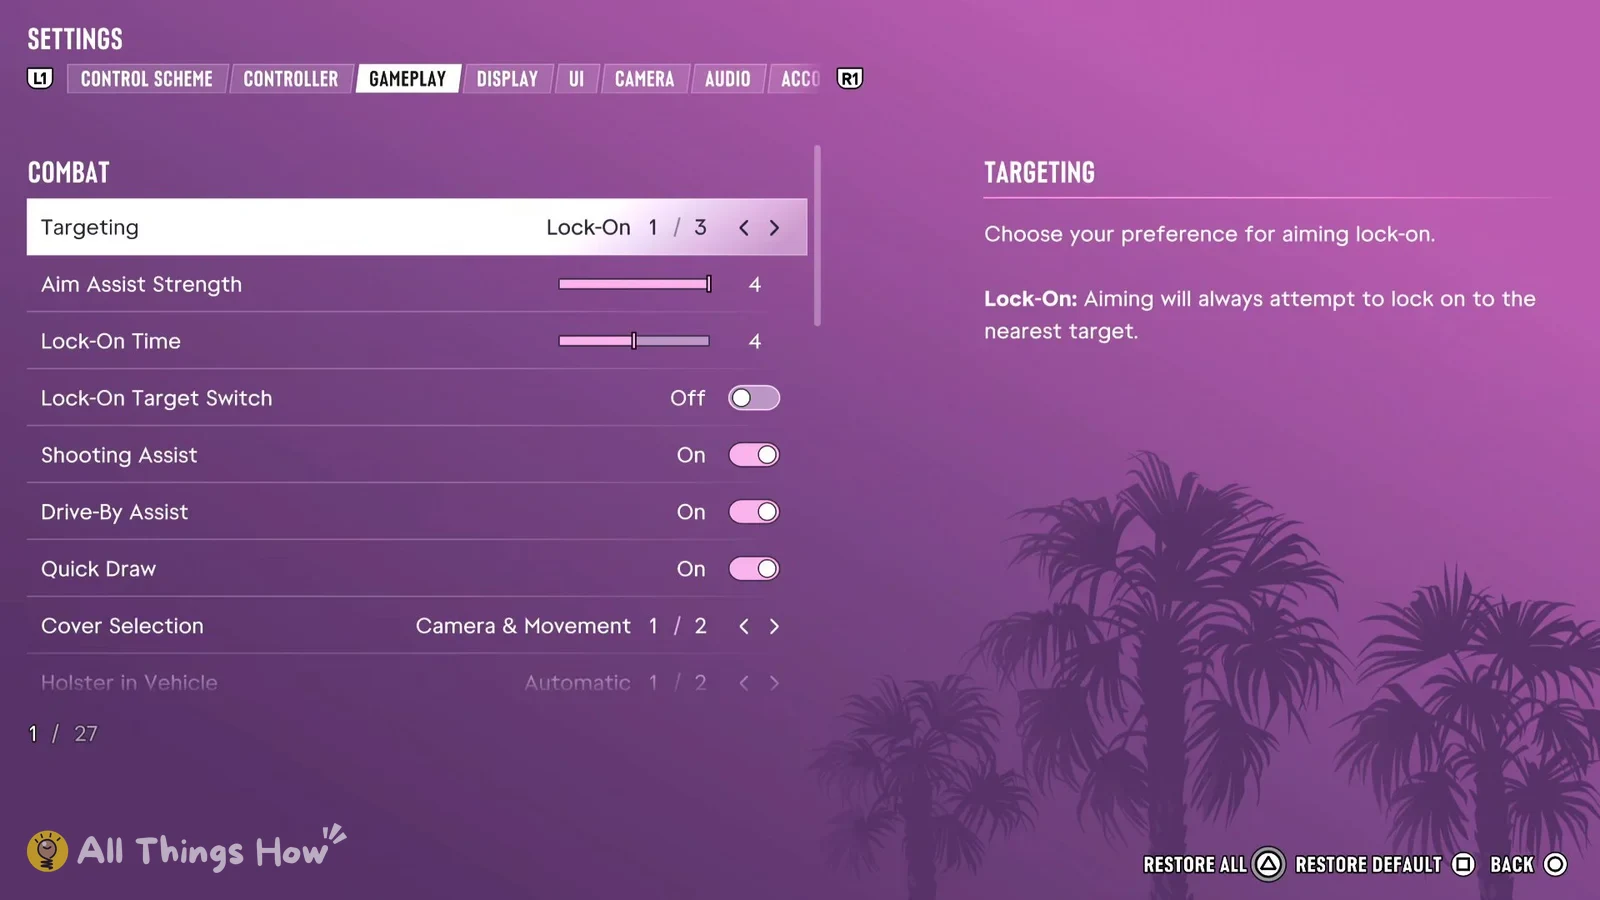
Targeting sits above the other aiming and combat options in that section, which are Aim Assist Strength, Shooting Assist, Drive-By Assist, Quick Draw, Cover Selection and Holster in Vehicle. You don’t need to touch any of those to get lock-on working.
GTA 6 Targeting options: Lock-On, Partial and Free Aim
Targeting has three choices, and the counter next to the name tells you which one you’re on.
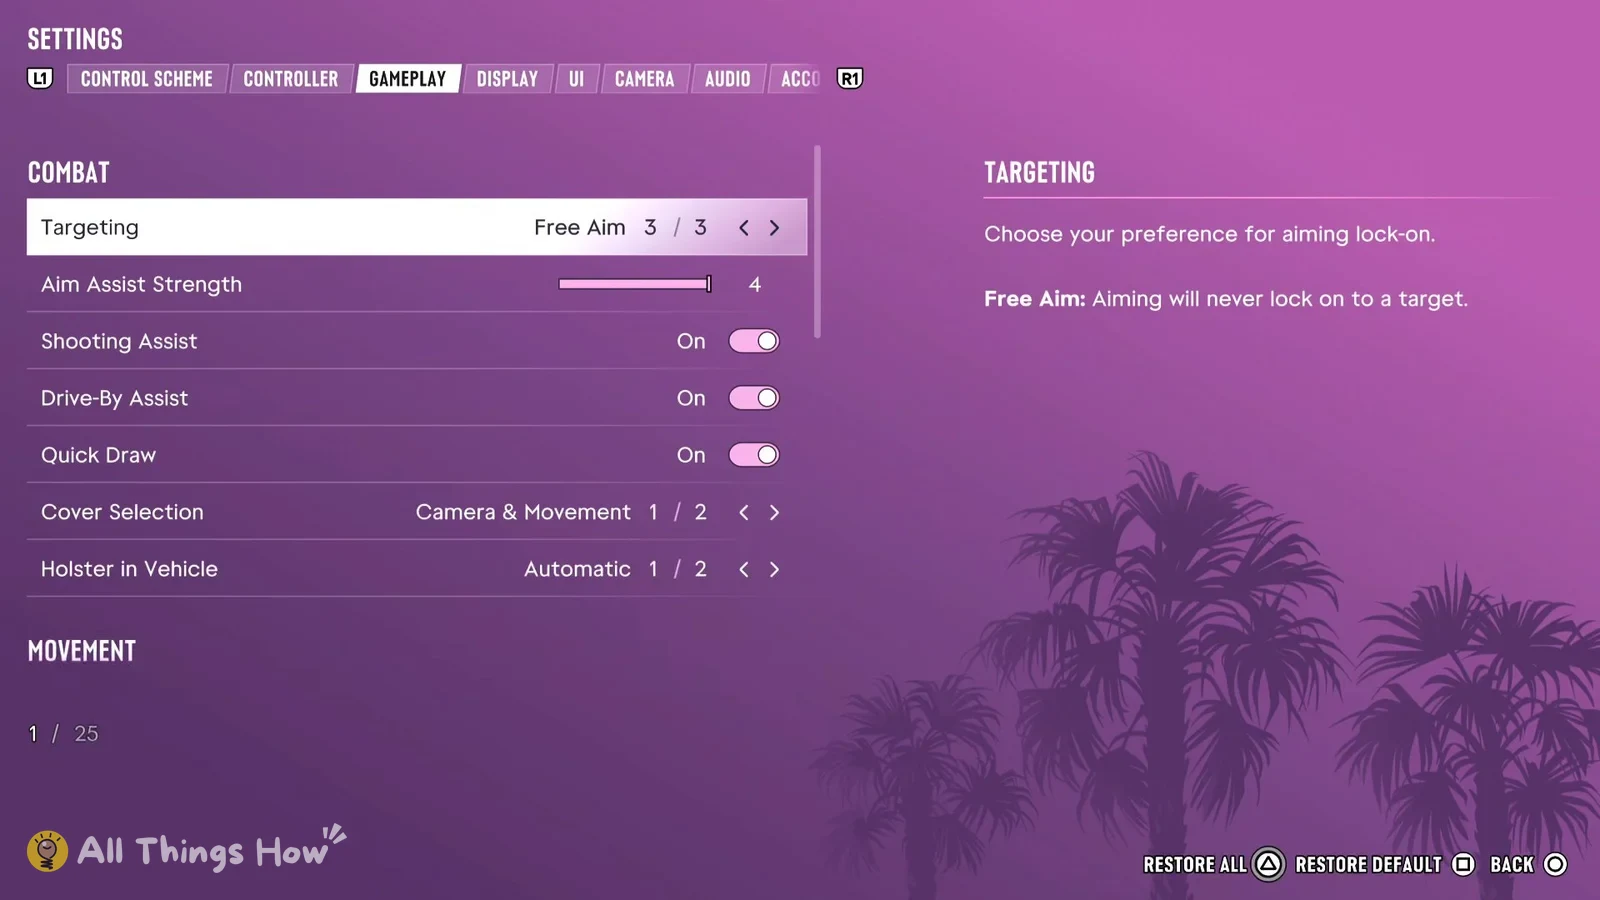
| Choice | Counter | In-game description |
|---|---|---|
| Lock-On | 1 / 3 | “Lock-On: Aiming will always attempt to lock on to the nearest target.” |
| Partial | 2 / 3 | “Partial: Aiming will move towards a nearby target but will not lock on.” |
| Free Aim | 3 / 3 | “Free Aim: Aiming will never lock on to a target.” |
Picking Lock-On adds two rows right under Targeting that don’t show up with Partial or Free Aim. “Lock-On Time” is a slider, and “Lock-On Target Switch” is a toggle that starts Off. Both stay hidden again if you switch back to one of the other two choices.
How to check that lock-on aim is active
The change applies as soon as the Targeting row reads “Lock-On 1 / 3” and the “Lock-On Time” and “Lock-On Target Switch” rows appear below it. There’s no save prompt, so you can press Circle to back out to the pause menu and return to the game. From then on, holding L2 will try to lock on to the nearest target, as the setting’s description says.