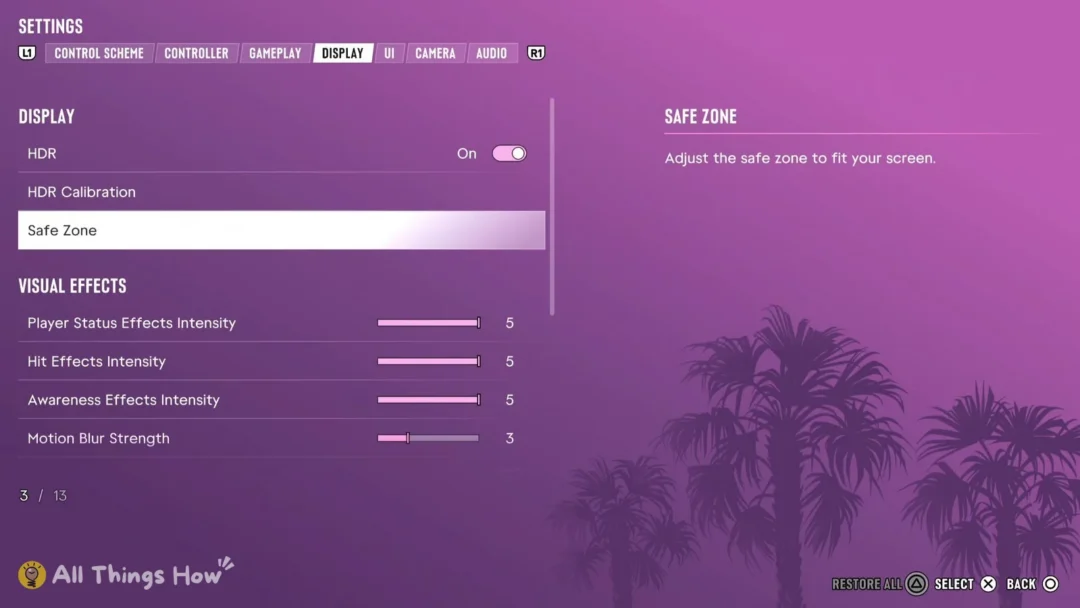
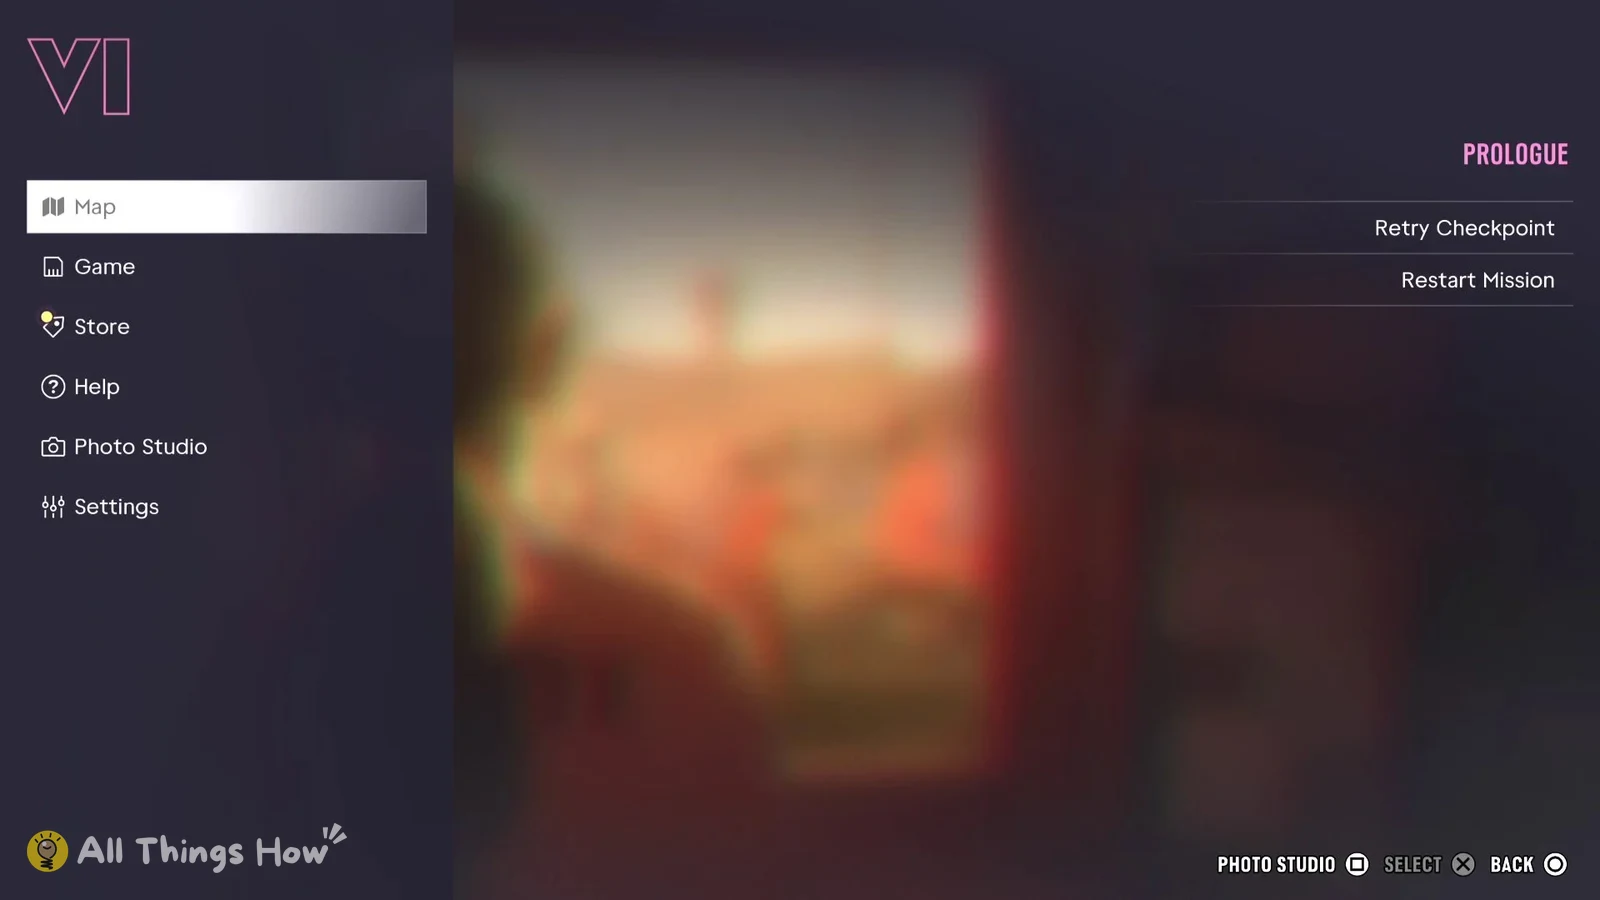
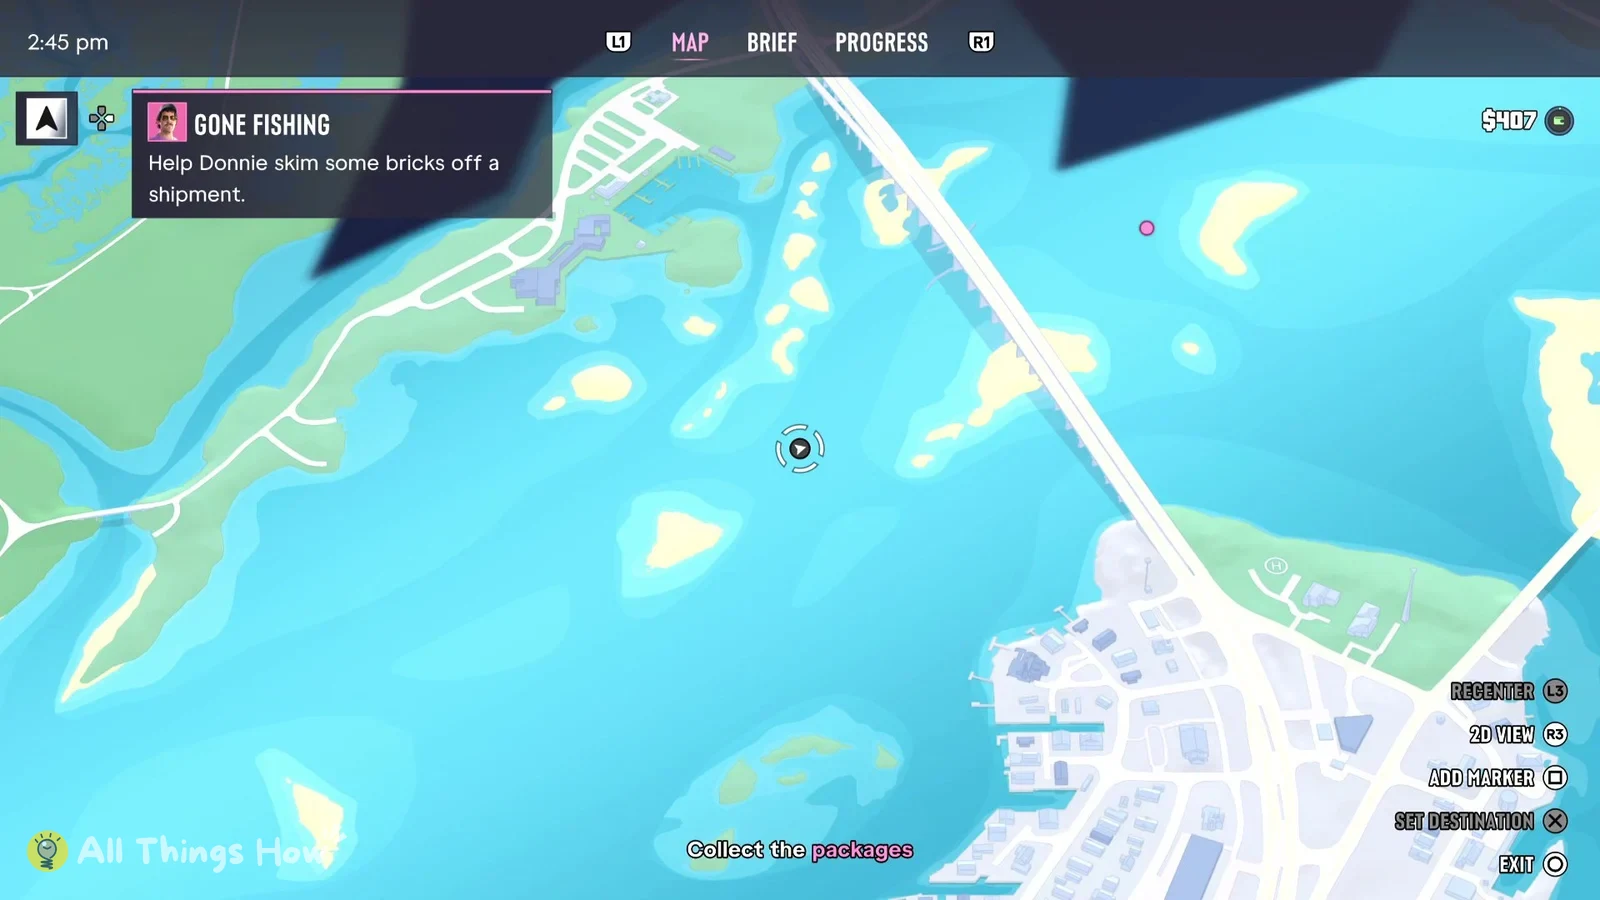
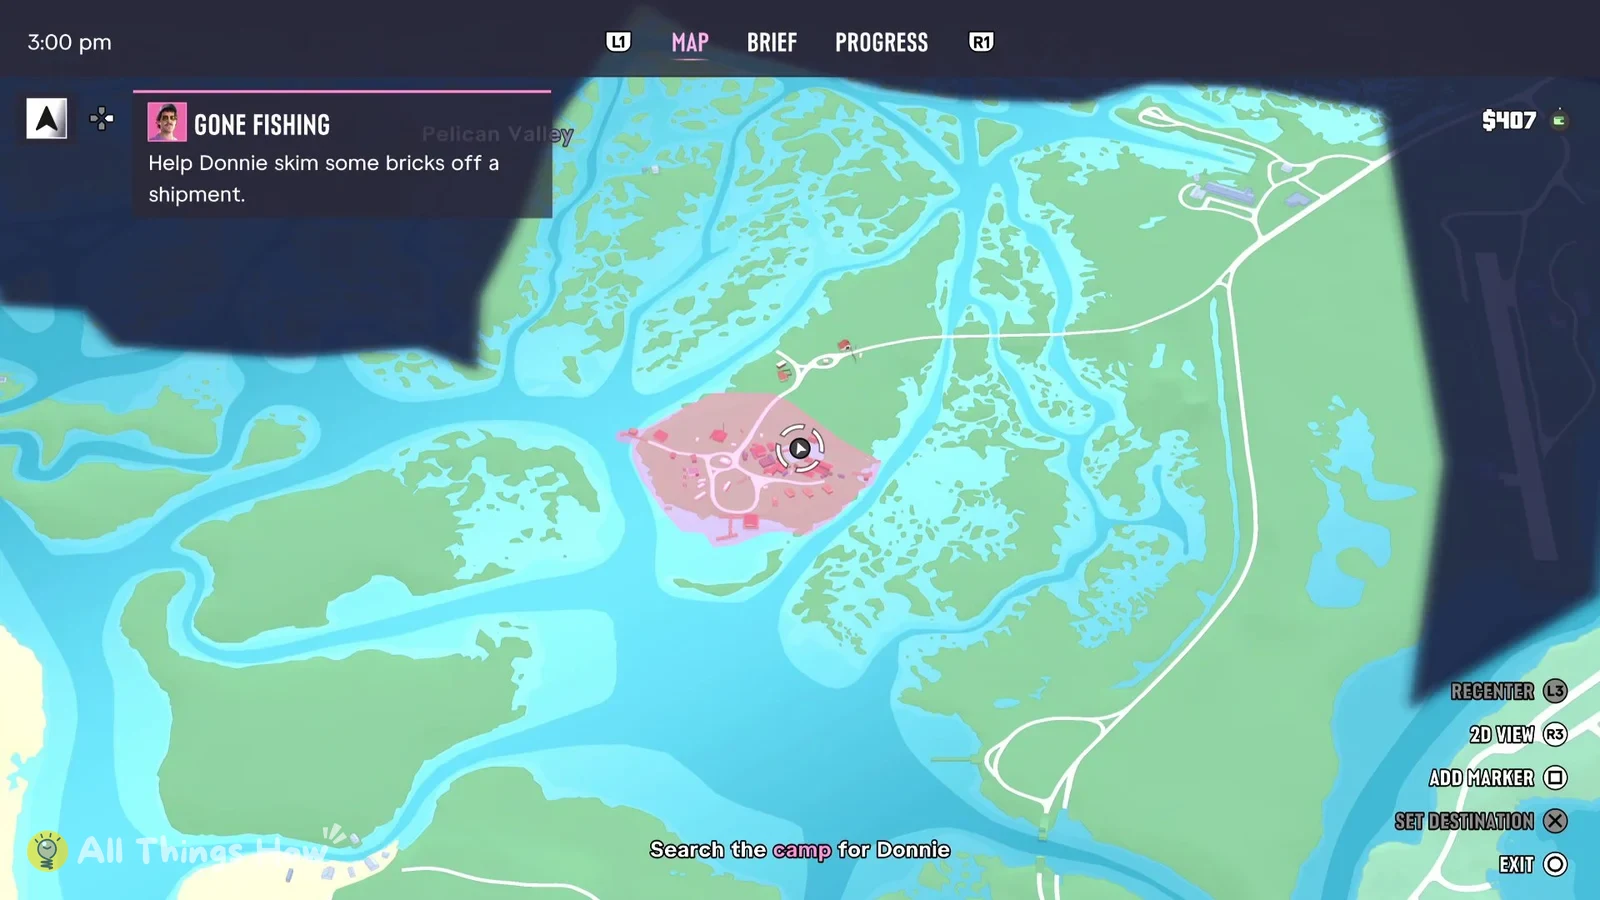
On PS5, GTA 6 has two ways to open the map: the touch pad, or the pause menu. Once the map is open, the button prompts at the bottom right of the screen show what you can do there, including setting a destination or dropping a marker.
Quick answer: Press the touch pad, or press Options and pick Map. Move the cursor to a spot, then press Cross for Set Destination or Square for Add Marker. Press Circle to exit.
How to open the map and set a destination or marker in GTA 6
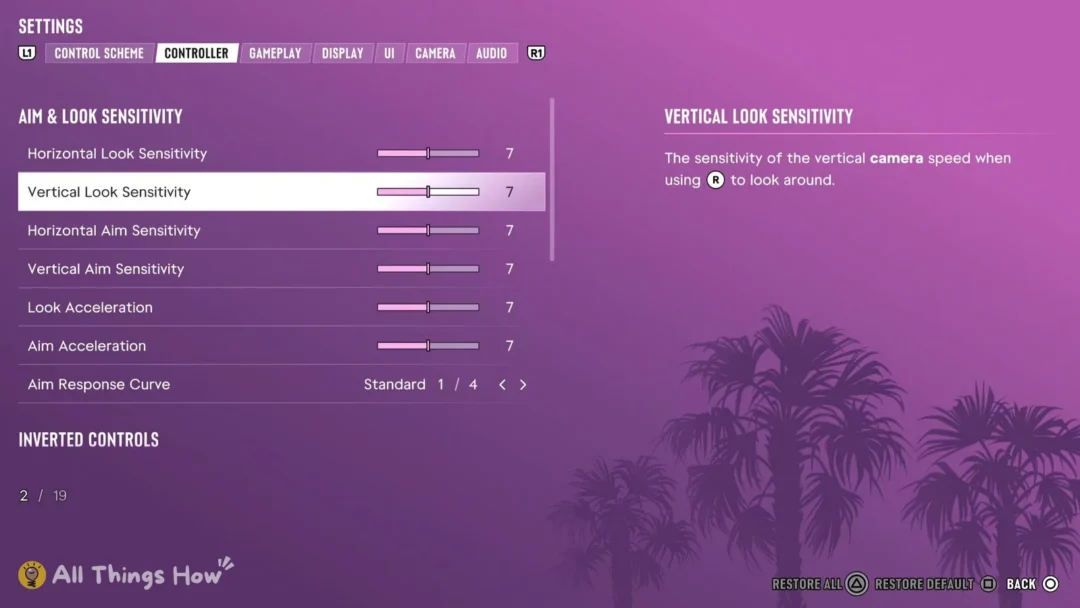
If the touch pad doesn’t open the map, go to Settings > Controller and check the “Touch Pad Button” row. It’s set to Map by default and has two choices, so it may have been switched to the other one.
GTA 6 map screen buttons and layout
| Button | Prompt on the map |
|---|---|
| L3 | Recenter |
| R3 | 2D View |
| Square | Add Marker |
| Cross | Set Destination |
| Circle | Exit |
| L1 / R1 | Switch tabs |
Here’s what else is on the map screen, besides the prompts:
- MAP, BRIEF, and PROGRESS appear as three tabs at the top center. L1 and R1 sit on either side to switch between them.
- The in-game time at the top left, with a card under it showing the current mission’s name and a one-line summary, such as “GONE FISHING – Help Donnie skim some bricks off a shipment.”
- Your cash at the top right.
- The current objective at the bottom center, the same line you see while playing, like “Collect the packages” or “Search the camp for Donnie”.
- A dark overlay over parts of the map you haven’t been to yet.
- Area names in faint text on the map itself, such as “Pelican Valley”.
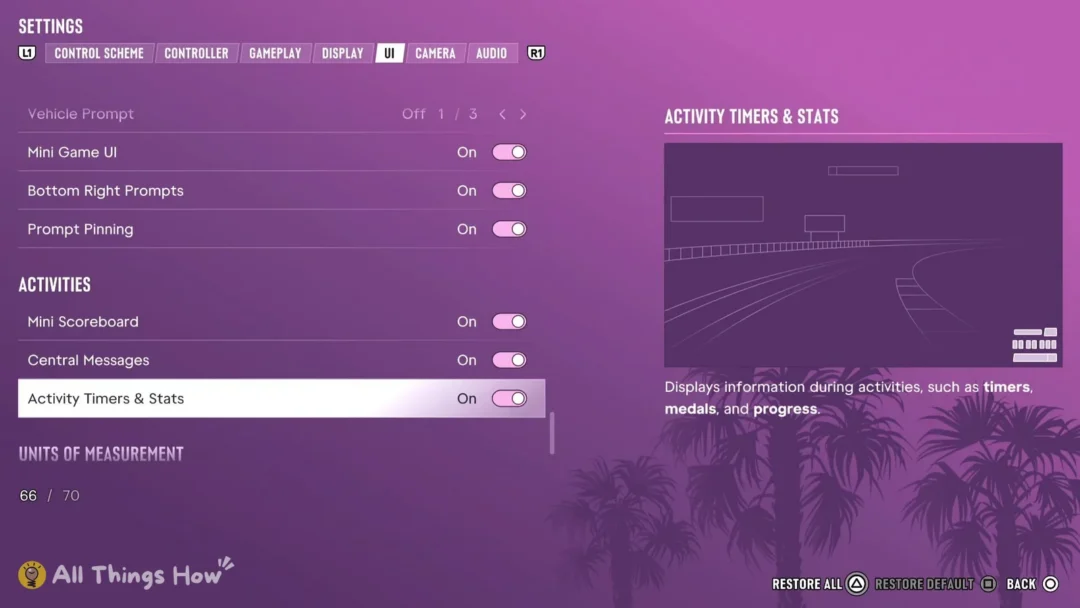
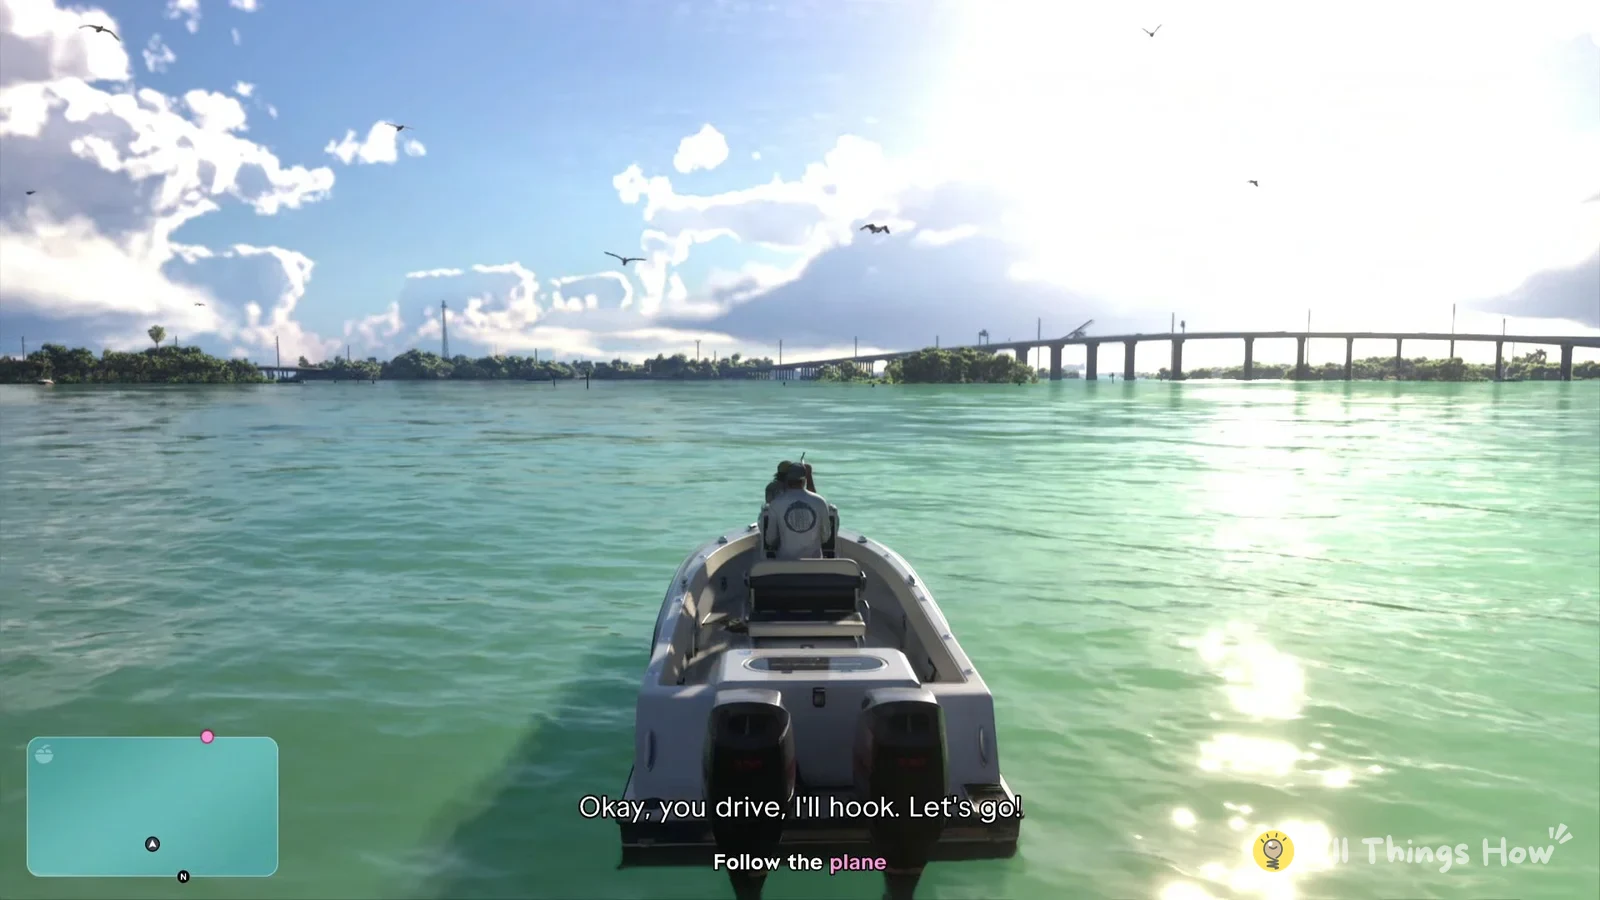
The UI tab in Settings controls these displays, and GPS Route and GPS Turn Indicators are on by default. As you head to a mission destination, the minimap draws the route in pink and shows the distance remaining. A box above the minimap displays the next turn.