Raw slashing used to be the fast lane for Michael Myers in Halloween: The Game. That path is gone. Hacking straight at residents now lets them shrug off the hit, stun you, or sprint away before you can finish the job. The kit rewards patience instead, and the whole loop revolves around stalking a target to the top tier before you ever reach out to grab.
Quick answer: Stalk every victim to Stalk Tier 3, then grab. At Tier 3 they struggle slowly and can only break free with an immediate pocket knife, so a grab-and-execute beats swinging in almost every situation.
Why raw slashing no longer works
Direct melee on an un-stalked resident is weak. They recover quickly, and armed civilians can stun you with a flashlight or flare before you land a follow-up. Grabbing is the answer, but a grab only sticks when the victim is too frightened to fight it off. That fear comes from stalking.
Stalking to Stalk Tier 3 does the heavy lifting. At the top level a victim struggles far more slowly and cannot wriggle out of an execution grab. Their one remaining out is a pocket knife, and stalking to Tier 3 forces them to burn it right away or fail the struggle minigame outright. Slashing still has a place, but only as a way to apply a wounded state before you restalk and re-grab.
The stalk-to-execute loop
Build Bloodthirst early to snowball
Bloodthirst steadily shapes the match: actions against residents—including stalking—raise the meter. Completing a kill from start to finish is enough to reach Tier 1. Time alone will not lower it, but light, incoming damage, and being knocked down will.
| Tier | What it unlocks |
|---|---|
| Tier 1 | Shape Jump or Reality Tear reveals every high-priority resident on the map; slight boost to jump speed and weapon damage. |
| Tier 2 | Higher base speed and weapon damage, shorter ability cooldowns, and harder to knock down. |
| Tier 3 | Big health and damage increase, further reduced cooldowns, and grabbed victims struggle much harder to break free. |
The Tier 1 reveal is why patience pays off in the opening minutes. It shows you where the highest-value targets are, giving you a chance to eliminate them before civilians move them.
A group turning on every lamp in a house is doing more than concealing itself. Since light lowers your meter, they are weakening your damage and cooldowns before the encounter begins.
Kill order and special targets
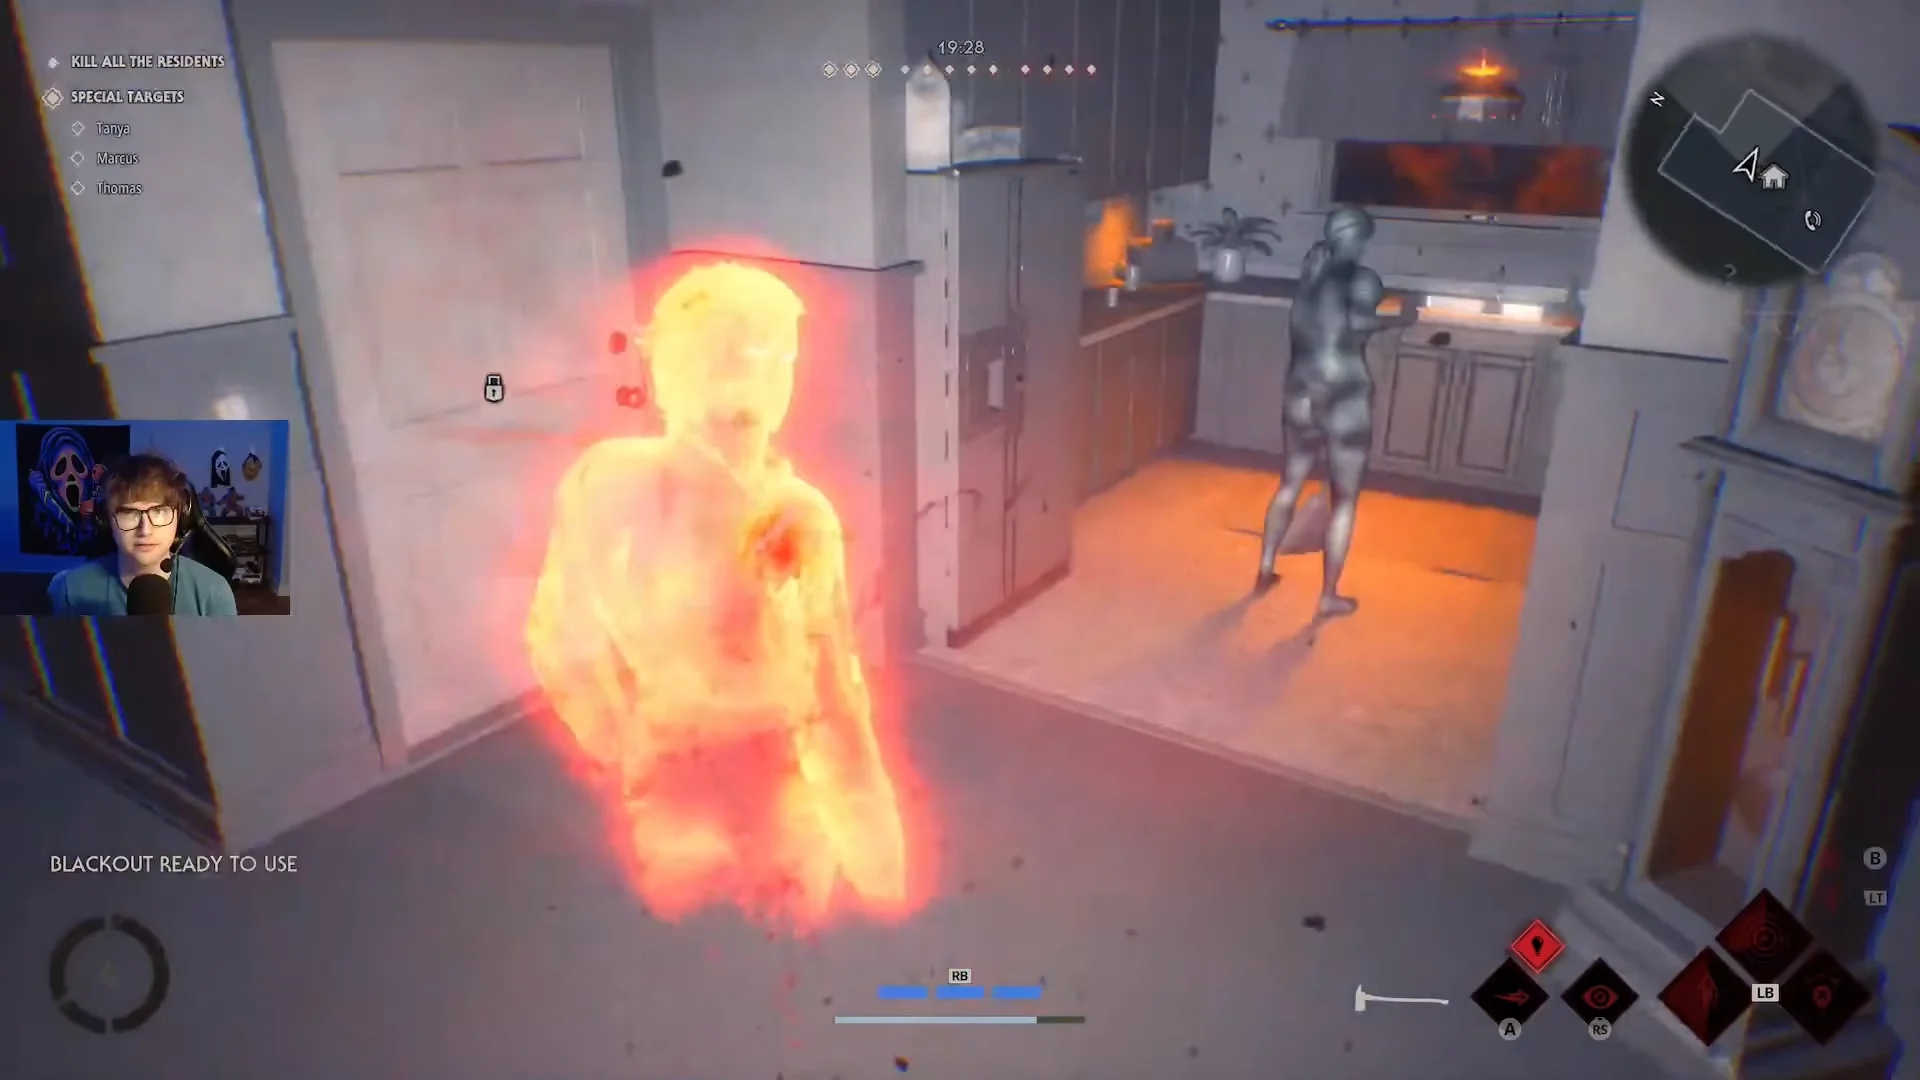
The screen’s upper edge divides the neighborhood into three groups with different point values. Key residents on the left are worth the most. The center holds more numerous, low-priority residents who make straightforward early kills. The right shows the four human players, who must escort everyone else out before saving themselves.
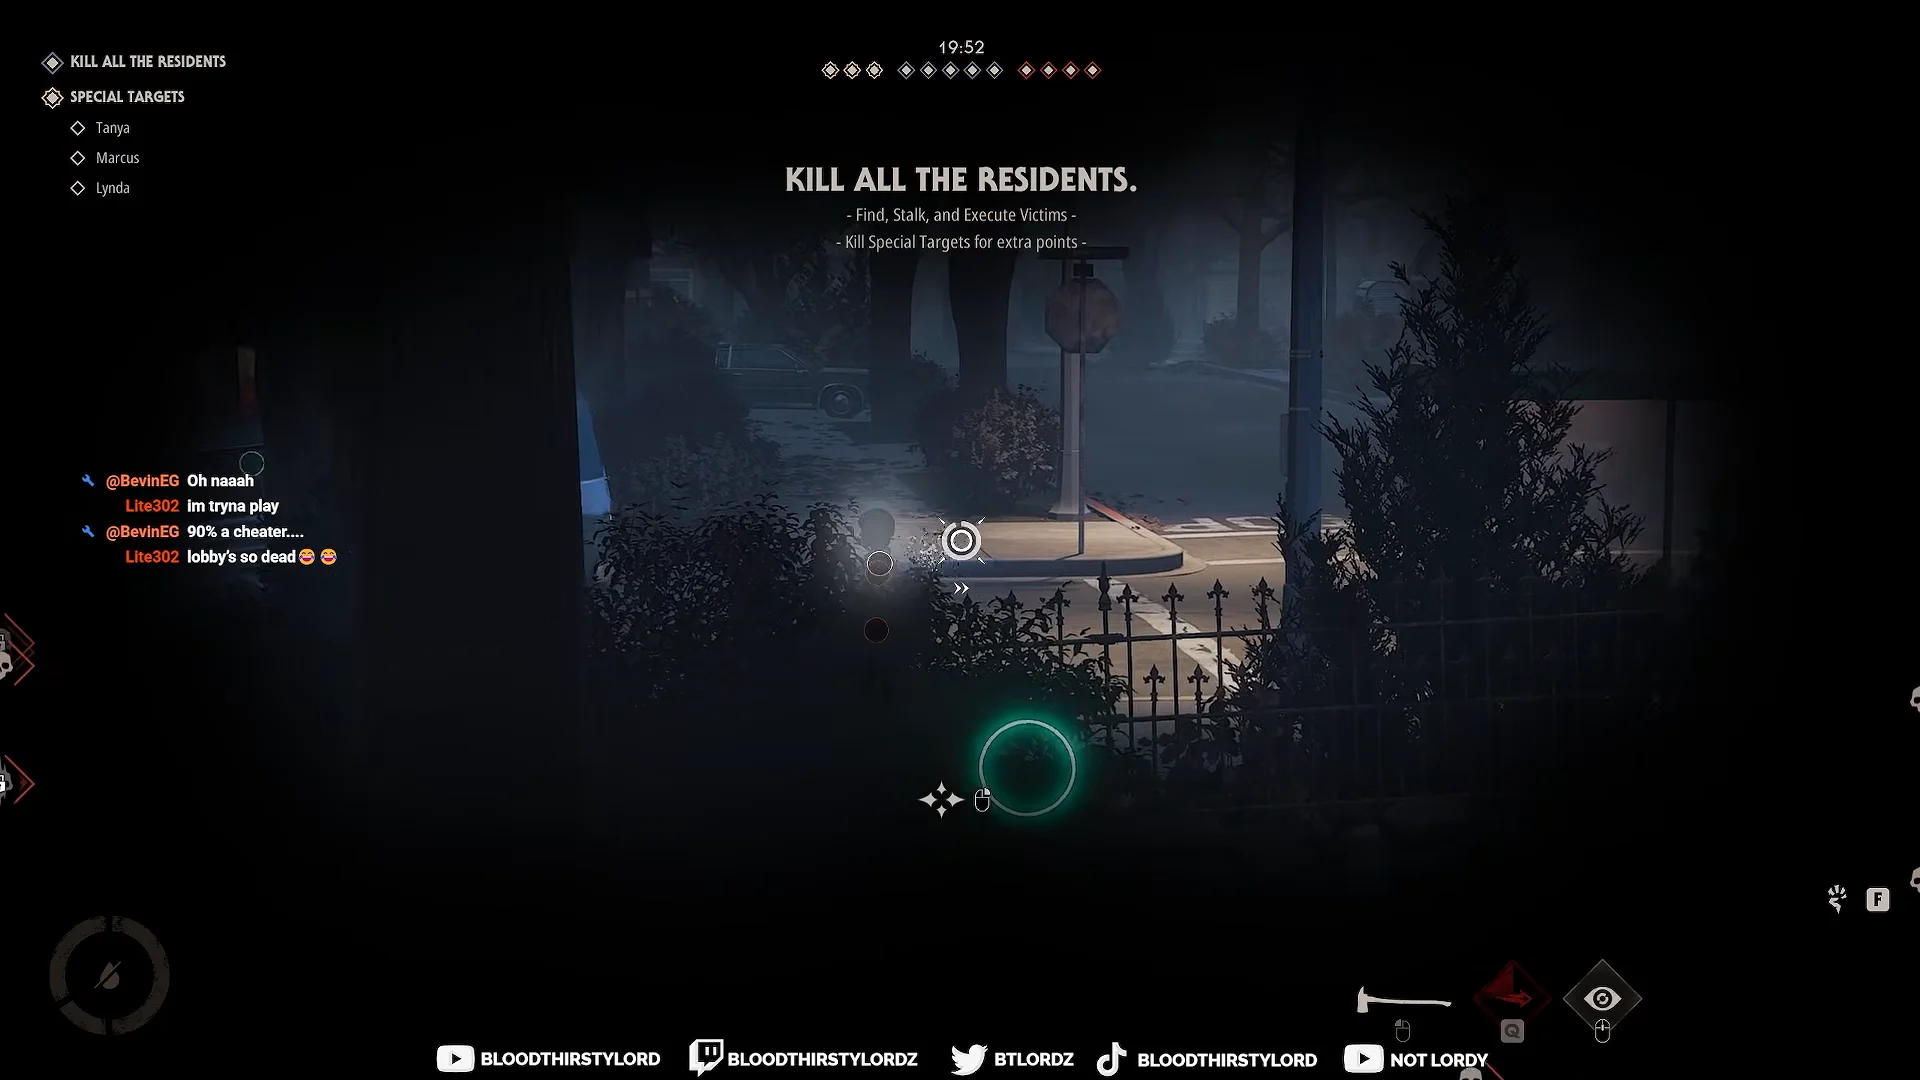
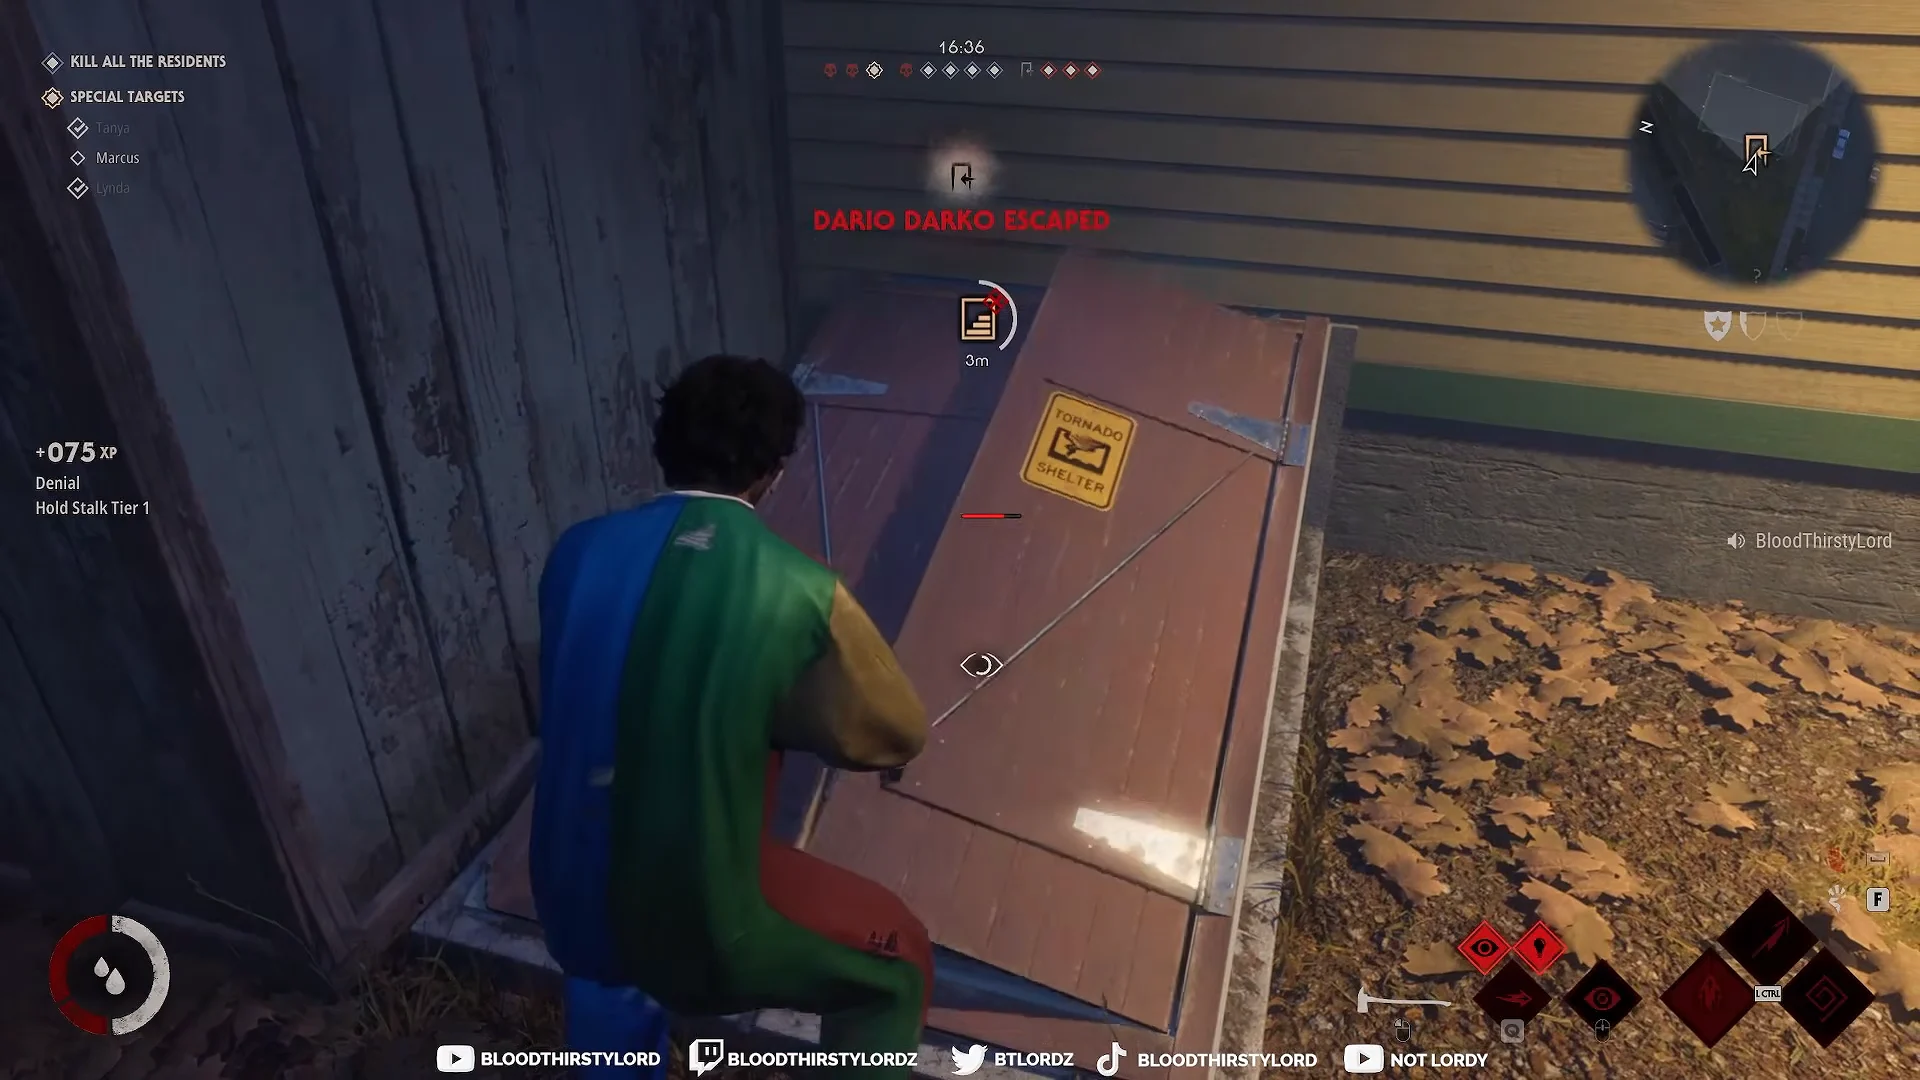
When a resident escapes, their points go to the civilian side, making a feed notice that a special target got away especially costly. Special targets such as Lynda, Tanya, and Marcus operate on a timer and award large point bonuses, so hunt them first after Bloodthirst reveals them. Avoid human players during the opening minutes: they are the hardest targets, and chasing them earns nothing while your Bloodthirst meter is empty.
Own the dark with Shape Jump
Use Shape Jump mainly to get around the map, rather than as a chase move. You travel faster in this state, are effectively invisible, see nearby residents’ outlines, and pass through fences, doors, and windows. Tap jump for an extended lunge that covers ground or closes the final few feet.
Direct light, a resident watching you, or standing too near one will prevent you from starting or ending Shape Jump. Trying anyway makes you glow red instead of disappearing. Crossing a light source during a jump also briefly reveals you on the civilians’ minimap, so avoid lamps when players are nearby.
Destroy the power boxes mounted on house walls to shift things in your favor. The building loses power, every window becomes accessible, and frightened occupants build stalk progress faster. A closet or car serves as a hiding place and gives you a free exit, allowing you to appear in a house the civilians think is sealed. Phone lines are a separate objective: cutting them stops residents from calling police but leaves the lamps unaffected.
Abilities and how to spend them
Shape Jump and Killer Sense are permanent parts of your kit. You may add up to three abilities, and Reality Tear, Blackout, and Detection Pulse make the strongest default setup.
| Ability | Best use |
|---|---|
| Reality Tear | Forces Shape Jump to activate even in light or while you are watched. Use it to break out of a corner, escape the downed state, or appear behind a fleeing target near a context kill. |
| Blackout | Kills power in a radius, unlocks and shuts doors, counters flashlights, knocks riders off bikes, and disables a running car or police car. |
| Detection Pulse | Marks nearby targets through walls, revealing hidden residents and civilians; save it for a target who just slipped away. |
| Shadow Strike | Throws a shadow knife that blinds and slows, useful against a resident trying to loop you. |
| Evil Presence | Staggers nearby civilians, briefly toughens Michael, and extends grab range to catch a target slightly too far. |
Blackout only lasts for a short time, so choose your way in before activating it; darkening a street and then walking openly down it wastes the opportunity. Save Detection Pulse for the late game, since early on every house is occupied anyway.
Context executions for faster kills
Walk a held resident toward the right object and a single interaction triggers a cinematic kill. These finish faster than a standard execution because they take one input after the grab, and Reality Tear lets you ambush straight into one without stalking first.
| Execution | Object used |
|---|---|
| Window Crush | A sash window slammed on the neck |
| TV Zap | A powered television set |
| Fireplace kill | A lit fireplace |
| Barbell Press | A weight bar in a garage or home gym |
| Flamingo Stab | A plastic lawn flamingo |
Weapons found on the map, including the axe, pickaxe, and pitchfork, are also effective. At Bloodthirst Tier 3, the axe and pickaxe each reliably deliver a heavy kill in two hits, while also breaking doors and wrecking escape vehicles. Michael’s signature kitchen knife is slow, so keep it as a fallback rather than an opener.
Deny escapes and manage the police
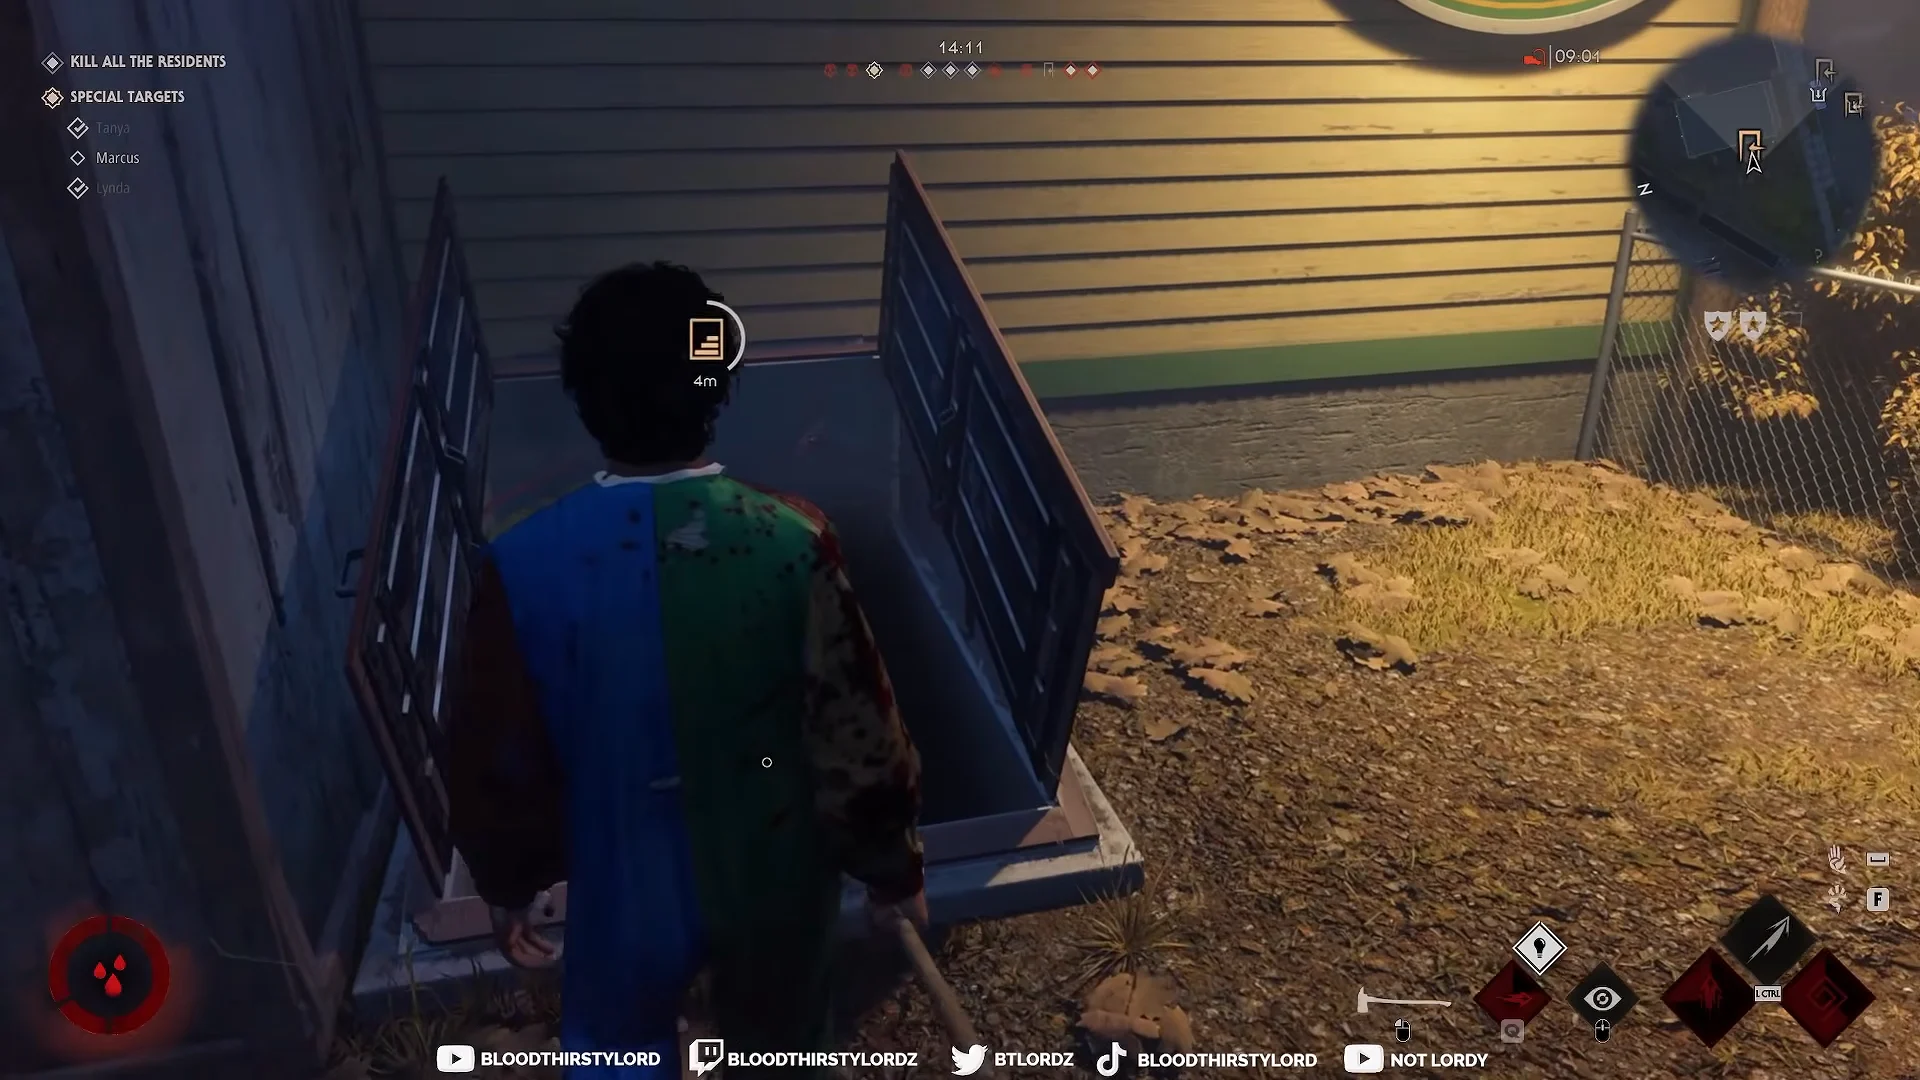
Residents can flee through storm cellar hatches on the map. When you spot an open one, interact with the doors to shut the route and keep the points on your side.
Police provide the opposing pressure. The feed goes from one officer arriving to additional cops showing up; once enough are patrolling, residents can call a police wagon, which then arrives as an escape route for those still there. Officers and armed civilians can shoot Michael into a downed state, but a timed button-press minigame gets him back on his feet with full combat function. Chase and execute the shooter to maintain control.
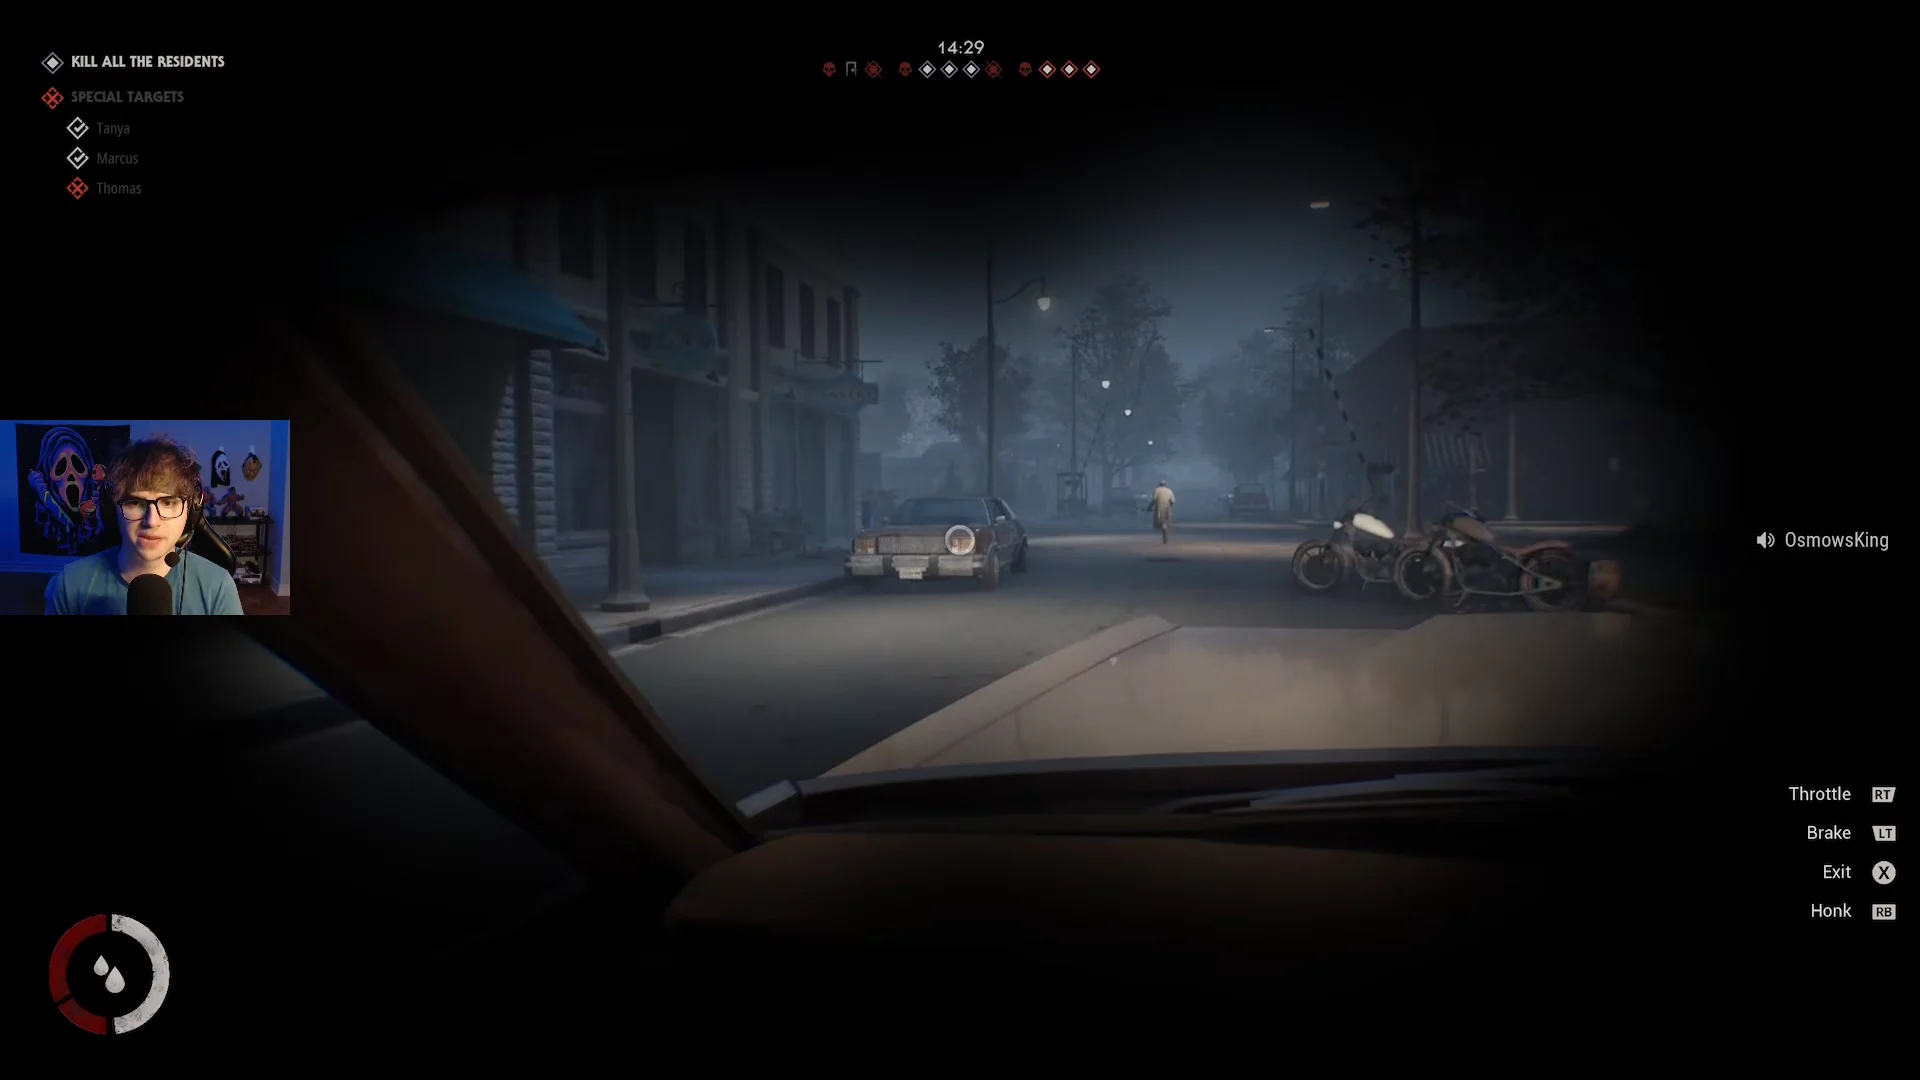
Use driving mainly to cross large maps such as Haddonfield Town Center and Orange Grove Estates. A station wagon can run down stragglers, but the tactic costs time and reveals your position.
How you know it worked
A clean run pays off two ways. Kill everyone and the screen confirms it with an all-residents-killed message followed by game over. Short of that, the end screen tallies your kills against everyone the civilians saved and posts a Killer Rating, with a Slaughterhouse result marking a strong Michael victory. If a surviving Dr. Loomis or deputy manages to detain The Shape with enough firepower, that counts as a loss instead. The story mode, played entirely as Michael, is the low-pressure place to drill the stalk-then-grab habit before taking it into a 1v4 lobby on PS5, Xbox Series X|S, or PC.