The Commander in Hell Let Loose: Vietnam steers the whole team without doing much of the shooting. Your job is to build a steady resource economy, keep spawns alive, and time your abilities so they land where they hurt the enemy most. Everything below is about running that role effectively for your faction, whether you play as the US or the NVA.
Quick answer: Ping resource node and garrison locations for your squad leaders to build, keep supplies flowing through airdrops and vehicles, spawn tanks slowly, and only fire strikes right after a recon plane once squad leaders confirm enemy positions.
What the Commander actually does
This is a control role, not a gunfighting one. Most Commanders spend the match at the HQ, watching the map, pulling reports from squad leaders, and spending resources. You can push forward with your soldiers and fight if you want, but that is not where the role earns its value.
Communication is the one thing you cannot skip. Squad leaders are your eyes on the ground, and they only follow orders if you keep the channel active and civil. Being toxic makes you useless, because leaders simply stop reading your calls. Ask them for information often, and expect them to pull the same information from their own squad members.
The four resources and what each one buys
There are four resources in play: Munition, Manpower, Fuel, and Supply. The first three come from resource nodes and can be converted into one another for a fee. Supply is different, and it exists only to build things.
| Resource | Main use |
|---|---|
| Munition | Offensive abilities such as air strikes, artillery strikes, recon planes, and supply airdrops. |
| Manpower | Infantry-focused abilities, faster capture and defense, dismantling friendly garrisons or tunnels, and boosting node output for a set time. |
| Fuel | Logistics, meaning tanks, trucks, helicopters, and boats. |
| Supply | Construction only. Garrisons, anti-air guns, defensive structures, and the resource nodes themselves all cost supplies. |
You cannot generate Supply from nodes. It arrives through Commander abilities that spend Munition or Fuel, or from the Specialist role.
Getting supplies onto the map
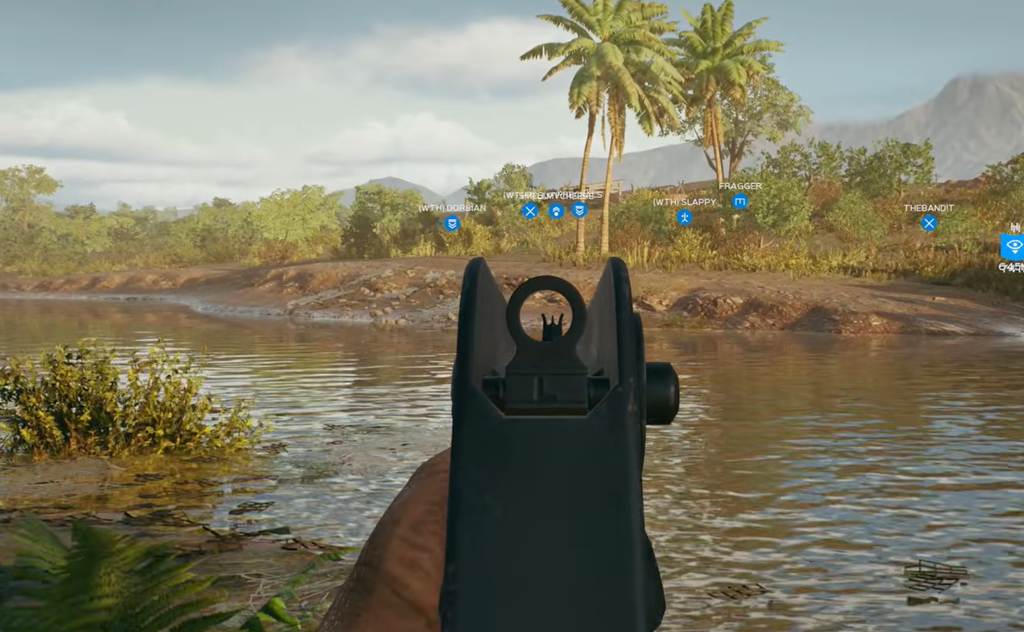
Both factions have three ways to drop supplies. Only the airdrop is fully automatic; every other method needs a real player to drive or fly the delivery to the marked spot. Each vehicle carries two supply units of 150 supplies each, and once empty it can return to a repair station at the HQ to refill.
| Method | Faction | Notes |
|---|---|---|
| Airdrop | US and NVA | Fully automatic, no player delivery needed. |
| Supply Truck | US and NVA | Needs a driver to reach the drop point. |
| Supply Helicopter | US | Lands on designated points and drops supplies. |
| Boat | NVA | Carries supply boxes along water routes. |
Set up nodes and garrisons first
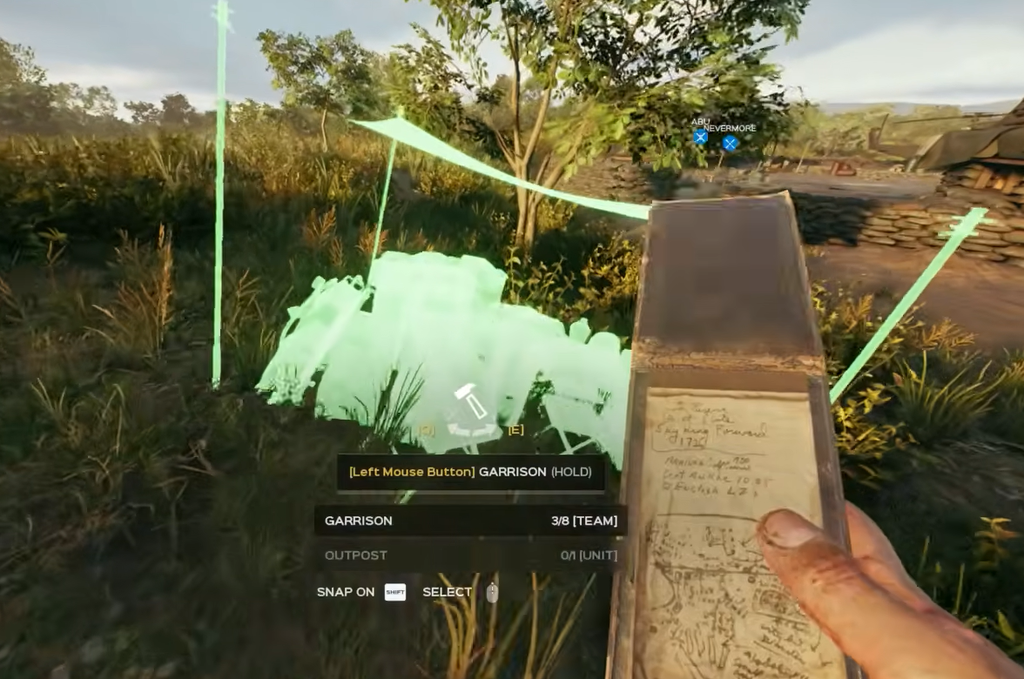
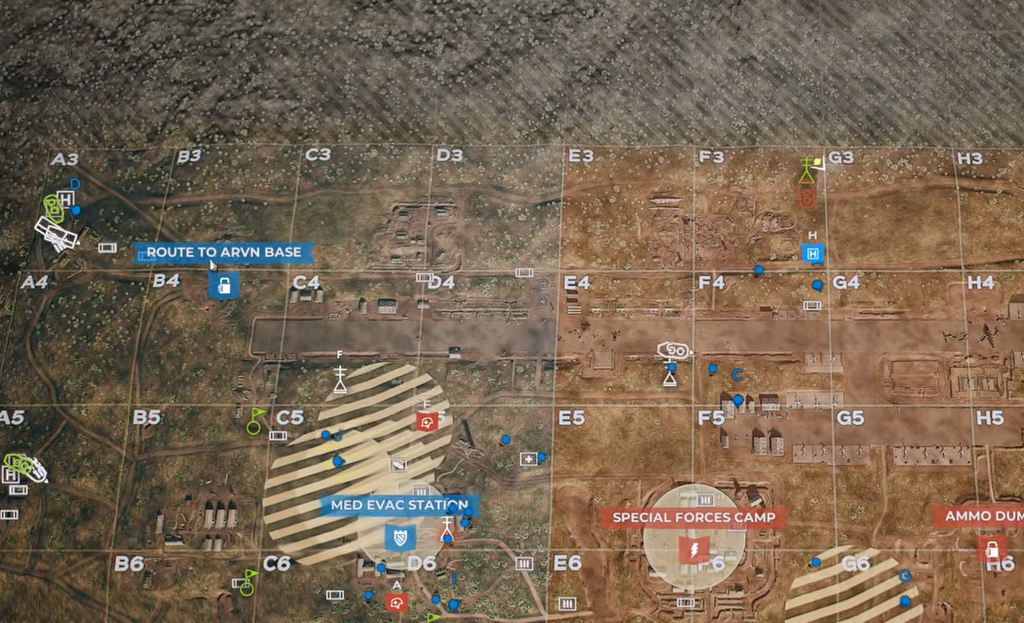
Your opening move every match is to ping the spots where you want resource nodes built. Only Engineers can lay the blueprint, but any role carrying a hammer can finish the build. Nodes generate Munition, Manpower, and Fuel over time, so the earlier they go up, the more you can spend later.
Build nodes near your HQ. Placing them close to home makes them much harder for the enemy to find and destroy. Once nodes are marked, ping the locations where you want garrisons and ask squad leaders to build those next.
Building garrisons is a shared job. Squad leaders can and should build them too, so do not let the whole team lean on you as a supply-drop machine.
Spend Fuel slowly and defend the approaches
Vehicles are expensive and easy to lose, so drip them out rather than spawning everything at once. This matters most on the US side, where helicopters often crash when inexperienced players take the pilot seat. A steady flow of armor keeps you from bleeding Fuel on wrecks.
When you are defending a sector, tell squad leaders to have their Engineers and Specialists build defensive structures on the main roads leading in. These barriers slow an all-out push and blunt enemy tanks before they reach the objective.
Recon and strikes: timing wins fights
Strikes cost a lot of resources and sit on long cooldowns, so a wasted one is a real setback. The reliable pattern is to scout first, then strike.
Never call a strike off a single report. Wait for a second squad leader to confirm the target so you are not bombing empty ground on a bad tip.
Protect your garrisons, hunt theirs
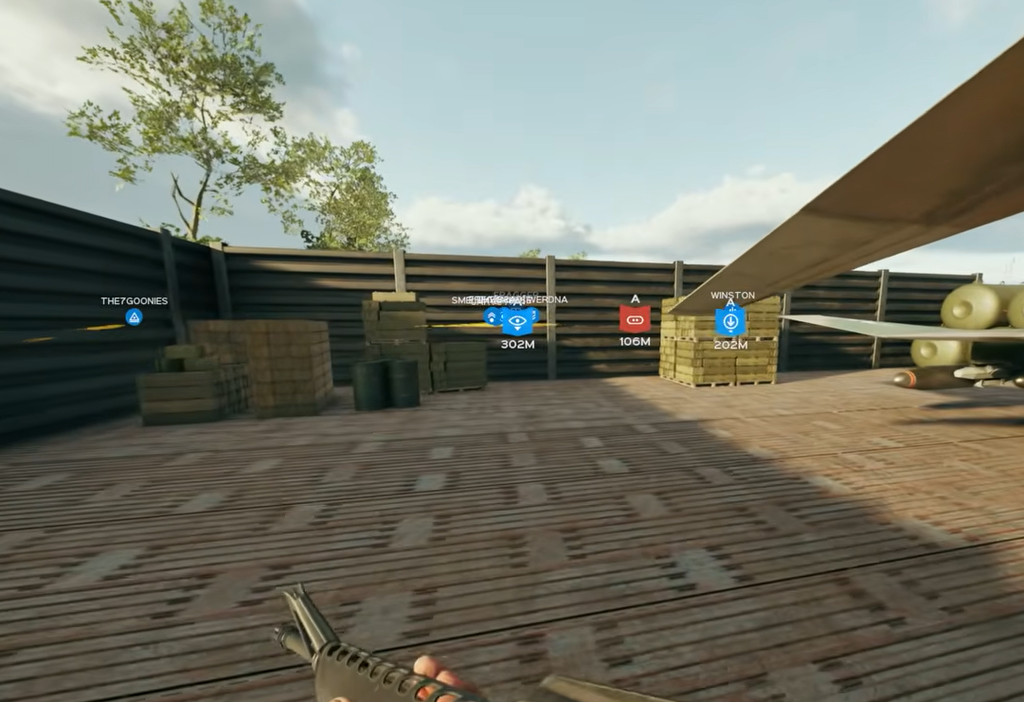
Spawn points decide matches. When a team loses garrisons near the contested sector, its soldiers fall back on outposts or spawn farther away, which costs time and lets the other side flood the point. Cutting the enemy off from their spawns is one of the biggest swings you can create.
Keep reserve spots ready. Garrisons in enemy territory or near the contested sector are likely to be spotted and destroyed, so pre-drop supplies at a backup location. The moment a garrison falls, tell a squad leader to rebuild at the reserve spot right away.
As the NVA Commander, you also get a network of tunnels for fast travel and flanking. Tunnels cost no supplies, which makes them very accessible, so ping the points where you want them built. A tunnel network that loops around your own sector or the target sector lets your units cover multiple sides at once. Because of this, NVA teams recover from a lost garrison more easily, which forces US players to deal with both garrisons and tunnels at the same time.
Destroying enemy garrisons and tunnels
Precision Strike is the strongest tool for wiping out enemy garrisons or tunnels, but it needs an exact location marker from a soldier who spotted the structure. Since these builds are stationary, once the position is revealed they are easy to hit. If you cannot pin the location precisely, a Bombing Run or Artillery Strike covers a wider area and still gets the job done.
Soldiers can dismantle enemy garrisons by hand, but it is rarely quick. Both garrisons and tunnels mark nearby enemies on the map, so sneaking in to blow them up is difficult. Between managing your own spawns and dismantling theirs, staying on top of the garrison map is what separates a Commander who wins the objective from one who slowly loses it.