Shuten Doji is the fight that decides whether you actually learned Musashi’s defensive toolkit or just mashed your way through Kyoto. He starts slow and readable, hands you a decapitation cutscene, and then splits into two enemies who both throw fire at you. On normal difficulty he is beatable in a couple of attempts, but only if you stop him healing in the first half and keep your resources for the second.
Quick answer: Pressure Shuten Doji with fast combos every time he raises his gourd so he cannot heal, deflect his big sword swings for free damage, then in phase two shoot the floating head to cancel his most dangerous attack, evade repeatedly to shake off Burning, and spend your Awakened Onimusha form on Issen counters before it fades.
Shuten Doji fight structure: two phases, one health pool you cannot reset
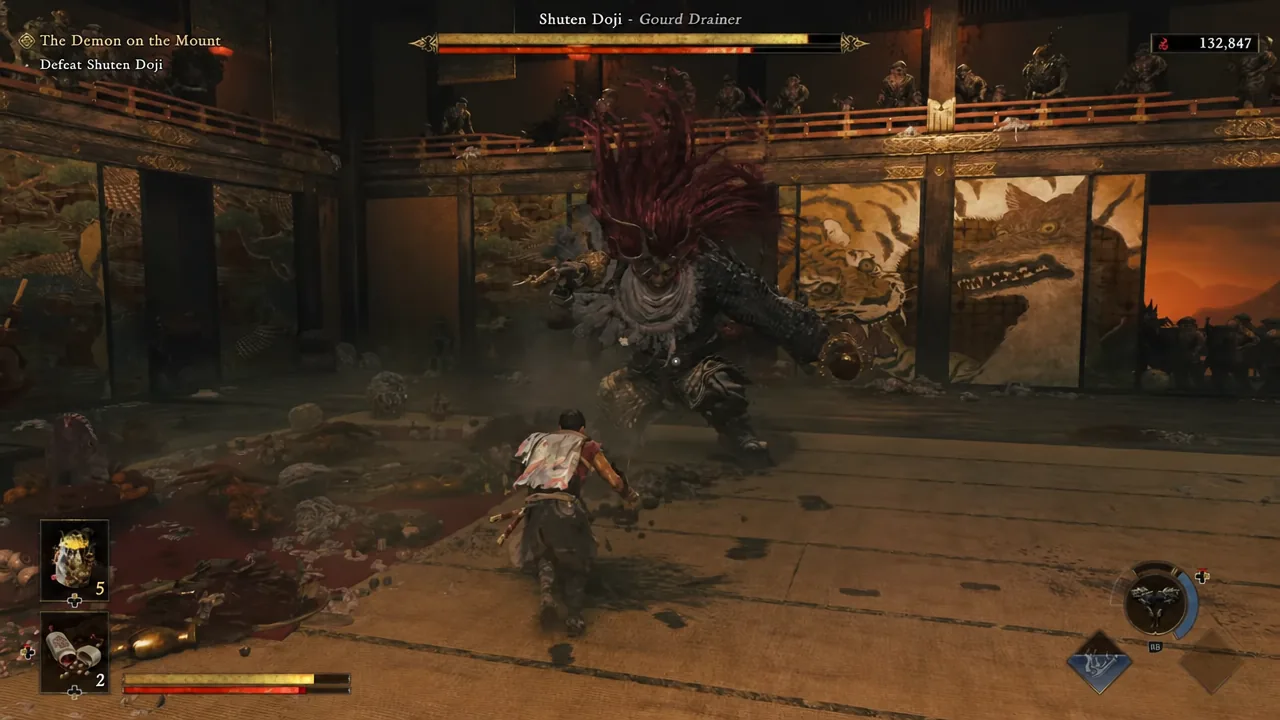
The encounter runs under the mission banner “The Demon on the Mount” with a single objective, “Defeat Shuten Doji.” His health bar is labelled Shuten Doji – Gourd Drainer, and the fight is split into two clearly separated stages divided by a cutscene.
| Phase | What you fight | Main threat |
|---|---|---|
| Phase 1 | Shuten Doji with his oversized sword | Wide sweeping swings and self-healing from his gourd |
| Transition | Cutscene decapitation | None — unskippable setup for phase two |
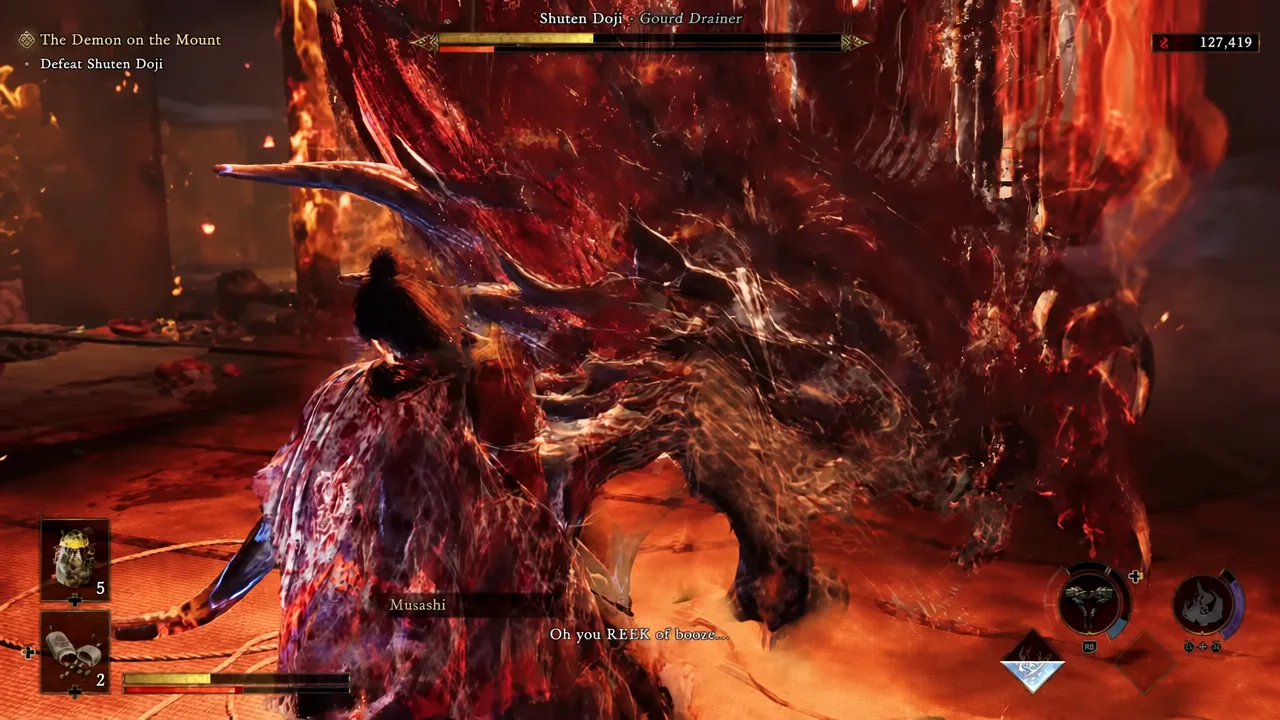
| Phase 2 | Flaming floating head plus the headless body | Simultaneous fire breath and sword strikes, Burning status |
The important structural detail: dying in phase two restarts you at the beginning of phase two, not the whole fight. You do not have to redo the sword duel. What you do not get back are your Hozuki pouch charges — the game will not refund anything you burned through in the first half.
Reflex Dodging and clearing the Burning status
Two prompts appear during this fight, and both are worth internalising before phase two starts. Reflex Dodging is triggered by pressing the dodge button just before an attack connects, which gives you a clean escape from swings that are too wide to answer with a counter.
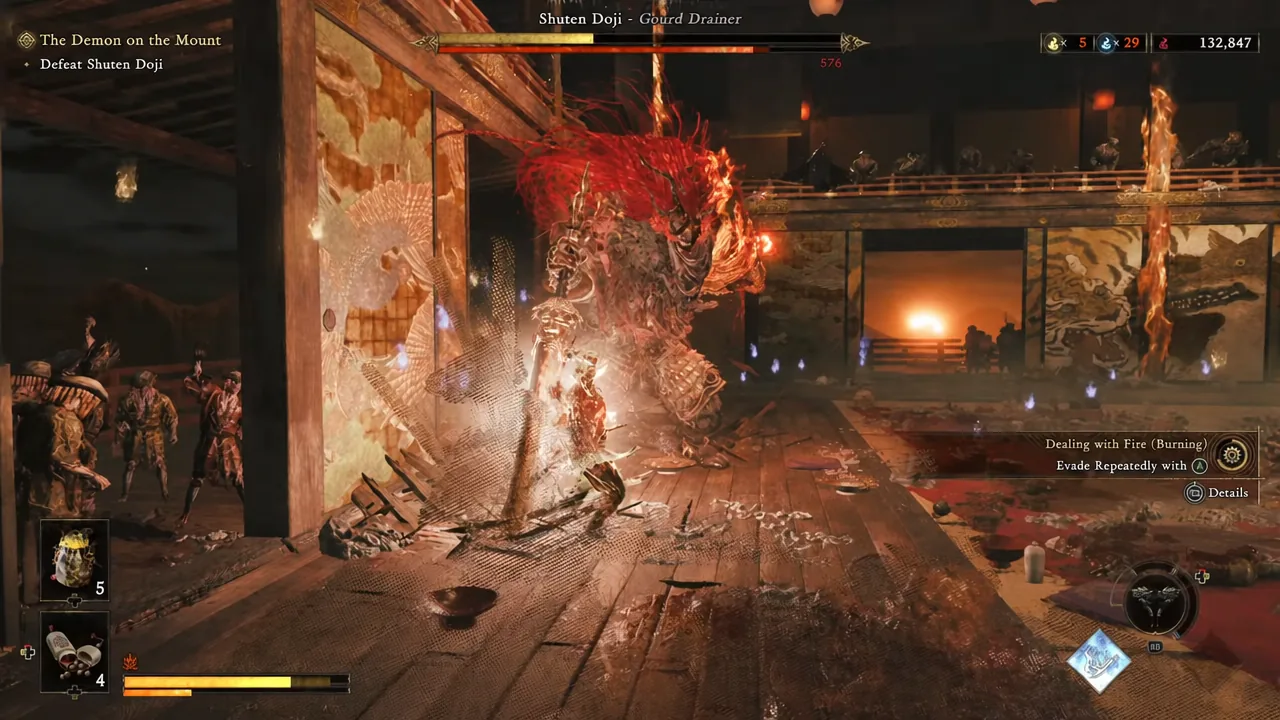
The second prompt covers fire. Once you catch alight, you keep losing health until you evade repeatedly to smother the flames. Do not try to attack through it and do not stand still waiting for it to wear off — roll until the effect drops, then re-engage.
Phase 1: Deny the gourd heals
The opening half plays out in a large temple hall. Shuten Doji taunts you constantly and attacks with slow, telegraphed sword sweeps that cover a lot of ground but leave long recovery windows. Defensively this is one of the easier boss fights in the game — the danger is letting it drag on.
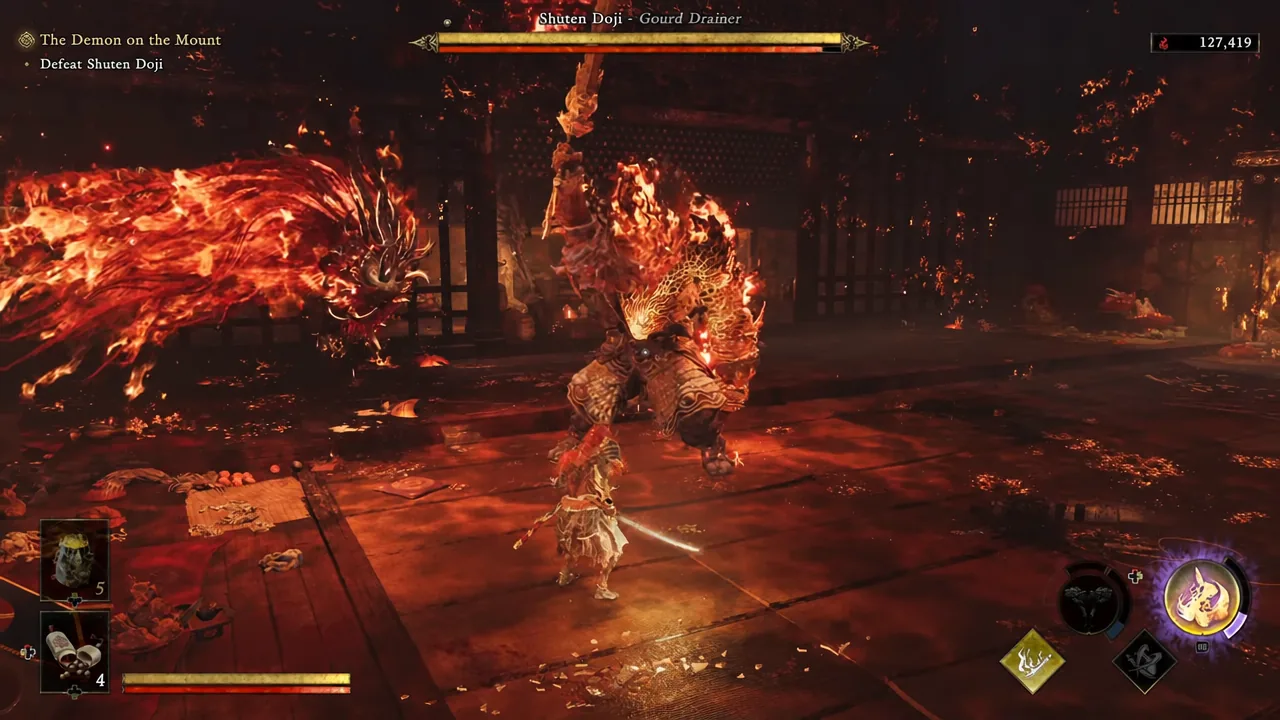
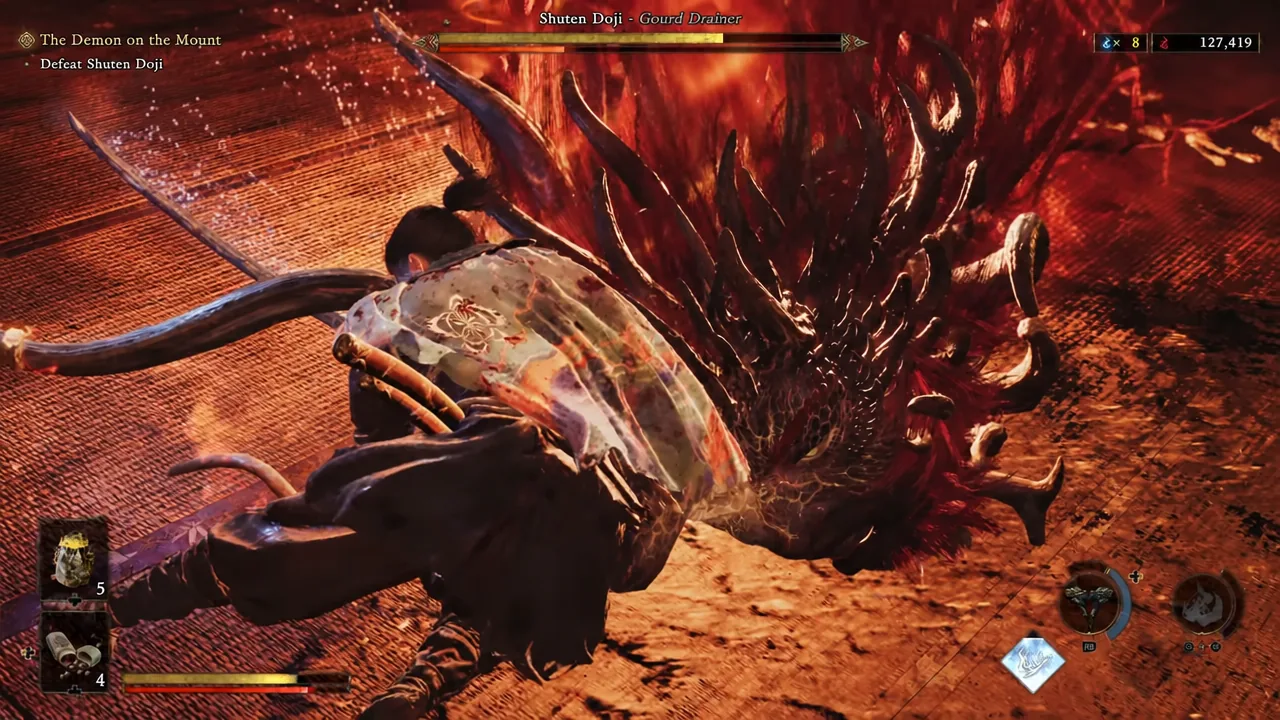
Tip: treat your Hozuki charges as a phase-two resource. Anything you drink here is gone for the harder half of the fight, and healing through phase one is rarely necessary on normal difficulty.
Phase 2: The floating head and the headless body
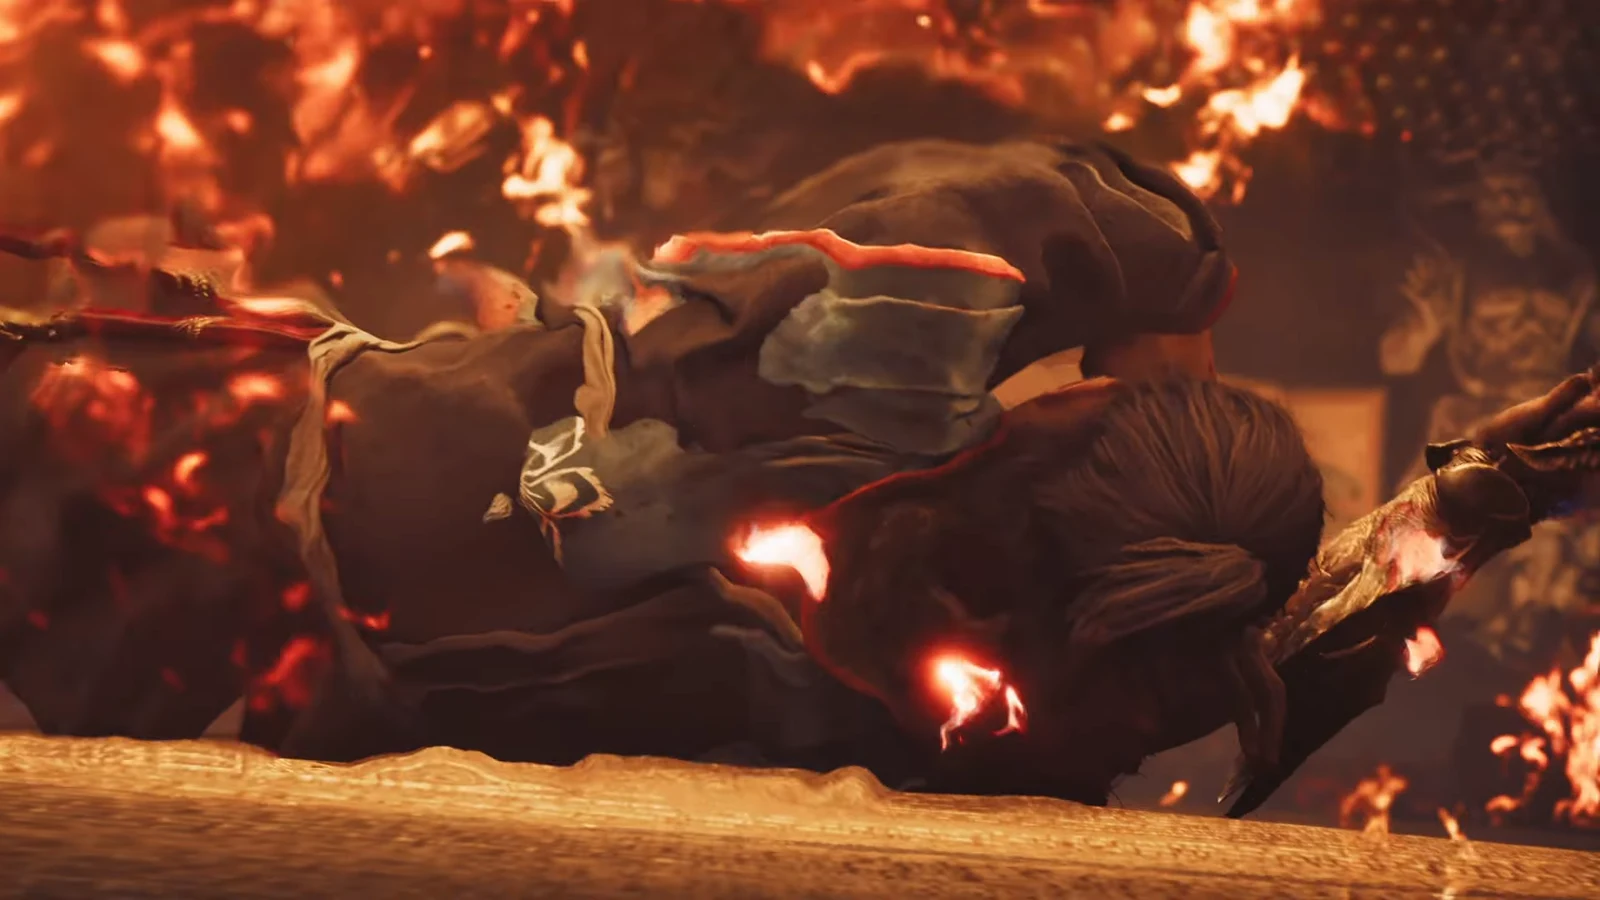
Emptying the first bar triggers a cutscene where Musashi takes Shuten Doji’s head off. That does not end anything. The severed head bursts into flame and lifts into the air, and the body reanimates and keeps its sword — you are now fighting two attackers that can act at the same time.
Retrying, and why the fight usually fails
If you die, the death screen offers Retry alongside options to enhance skills and equipment, open the Storehouse, change your Hozuki pouch, replay from the last save, or change difficulty. Retry drops you back at the start of phase two, so a loss costs you minutes rather than the whole encounter.
The three things that reliably end a run here are all avoidable. Letting the gourd heals stack in phase one drags the fight out and drains your supplies. Arriving in phase two with an empty Hozuki pouch leaves you with no recovery at all, because nothing is refunded at the phase break. And ignoring the Burning status while trying to keep attacking will chew through whatever health you have left.
How to confirm the fight is over
The kill lands on the head, not the body. When your final blow connects, the flames around the floating head go out and control is taken away from you for the closing cutscene. Shizuka credits Musashi’s strength, Okuni turns up to tease him for blushing, and the game moves to the briefing room — at that point the “Defeat Shuten Doji” objective is complete and The Demon on the Mount is done.
You leave the mountain with the Awakened Onimusha form permanently in your kit, which is the real reward here. Every boss after this one is easier to plan around once you know how long that transformation lasts and how much easier it makes landing Issen counters.