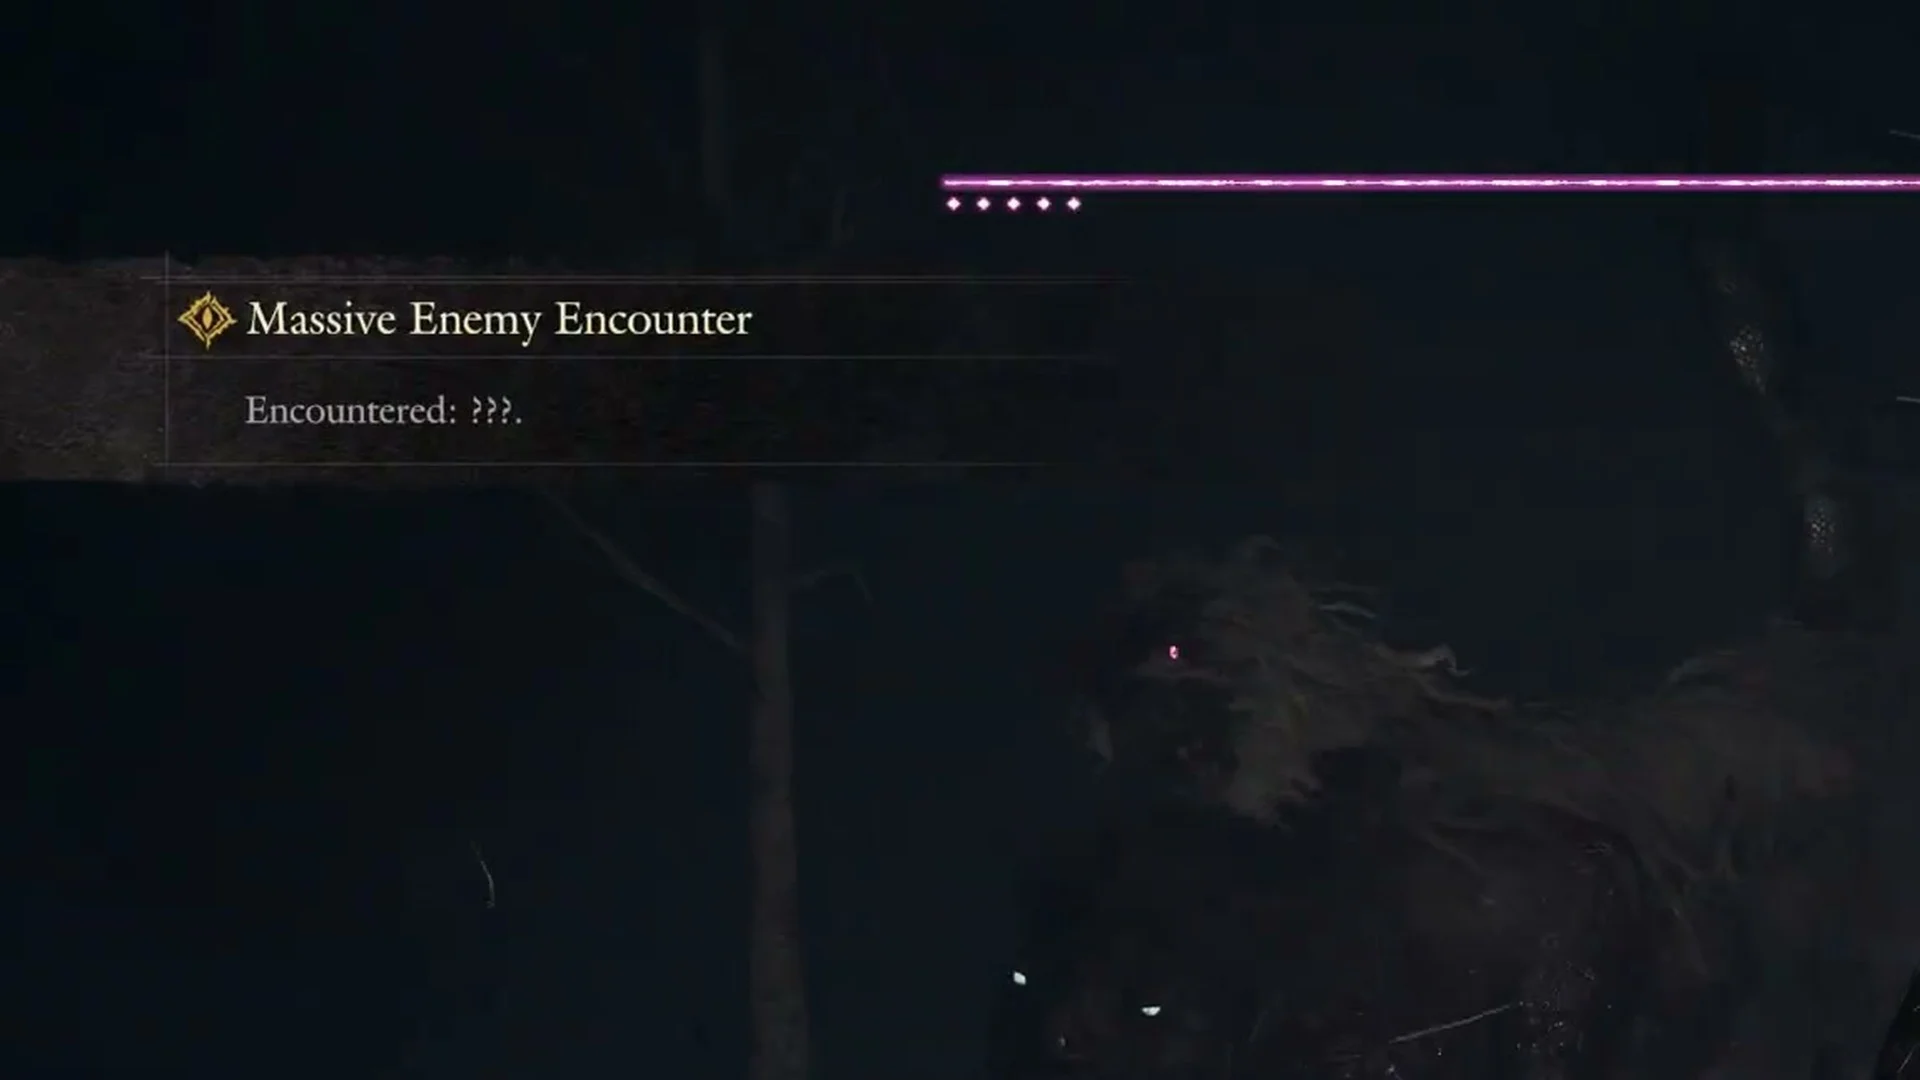
On the way to the Sealed Study, the screen flashes a banner reading “Massive Enemy Encounter” and the line “Encountered: ???.” The game never prints a name for the thing that follows, not on the banner and not over its health bar. What steps toward you is a three-part monster: a maned lion’s body, a shaggy horned goat’s head growing out of its back, and a long serpent for a tail. The only label the game ever gives it comes from its drop, the Freakish Mane, whose description calls it a chimera lion.
Quick answer: Start at its side, scramble up to the goat’s head and attack during its casting animation, then let go before it bucks. When fog spreads through the clearing, recover inside a pawn’s circle. Carry at least one Wakestone.
What the ‘???’ beast is and its health bar
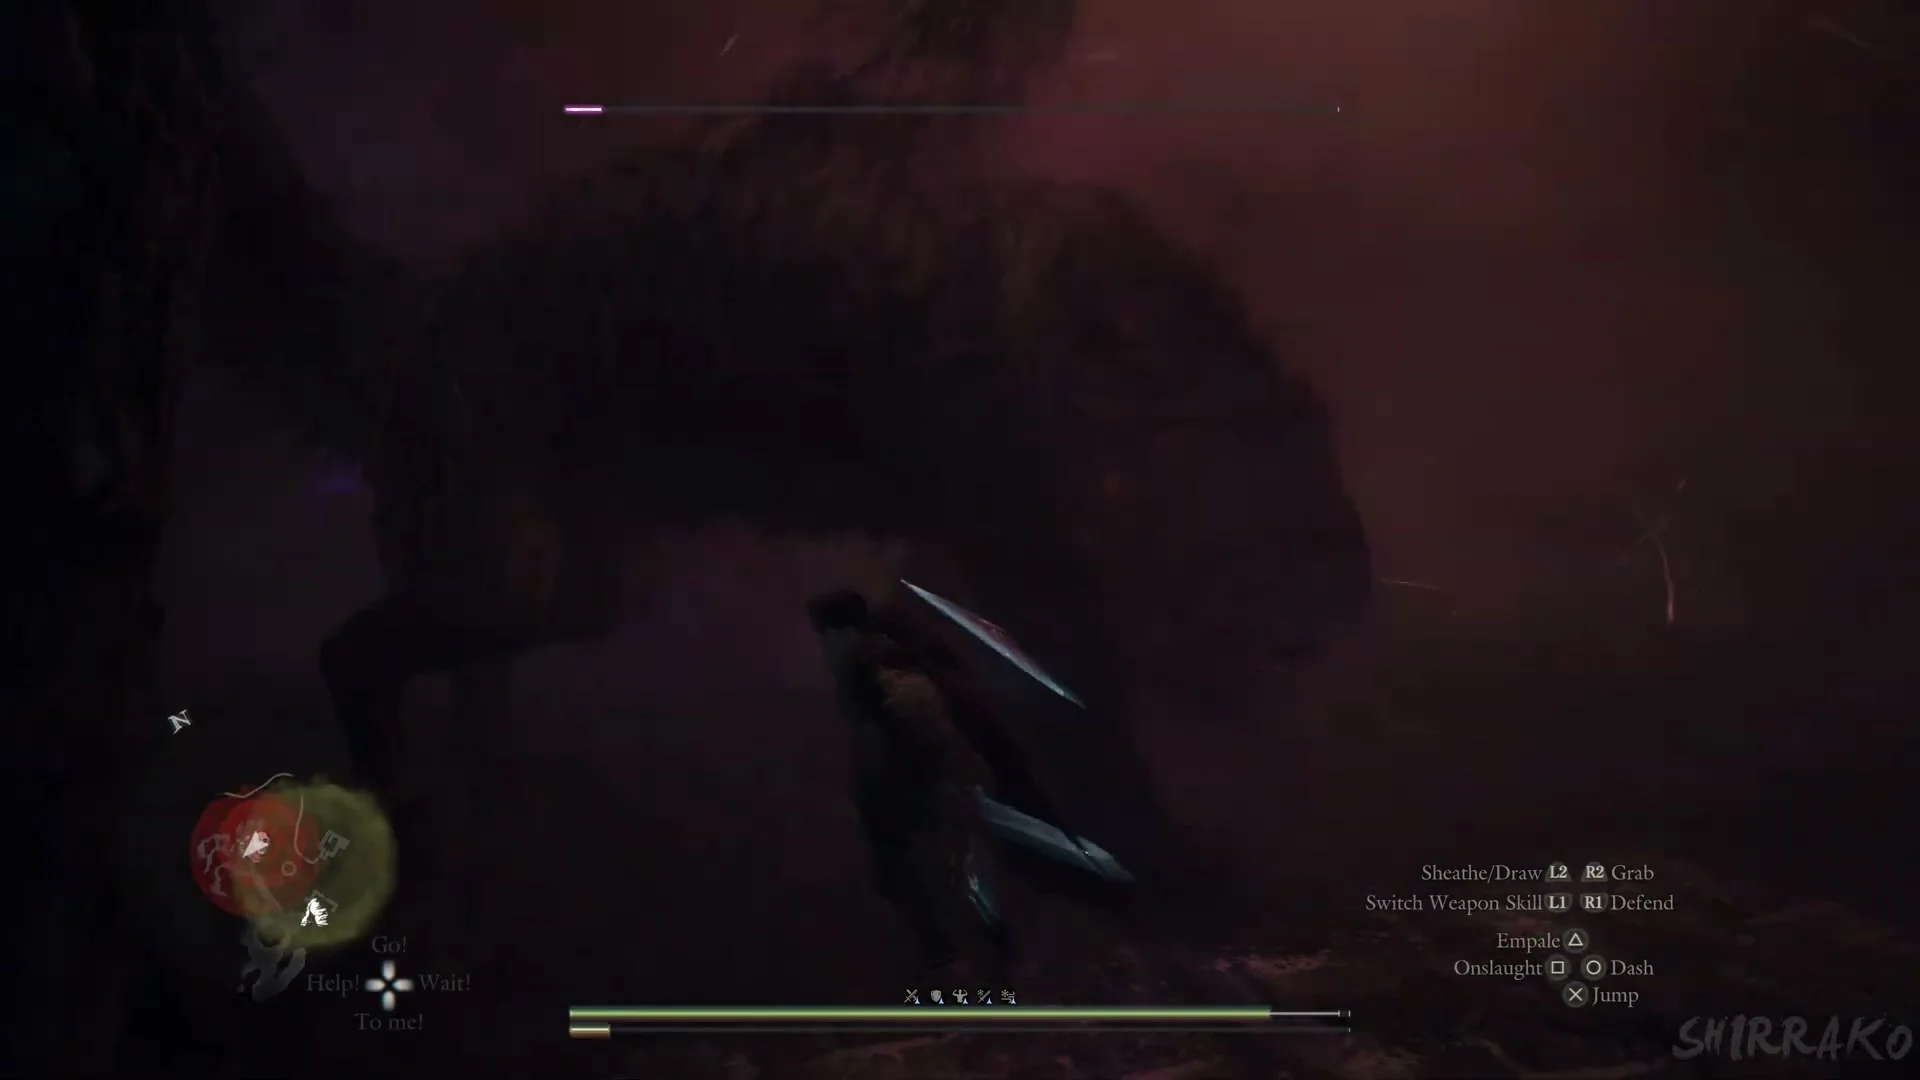
A lone purple bar stretches along the screen’s upper edge. Beneath its left tip is a set of five small dots, with no name displayed next to the bar. Each dot represents another complete bar: emptying the purple gauge removes one dot and restores the bar. The battle takes time, so be ready to clear all five dots before the beast goes down.
A chimera-type beast of this build has 80,000 Health, while a stronger version has 200,000 Health. Nothing on screen tells you which one stands in front of you, so bring curatives.
Where you meet the ‘???’ beast
A beast of the same build appears outside Brinerot Grotto, in the ruined courtyard of Mordria Temple, and at the Rancor’s Vortex near Northwall Campground. The first shows the “Encountered: ???.” banner; no banner shows at the Rancor’s Vortex.
| Location | Quest |
|---|---|
| Snowy woods outside Brinerot Grotto | Sealed History |
| Ruined courtyard of Mordria Temple | Where There’s a Will, There’s a Way |
| Rancor’s Vortex near Northwall Campground | Into Rancor |
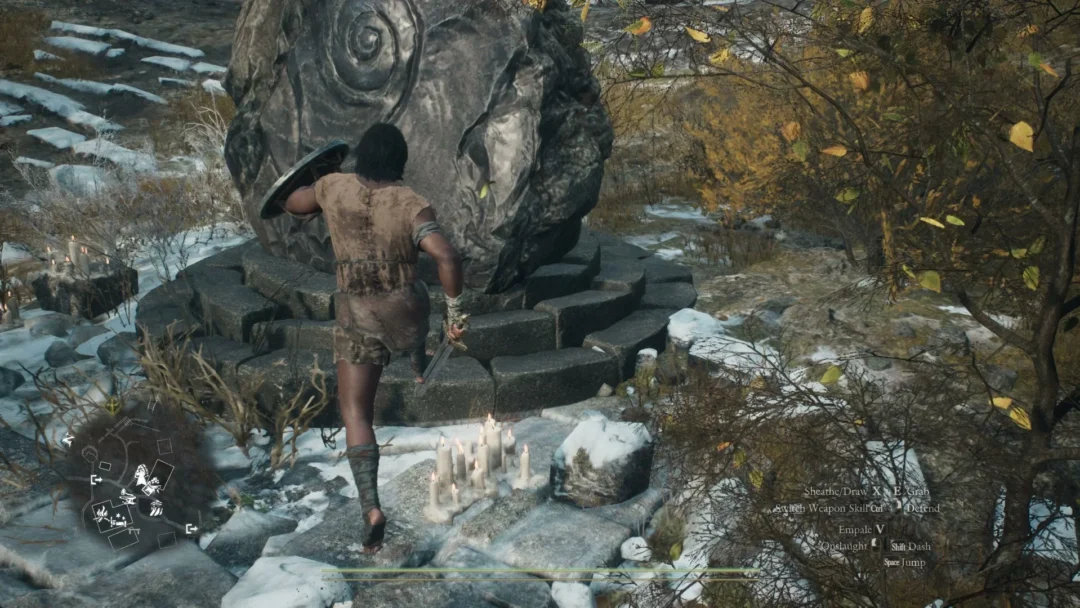
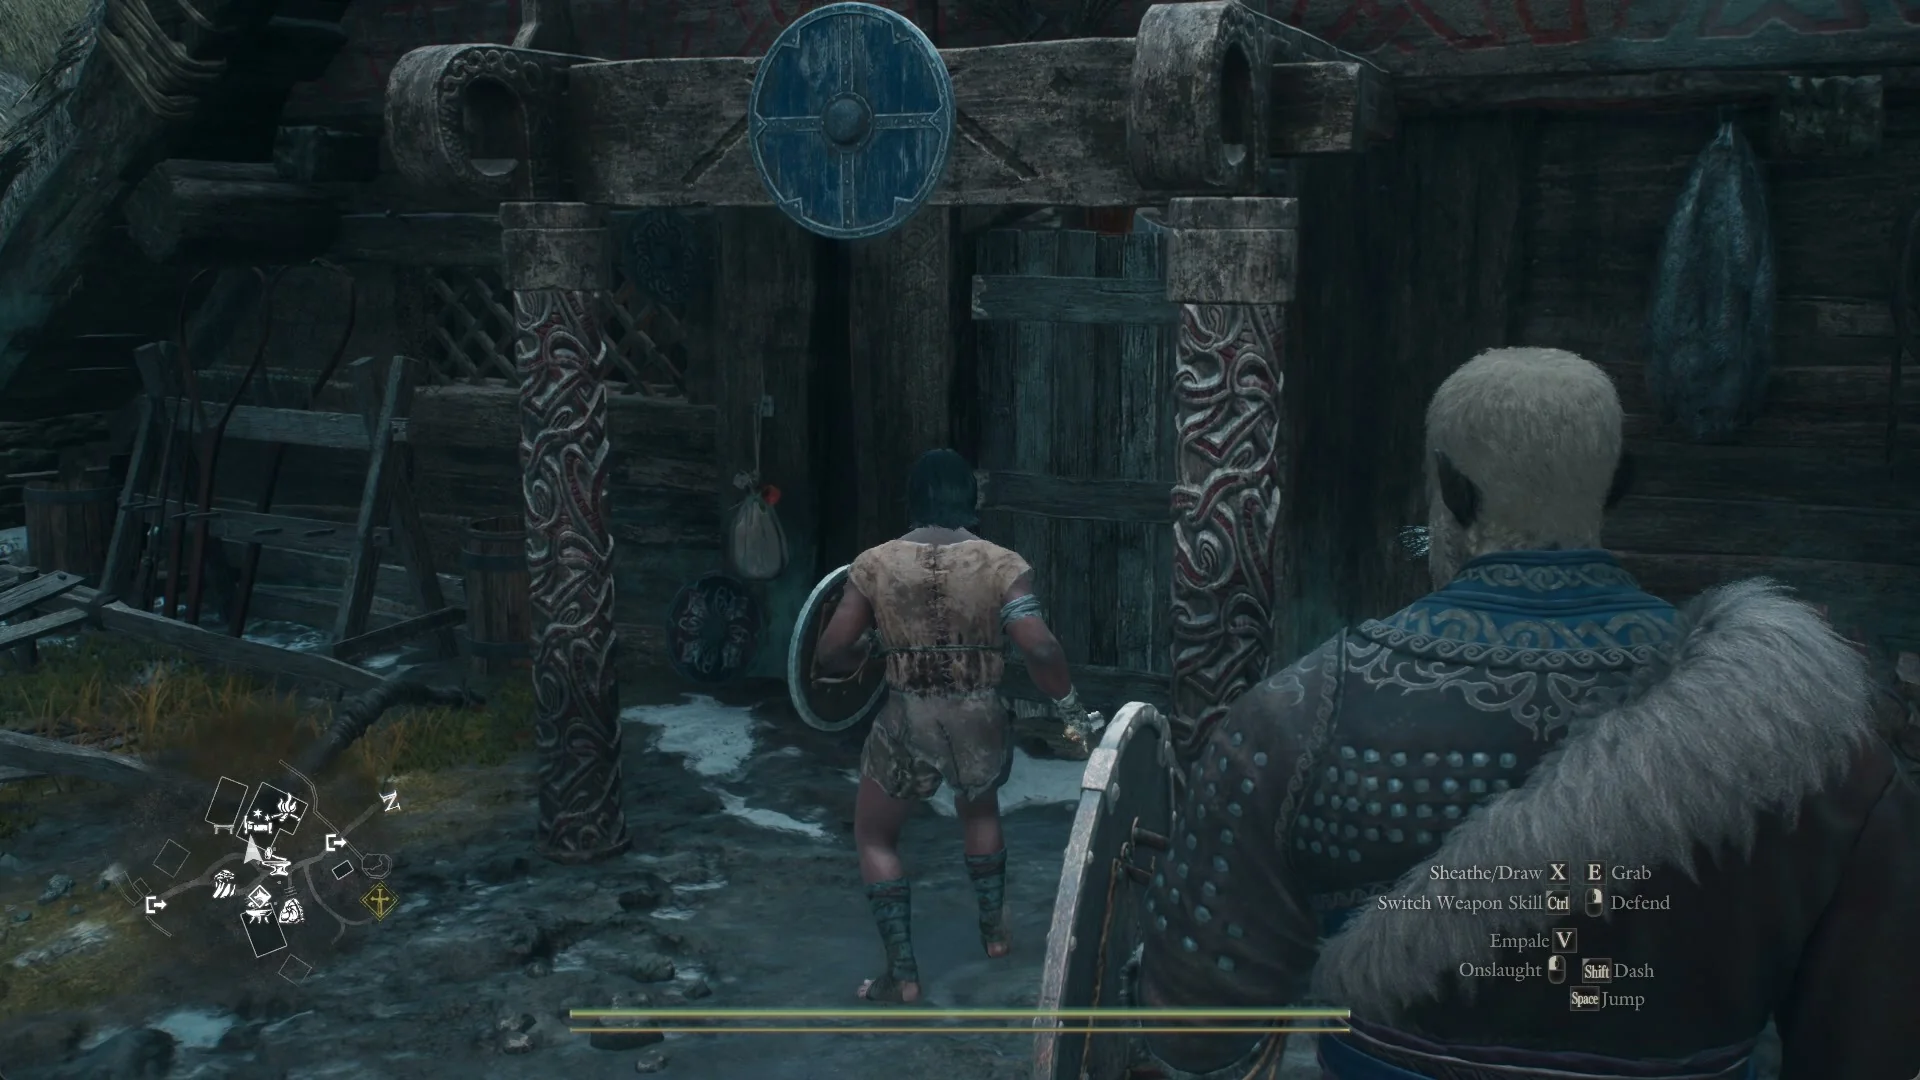
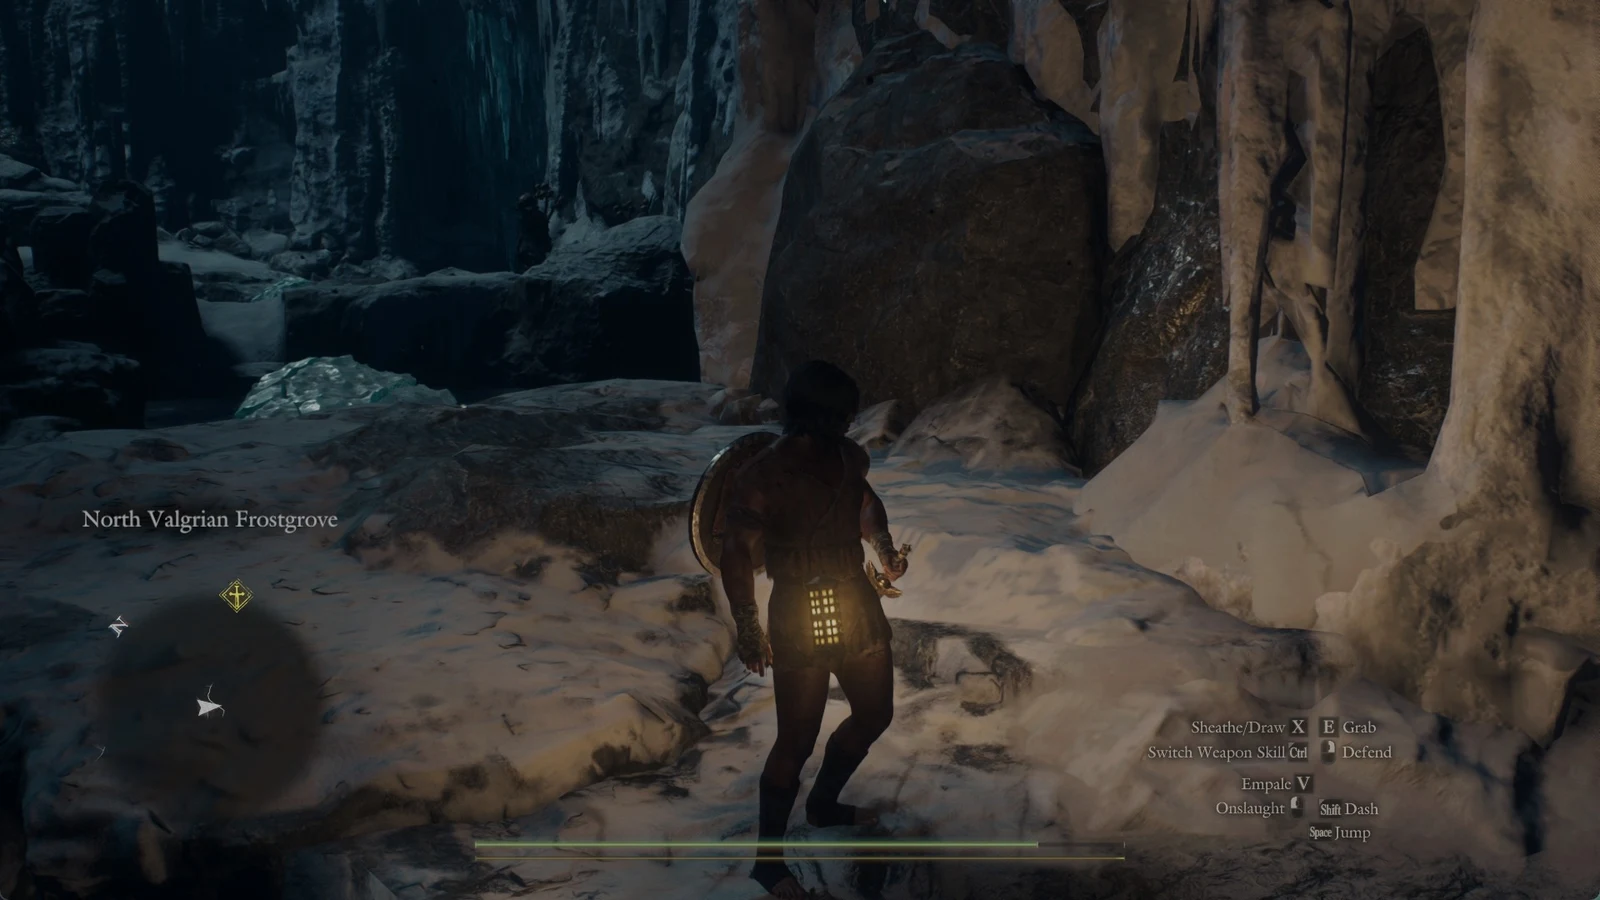
Your first encounter comes after an iron portcullis, barred on the far side, shuts Brinerot Grotto’s front way. Take a side passage out, then follow the track through the bare, snow-covered woods. The banner appears on the map at the yellow quest search circle’s north-west edge. In the deep darkness of night, two little glowing eyes appear among the trees before the beast itself. After it dies, the trail continues to a ruined stone corridor containing an ornate chest, then descends to the Sealed Study.
The same lion-bodied creature, with a horned head on its back, roams the debris at Mordria Temple alongside a tall, horned fiend whose limbs burn and several weaker enemies. Ice spikes also thrust up from the ground. The unnamed bar at the screen’s top tracks the entire encounter, not just the lion-like beast. At the Rancor’s Vortex near Northwall Campground, the beast is the first large monster to appear after the skeletons.
Its three parts and what each one does
- Lion (front and body): This is its most damaging section. It lunges across the clearing, attacks with claw swipes and slams its body down. Its eyes shine red from the outset, often making them your only guide to its position in the dark.
- Goat’s head (on the back): This is where its magic comes from. A purple sigil appears beside the head, then purple light washes across the ground before a dark blast erupts and knocks clinging players loose.
- Serpent (the tail): It lifts in an arch over the beast and lashes at anyone behind it. Thick grey fog also spreads from the beast and covers the whole clearing.
Learn to read its moves. As it crouches to pounce, its red eyes turn toward you; keep your shield raised and avoid standing in front. Grey-white fog can engulf the clearing and conceal the beast, while a red debilitation icon appears at the left of the icon row above your health bar. The icon has appeared as a skull-and-flask symbol and, at another point, as a “Zz” symbol. A harpy may also join the battle.
With the final dot cleared, the beast races between the trees and launches pounces in quick succession. This is where pawns go down in a row and where a Wakestone gets used.
How to beat it with a Fighter
A Fighter with sword and shield can take it down by climbing to the goat’s head and attacking the caster directly. A level-69 Fighter backed by three pawns between levels 59 and 67 can win, though not cleanly, so expect several pawn revives and one Wakestone.
Rewards and drops
When it falls, the beast dissolves into purple light. A single kill outside Brinerot Grotto paid out +118798 XP and +942 Dcp, and the same beast in the Rancor’s Vortex near Northwall Campground paid the identical amount. Drop lines on the right of the screen read “Spoils: Lv 3, Bowstaff”, “Spoils: Lv 3, Ancient Bowstaff” and “Spoils: Lv 3, Plastron”.
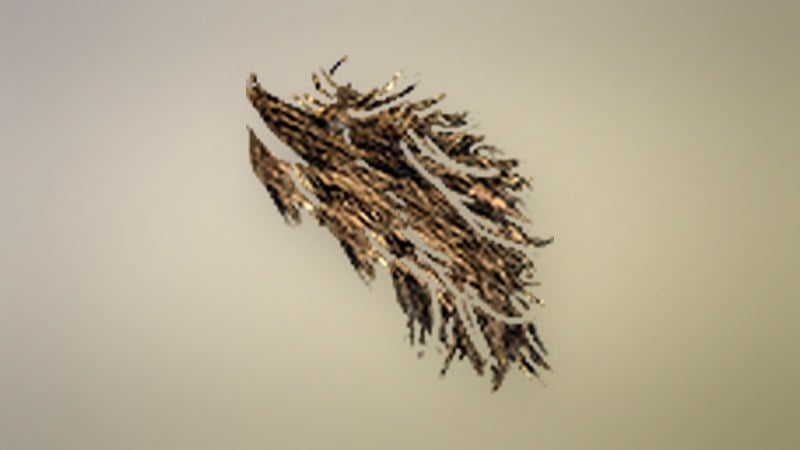
A Freakish Mane can be in the main pawn’s bag right after the fight. A chimera-type beast can also give up Monster Fang, Beast-Steak, Brinebeast Ore, Brinebeast Fragment and Wakestone Shard. In the Rancor’s Vortex a pawn wearing the Ring of Plunderage takes something off it: “Successfully stolen: Rotten Scrag of Beast”. At Mordria Temple, clinging to the beast with the ring gives “Successfully stolen: Aged Alpine Hare Meat”.
Freakish Mane
The Freakish Mane’s item text reads “Hair shorn from a chimera lion’s nape. Can be used to enhance equipment.” It weighs 0.30 kg.
Beating one does not give the bar a name: the game only ever calls the beast “???”, and the purple bar is still unnamed in the later meetings. Only the Freakish Mane’s description uses the chimera label.