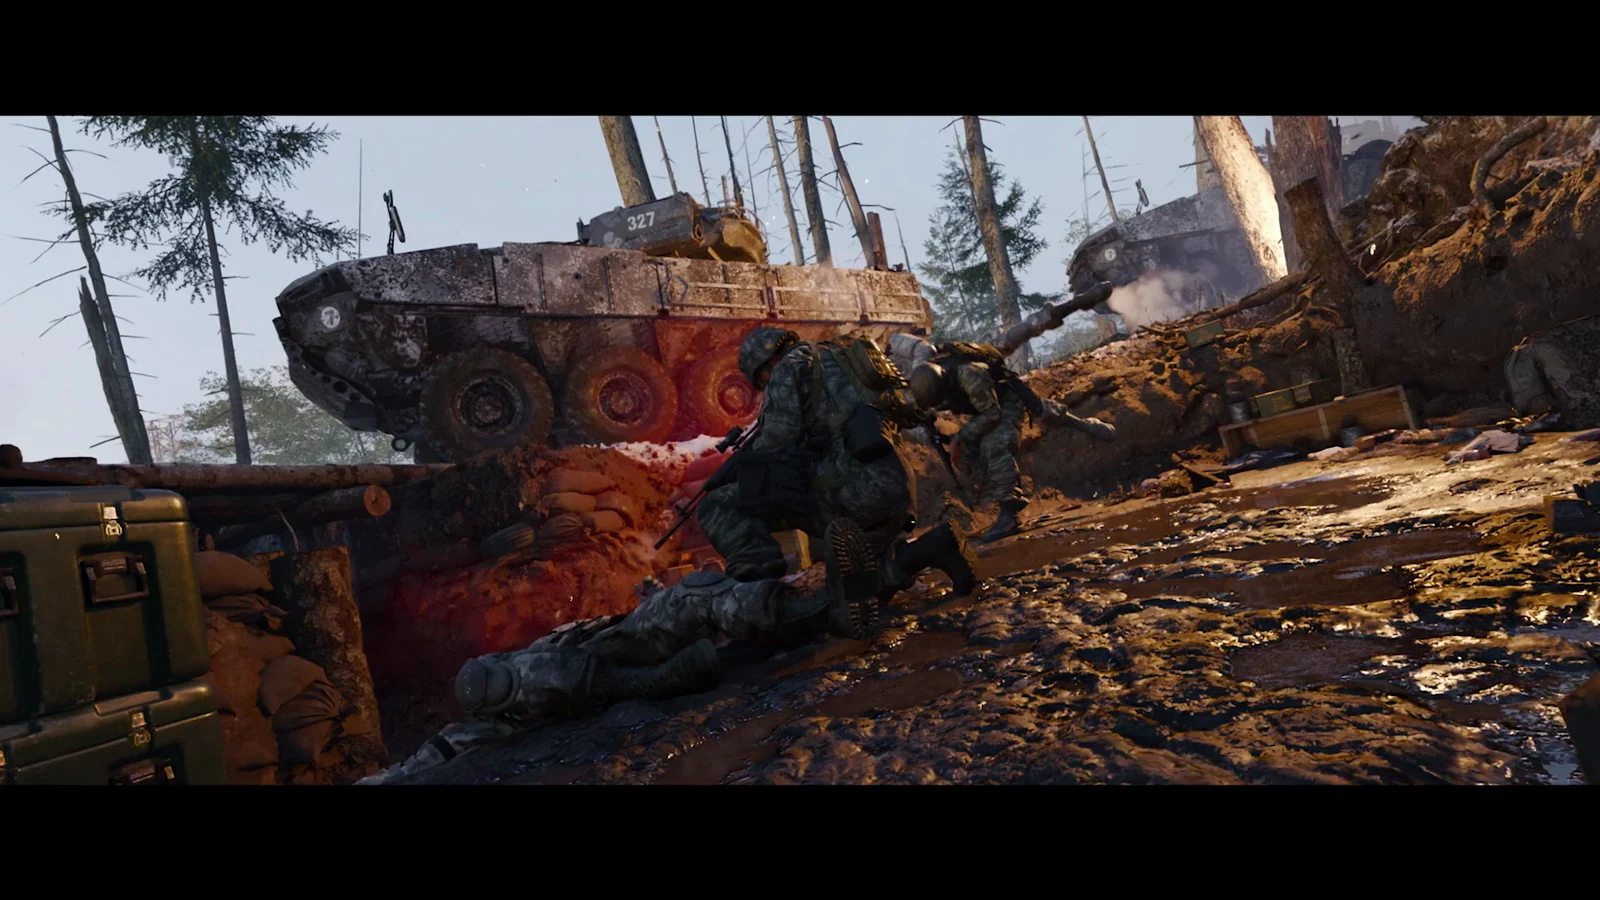
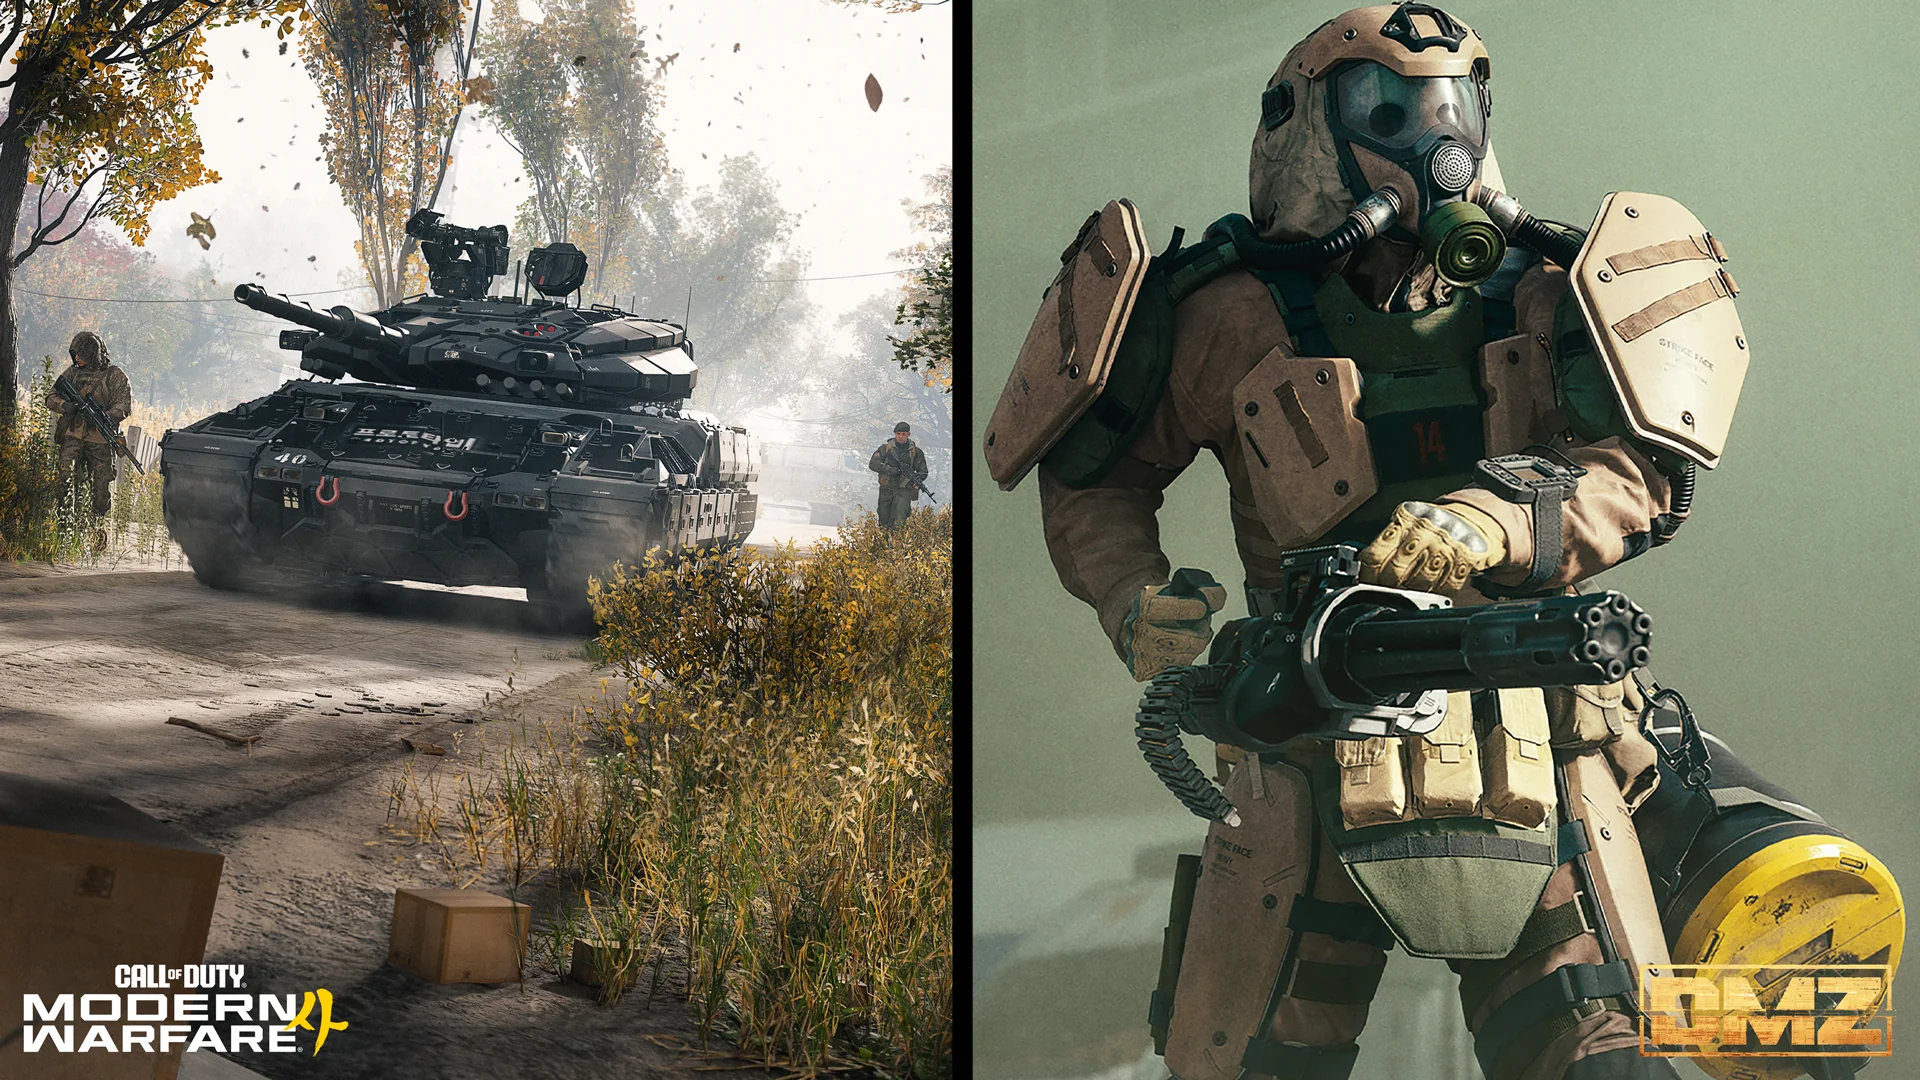
Colossus is one of the DMZ Commanders in Call of Duty: Modern Warfare 4. It is a juggernaut in a heavy armored suit with a yellow canister strapped to its back, and it walks around Hajin firing automatic weapons at anyone in its path. Grenades won’t hurt it. What works is steady bullet fire from behind solid cover, ideally from somewhere higher than it is standing.
Quick answer: Skip explosives. Use a high-capacity automatic weapon, keep cover or height between you and Colossus, stay out of its green gas, and empty its health bar to collect its Legendary ingredient.
Colossus spawn locations in DMZ
It patrols the area instead of remaining at one spot. Approach it and the screen displays a COMMANDER / COLOSSUS banner, with the area’s name directly below. After combat begins, its name and location appear beside its health meter along the screen’s upper edge.
| Area on the banner | Where the fight happens | Threat |
|---|---|---|
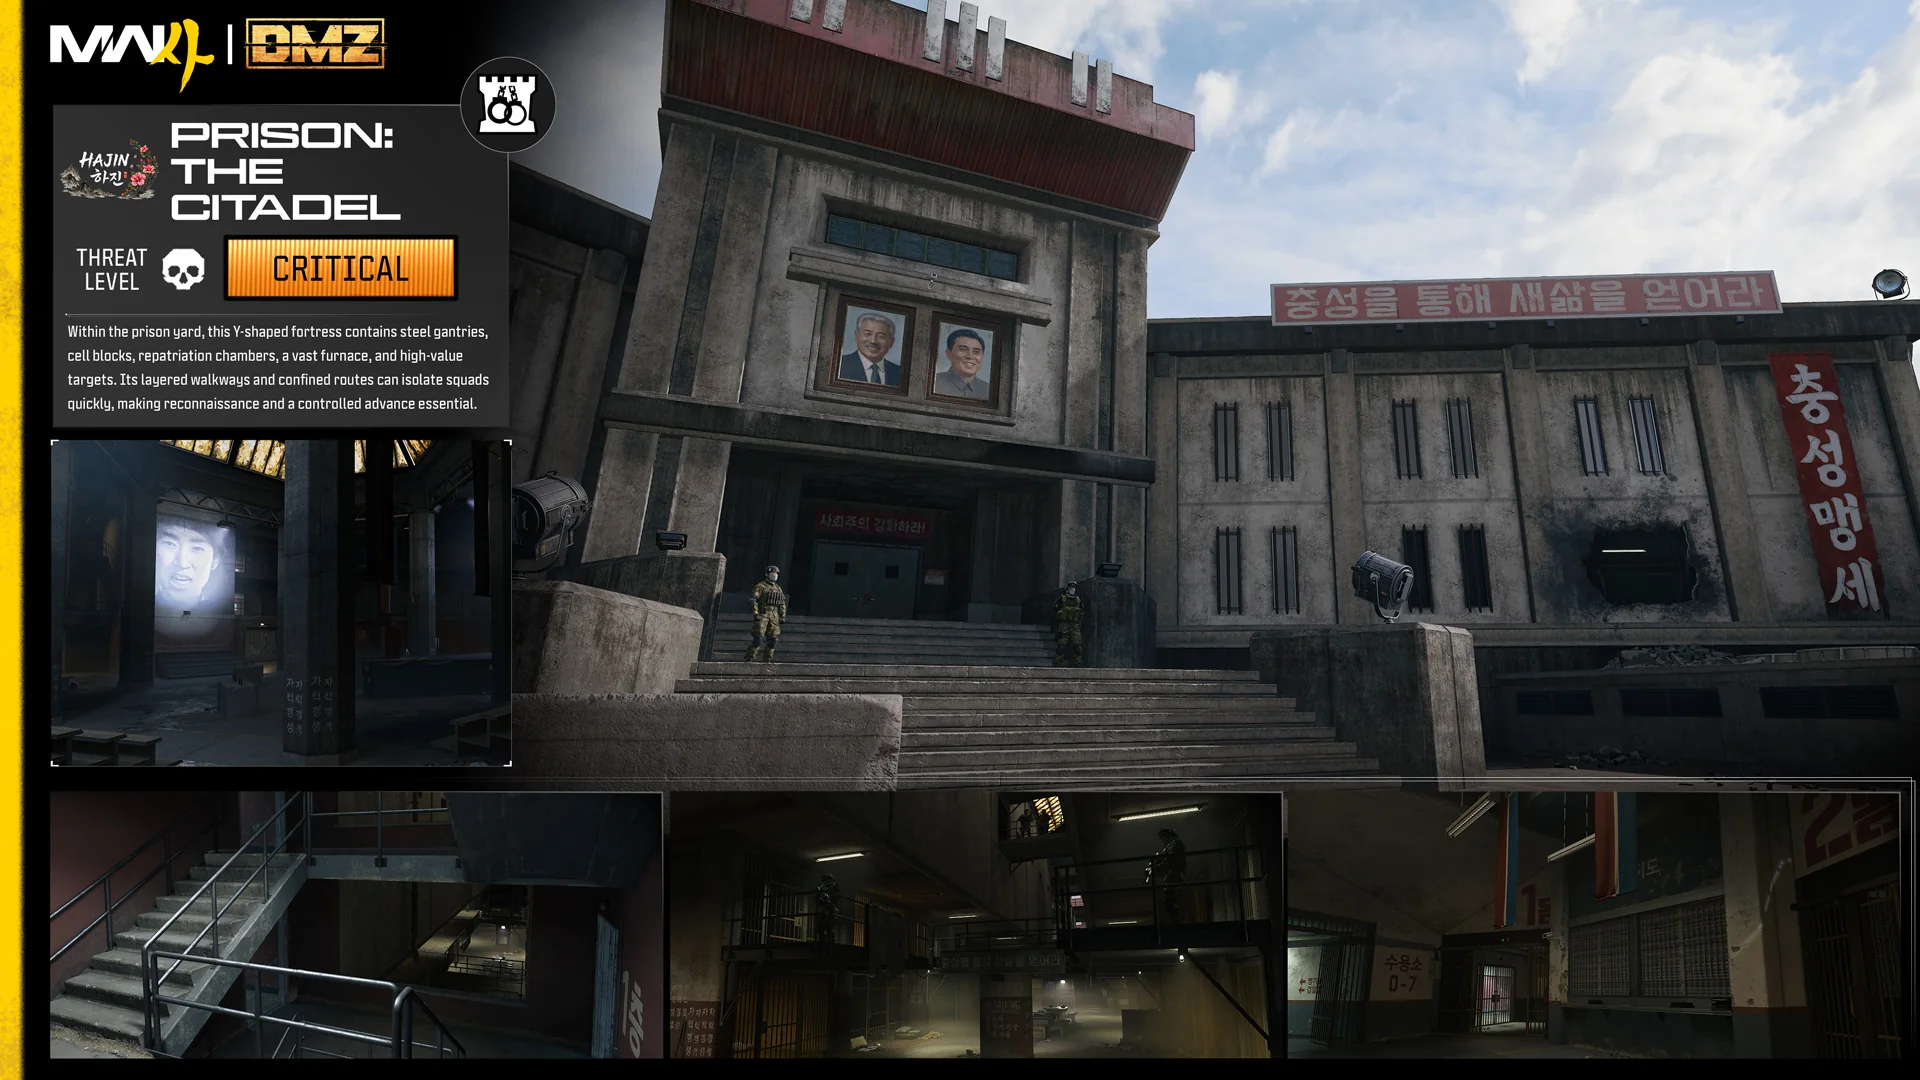
| 14TH POLITICAL PRISON | Outside the prison wall, then into The Citadel | HIGH (prison), CRITICAL (Citadel) |
| SOUTH KOREAN WILDERNESS | Gate of Cheonwang Peak Array, or the office hallways inside its main building | MEDIUM |
| THE ARMORY | Chang-san Air Base, Operation Iron Citadel | Not listed |
| Haneul Nuclear Reactor yard | Operation Fallen Ember, in smoke | Not listed |
At the 14th Political Prison, driving up beside the prison wall triggers the banner. Combat continues inside The Citadel prison complex, passing through The Citadel Prison Yard and The Citadel East Wing; there, the bar is marked COLOSSUS / THE CITADEL. Colossus occupies The Armory’s ground level, amid green gas at the base of a metal stair.
The FOB’s BOSS BOARD tracks it too. Under the COMMANDERS tab, COLOSSUS is listed next to DEATH STALKER and TANK, and each one carries a bounty of REWARD $50,000.
Why explosives fail against Colossus
Grenades and charges do nothing to Colossus. The team leader warns that its suit makes it immune to explosive attacks:
“Careful, the Colossus’ suit makes him immune to explosive attacks like that.”
That means bullets do all of the work, and each part of its kit punishes a different mistake:
- Automatic fire at range. It sprays down alleys and through gates as it advances, and can break your plates quickly if you get caught at a choke point.
- Electric shock up close. As it rounds a corner or appears beside a vehicle’s front, it sends out a blue jolt that travels over nearby metal.
- Green gas. Clouds of it trail behind Colossus as it walks and appear where it falls. Keep out of them.
In practice, that rules out standing in the open and trading shots with it. Fight from cover, and back away around the far side of that cover whenever it closes in.
How to beat Colossus in The Citadel using a truck
Inside The Citadel, Colossus shows up after you have already dealt with the prison guards, and it walks at you down a narrow alley. A parked military truck gives you cover and a firing platform.
The team leader’s call, “Enemy Colossus is down!”, confirms the takedown. The canister on its back then bursts into green gas.
How to beat Colossus in The Armory from the stairs
In Operation Iron Citadel, Colossus occupies The Armory’s ground level, amid green gas beside the base of a metal stair. There’s no need to approach it below. Climb to the stair landing, then fire down with a sniper rifle such as the Signal 50, supported by rifles. No one on your team needs to enter the gas to kill Colossus.
The elimination triggers an ELIMINATED ARMORED COMMANDER banner; an assist earns +1075 XP.
How to beat Colossus in a hallway with an LMG
At Cheonwang Peak Array, Colossus can come at you through the ground-floor office hallways of the main building, trailing green gas. A corner and an LMG are enough.
What Colossus drops
In The Citadel, Colossus leaves a pile of 3D printer ingredients scattered on the ground around its body:
- EXPERIMENTAL COMPOUNDS (LEGENDARY, 3D PRINTER, $3,500), used to print the 3-Plate Ballistic Gel Vest and the Door Breacher Charge
- HIGH-TENACITY FIBERS
- REACTIVE METALS
- NITRO COMPOUNDS
- CONTROL UNIT
- A battery core item and ammo
In another fight, at Cheonwang Peak Array, Colossus dropped MILITARY COMPOSITES instead: LEGENDARY, 3D PRINTER, $3,500, listed for the Tempered Armor Vest and the Secure Scavenger Backpack. Its drop is not fixed, so check every item around the body.
Because the drop is spread out, search the whole area around the body before you leave. The Legendary ingredient, Experimental Compounds or Military Composites, is the item worth securing.