Weapon XP in Call of Duty: Modern Warfare 4’s DMZ comes from kills. Weapon level gates most of the camos on a gun’s camo list, so levelling it is most of the camo grind. A few camo challenges, including Gold and the three DMZ mode mastery camos, are tied directly to DMZ, so you complete them in the mode itself.
Quick answer: Deploy into high-threat areas like The Grid, Hanex Bank or DBN Headquarters. Fight near ammo and armor caches, skip contracts and looting, and exfil before the radiation countdown ends.
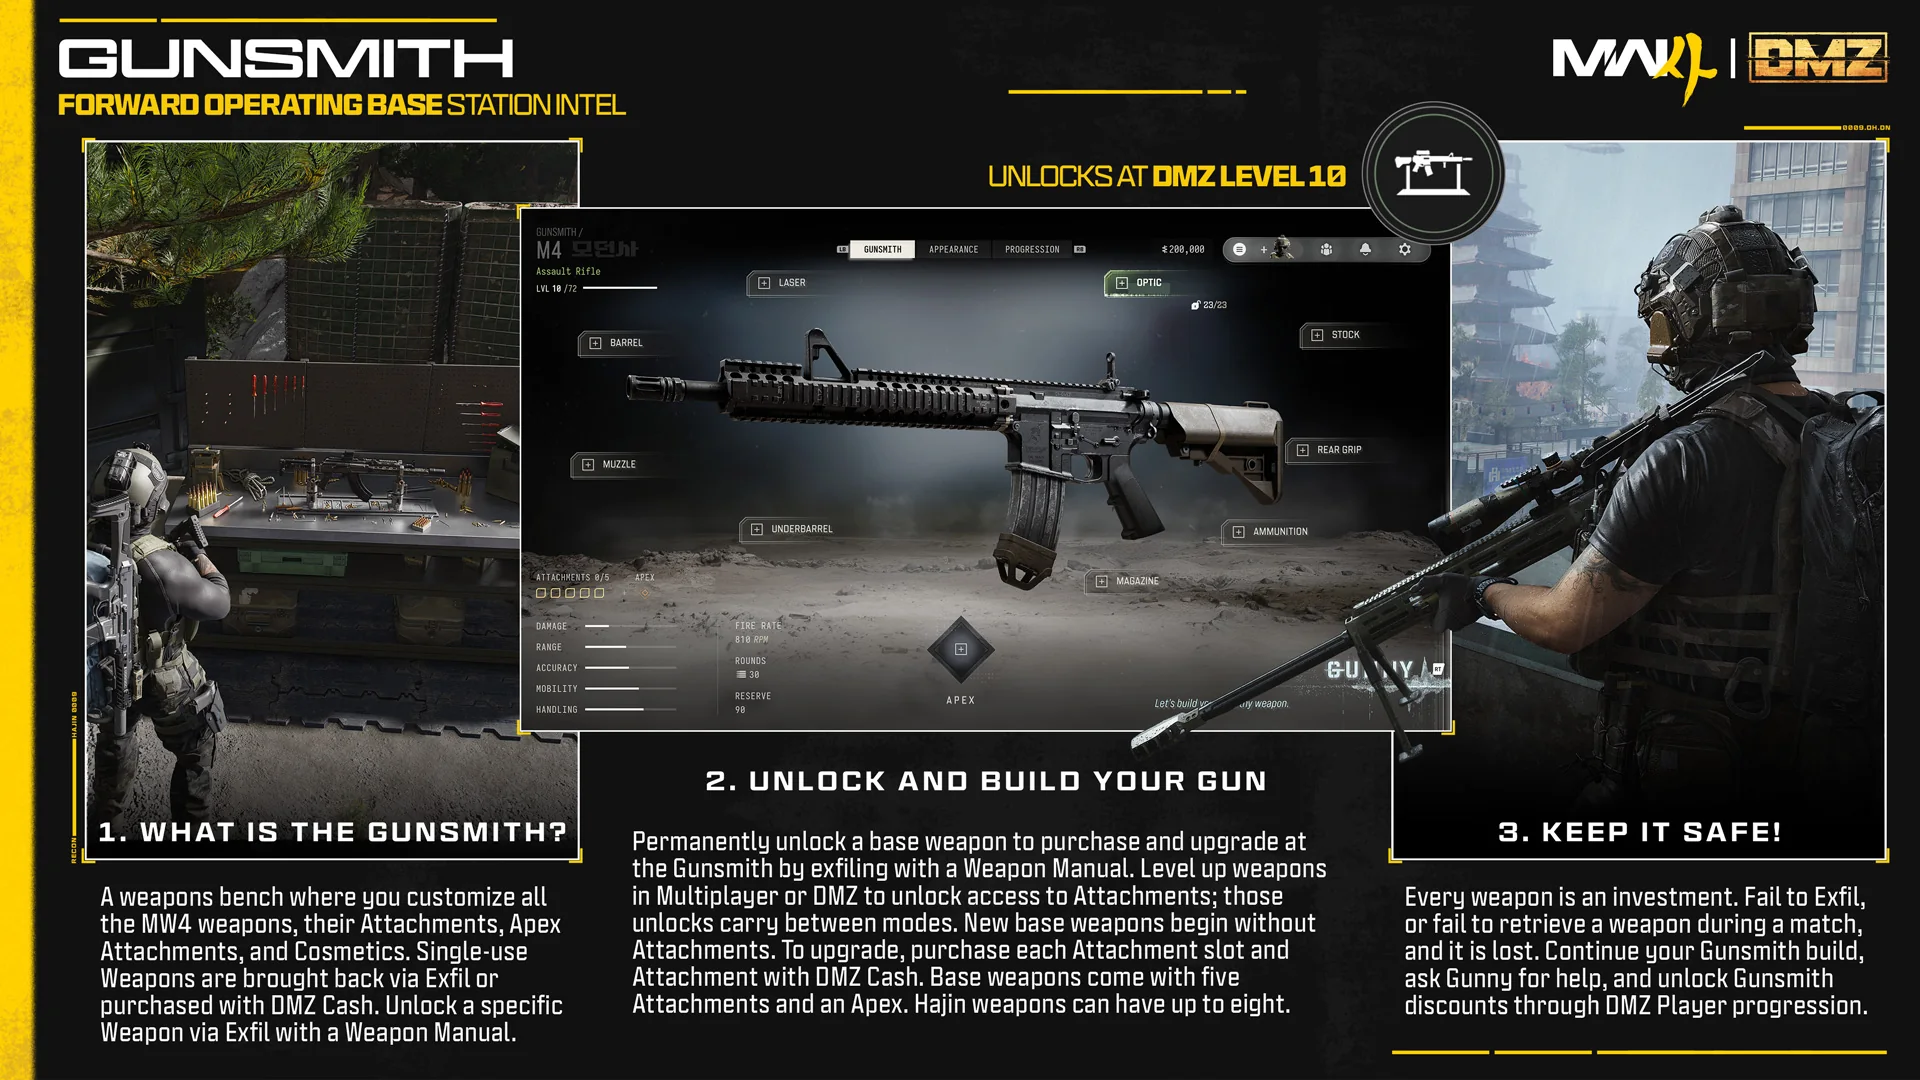
Checking camo challenges in the Gunsmith
Before you deploy, check what the weapon needs. You can read every requirement here, even when the gun has no attachments unlocked yet.
Tracking camos from the Challenges menu
You can also follow camo progress from the Challenges menu without opening the Gunsmith. The path reads CHALLENGES / CAMO CHALLENGES, with tabs for WEAPON MASTERY, MODE MASTERY and TRACKED & NEAR COMPLETE, and a row of weapon classes (ASSAULT RIFLES, SMGS, SHOTGUNS, LMGS, MARKSMAN RIFLES, SNIPER RIFLES, PISTOLS, LAUNCHERS, MELEE). Pick a weapon to see how many of its camos you have collected (shown as, for example, “0/15 CAMOS COLLECTED”), the next Military camo’s unlock line, and the NEXT MASTERY panel, which shows the Gold Camo Challenge with its “Complete the 3 Weapon Specific Camo Challenges” count (0/3). Selecting a camo from here opens the same CAMO SELECT screen.
Weapon camo unlock order and the DMZ Gold challenge
The CAMO SELECT screen splits each gun’s own track into four groups: MILITARY (8 camos), SPECIAL (3), COMPLETIONIST (4: Gold, Platinum, Harmonic Break and Divergence) and PRESTIGE (4). Weapon level unlocks the eight Military camos. The requirement is shown as “Earn N more weapon unlocks using the Han 86”, with N indicating how many unlocks remain. For a Han 86 showing 34/71 unlocks, Military Camo 7 calls for 27 additional unlocks, while Military Camo 8 calls for 33. The later camos each need an unlock condition first, and most add a challenge on top.
| Camo | Unlocks after | Challenge |
|---|---|---|
| Smoke (Special) | More weapon unlocks | “Get 75 Kills while Mounted against Enemies” |
| Stormwave (Special) | More weapon unlocks | “Get 125 Enemy Kills while using a silencer” |
| Red (Special) | More weapon unlocks | “Get 3 Enemy Kills without taking damage 50 times” |
| Gold | “Complete the 3 Weapon Specific Camo Challenges” | “Get 100 Enemy Kills in a single match in DMZ” |
| Platinum | “Complete 8 Gold Camo Challenges using Assault Rifles” | “Get 100 Headshots against Enemies” |
| Harmonic Break | “Complete 33 Platinum Camo Challenges” | “Get 50 Double Kills against Enemies” |
| Divergence | “Complete 33 Harmonic Break Camo Challenges” | None |
The table above is the Han 86. Special camos and some challenge lines change from gun to gun, so read your own weapon’s screen. On the Type 73 LMG (the base of the DREADNOUGHT) the same groups read:
| Camo | Unlocks after | Challenge |
|---|---|---|
| Ash Pine (Special) | “Earn 9 more weapon unlocks using the Type 73” (at that level) | “Get 75 Mounted Kills against Enemies” |
| Foxtrail (Special) | “Earn 30 more weapon unlocks using the Type 73” (at that level) | “Get 100 Headshots against Enemies” |
| Gold | “Complete the 3 Weapon Specific Camo Challenges” | “Get 100 Enemy Kills in a single match in DMZ” |
| Platinum | “Complete 3 Gold Camo Challenges using LMGs” | “Get 3 Enemy Kills without taking damage 75 times” |
| Harmonic Break | “Complete 33 Platinum Camo Challenges” | “Get 2 Enemy Kills without releasing the trigger 75 times” |
| Divergence | “Complete 33 Harmonic Break Camo Challenges” | None shown |
Two things match on both guns: Gold is the 100-kill single DMZ match challenge, and Platinum asks for Gold on guns of the same class, so a class with fewer guns (3 LMGs) gets there sooner than assault rifles.
On a Han 86, the unlock lines read “Earn 24 more weapon unlocks” for Smoke, “Earn 45 more weapon unlocks” for Stormwave and “Earn 71 more weapon unlocks” for Red. The Han 86 has 71 weapon unlocks in total, so Red opens only once the gun is fully levelled. Stormwave needs a silencer on the gun: in the Gunsmith, open the weapon’s muzzle slot (GUNSMITH / HAN 86 / SELECT MUZZLE), where suppressors such as the XRK MIL-TAC SUPPRESSOR are listed with a cash price, and add one to the build.
On the Han 86, Smoke, Stormwave and Red are the three Special camos. Gold is where DMZ comes in. You need 100 enemy kills in a single DMZ match, so one long deployment in a crowded area has to carry the whole challenge.
While you work on it, a HOSTILES KILLED counter at the top right of the screen tracks your kills for the deployment, and a “CHALLENGE COMPLETED” banner reading “GET 100 ENEMY KILLS IN A SINGLE MATCH IN DMZ” appears the moment you reach 100. Low-threat areas work too: the kills do not have to come from high-threat zones. Keep fighting until the count is done, then exfil before the radiation countdown runs out.
Prestige camos sit on a separate track. They begin with “Prestige The Han 86 – Assault Rifle” and continue through Prestige Master levels. Pyroclast Terminus unlocks at level 73 and Pyroclast Cascade at level 250.
DMZ mode mastery camos: Chiral, Ripple Tide and Helio
The DMZ row under the MODE MASTERY tab holds three camos. They form a chain, and each one opens after the challenge before it is complete.
The MODE MASTERY tab also has a MULTIPLAYER row of three; its first camo, Mercurial Drift, opens after the same 33 Harmonic Break challenges and asks for “Get 10 Kills in a match 250 times”. The DMZ row is the one that needs DMZ.
| Camo | Unlocks after | Challenge |
|---|---|---|
| Chiral | “Complete 33 Harmonic Break Camo Challenges” | “Get 2500 Tier 3+ enemy kills” |
| Ripple Tide | The 2500 Tier 3+ kills | “Exfil 2 LT dog tags in a single deployment 50 times” |
| Helio | The 50 double dog tag exfils | “Get 25000 Kills using a Legendary Weapon on a Max Level Operator” |
For Chiral’s Tier 3+ count, target the armored AI soldiers. They are the plated enemies that drop armor plates when they go down. Ripple Tide shifts the focus from raw kills to lieutenants. You need to carry two LT dog tags out of the same deployment, and repeat that 50 times.
Two Lieutenants in one deployment is easier with the LT HUNTER trait in the WARFIGHTER tree: “Activating a Lieutenant Tower reveals an additional Lieutenant.” Climb a Lieutenant Hunt Tower with it equipped and you get a second target from the same tower. The Boss Board at the FOB also sells Lieutenant intel before you deploy.
For Helio, read “Max Level Operator” against the operator’s dog tag ranks. The PRESTIGE TRAIT in the Traits menu reads “Prestige the active operator. Prestige is available after achieving <Onyx III> Dog Tag Rank.”, so Onyx III is the rank to reach. The weapon must be LEGENDARY rarity; named builds such as the DREADNOUGHT (a LEGENDARY Type 73 LMG) and the BETA FORGED Han 86 build count.
Where to farm weapon XP in DMZ
When you enter an area, its threat rating appears on screen: LOW, MEDIUM, HIGH, CRITICAL or EXTREME. As the rating rises, you encounter more AI and face stronger opponents, such as riot shield soldiers and armored troops. The increased enemy density helps level a gun quickly.
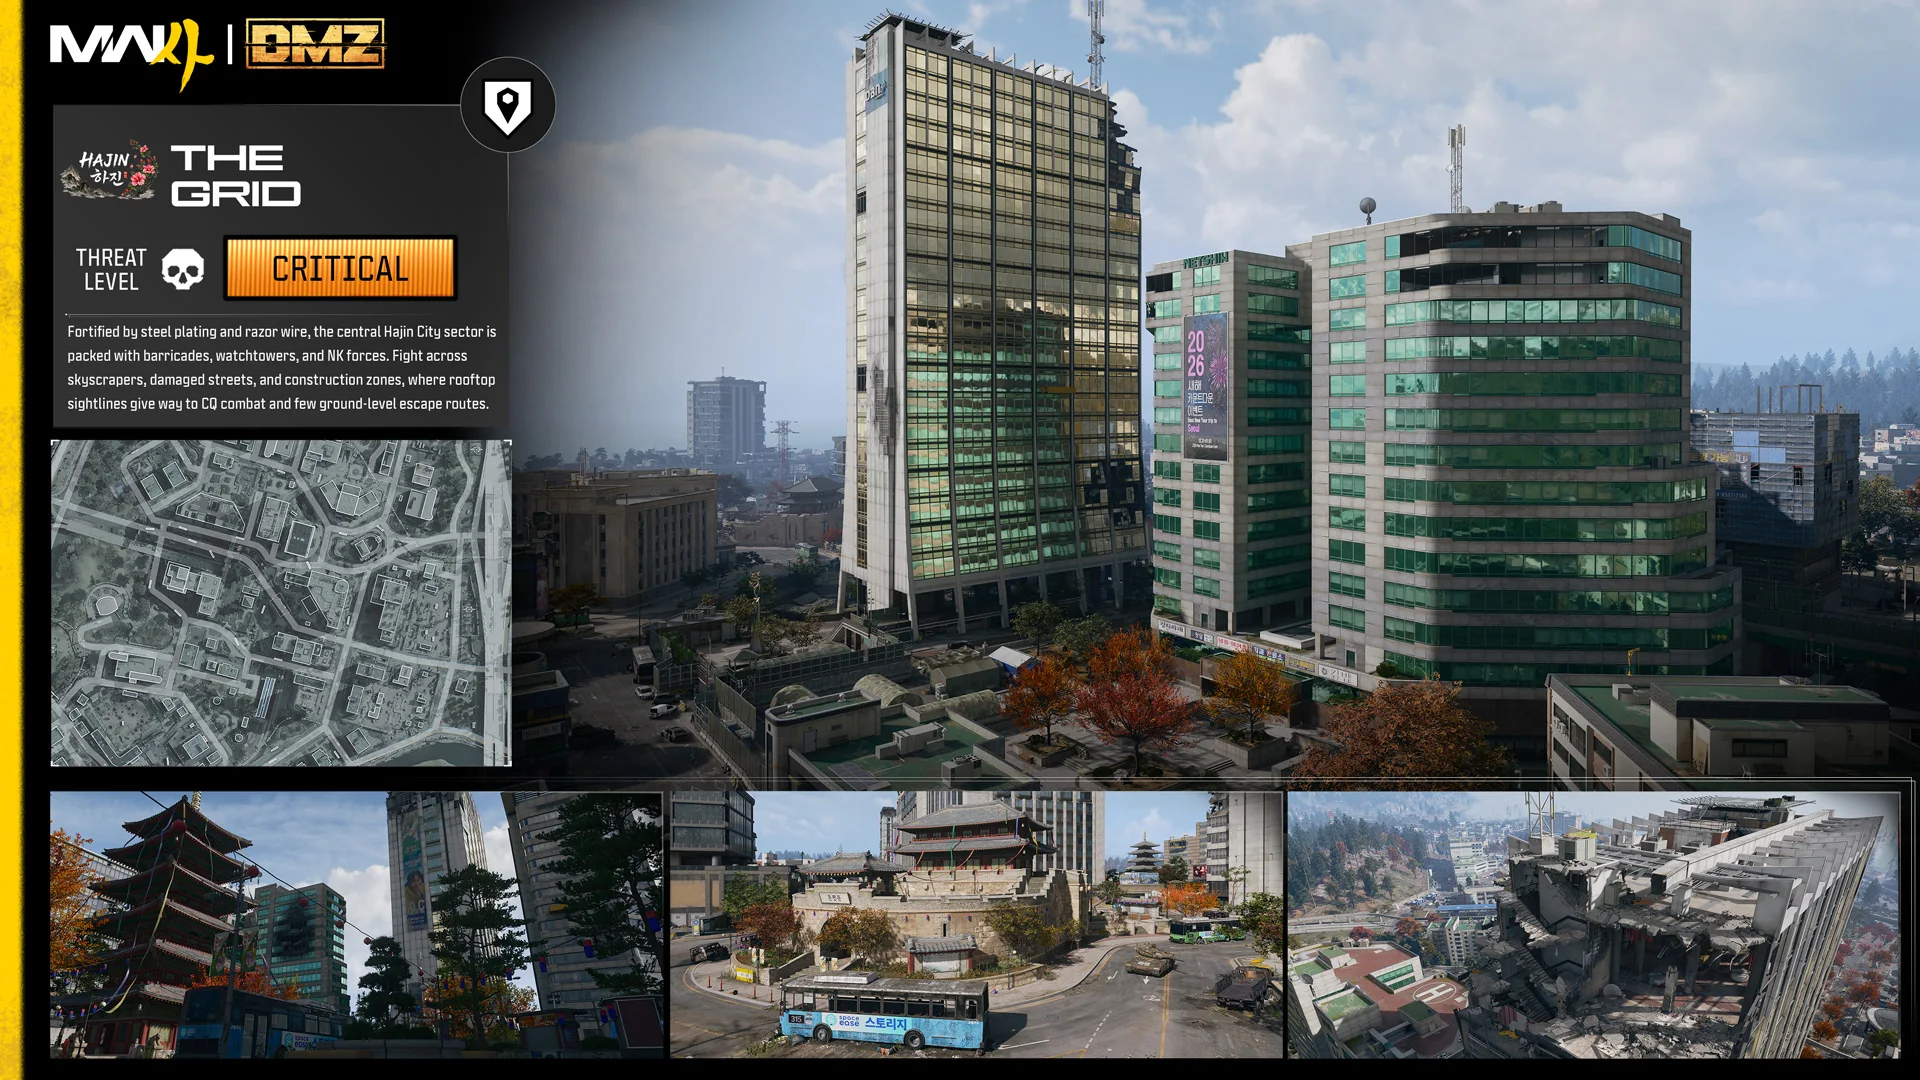
The Grid (CRITICAL)
The Grid is a set of fortified streets held by riot shield and heavy soldiers. Take cover behind vehicles and let the groups push toward you. Holding one spot keeps kills coming without much movement.
Hanex Bank (EXTREME)
Hanex Bank sits next to The Grid and is rated one step higher, at EXTREME, with dense AI of its own.
DBN Headquarters
DBN Headquarters is a tower with AI spread across many floors. Use the ascend ropes in the shafts to move upward. The rooftop is open to commander helicopters, so clear it quickly and move back inside.
Lighter options
- NuriGo Mall and NuriGo East (MEDIUM) have smaller AI groups and places to resupply.
- Mirae General Hospital has AI positioned through its corridors.
DMZ has its own kill challenges, and they progress while you level the gun. One of them is “KILL 300 ENEMIES IN AN AREA OF HIGH THREAT OR ABOVE.” Sessions in The Grid or Hanex Bank count toward it automatically.
Story missions and Dynamic Operations
Story missions put many soldiers in one place, which makes them another steady source of weapon kills. Pick STORY MISSIONS on the SELECT DEPLOYMENT screen and choose an operation such as Operation Iron Citadel at Chang-san Air Base; the mission’s guards come to you while you work through its objectives. See how to start each DMZ story mission.
Dynamic Operations are a separate deployment option on the same screen. Its description reads: “Deploy directly into a Dynamic Operation. Every completed Dynamic Op rewards a Supply Drop of increasing rarity. $10,000 – $20,000 Cash deposited to Bank immediately on completion.” You start with a task straight away instead of searching the map for one, so you spend more of the deployment fighting and earn cash and supply drops on top of the weapon XP.
Using Double XP tokens in DMZ
Double XP tokens can be switched on during a DMZ match, so you do not have to leave a deployment to start one.
- In a match, open the pause menu. Two 2XP slots sit at the bottom of it, one for Rank XP and one for Weapon XP. On controller, the R3 (right stick) icon above them opens the token list.
- The AVAILABLE TOKENS screen has a RANK column and a WEAPON column, each with 15 MINUTES, 30 MINUTES, 45 MINUTES and 1 HOUR tokens and a count of how many you hold.
- Select a token to start it. Once active, the two slots in the pause menu show the time left on each, for example 38M 59S and 43M 20S.
The screen notes “Active XP Tokens are paused outside of matches”, so the timer only runs while you are in a deployment. Run a Weapon XP token during a long kill farm in a high-threat area to get the most out of it. After the match, the WEAPON tab of the summary lists your TOP PERFORMING WEAPONS one by one, each with the weapon XP it earned (tagged 2XP while a token runs) and its new unlock count, so you can check how far a token pushed the gun you were levelling. The other weapons you used earn XP as well, including a knife.
Keeping a DMZ kill farm running
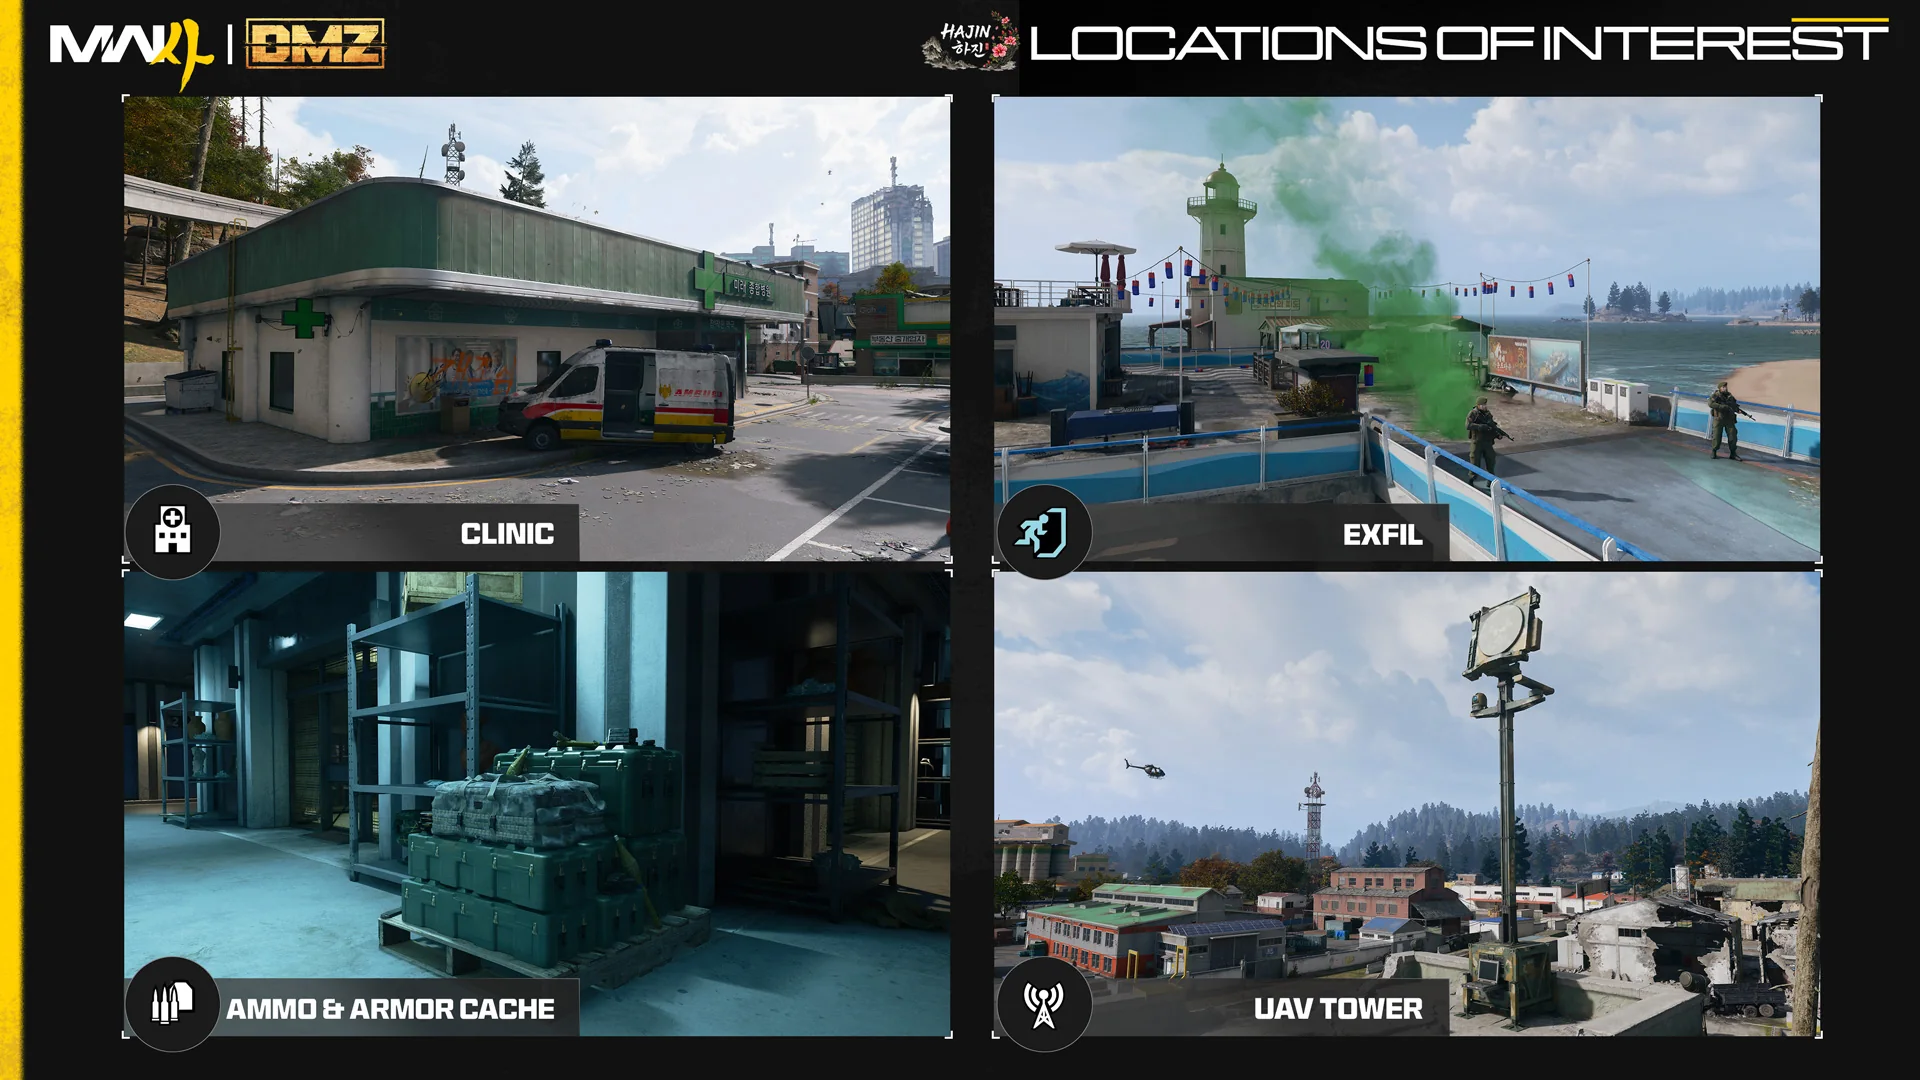
High-threat zones drain ammo quickly. Before you push in, open the Tac Map, locate the ammo and armor caches, and plan your fights around them. Between caches, refill with the ammo that AI soldiers drop.
- Use a suppressed rifle with an optic. It handles AI at range and inside buildings.
- Skip contracts and slow container looting, and spend that time fighting.
- Attack helicopters and a battle tank are among the Commanders that may appear above busy areas. Head indoors to block their line of sight rather than engage them outside with a rifle.
Call an exfil while the radiation countdown is still active. Otherwise, the kills and weapon levels from that deployment are lost.