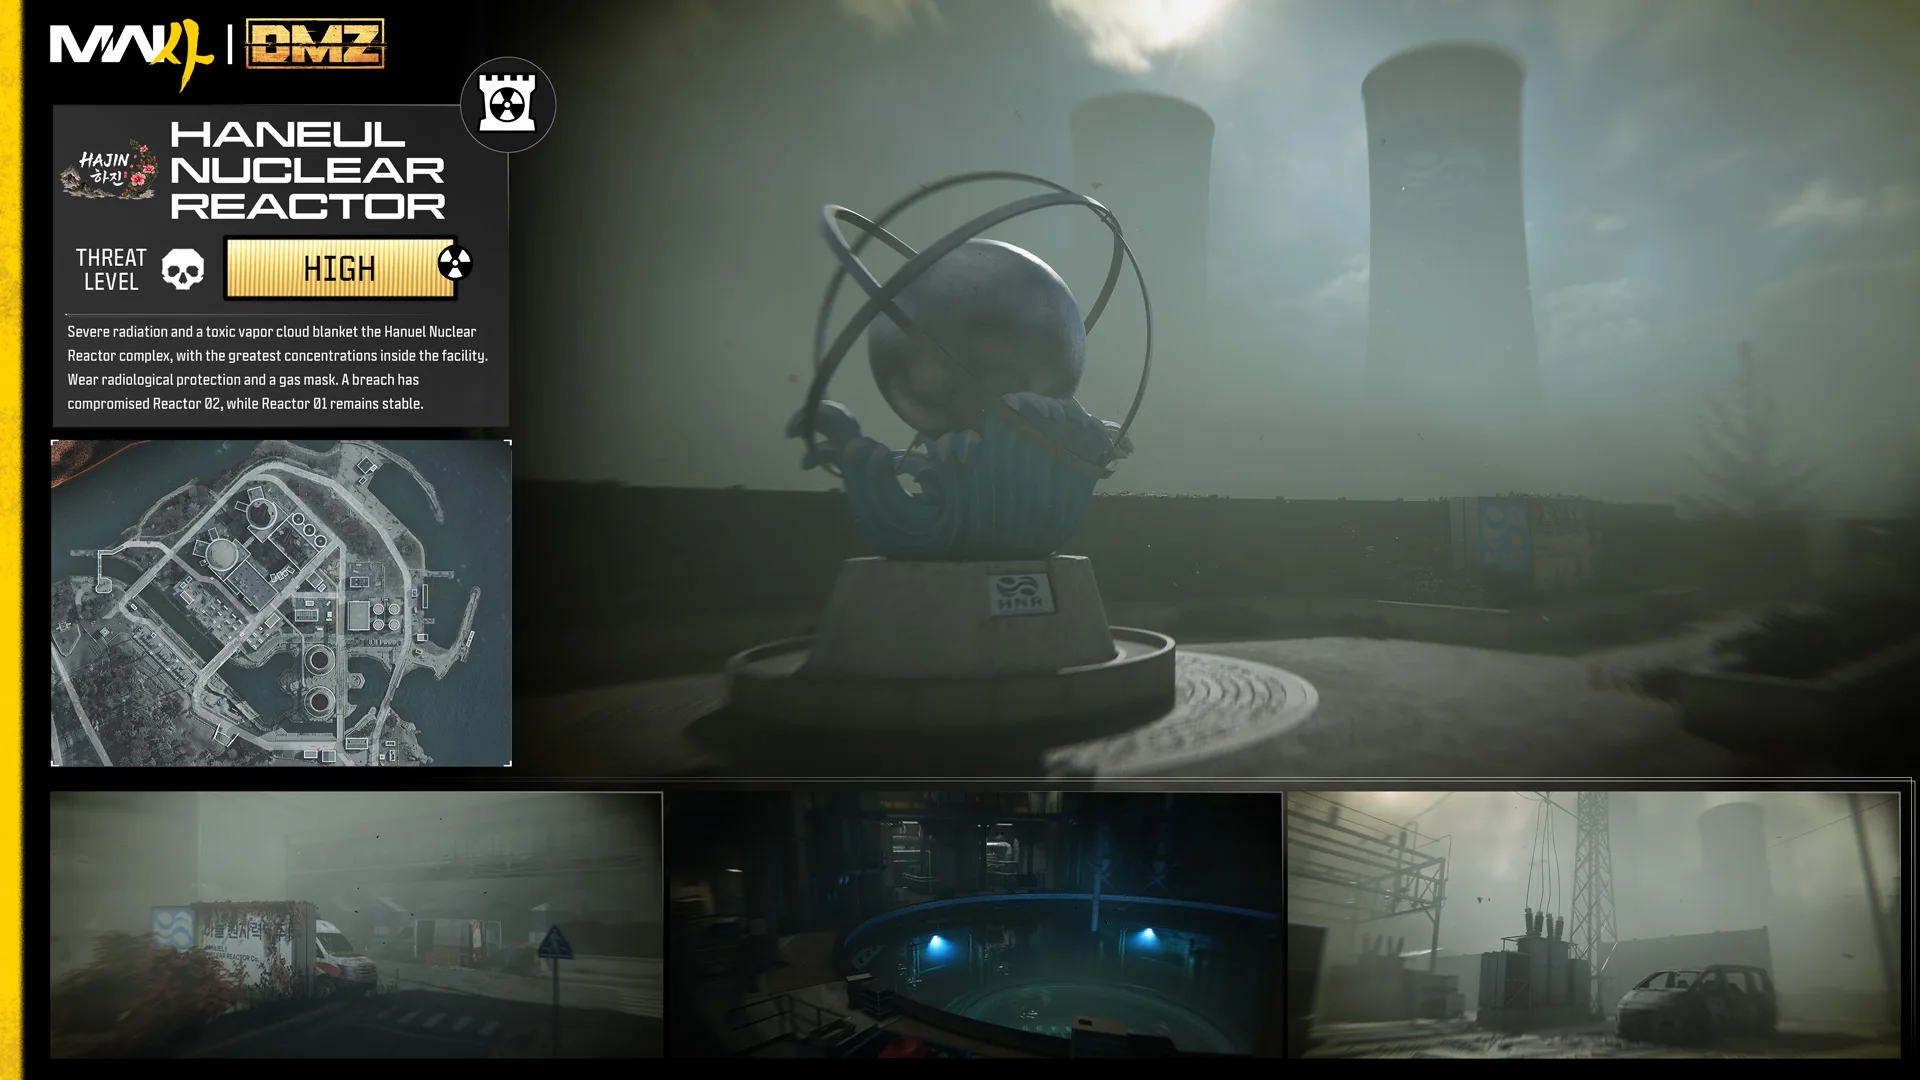
In Call of Duty: Modern Warfare 4, Operation Fallen Ember is one of the DMZ story missions. Its setting is the Haneul Nuclear Reactor, a hazardous site on Hajin’s coast carrying THREAT: HIGH. The objectives span several areas: manually retrieve three fuel rods from the submerged reactor pool, decontaminate them in another reactor, eliminate a commander to obtain a key, and take a patrol boat offshore.
Quick answer: Unlock Reactor 01 from the dome roof, pull three fuel rods from the pool, decontaminate them at Reactor 02, kill Commander Colossus for the boat house key, then escort the chopper by boat. Exfil afterward.
Operation Fallen Ember objectives in order
The HUD lists these under “MISSION: OPERATION FALLEN EMBER”. Each one has to clear before the next appears.
| # | Objective | Where it happens |
|---|---|---|
| 1 | Reach the Reactor | Haneul Nuclear Reactor |
| 2 | Unlock Reactor 01 | Damaged dome roof |
| 3 | Initialize the First Fuel Rod | Reactor 01 mezzanine console |
| 4 | Withdraw the First Fuel Rod | Flooded reactor pool |
| 5 | Initialize the Second Fuel Rod | Safety console, reactor pad |
| 6 | Withdraw the Second Fuel Rod | Flooded reactor pool |
| 7 | Initialize the Third Fuel Rod | Safety console, reactor pad |
| 8 | Withdraw the Third Fuel Rod | Flooded reactor pool |
| 9 | Decontaminate the First Fuel Rod | Reactor 02 |
| 10 | Decontaminate the Second Fuel Rod | Reactor 02 |
| 11 | Decontaminate the Third Fuel Rod | Reactor 02 |
| 12 | Secure the Warhead | Reactor yard |
| 13 | Eliminate Enemy Reinforcements | Reactor yard |
| 14 | Loot the Boathouse Key | Reactor yard |
| 15 | Raise the Garage Door | Boat house |
| 16 | Rendezvous with Chopper | On the water |
| 17 | Escort the Chopper Until Safe | On the water |
Radiation gear for the Haneul Nuclear Reactor
The briefing card rates Fallen Ember [THREAT ASSESSMENT: EXTREME] and lists three main objectives: Breach the Reactor, Secure the Rods and Extract Decontaminated Rods, with a 25000 cash icon among the rewards. Its Recommended Equipment line reads 3-Plate Armor Vest, Medkit, Gas Mask, Radiation Blockers. Deploy without those and a RECOMMENDED ITEMS warning lists Weapon, 3-Plate Armor Vest, Small Backpack, Medkit, Gas Mask and Radiation Blockers.
The reactor area is lethal without protection. Once you get close, the SK Radiation Alert System warns you with “Danger: Lethal radiation levels detected”. Bring or loot the following; radiation gear turns up in lockers and bags around the reactor:
- RADIATION BLOCKERS, a consumable that reads “Mitigates Effects Of Radiation” and lasts 60s
- A GAS MASK, or the epic DURABLE GAS MASK
- Armor plates for the long fights
- A HAZMAT SUIT (LEGENDARY, GEAR) hanging on the wall of the Reactor 01 control room, next to the console that starts the rod release
- An ammo or armor box for the defensive stretches
Getting into Reactor 01
You infil on Expressway No. 1. A military compound, Compound Delta (THREAT: MEDIUM), sits near the road on the way in. The side op tracker counts your progress as a percentage (Clear the Military Compound 81% partway through), and clearing it completes the side op CLEAR THE MILITARY COMPOUND, which counts toward your side op payout later. Keep heading for the reactor until the SOUTH KOREA / HANEUL NUCLEAR REACTOR / THREAT: HIGH banner appears.
Reactor 01’s ground-level doors won’t open initially. Head for the marker at the lockdown override atop the damaged dome. Reach the roof via the exterior ladder, then ride the ascender line. Activating the override advances the task to initializing the first fuel rod.
How to pull the three fuel rods
The consoles start each release, but they don’t hand you the rod. You have to dive into the flooded reactor pool and take each one out yourself.
While you’re searching, reinforcements take positions on the catwalks above the pool. Surface and eliminate them before diving back in.
Lieutenant Chemist at Reactor 01
Around the time you take the first rod, LIEUTENANT CHEMIST appears in the Reactor 01 corridors with regular soldiers alongside him. Fight from doorway cover and use aimed rifle fire.
Killing him triggers SIDE OP COMPLETE / KILL CHEMIST. He drops CHEMIST’S DOG TAG and a W.M.D. MANIFEST. The manifest is an epic valuable worth 5000, and its description reads “Can be extracted and sold in the FOB for cash.”
While you carry his dog tags, enemies can see your position until you extract them.
Decontaminating the fuel rods at Reactor 02
Take all three rods to Reactor 02 and interact with the processing station using “PROCESS RADIOACTIVE MATERIAL”. A DECONTAMINATION bar starts filling, and the text counts up as each rod goes through, from “CONTAMINATED MATERIAL DETECTED – COMMENCING HAZARD MITIGATION 2/3” to 3/3.
Soldiers push into the room while the bar runs, so you’ll need to defend it. Each rod that finishes turns into Depleted Uranium – Clean in your inventory.
While the rods process, look around the flooded floor of Reactor 02. A REACTOR DRC LOCKER sits underwater there. With its key, the prompt reads REACTOR DRC LOCKER – UNLOCK, and it opens into an ELITE WEAPONS LOCKER; one held an ISO NIGHTSHADE (ULTRA SMG, $9,100).
Secure the Warhead: Killing Commander Colossus
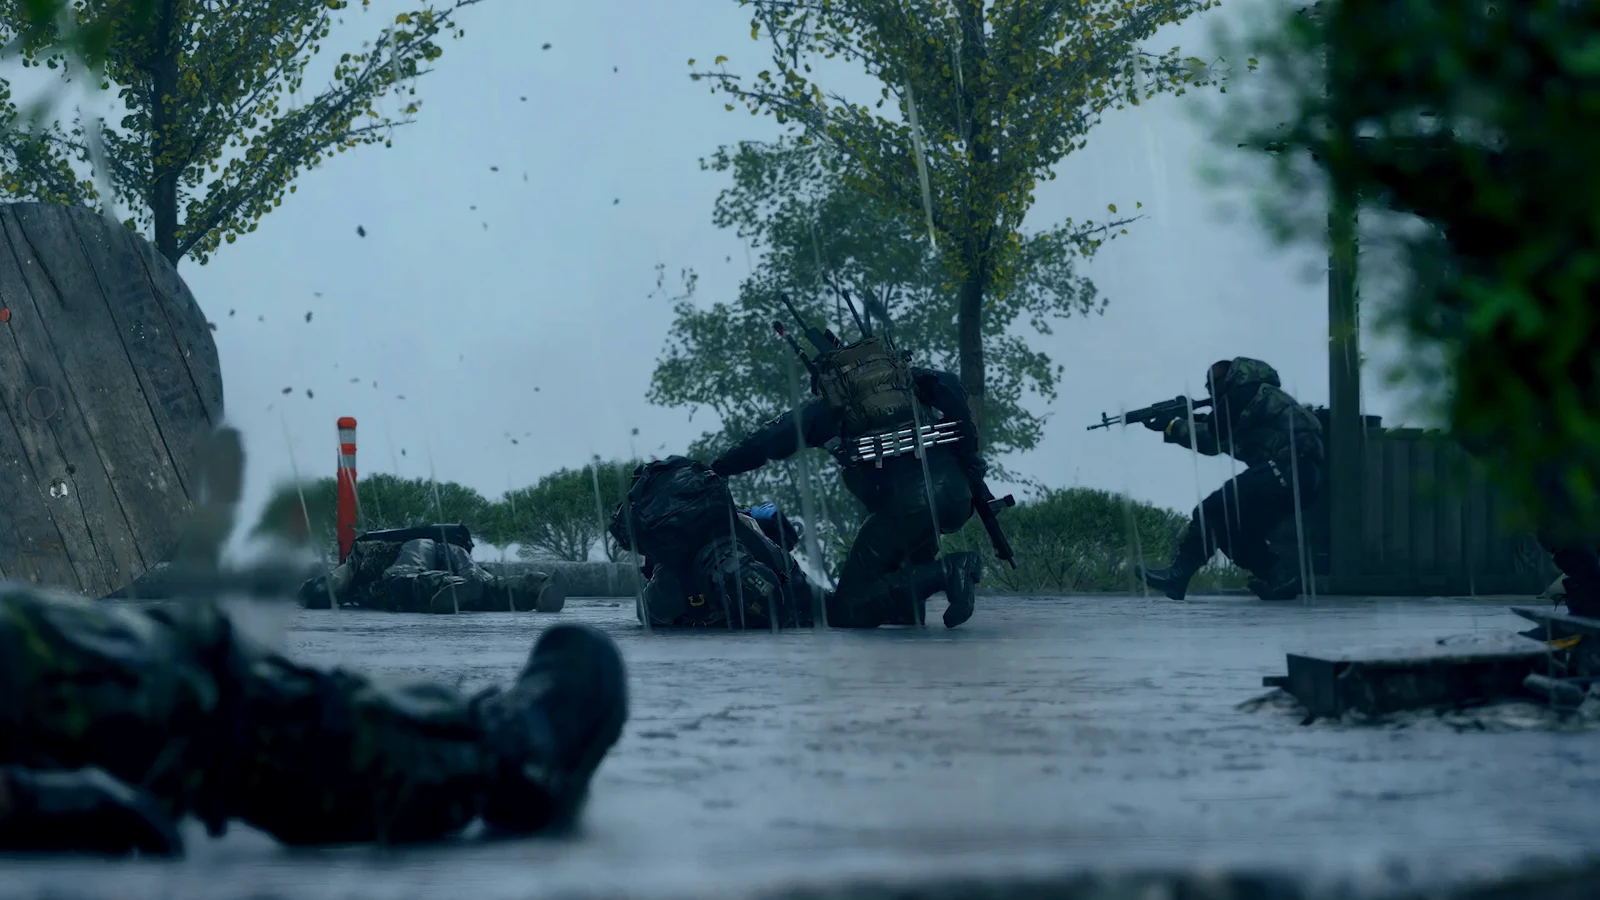
Use the marker to retrace your route through Reactor 01, then exit via the blast door into the mist-covered reactor yard. In the yard the objective first reads Eliminate Enemy Reinforcements as armored soldiers push in, and once they are down it switches to Loot the Boathouse Key. COMMANDER COLOSSUS patrols there with infantry; at close quarters, his heavy automatic fire can drop you quickly.
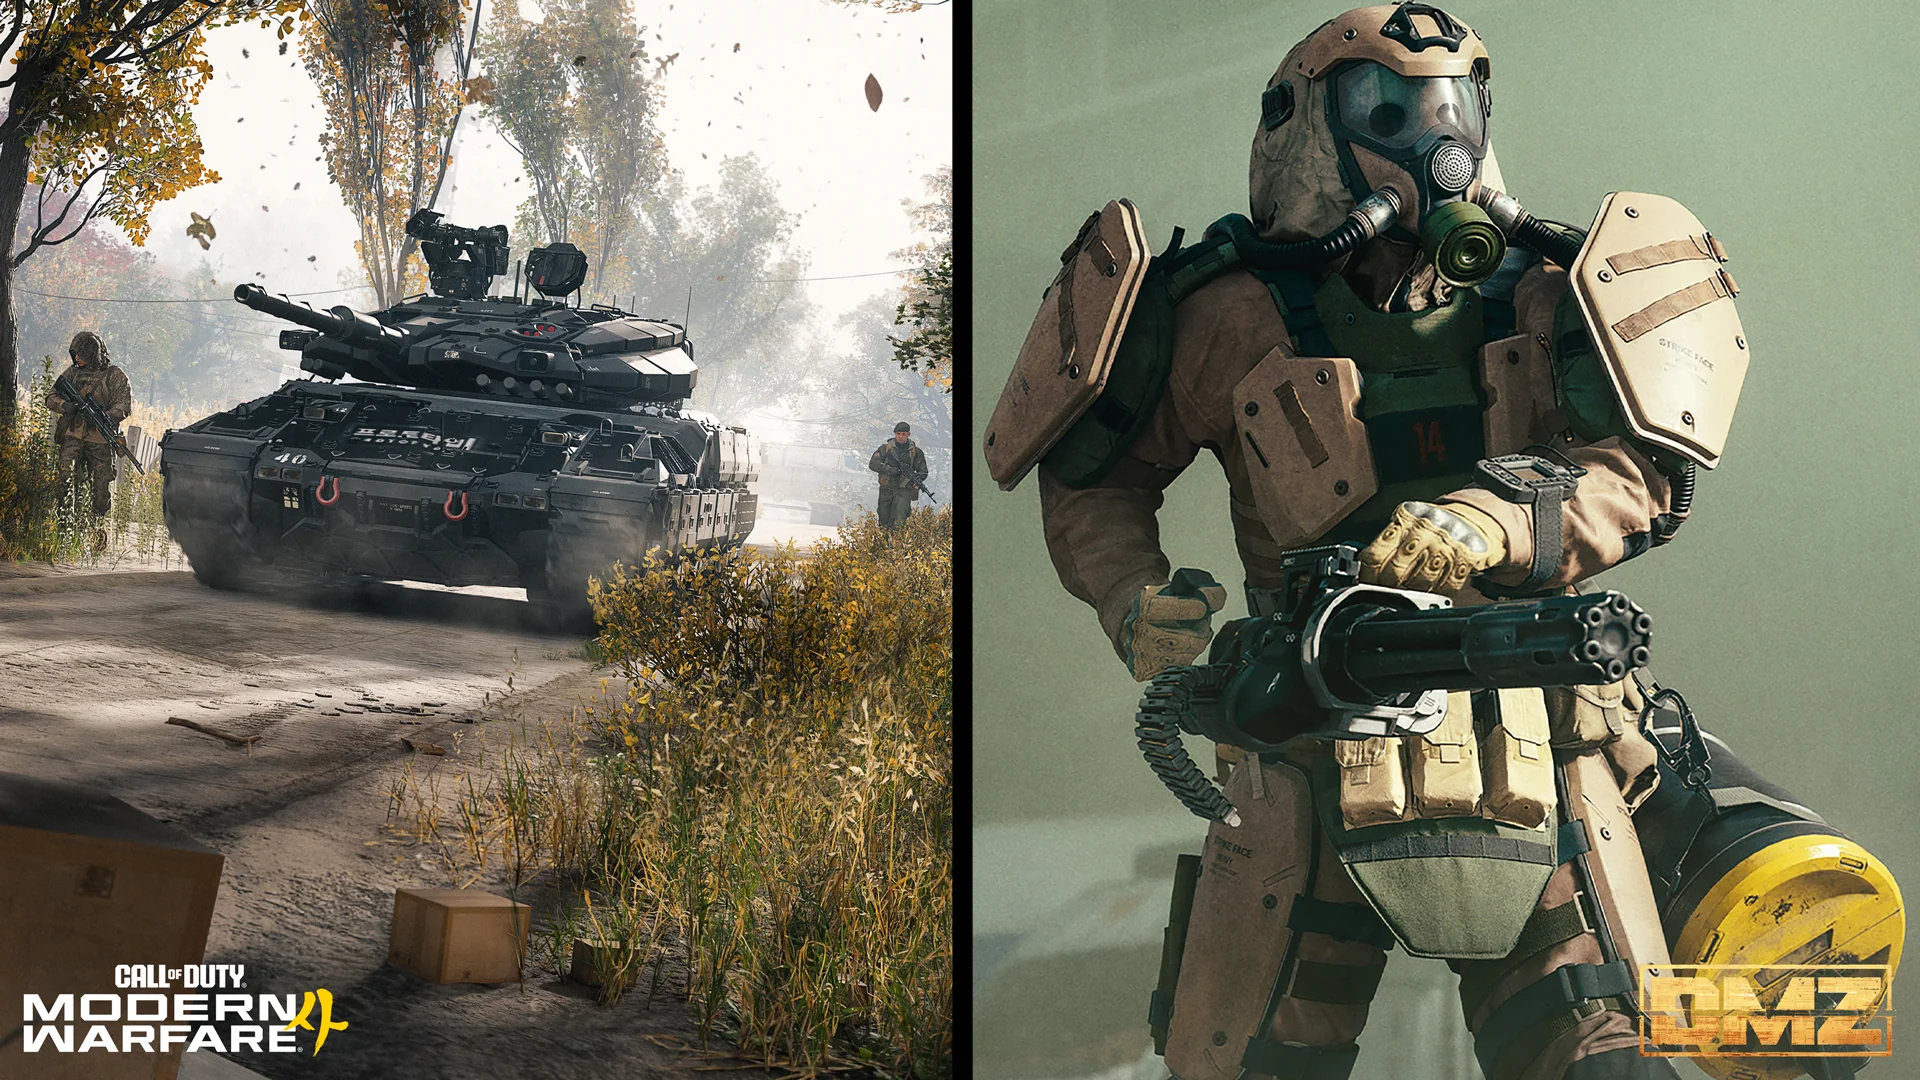
One approach that works is to retreat, use the yellow ladder to reach the roof beside the yard, and have your squad engage him from above with scoped rifles. His death yields the HANEUL BOAT HOUSE key; collecting it moves the objective forward.
Boat house and chopper escort
How the DMZ story ends
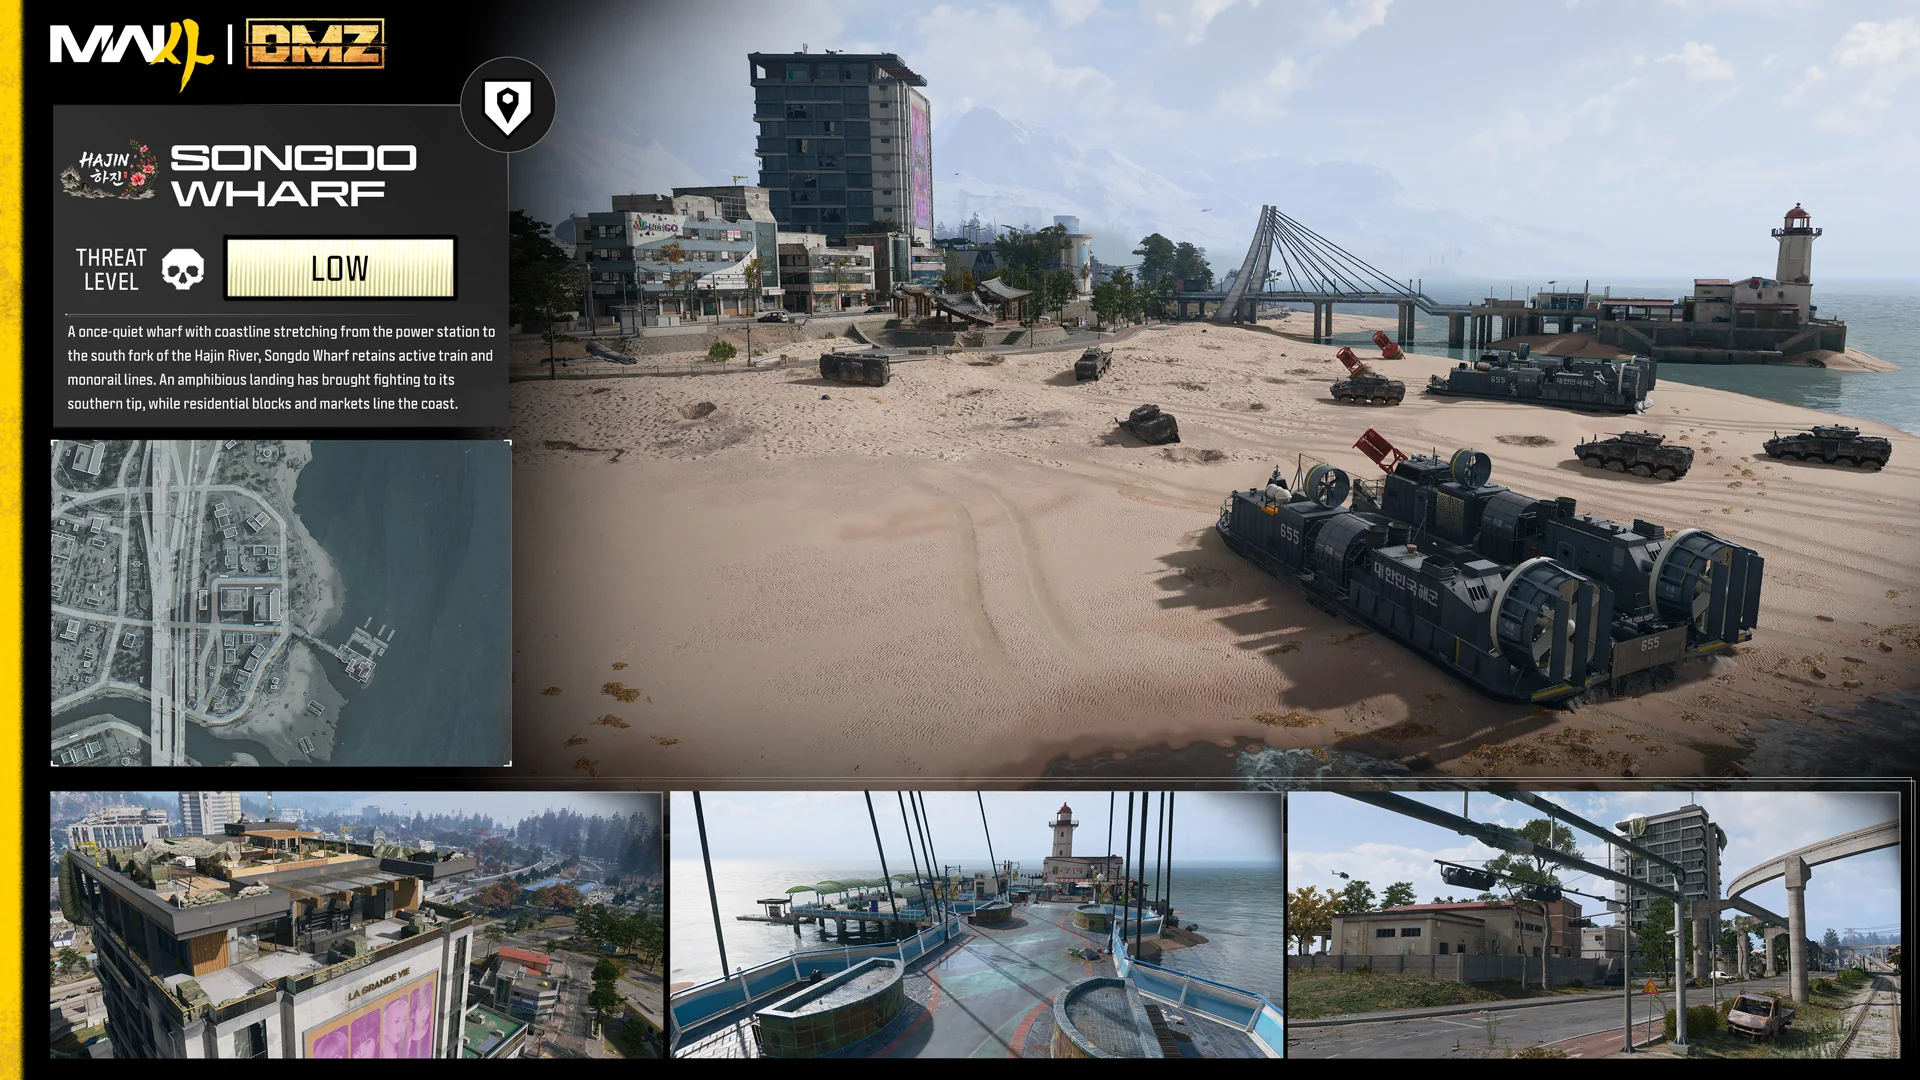
In early access, Operation Fallen Ember sits alone at the top of the story mission tree, so this boat run is where the DMZ story currently ends. Partway along, the patrol boat pulls alongside a station at the Songdo Wharf pier that reads “REFUELING AND REPAIRING…”. Once Escort the Chopper Until Safe is up and you reach open water off the South Korean Shoreline, a bright flash lights the horizon, a “DDOS DETECTED!” alarm flashes and “VEHICLE DISABLED” appears on the boat. A nuclear blast then rises in the distance, and MISSION COMPLETE / STORY MISSION appears over the mushroom cloud.
No cutscene plays and no credits roll. You keep control of your operator with the cloud still on the horizon, and the match carries on until you exfil.
Exfil and Operation Fallen Ember payouts
The patrol boat is the quickest way out: stay aboard, steer to Songdo Pier at Songdo Wharf and walk to the green smoke on the pier. Use CALL EXFIL HELICOPTER there and hold the pier; the chopper lands in under a minute, and EXFIL DEPARTING starts once your squad is aboard. If your squad is wiped out before then, FAILED TO EXFIL / MISSING IN ACTION appears, but the mission payouts remain listed in the EXTRACTION SUMMARY.
The pier is not the only option after the blast. The green smoke exfil near Wolves Stadium (THREAT: LOW) also works: after the exfil request there, the radio reports “Orion 6-1 is inbound”, and the chopper leaves with EXFIL DEPARTING.
| Extraction Summary line | Cash |
|---|---|
| 1 Story Mission Payout | 5,000 |
| 2 Side Ops Payout | 1,000 |
| 1 First Lieutenant Takedowns | 10,000 |
| Banked cash | 16,000 |
The two side ops are CLEAR THE MILITARY COMPOUND and KILL CHEMIST, and the lieutenant takedown is the Chemist kill. Together with the story payout, that adds up to 16,000 in banked cash.