Compress a file using the in-built Windows tool or a third-party app, or enable file compression feature to save disk space on your computer.
Compress a file using the in-built Windows tool or a third-party app, or enable file compression feature to save disk space on your computer.
by Parth Sawhney
Compressing files on Windows 11 can help save storage space and make it easier to share multiple files at once. Whether you’re looking to compress a single document or an entire folder, Windows 11 provides several methods to do so efficiently. This guide will show you how to compress files using built-in tools and third-party applications.
Use File Explorer to compress files
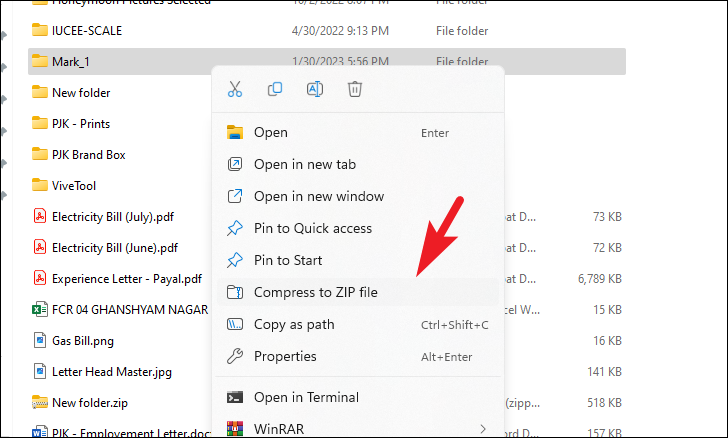
One of the simplest ways to compress files on Windows 11 is by using File Explorer’s built-in ZIP compression feature.
Navigate to the file or folder you want to compress. If you’re compressing multiple files, consider placing them all into a single folder for convenience.
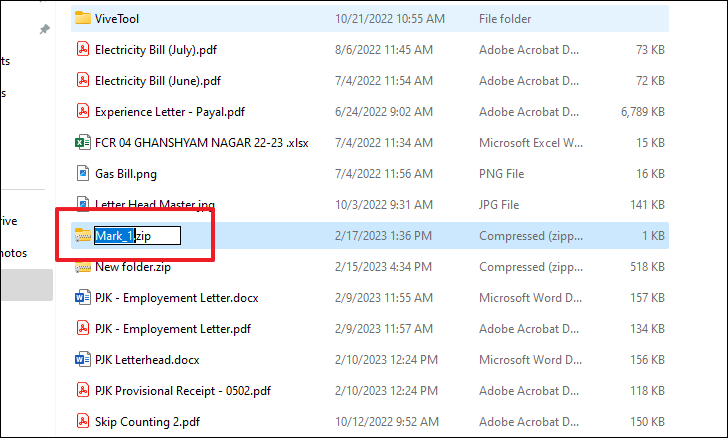
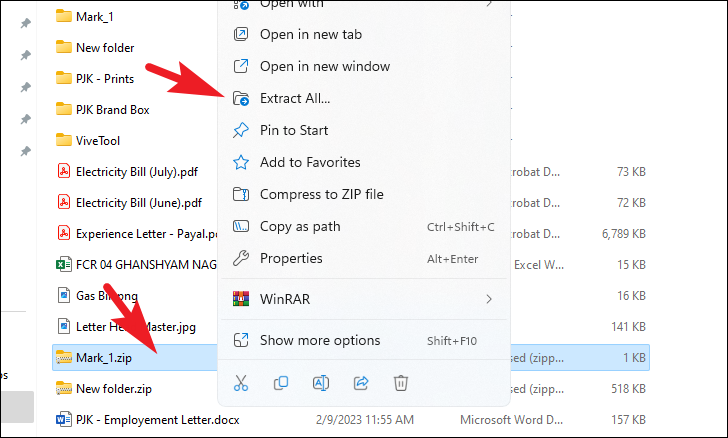
To view the contents of the ZIP file, double-click it to open. If you need to extract the files later, right-click on the ZIP file and choose Extract All from the menu.
Enable file compression for a file or folder
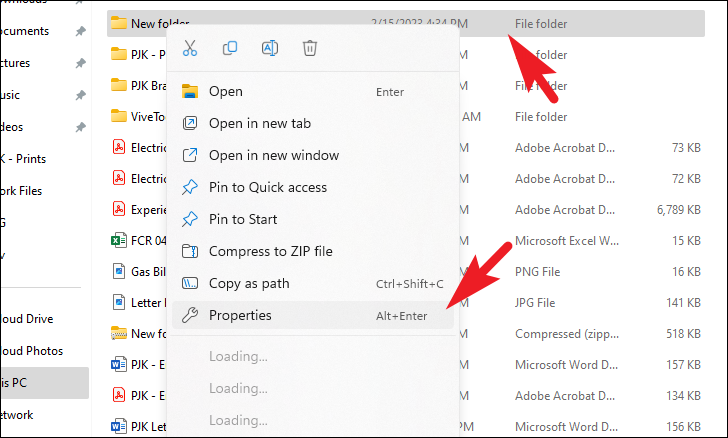
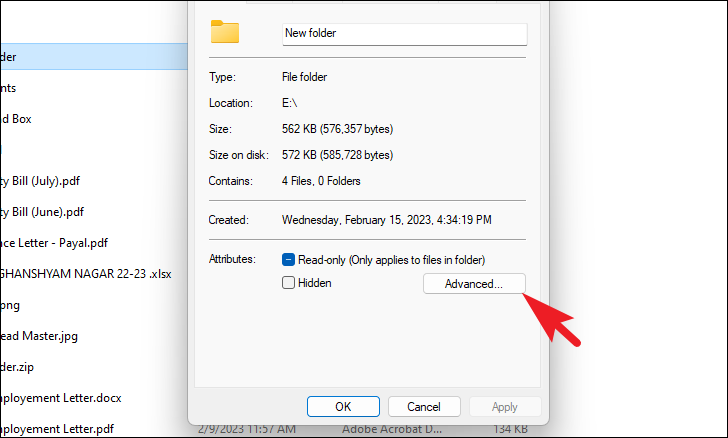
Windows 11 allows you to compress individual files or folders to save disk space using NTFS file compression. This method reduces the size of files stored on your hard drive without the need to create separate ZIP files.
Back in the Properties window, click Apply. A dialog box will appear asking if you want to apply the changes to only this folder or to all subfolders and files. Choose the option that suits your needs and click OK.
The files will be compressed in the background. Compressed files and folders will show their names in blue text in File Explorer, indicating they are compressed.
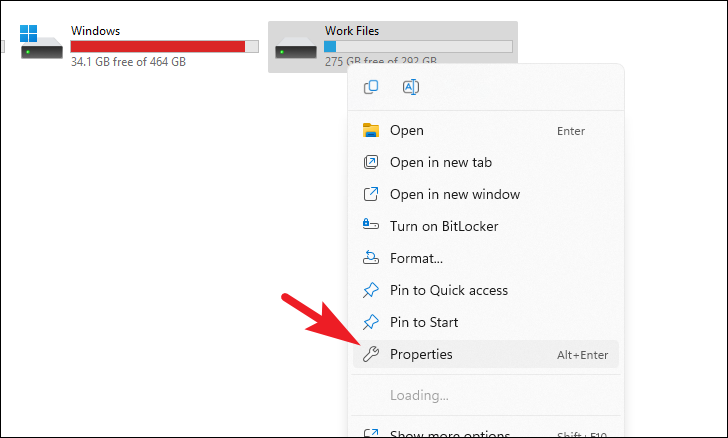
Enable file compression for an entire drive
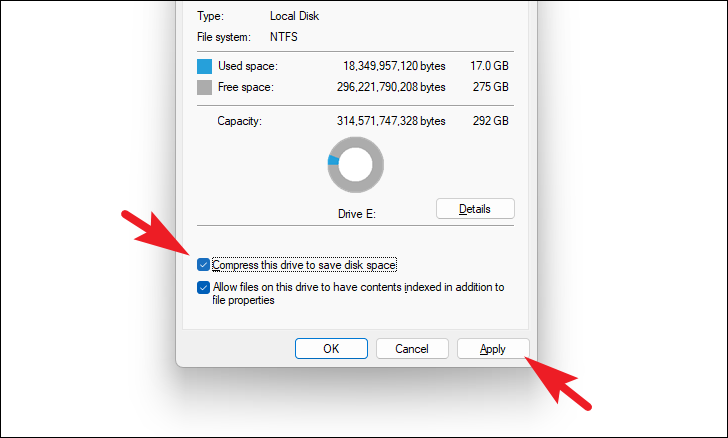
You can also enable compression for an entire drive to save disk space across all files stored on it.
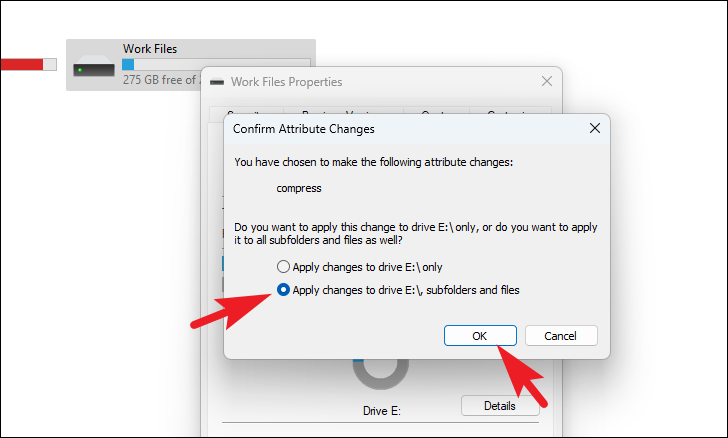
A dialog box will appear asking if you want to apply the changes to drive X:\ only or to all subfolders and files. To compress all existing content, select Apply changes to drive X:\, subfolders and files, then click OK.
Note: Compressing an entire drive may take some time, depending on the amount of data stored. All new files saved to the drive will also be automatically compressed.
Compress a file using a third-party app
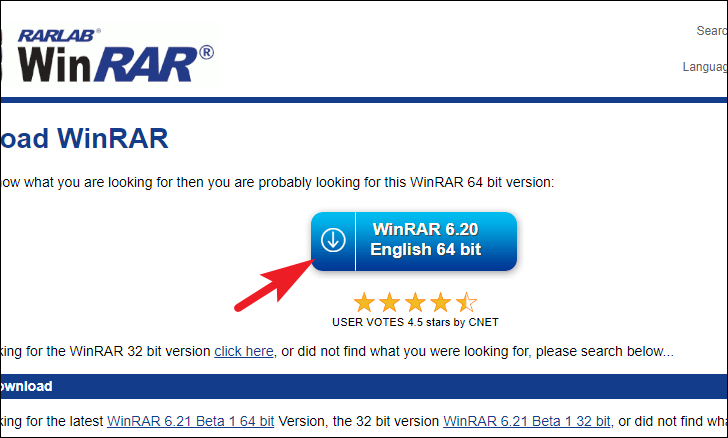
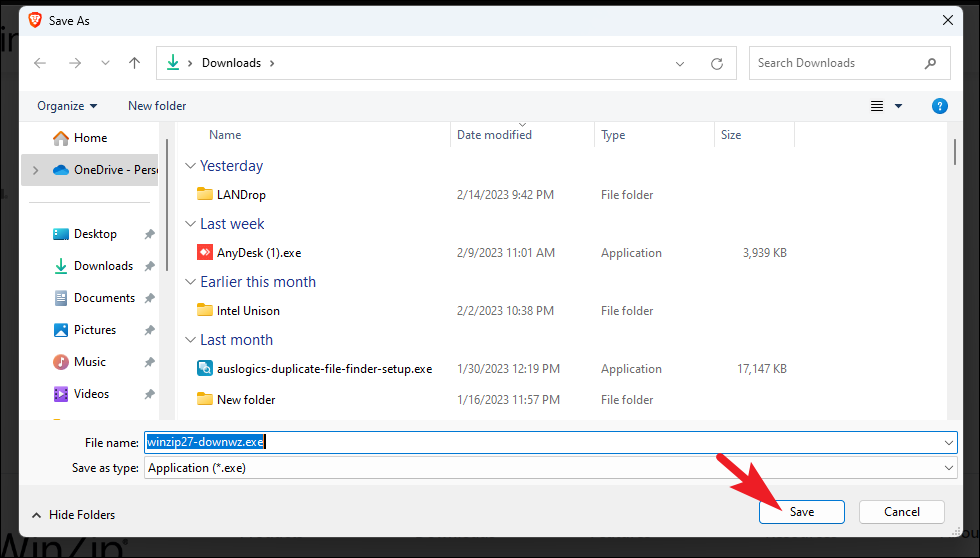
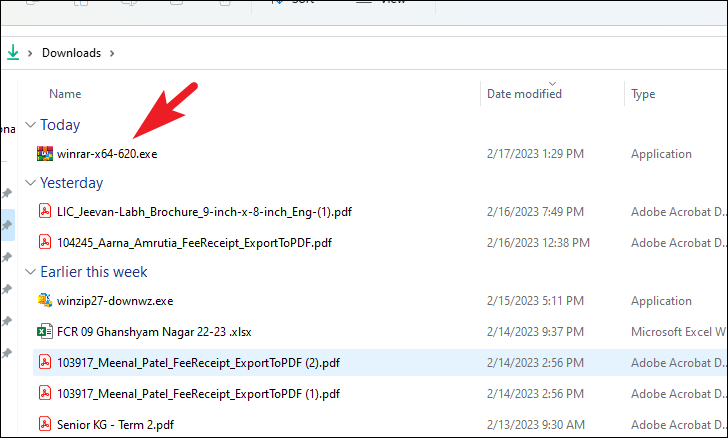
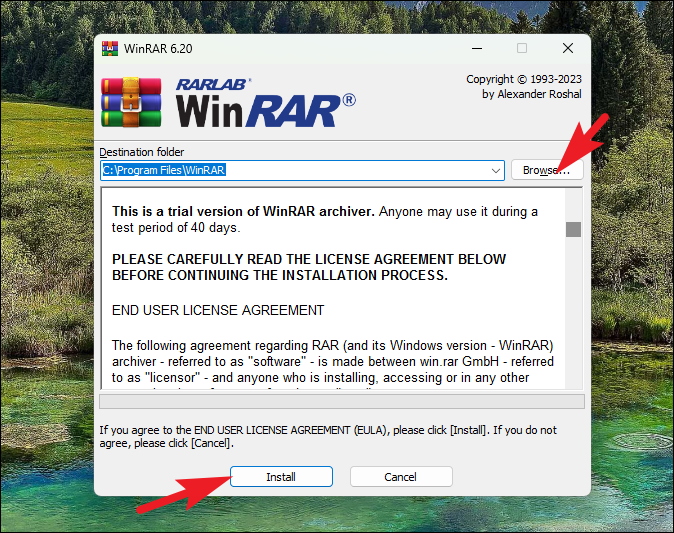
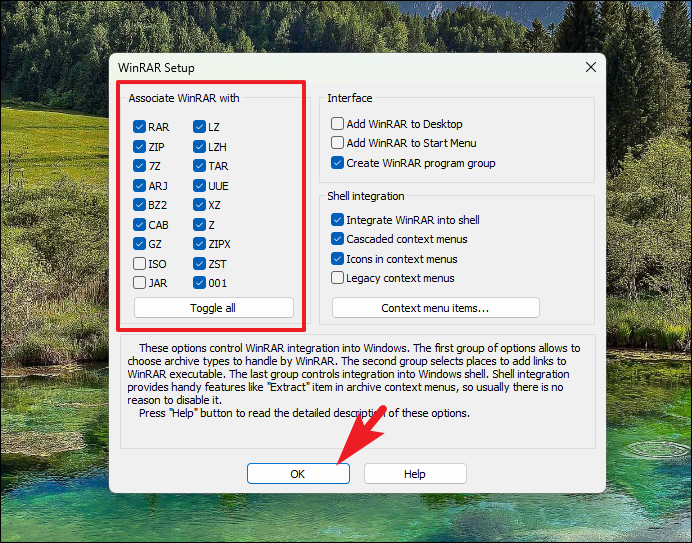
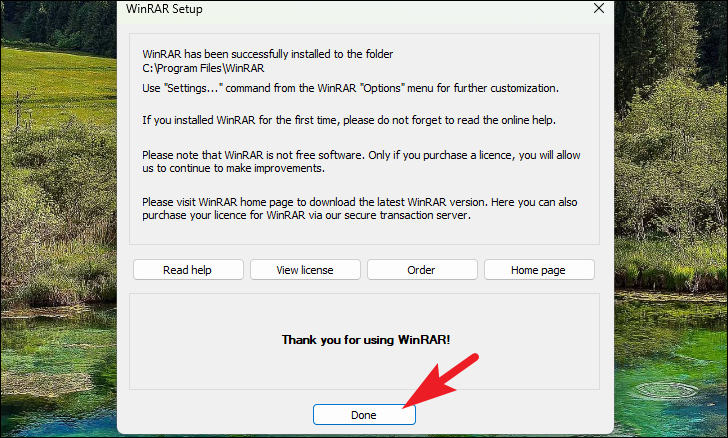
For advanced compression options, you can use third-party applications like WinRAR.
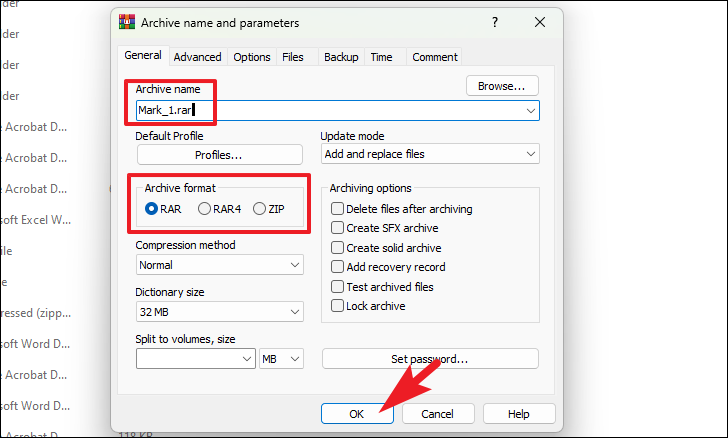
In the Archive name and parameters window, you can specify the archive name, select the compression format (e.g., RAR or ZIP), and adjust compression settings. To change the destination folder for the compressed file, click Browse. When you’re satisfied with the settings, click OK to create the archive.
The compressed file will be created in the specified location with your chosen settings.
Compressing files on Windows 11 is straightforward with the built-in tools and third-party applications available. By following these methods, you can efficiently save disk space and easily share files with others.