
Defragmenting your hard drive is a crucial maintenance task that can enhance the performance of your Windows 11 PC by organizing fragmented data and improving file access speeds. Although Windows 11 automatically schedules defragmentation, knowing how to manually defrag your storage can help you optimize your system whenever necessary.
What causes fragmentation of your storage?
Fragmentation occurs when files are broken into pieces and scattered across different areas of your storage drive. This happens over time as you create, modify, and delete files or applications. Imagine trying to read a book where the pages are out of order; it would take longer to find the information you need. Similarly, a fragmented hard drive slows down data retrieval because the read/write head has to move to multiple locations to access a single file.
This issue is more pronounced with Hard Disk Drives (HDDs) due to their mechanical components. The constant movement required to access fragmented files increases the time it takes to read and write data. While Solid State Drives (SSDs) are less affected because they have no moving parts, they can still benefit from occasional defragmentation to maintain optimal performance.
Understanding fragmentation and its impact on your storage device is essential for keeping your system running efficiently. Let’s explore how you can defrag your hard disk using Windows 11’s built-in tools.
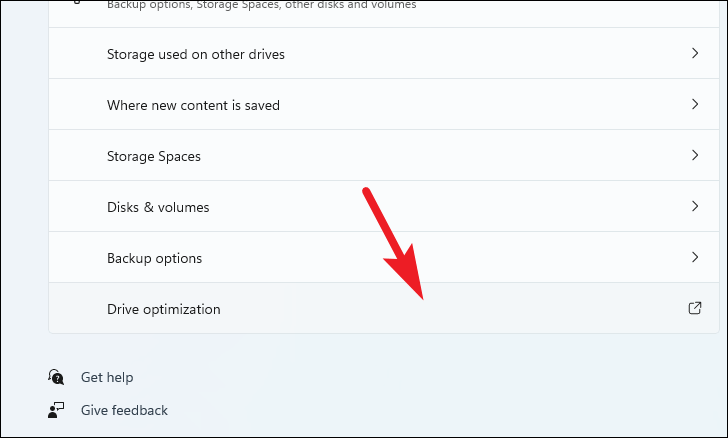
Defrag your hard disk using drive optimization
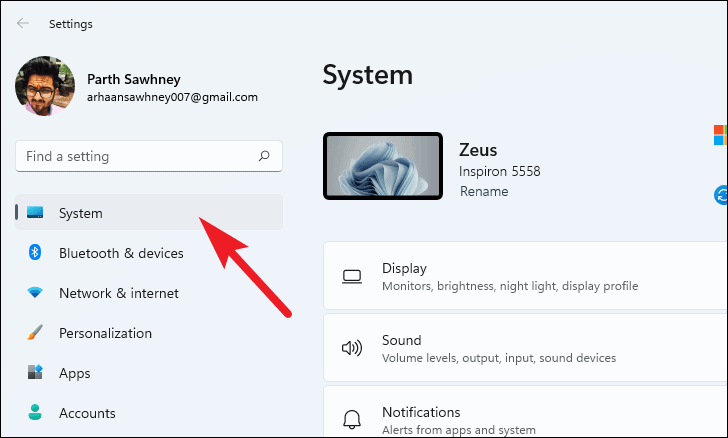
Settings app by clicking on the Start menu and selecting Settings from the list of options.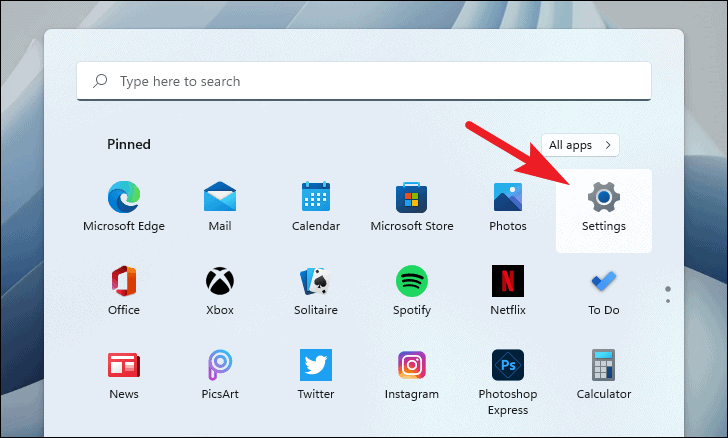
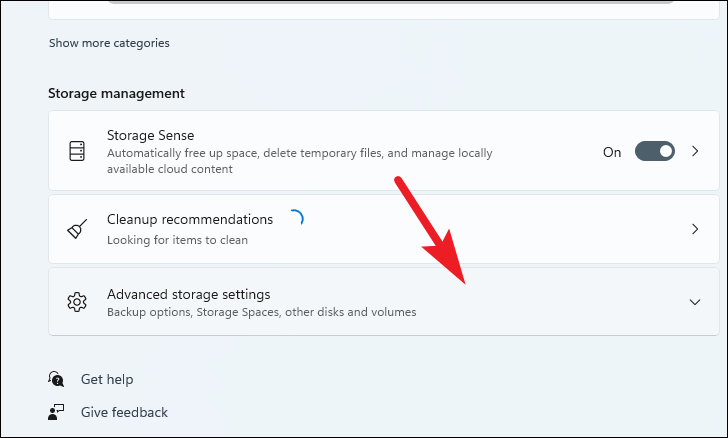
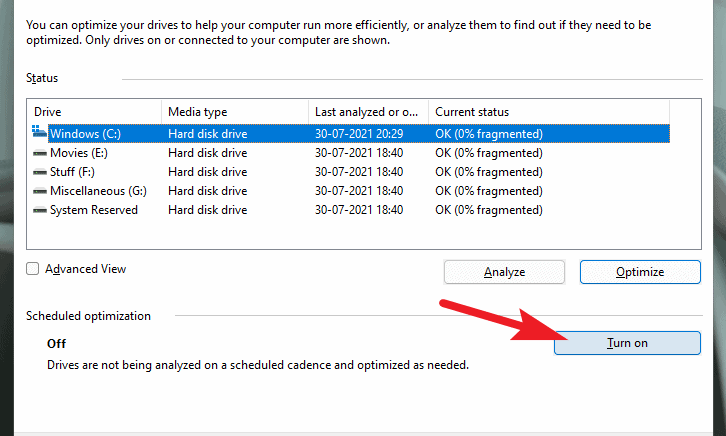
Optimize Drives window, you’ll see a list of your drives along with their current status, last run date, and fragmentation level.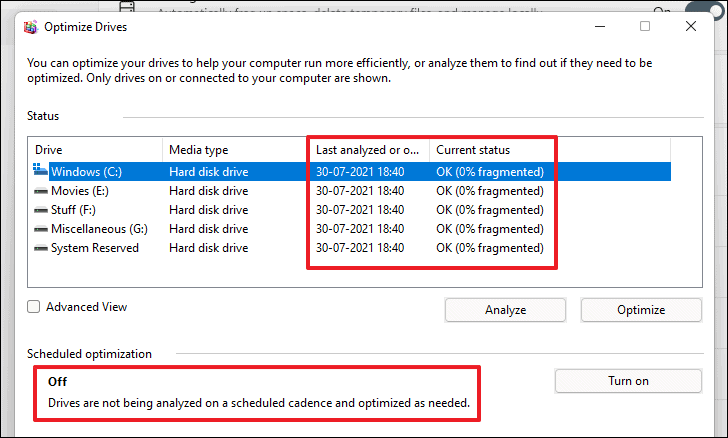
Analyze. If it has been more than a week since the last optimization, you can proceed directly to defragmentation.
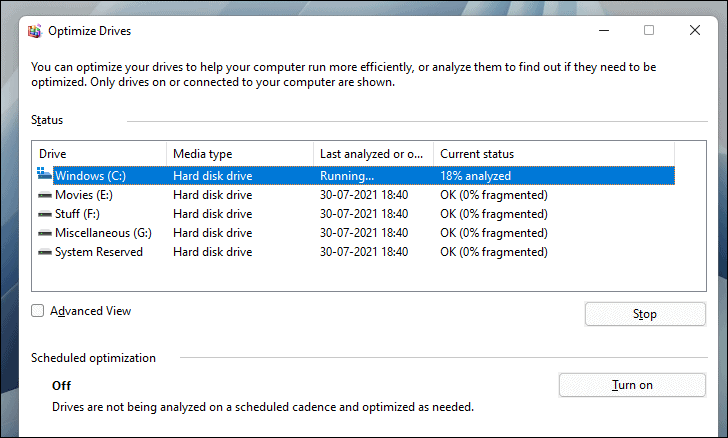
Current status shows OK, the drive doesn’t need defragmentation. If Scheduled optimization is turned off, consider enabling it for automatic maintenance.Optimize. It’s advisable to perform this action on all drives individually for optimal performance.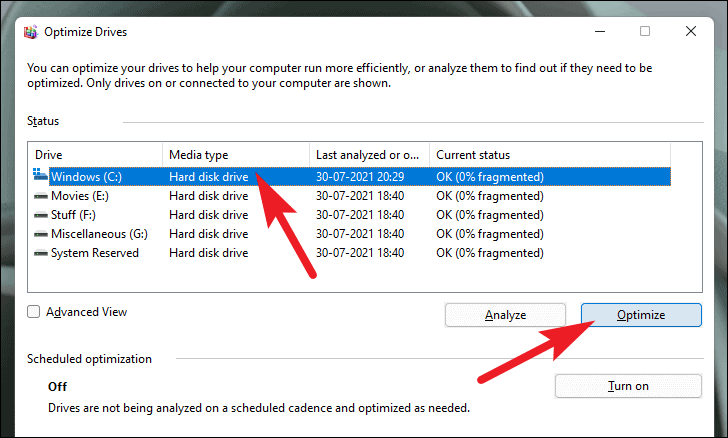
While manual defragmentation is effective, scheduling automatic defragmentation ensures your drives remain optimized without continual oversight.
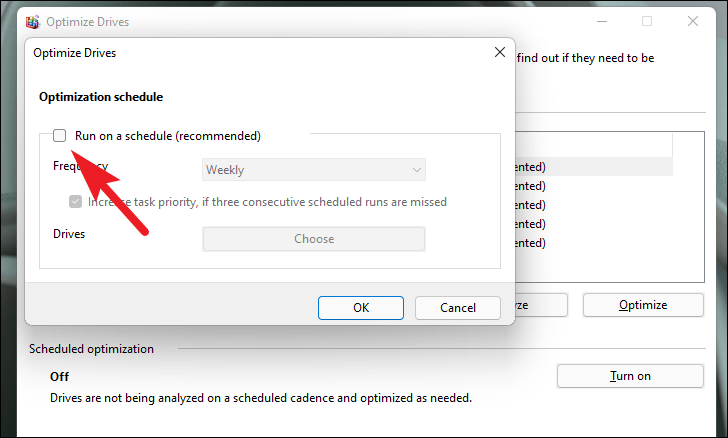
Frequency dropdown menu. A weekly schedule is generally recommended for most users.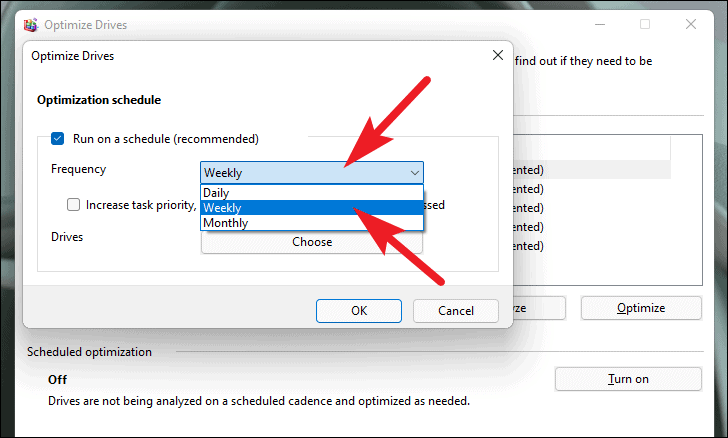
Increase task priority if three consecutive scheduled runs are missed to ensure the optimization process runs during active hours if previous schedules were missed.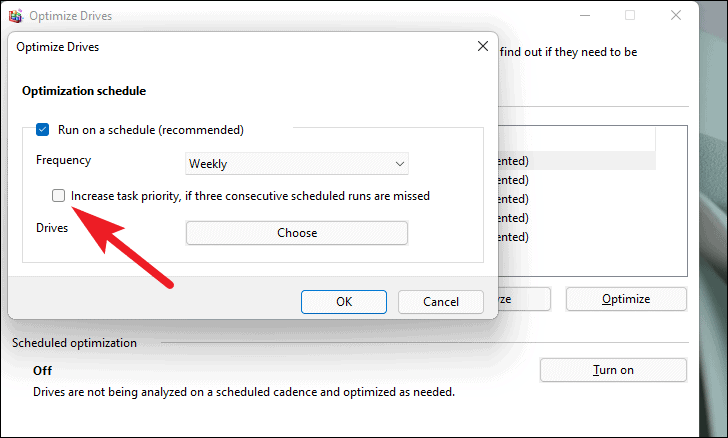
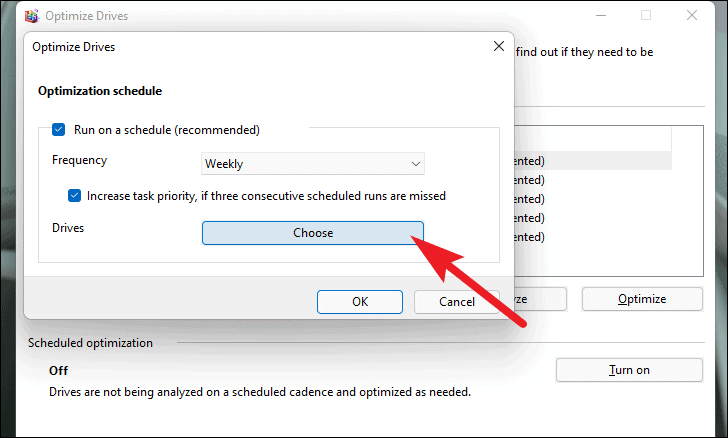
Select all to include all available drives. Check the box next to Automatically optimize new drives and click OK to save your settings.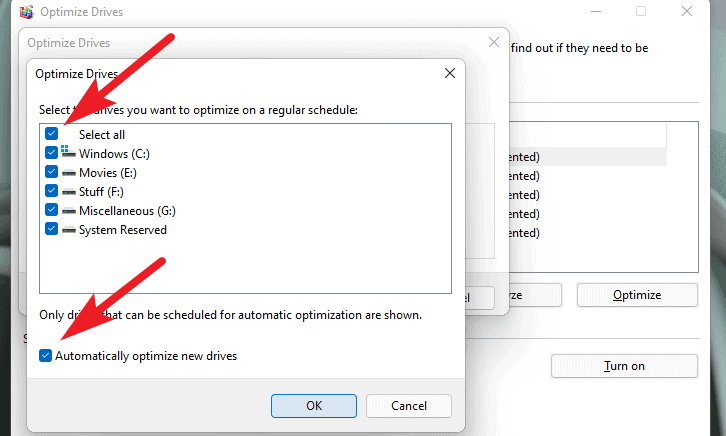
With these settings, your drives will be automatically defragmented according to the schedule you’ve established, ensuring continuous optimal performance.
Defrag your hard disk using Command Prompt
Another method to defragment your hard drive is through the Command Prompt, which offers more control over the defragmentation process.
Start menu and select Windows Terminal (Admin) to open the terminal with administrative privileges.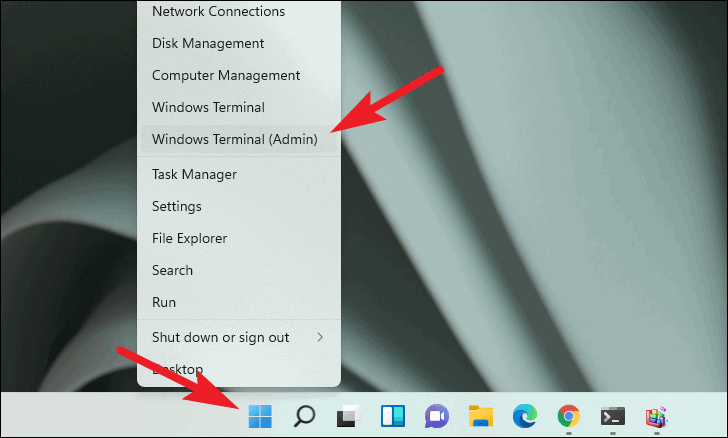
Command Prompt from the dropdown menu. Alternatively, press Ctrl+Shift+2 to open Command Prompt in a new tab.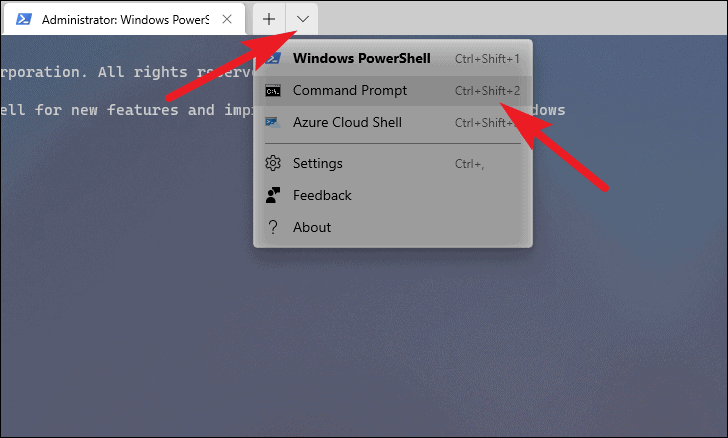
defrag <drive letter> /A and press Enter. Replace <drive letter> with the actual letter of the drive you want to analyze (e.g., defrag C: /A).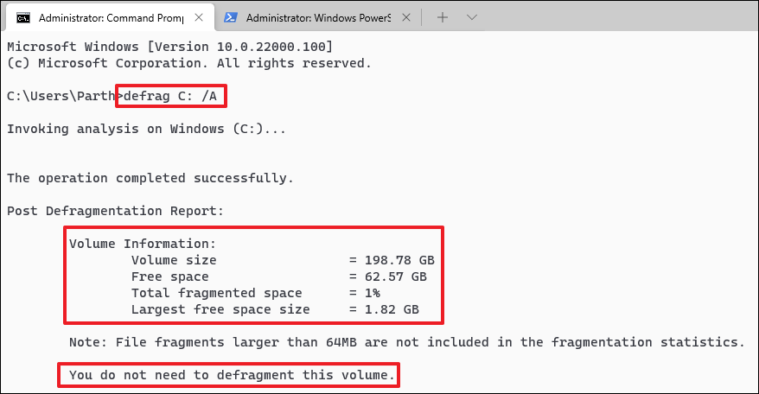
defrag <drive letter> and press Enter. Wait for the process to complete before closing the Command Prompt window.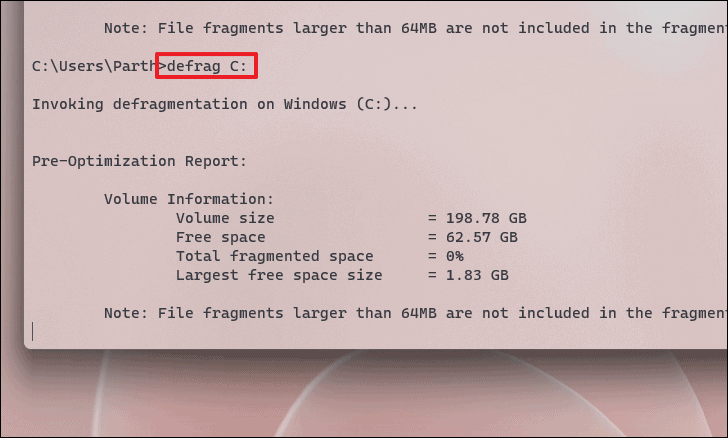
defrag /C and press Enter. This command works similarly to the graphical defragmentation tool.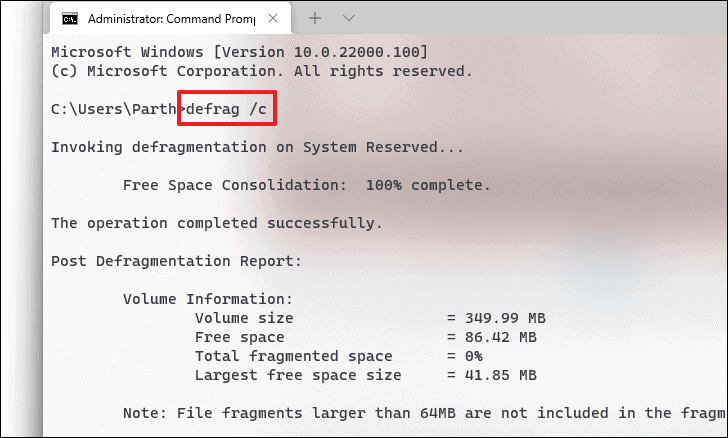
defrag /E <drive letter>. For example, defrag /E D: will defragment all drives except the D: drive.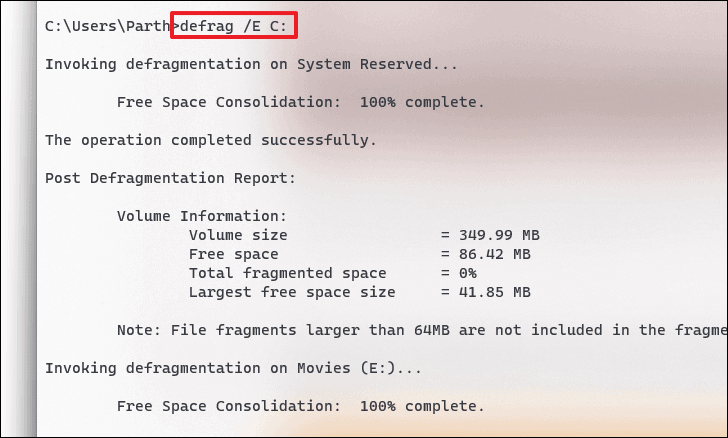
defrag <drive letter> /B and press Enter. This command optimizes boot files and can significantly improve startup times. Note that this process may take longer depending on your system.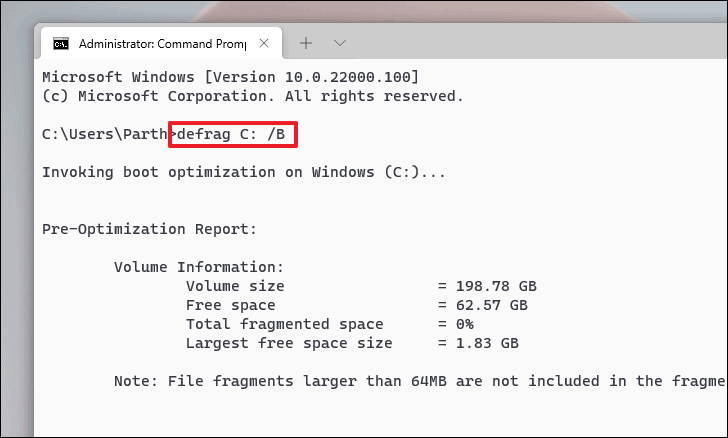
defrag /? and press Enter to display a list of available options and their descriptions.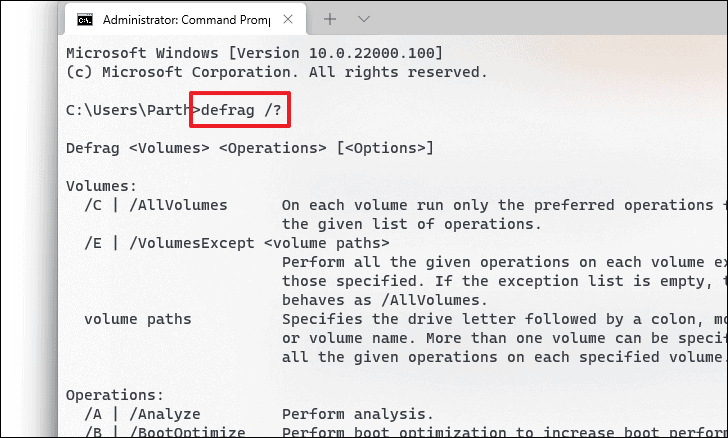
What cannot be defragmented on Windows 11?
It’s important to be aware of certain limitations when defragmenting drives on Windows 11:
- Drives that are in exclusive use by another program cannot be defragmented.
- Drives formatted with FAT or FAT32 file systems instead of NTFS are not supported by the built-in defragmentation tool.
- Network drives and optical drives (such as CD or DVD drives) cannot be defragmented.
Regular defragmentation is key to maintaining your Windows 11 PC’s performance by ensuring data is organized efficiently on your storage drives. Whether you prefer using the graphical interface or the Command Prompt, these methods provide effective ways to optimize your system and enhance its speed.


