
If you’re considering disabling or completely removing McAfee from your Windows 11 computer, perhaps to free up system resources or because you’re opting for a different security solution, this guide will provide you with all the steps you need. We’ll explore various methods to ensure McAfee is fully removed from your system, whether you prefer using official tools or manual removal techniques.
Use the Official McAfee Removal Tool (MCPR.exe)
The most effective way to remove McAfee products from your system is by using the McAfee Consumer Product Removal tool (MCPR.exe). This tool is designed to thoroughly uninstall all McAfee software. Here’s how to use it:
MCPR.exe file, right-click on it, and select Run as administrator to launch the tool with the necessary permissions.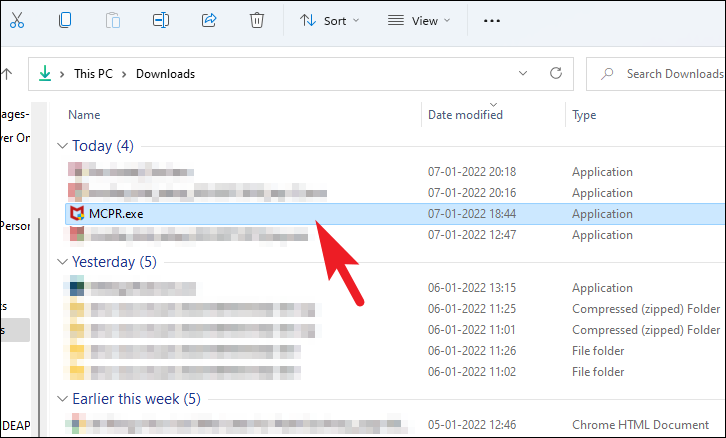
Next to proceed, and then accept the End User License Agreement by clicking Agree.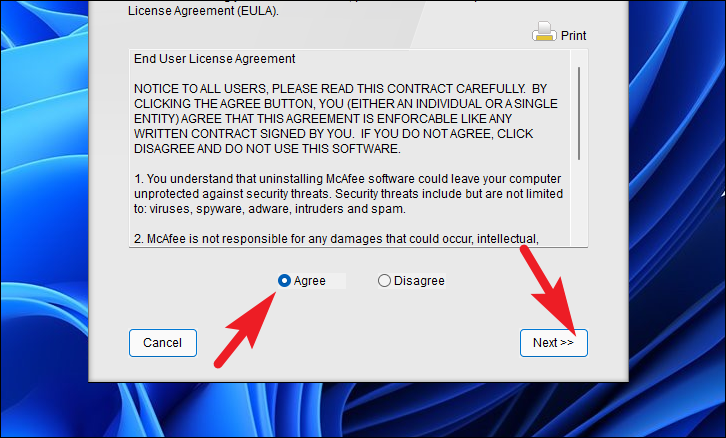
Next to continue.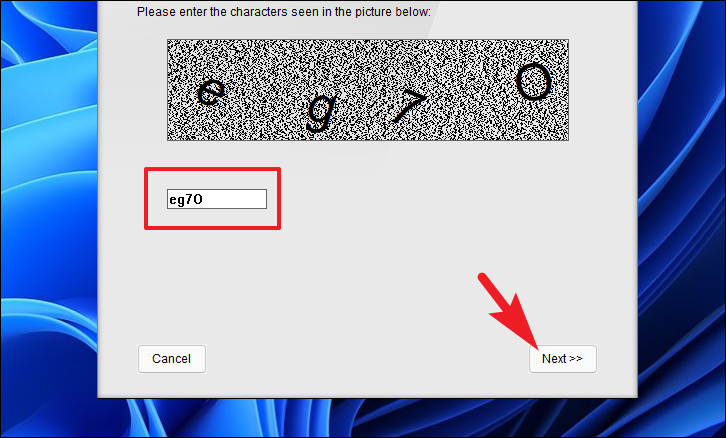

Restart to reboot your system and finalize the uninstallation.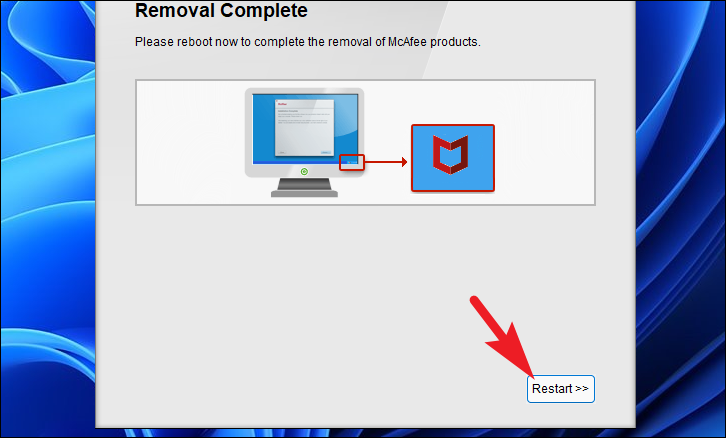
Uninstall McAfee via Windows Settings
If you prefer not to use an additional tool, you can uninstall McAfee directly through Windows Settings. Follow these steps:
Start button and select Settings from the context menu to open the Windows Settings app.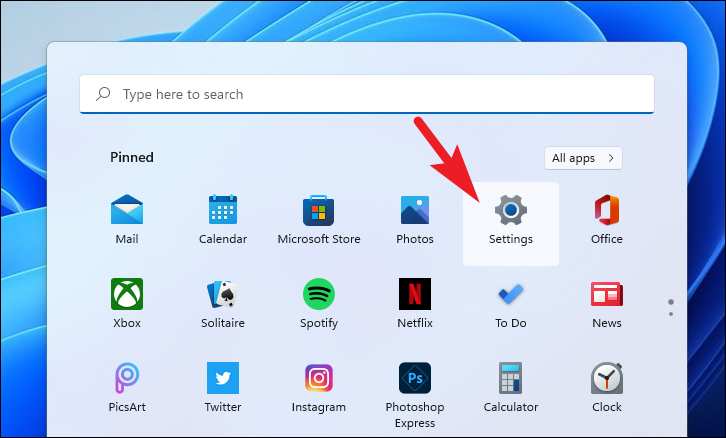
Apps in the left-hand menu, then select Installed apps on the right to view all applications installed on your system.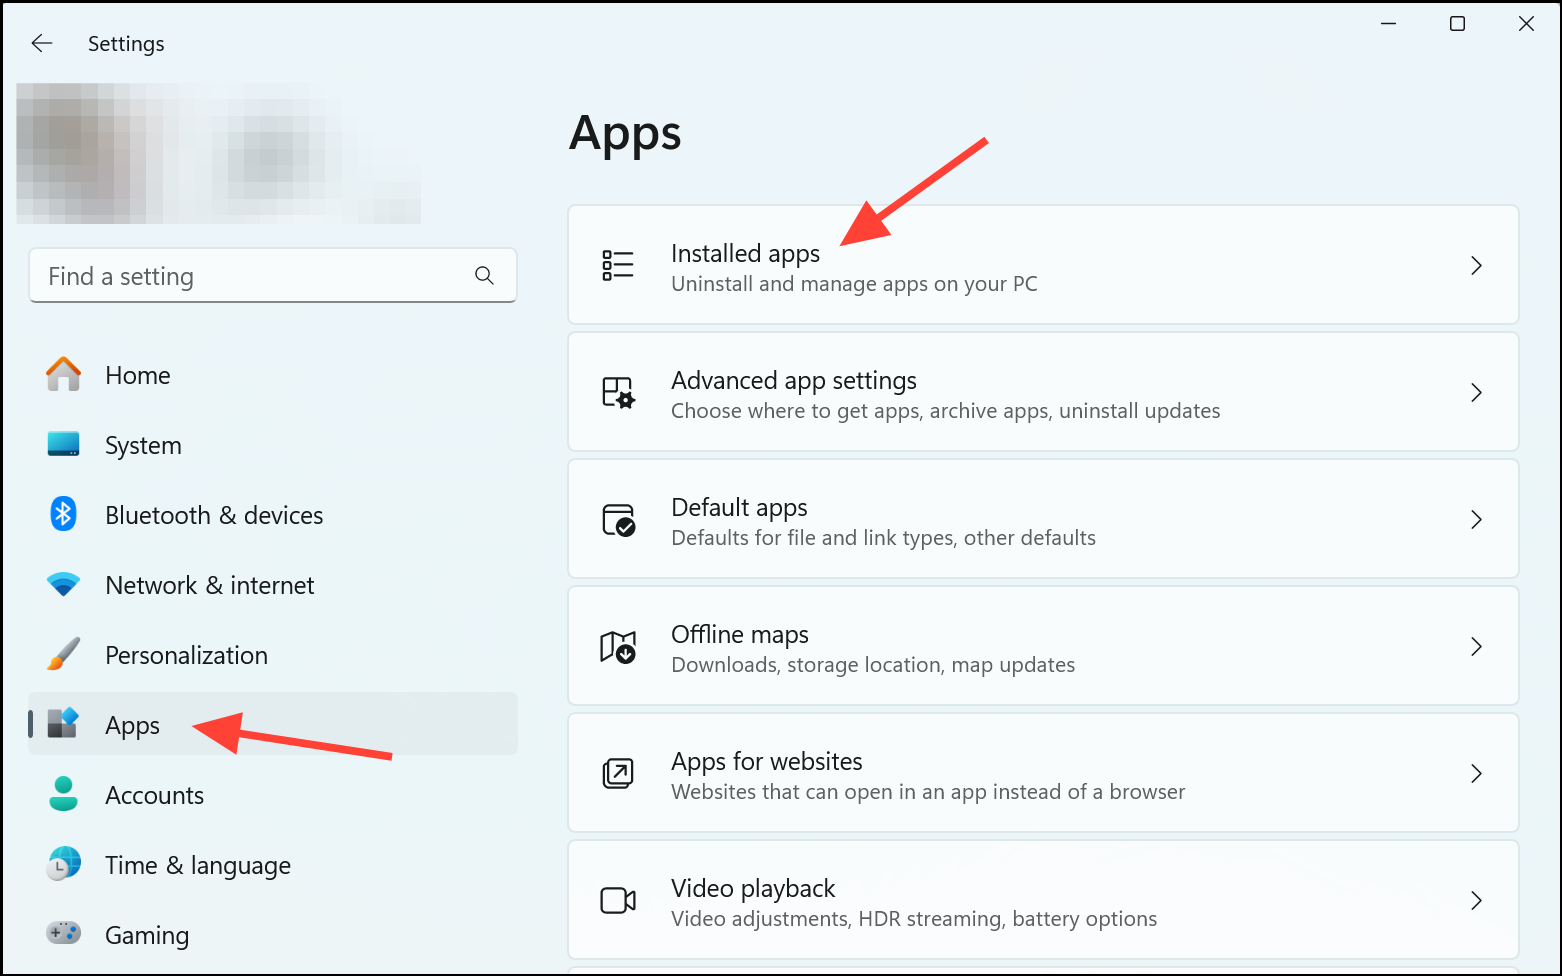
McAfee® Total Protection. Click on the three-dot icon next to it to open the options menu.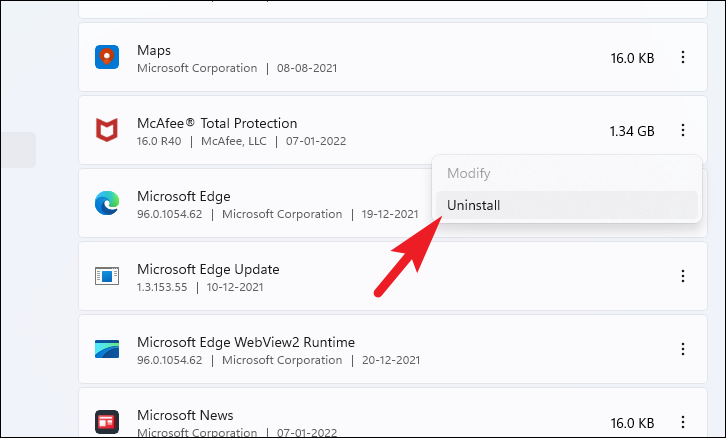
Remove to proceed.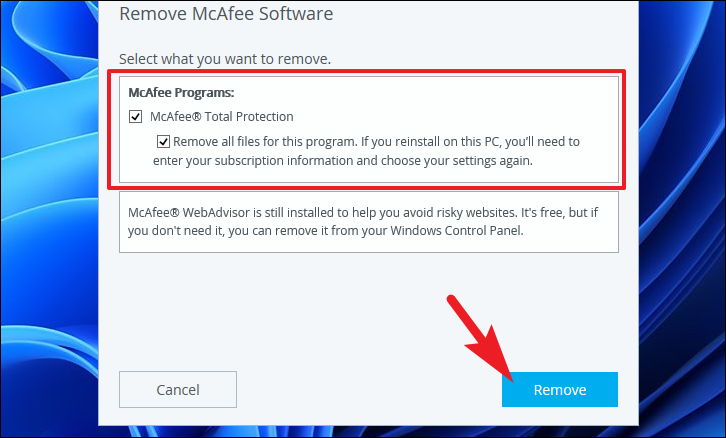
Remove again to confirm and continue with the uninstallation.
Remove McAfee Using Command Prompt
For users comfortable with the command line, you can uninstall McAfee products using Windows Terminal. Here’s how:
Start button and select Terminal (Admin) to open Windows Terminal with administrative privileges.Get-WmiObject -Class Win32_Product | Select-Object -Property Name$app = Get-WmiObject -Class Win32_Product -Filter "Name='app_name'"$app.Uninstall()Delete Remaining McAfee Files and Services
Even after uninstalling, some McAfee files or services might linger on your system. To ensure complete removal, follow these steps:
Win + R to open the Run dialog box. Type services.msc and press Enter to open the Services management console.cmd in the Start menu, right-clicking on Command Prompt, and selecting Run as administrator.service_name with the actual service name:sc delete service_nameC:\Program Files\McAfee and C:\Program Files (x86)\McAfee) and delete any remaining McAfee folders.Temporarily Disable McAfee Antivirus Protection
If you need to temporarily disable McAfee without uninstalling it, you can turn off its protective features. Here’s how:
Open McAfee, or by searching for McAfee in the Start menu.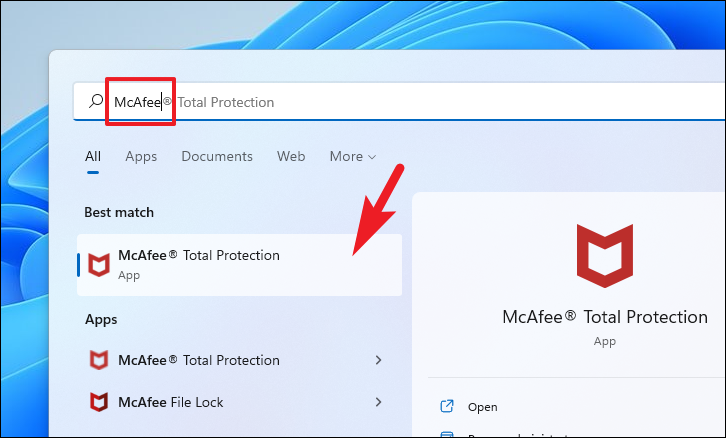
Real-Time Scanning. On the Real-Time Scanning page, click on the Turn Off button.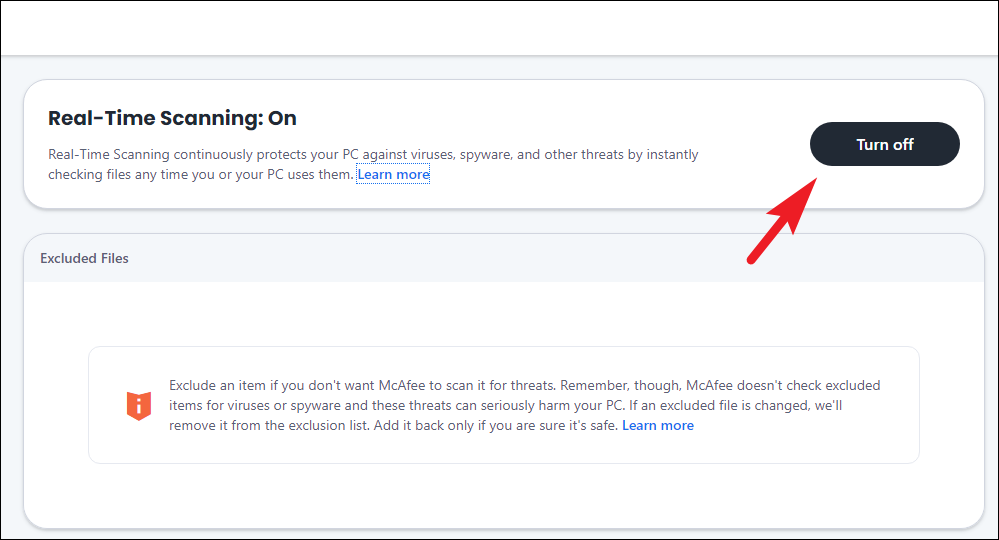
Never to turn it off indefinitely. Click on Turn Off to confirm.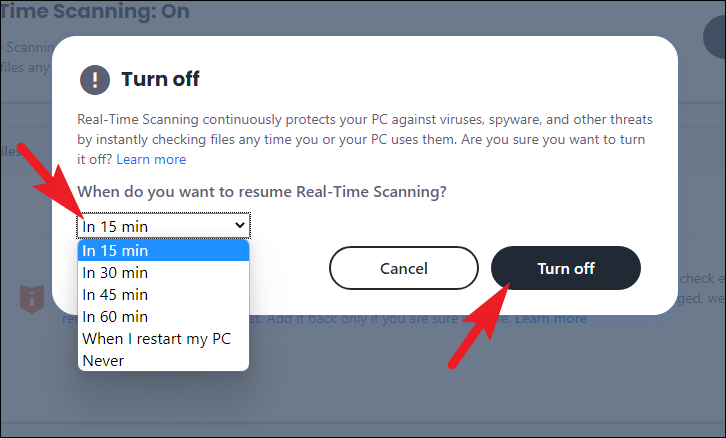
Scheduled scans. On the Scheduled Scans page, click on Turn Off to disable scheduled scanning tasks.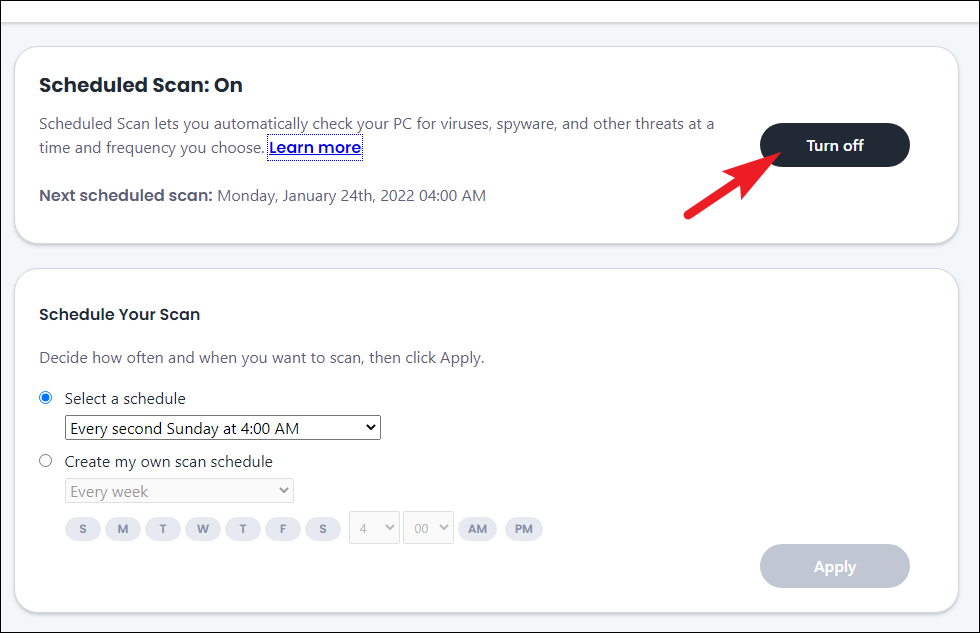
Firewall from the sidebar. On the Firewall page, click on Turn Off. Choose the duration you prefer and click on Turn Off to disable the firewall protection.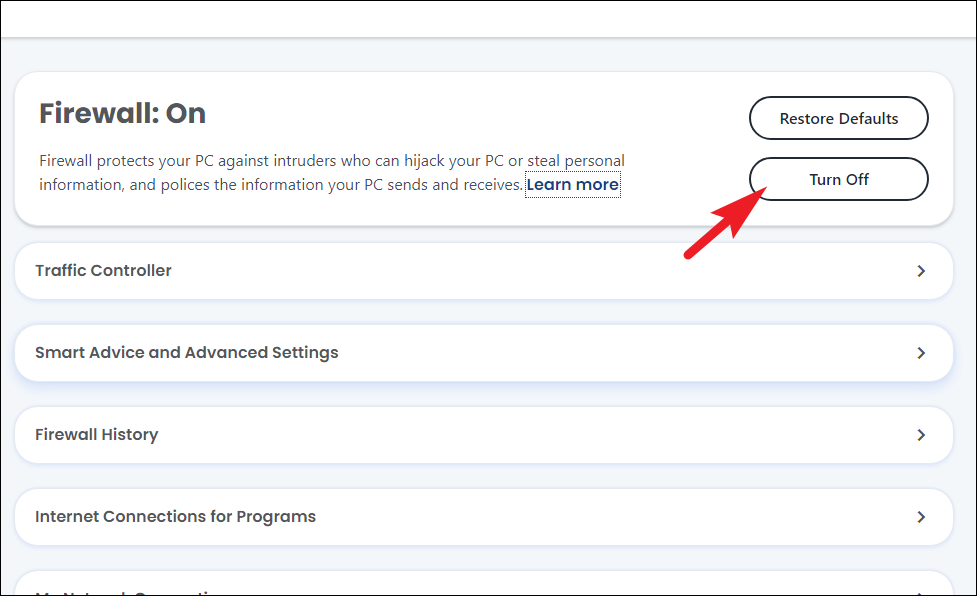
Protect yourself on the web section in the sidebar and click on Tracker remover. Then, select Schedule, choose Do not schedule, and click on Apply to disable it.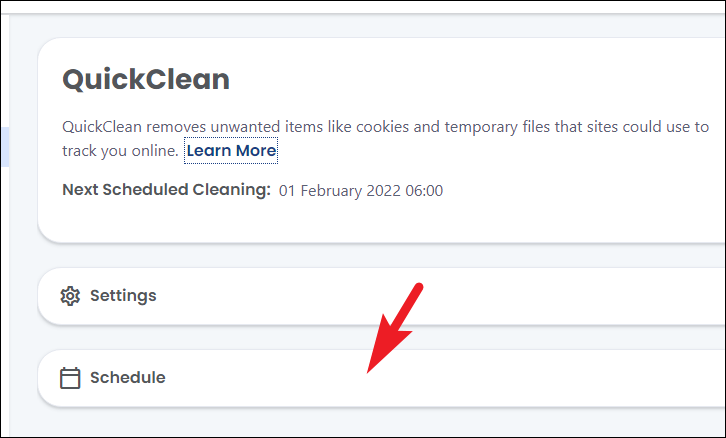
By completing these steps, you’ve successfully disabled McAfee’s antivirus protection temporarily. Remember to re-enable the features when needed to maintain your system’s security.
Enable Windows Defender After Removing McAfee
After removing or disabling McAfee, it’s important to ensure your computer remains protected. Windows Defender, the built-in antivirus solution in Windows 11, can be enabled with these steps:
Start menu and type Windows Security in the search bar. Click on the Windows Security app in the search results.Turn on button. Click it to activate Windows Defender and provide ongoing protection for your system.
By following these methods, you can effectively disable or remove McAfee from your Windows 11 system and ensure that your computer remains protected with Windows Defender or another antivirus solution of your choice. Always keep your security software updated to maintain optimal protection against threats.


