
The Xbox Game Bar in Windows 11 offers various features like capturing screenshots, recording gameplay, and chatting with friends without leaving your game. While it provides handy tools for gamers, some users may find it unnecessary or experience performance issues. If you wish to disable or completely remove the Xbox Game Bar from your system, the following methods will guide you through the process.
Remove Xbox Game Bar via Windows PowerShell
If you do not plan to use the Xbox Game Bar and want to eliminate it entirely, you can uninstall it using Windows PowerShell. This method frees up system resources and ensures the app does not run in the background.
PowerShell in the Windows Search bar, then click ‘Run as administrator’ on the right side for the top result.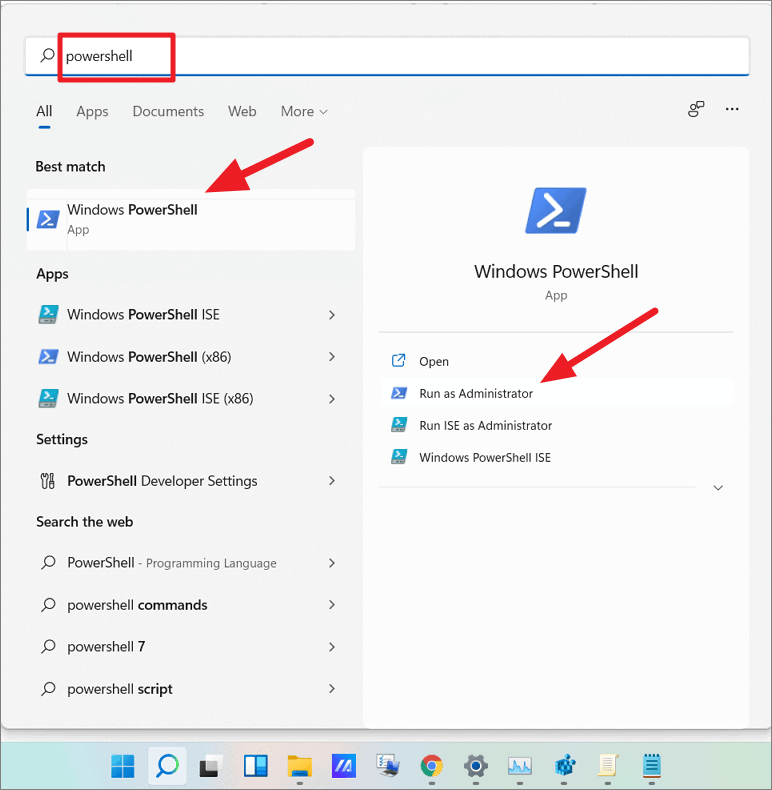
Enter after each:Get-AppxPackage *Microsoft.XboxGameOverlay* | Remove-AppxPackageGet-AppxPackage *Microsoft.XboxGamingOverlay* | Remove-AppxPackageGet-AppxPackage -AllUsers *Microsoft.XboxGameOverlay* | Remove-AppxPackageGet-AppxPackage -AllUsers *Microsoft.XboxGamingOverlay* | Remove-AppxPackageGet-AppxPackage *Microsoft.Xbox.TCUI* | Remove-AppxPackageGet-AppxPackage *Microsoft.XboxApp* | Remove-AppxPackageGet-AppxPackage *Microsoft.GamingServices* | Remove-AppxPackageGet-AppxPackage *Microsoft.XboxIdentityProvider* | Remove-AppxPackageGet-AppxPackage *Microsoft.XboxSpeechToTextOverlay* | Remove-AppxPackageDisable Xbox Game Bar using the Settings app
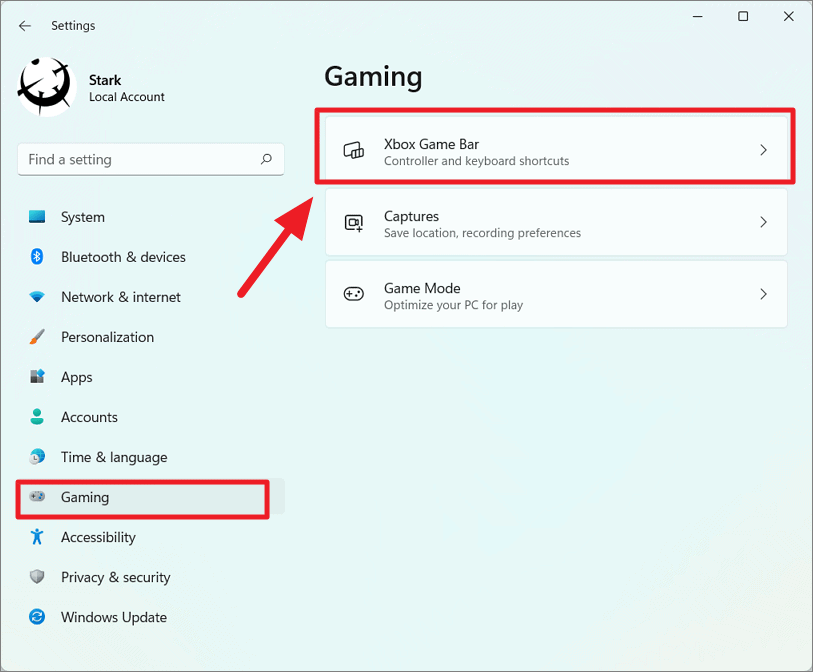
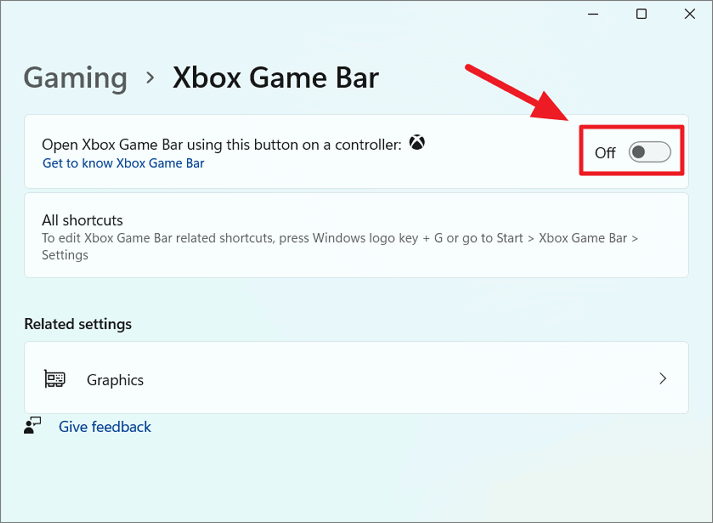
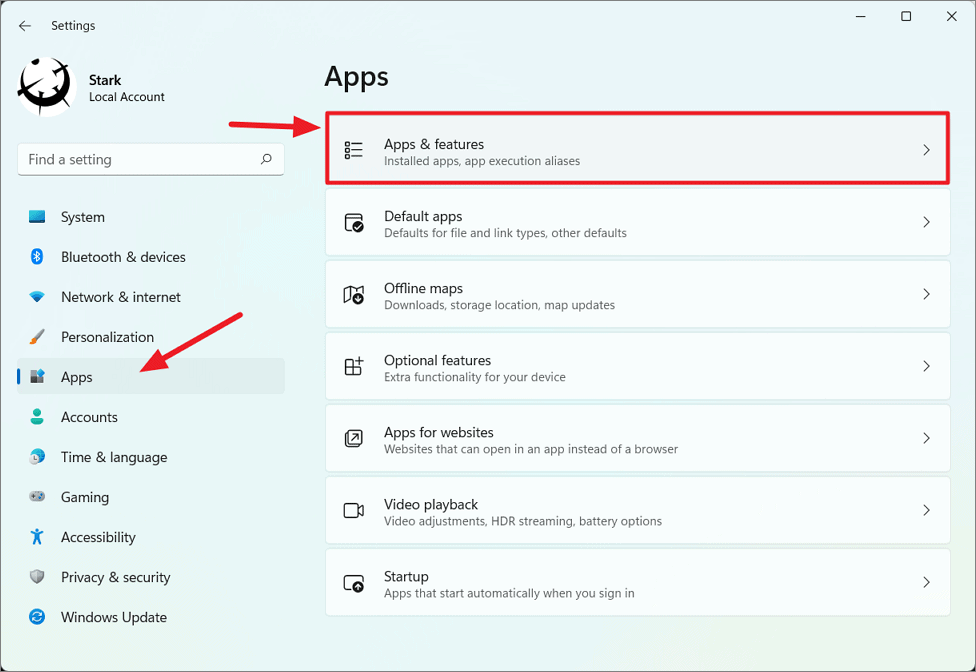
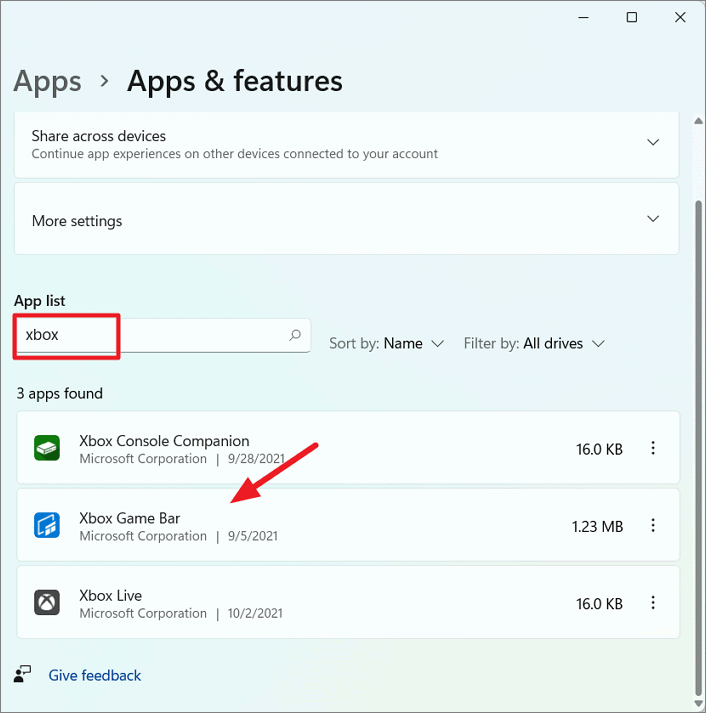
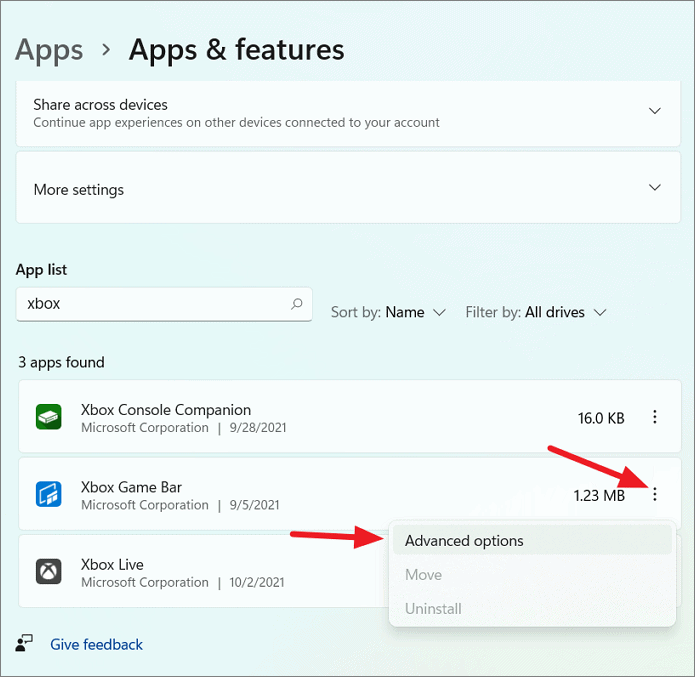
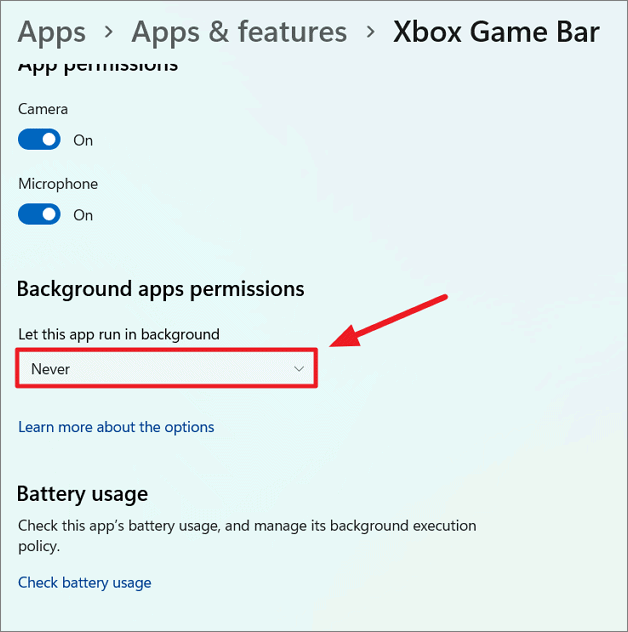
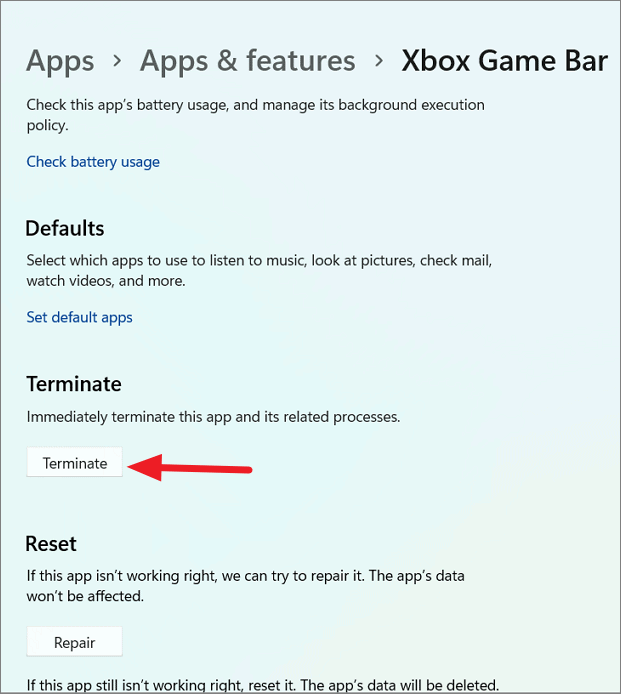
If you prefer not to remove the Xbox Game Bar completely but want to disable it, you can do so through the Settings app. This method prevents it from running and consuming resources without uninstalling it.
Windows + I on your keyboard.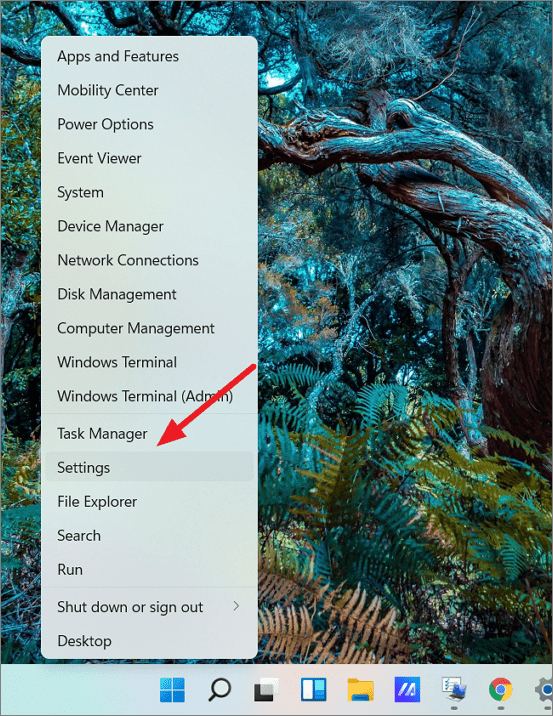
Re-installing Xbox Game Bar in Windows 11
If you decide to use the Xbox Game Bar again, you can reinstall it using PowerShell or through the Microsoft Store.
Get-AppxPackage -allusers *Microsoft.XboxGamingOverlay* | Foreach {Add-AppxPackage -DisableDevelopmentMode -Register "$($_.InstallLocation)\AppXManifest.xml"}Get-AppxPackage -allusers *Xbox* | Foreach {Add-AppxPackage -DisableDevelopmentMode -Register "$($_.InstallLocation)\AppXManifest.xml"}Alternative: You can also reinstall the Xbox Game Bar from the Microsoft Store. Open the Microsoft Store app, search for ‘Xbox Game Bar’, and click ‘Get’ or ‘Install’ to add it back to your system.
Disabling or removing the Xbox Game Bar can help improve system performance for users who do not utilize its features. Whether you choose to disable it through the Settings app or remove it entirely via PowerShell, these methods allow you to customize your Windows 11 experience. If you decide to use the Xbox Game Bar in the future, reinstallation is straightforward.


