
Website notifications can be a double-edged sword. While they keep you updated on important activities like new emails or shared file uploads, they can also become a source of distraction, especially when they come from less critical websites. If you’re looking to manage these notifications on your Windows 11 PC, here’s how you can turn them off or customize them to your liking in Google Chrome and Microsoft Edge.
Turn Off Website Notifications in Chrome
Google Chrome offers several ways to control website notifications. You can enable quieter messaging, use Focus Assist in Windows 11, customize notification settings, block specific websites, or disable notifications entirely.
Enable Quieter Messaging in Chrome
The Quieter Messaging feature in Chrome minimizes notification prompts by blocking sites that other users typically don’t allow notifications from and reduces interruptions if you repeatedly ignore notifications from a site.
- Open the Chrome browser on your Windows 11 PC.
- Click the three vertical dots (kebab menu) in the top-right corner and select Settings.
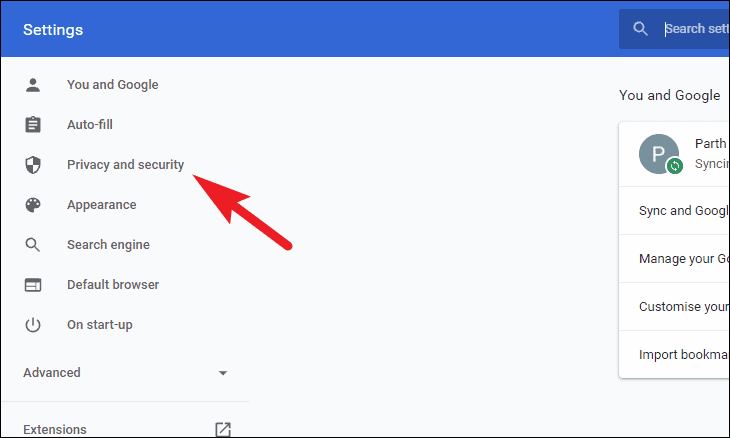
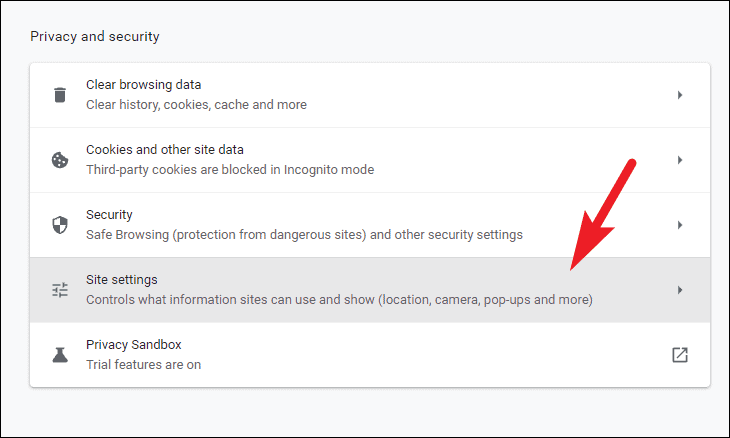
- In the left sidebar, click on Privacy and security.
- On the right, select Site settings.

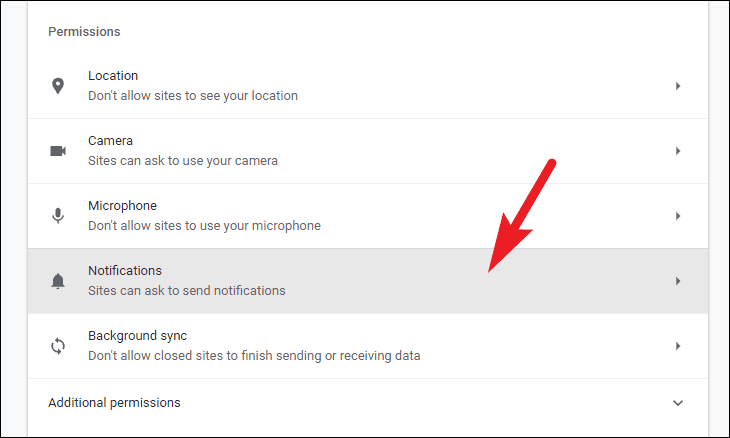
- Scroll down to the Permissions section and click on Notifications.

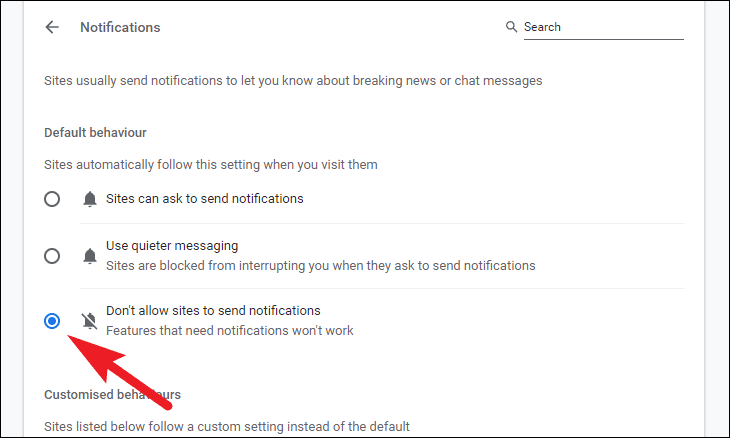
- Enable the Use quieter messaging option by selecting the corresponding radio button.
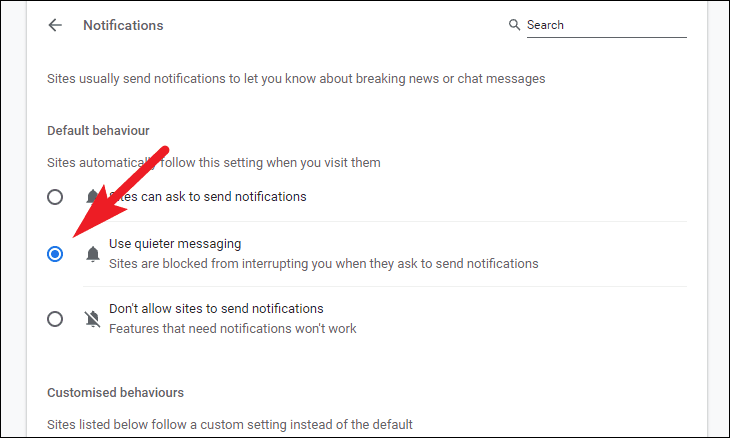
With quieter messaging enabled, Chrome will reduce notification prompts, allowing you to browse with fewer interruptions.
Use Focus Assist in Windows 11
Focus Assist helps you stay concentrated by limiting notifications. It allows only priority notifications and can provide a summary of what you missed later.
- Press
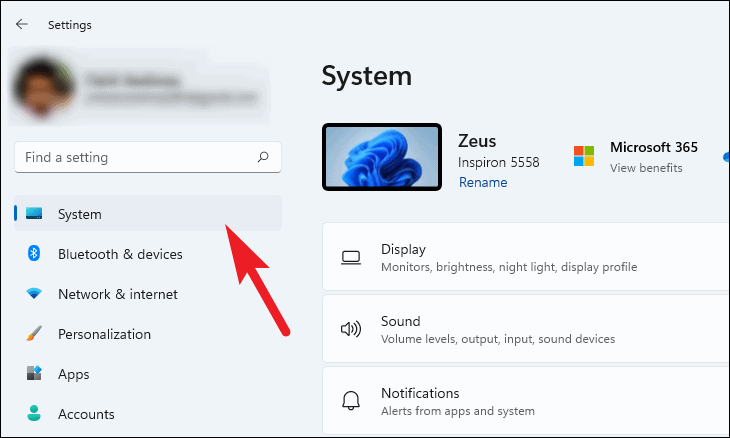
Windows+Ito open the Settings app. - Click on the System tab in the left sidebar.
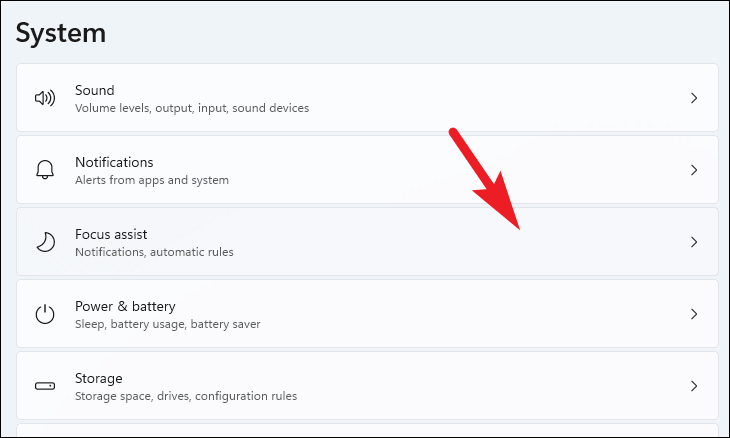
- Select Focus assist from the system settings.
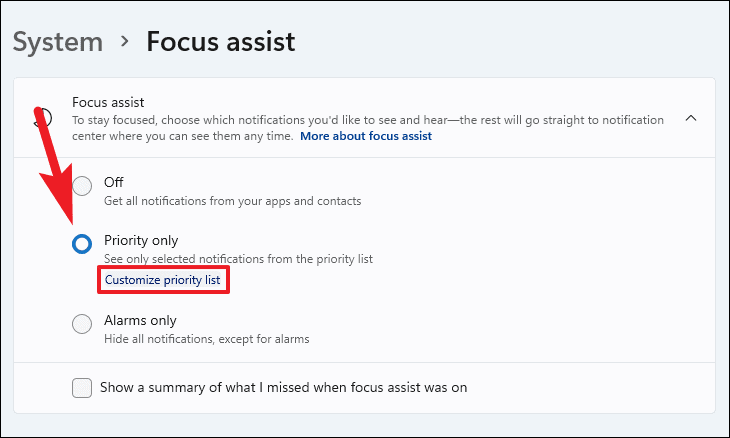
- Choose the Priority only option to receive notifications from apps in your priority list.
- Click on Customize priority list to modify which apps are considered priority.
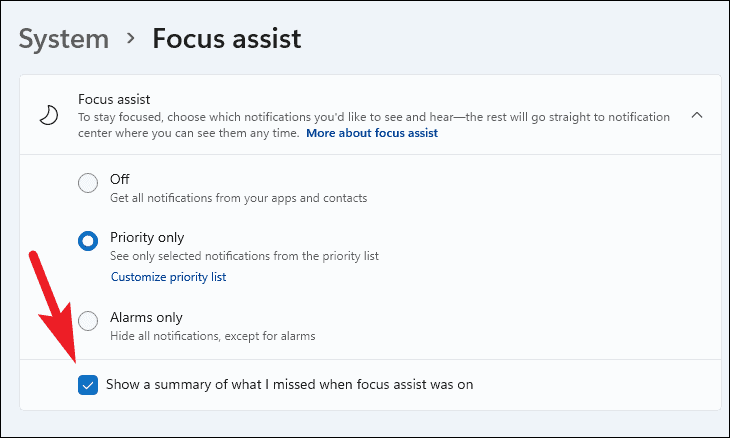
- Enable the option Show a summary of what I missed when focus assist was on to get updates later.
- To set up a schedule, click on During these times under Automatic rules and configure as needed.
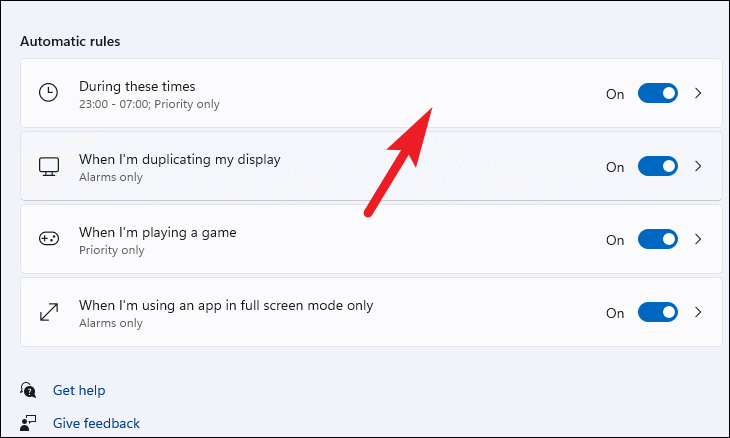
Focus Assist will now help you stay focused by limiting notifications during your specified times.
Customize Notification Settings in Windows 11
You can fine-tune how notifications from Chrome appear on your Windows 11 PC, choosing whether to display banners, play sounds, or both.
- Open the Settings app by pressing
Windows+I. - In the left sidebar, click on System, then select Notifications.
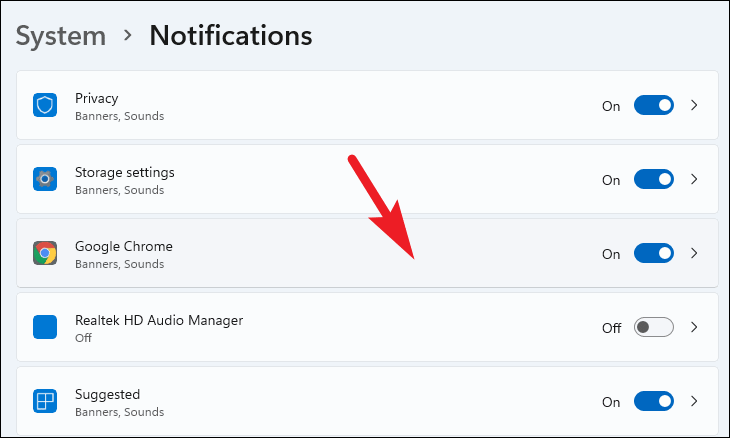
- Scroll down to find Google Chrome under Notifications from apps and other senders and click it.
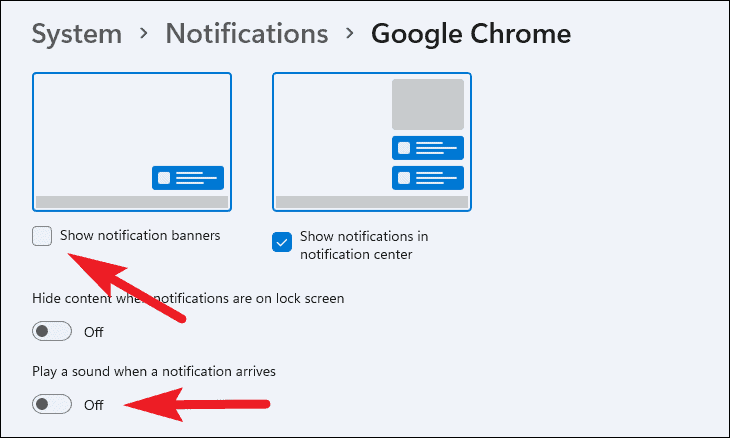
- To turn off notification sounds, toggle off Play a sound when a notification arrives.
- To stop visual banners but keep sounds, uncheck Show notification banners and ensure the sound option is toggled on.
- For quiet delivery (no banners or sounds), uncheck Show notification banners and toggle off Play a sound when a notification arrives.
You can adjust these settings based on your preference to manage how you receive notifications from Chrome.
Block Notifications from Specific Websites in Chrome
If certain websites are sending unwanted notifications, you can block them individually in Chrome.
- Open Chrome and click the three vertical dots in the top-right corner. Select Settings.
- In the left sidebar, click on Privacy and security, then select Site settings.
- Under Permissions, click on Notifications.
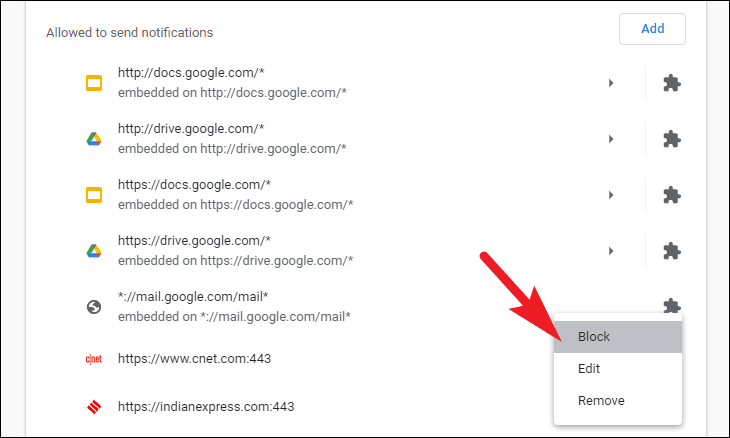
- In the Allowed to send notifications section, find the website you want to block.
- Click the three vertical dots next to the website and select Block.
The selected website will no longer be able to send you notifications.
Disable All Website Notifications in Chrome
If you prefer not to receive any notifications from websites in Chrome, you can turn them off completely.
- Go to Chrome’s Settings and select Privacy and security from the left sidebar.
- Click on Site settings, then choose Notifications under Permissions.
- Select the radio button next to Don’t allow sites to send notifications.
Chrome will now block all website notification requests.
Turn Off Website Notifications in Edge
For those using Microsoft Edge, you have similar options to manage or disable website notifications.
Enable Quiet Notifications in Edge
Quiet notifications in Edge reduce interruptions by not displaying notification banners.
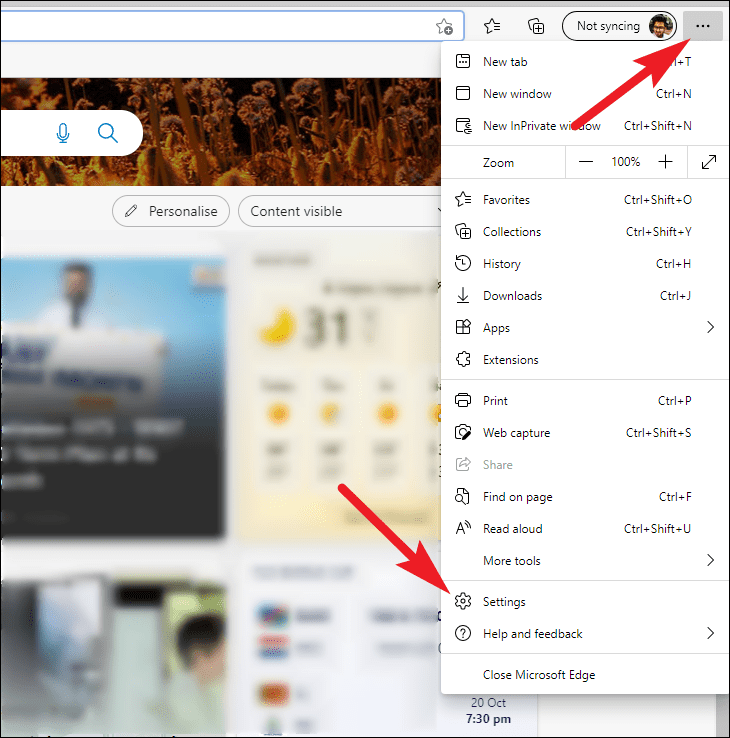
- Open Edge and click the three horizontal dots (ellipsis) in the top-right corner. Select Settings.
- In the left sidebar, click on Cookies and site permissions.
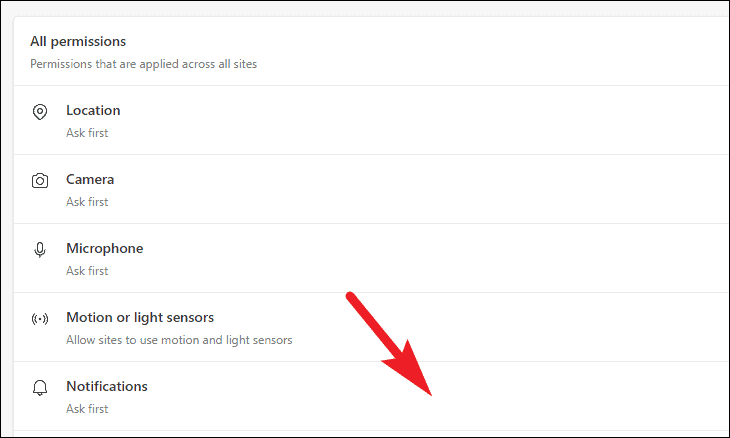
- Scroll down and click on Notifications under All permissions.

- Toggle on the switch next to Quiet notification requests.

Edge will now minimize notification prompts, allowing for a more focused browsing experience.
Block Notifications from Specific Websites in Edge
You can block notifications from particular websites while still receiving others.
- Open Edge and go to Settings by clicking the three horizontal dots and selecting it from the menu.

- Click on Cookies and site permissions in the left sidebar, then select Notifications.
- Under the Allow section, find the website you want to block.
- Click the three horizontal dots next to it and choose Block.
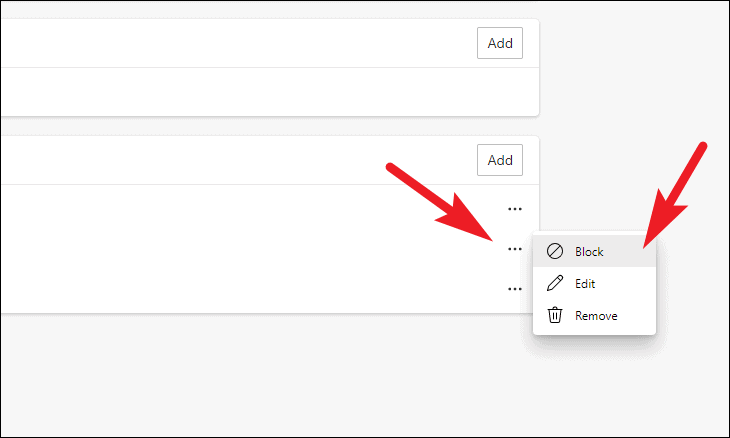
The selected website will no longer send you notifications.
Disable All Website Notifications in Edge
If you want to stop all website notifications in Edge:
- In Edge’s Settings, click on Cookies and site permissions, then select Notifications.

- Toggle off the switch next to Ask before sending (recommended).
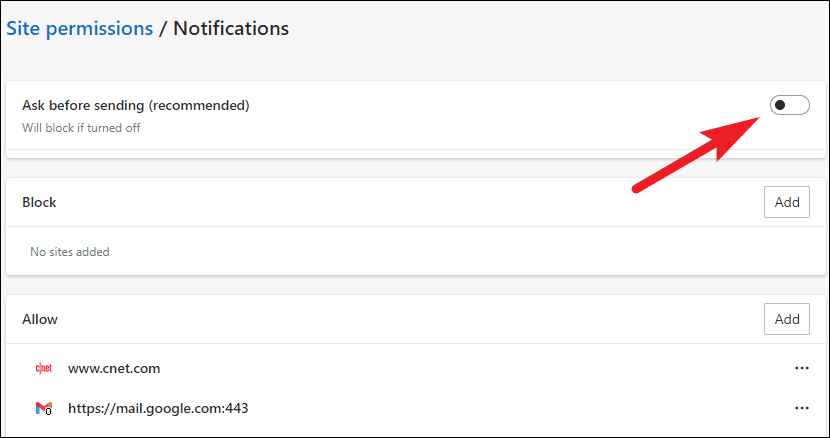
Edge will now block all website notifications without prompting you.
By adjusting these settings in Chrome and Edge, you can manage website notifications effectively, reducing distractions and enhancing your productivity on Windows 11.


