
For Windows 11 users seeking quick access to a comprehensive list of system settings and administrative tools, there’s a hidden feature known as “God Mode”. This feature consolidates over 200 settings into a single folder, simplifying navigation and system management.
What is God Mode in Windows 11?
Despite its imposing name, God Mode doesn’t grant any extraordinary powers. Instead, it’s a special folder that provides centralized access to a vast array of Windows settings and controls. Officially referred to as the ‘Windows Master Control Panel’ shortcut, this feature was introduced in Windows Vista and continues to be available in Windows 11.
By enabling God Mode, you can easily access various configurations that might otherwise be hidden or scattered throughout the system. This is particularly beneficial for advanced users and developers who require quick access to system settings beyond what’s readily available in the standard Settings app.
God Mode offers options for tasks such as managing user accounts, adjusting power settings, creating system restore points, updating drivers, and configuring the firewall—all from one location.
How to Enable God Mode in Windows 11

F2 key to rename it.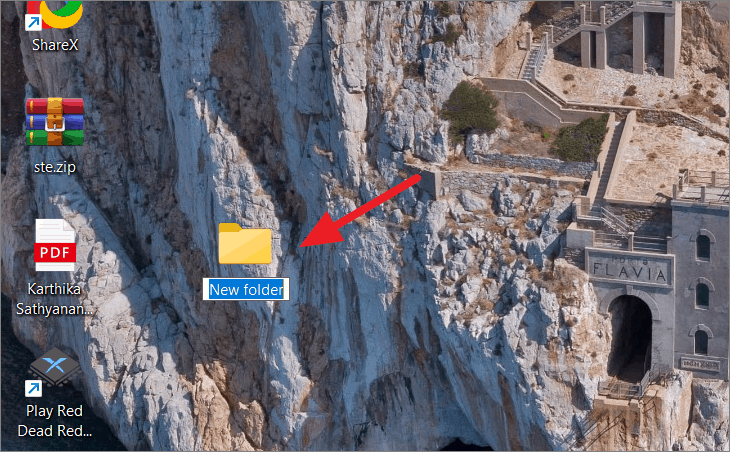
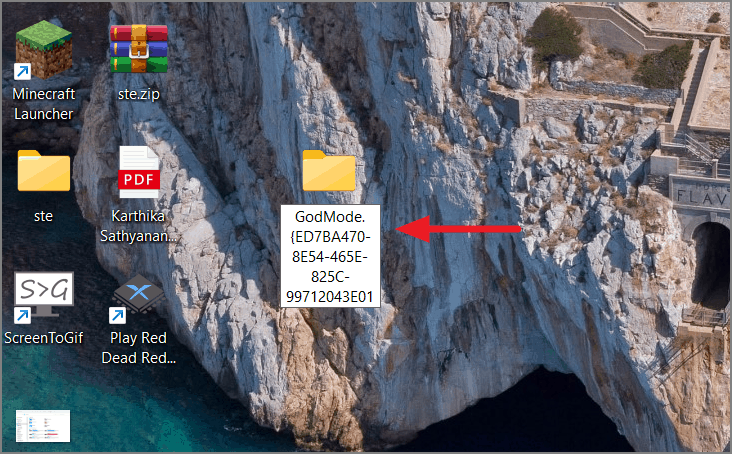
GodMode.{ED7BA470-8E54-465E-825C-99712043E01C}You can copy and paste the code directly. If you’d like a different name for the folder, replace “GodMode” with your preferred name, but ensure you keep the period and the braces intact. Altering any other part of the code may result in an error.

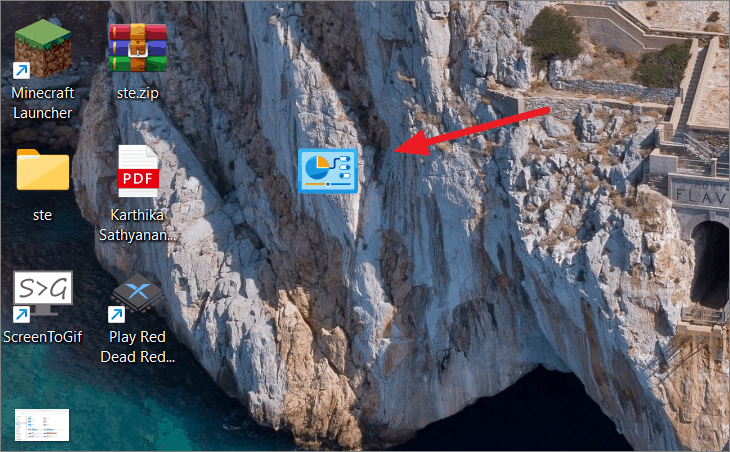
The God Mode folder is now enabled on your system. Double-click the icon to access it.
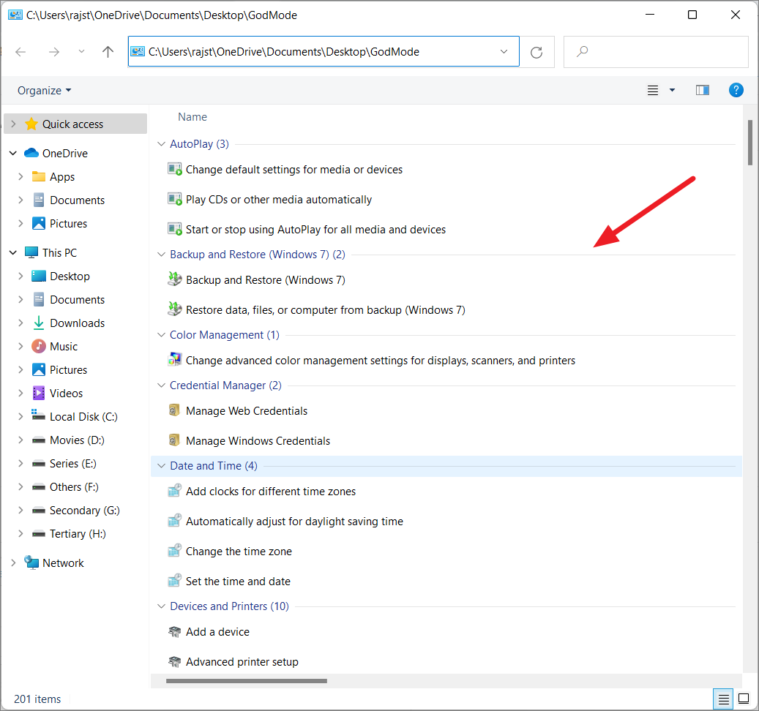
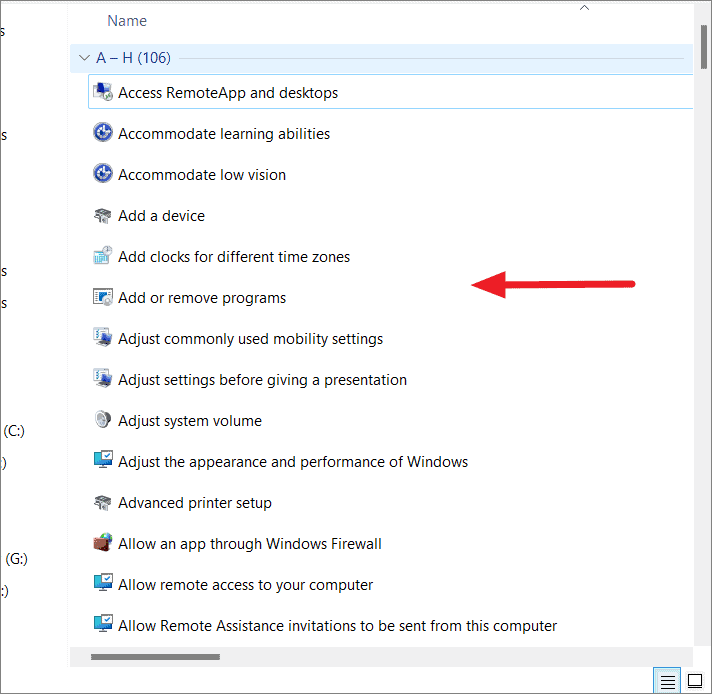
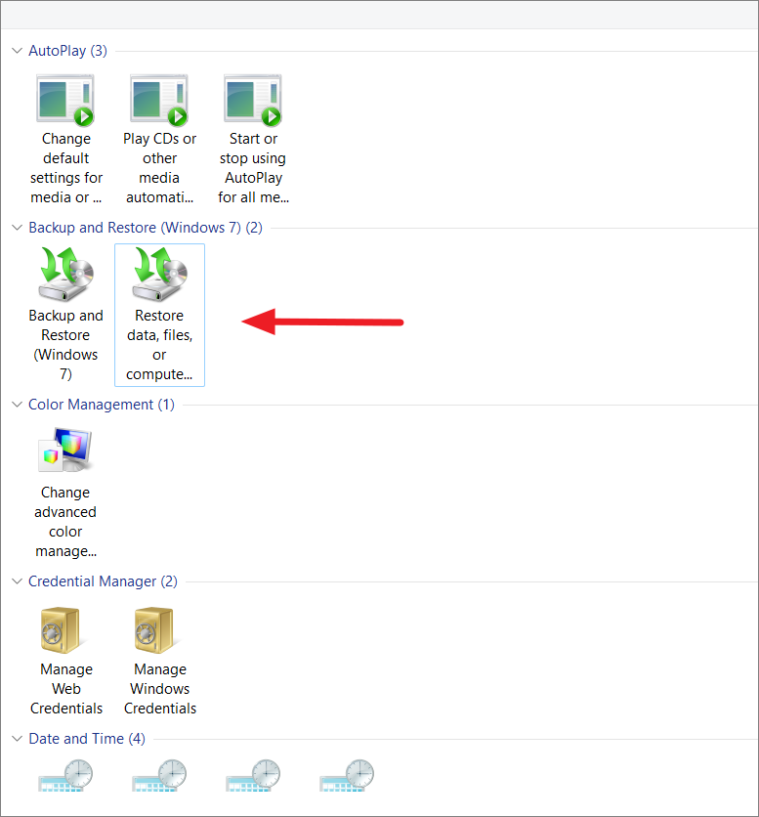
Upon opening the folder, you’ll find over 200 system settings and controls, neatly organized into categories. This centralized hub allows you to easily find and access various configuration options.
Note: While you can create the God Mode folder anywhere on your computer, placing it on the desktop ensures quick and easy access.
How to Use God Mode in Windows 11
The God Mode folder provides a convenient way to access all Control Panel applets and system settings from one location. To open a specific tool or setting, simply double-click on the desired entry or right-click and select ‘Open’.
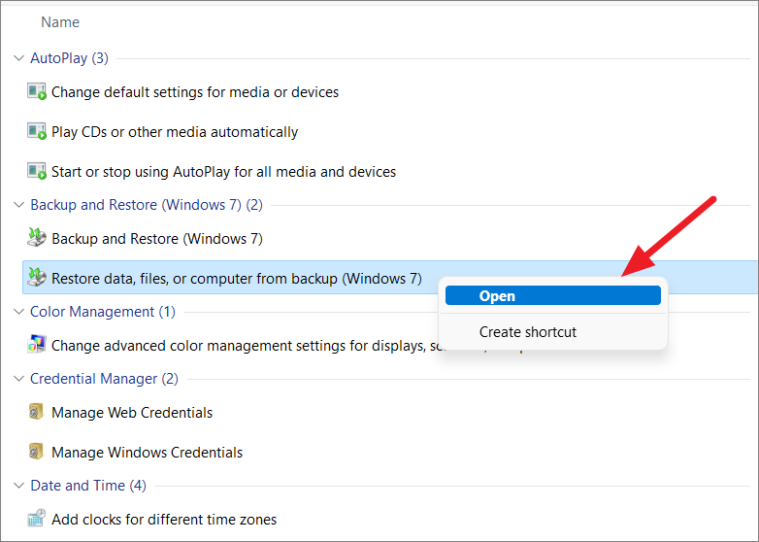
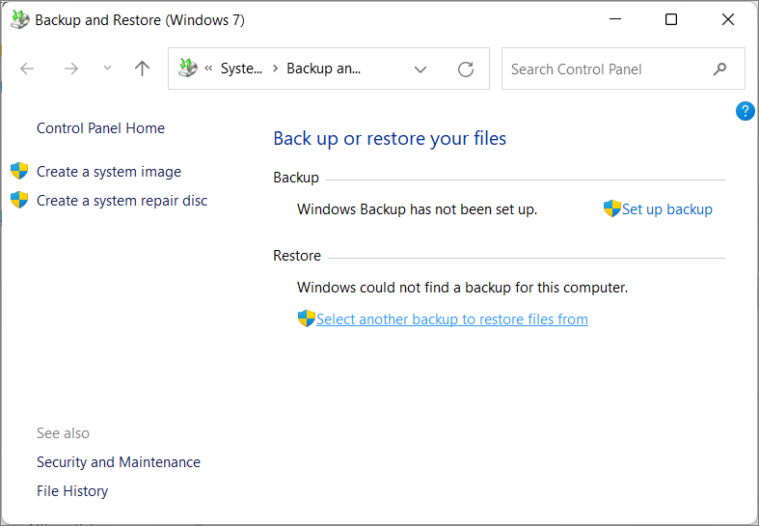
Clicking on an entry will open the corresponding settings window or Control Panel applet, allowing you to adjust configurations as needed.
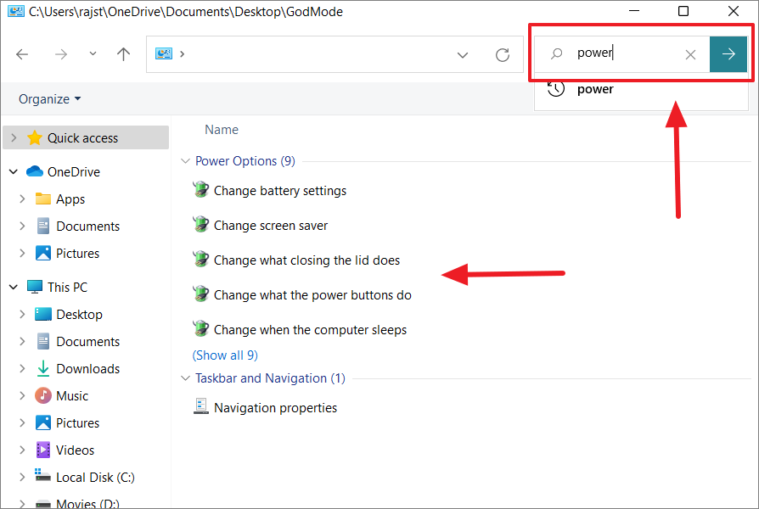
If you’re searching for a specific setting, use the search bar at the top of the window. Type in keywords related to the setting you’re looking for to quickly locate it.
For tools or settings you frequently use, you can create desktop shortcuts for even quicker access. To do this, right-click on the desired entry and select ‘Create shortcut’.
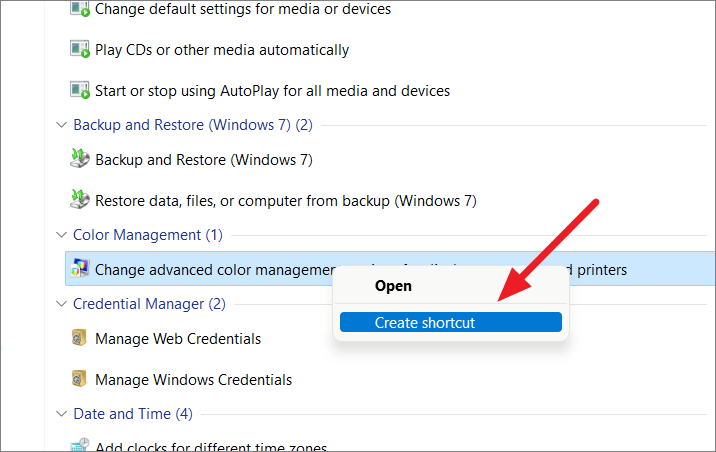
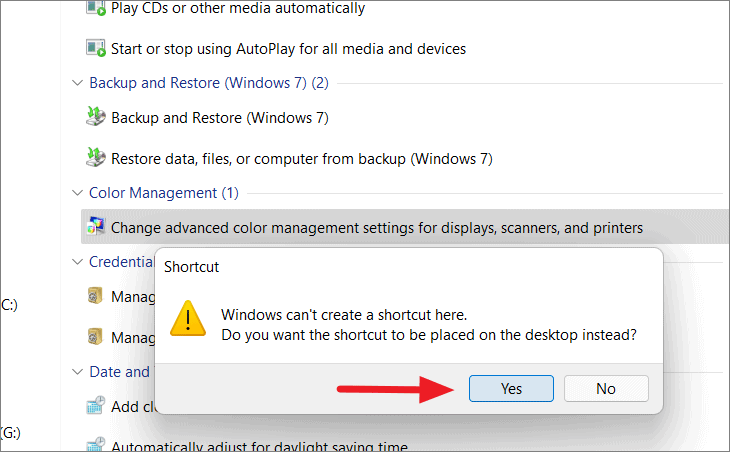
A prompt will appear indicating that Windows cannot create a shortcut in this location and will ask if you want to place the shortcut on the desktop instead. Click ‘Yes’ to confirm.
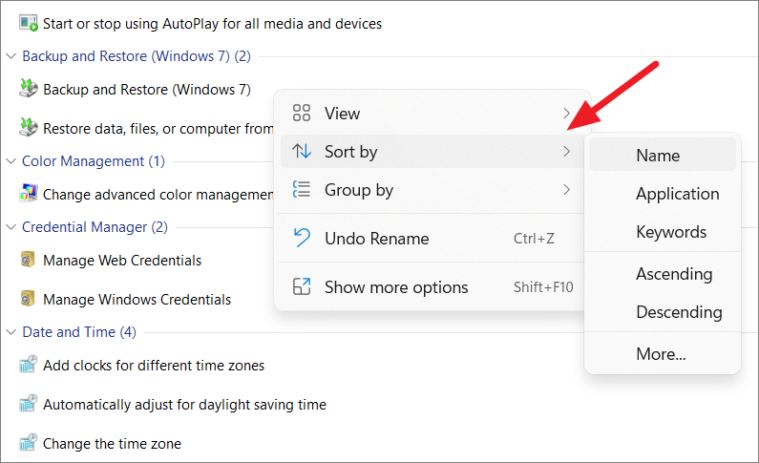
You can customize how the settings are displayed within the God Mode folder to suit your preferences. By default, items are grouped into categories and sorted alphabetically within each category. If you prefer a different arrangement, you can change the grouping and sorting options.
To modify the grouping, right-click on an empty space within the folder, hover over ‘Group by’, and select your preferred option, such as Name, Application, or Ascending/Descending order.

For example, selecting ‘Name’ will display all settings in a single alphabetical list.
You can also adjust the sorting by right-clicking an empty area, hovering over ‘Sort by’, and choosing your preferred sorting option.
If you prefer viewing the settings as icons rather than a list, you can change the view mode. Right-click on an empty space, hover over ‘View’, and select ‘Medium icons’ or ‘Large icons’ to see the entries as clickable icons.
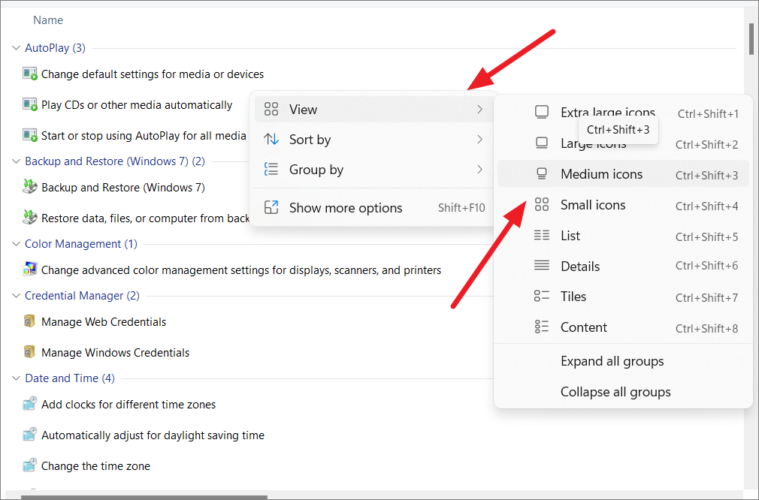
This is how the icon view appears:
How to Disable God Mode in Windows 11
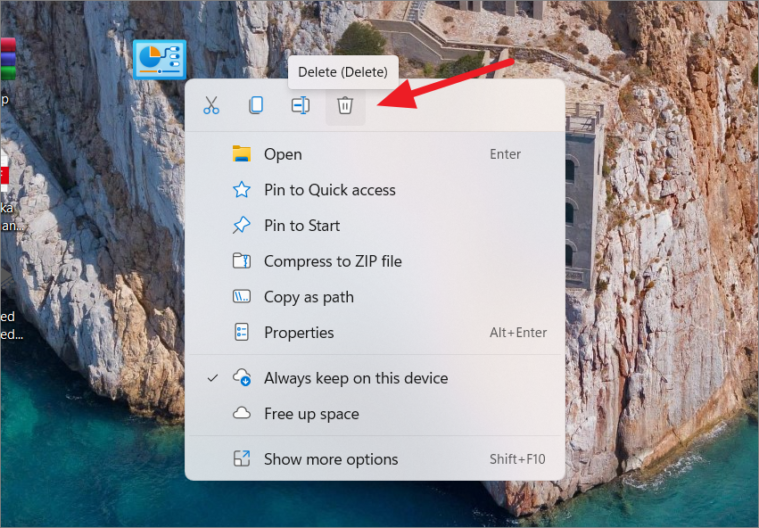
If you decide you no longer need God Mode or are concerned about unintended changes to system settings, you can easily disable it by deleting the folder. Right-click the God Mode folder icon on your desktop and select ‘Delete’. Alternatively, select the folder and press the Delete key or Shift+Delete on your keyboard.
Enabling God Mode in Windows 11 provides a powerful tool for accessing and managing a wide range of system settings from one convenient location.