
Hardware-accelerated GPU scheduling is a feature in Windows 11 designed to enhance system performance by better balancing the workload between your CPU and GPU. By allowing the GPU to manage its own memory and scheduling, this feature can potentially reduce latency and improve the performance of graphics-intensive applications.
What is hardware-accelerated GPU scheduling?
In typical scenarios, when you run applications that require significant graphical processing, your CPU handles all the scheduling and sends instructions to the GPU. This process can put a heavy load on the CPU, especially if the applications are both CPU and GPU intensive.
Enabling hardware-accelerated GPU scheduling allows the GPU to take over its own scheduling tasks, freeing up the CPU to handle other processes more efficiently. This can lead to smoother performance and reduced latency in demanding applications or games.
Although the performance improvements might not be drastic for all users at this time, enabling this feature can be beneficial, especially as updates continue to optimize its functionality. Keep in mind that activating this feature may slightly increase power consumption.
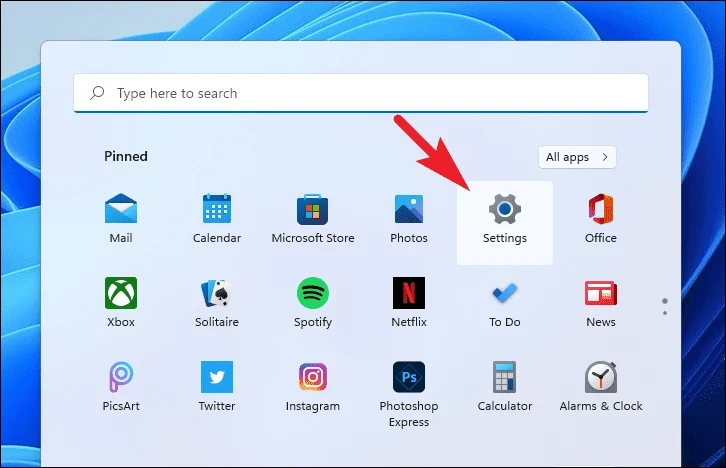
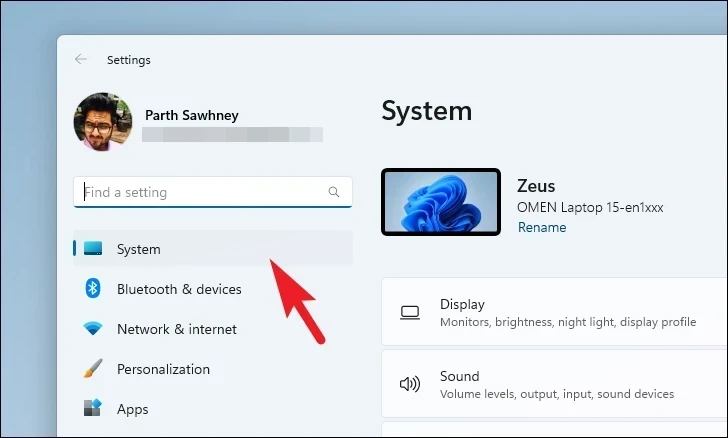
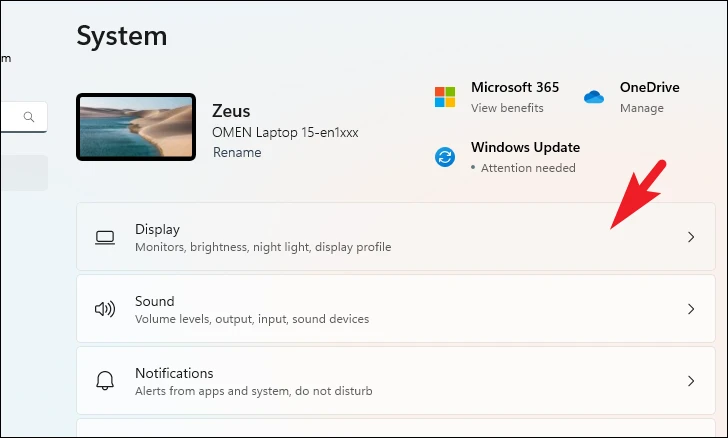
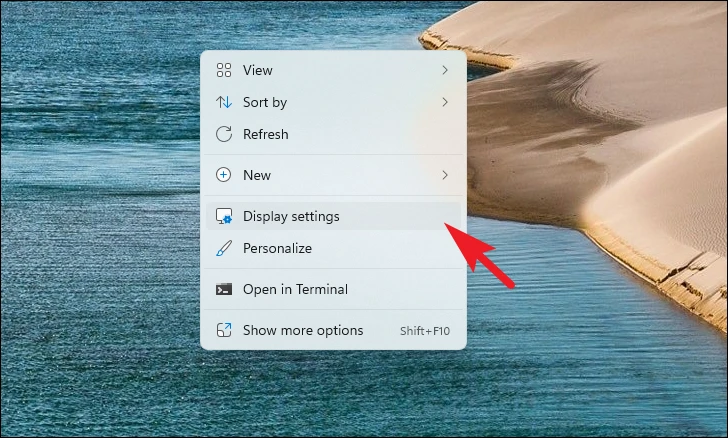
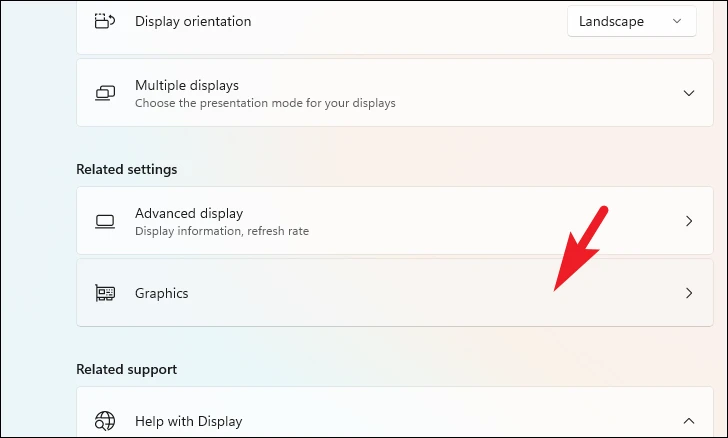
1. Enable or disable hardware-accelerated GPU scheduling from the settings
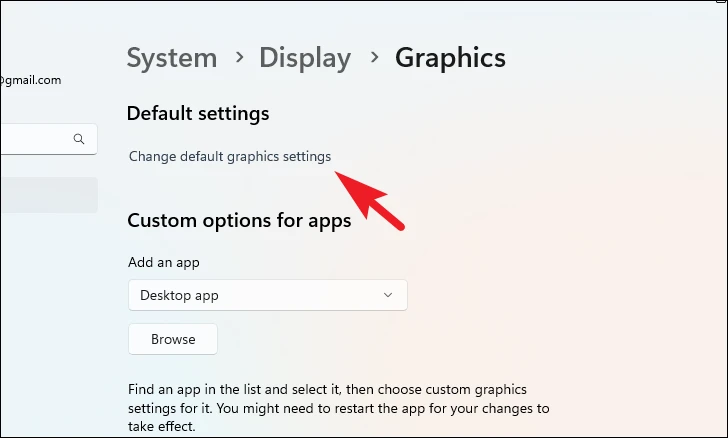
If you wish to disable hardware-accelerated GPU scheduling, simply toggle the switch to Off and restart your computer to confirm the changes.
2. Enable or disable hardware-accelerated GPU scheduling using the Registry Editor
If you’re unable to change this setting via the Settings app, you can modify it through the Registry Editor.
Windows + R to open the Run dialog box, type regedit, and press Enter to open the Registry Editor.Enter:Computer\HKEY_LOCAL_MACHINE\SYSTEM\CurrentControlSet\Control\GraphicsDrivers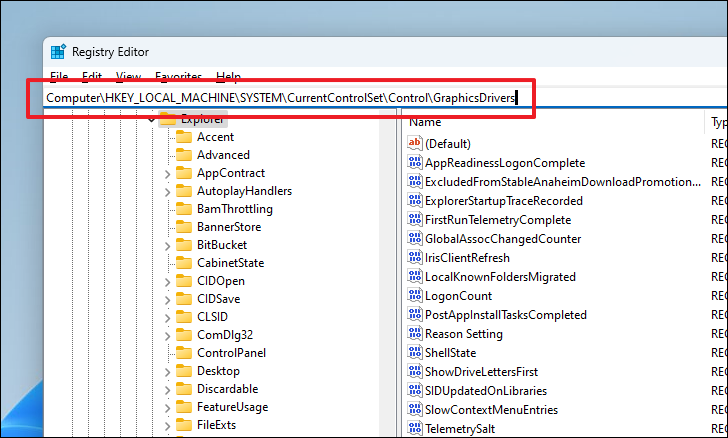
HwSchMode entry and double-click on it to edit its value. If it doesn’t exist, you may need to create it by right-clicking in the right pane, selecting New > DWORD (32-bit) Value, and naming it HwSchMode.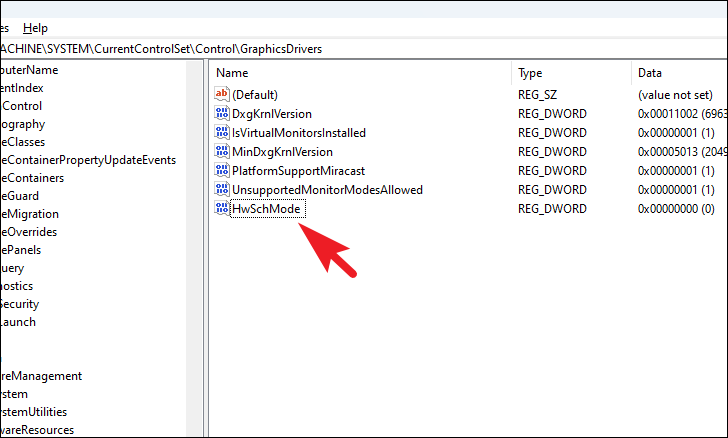
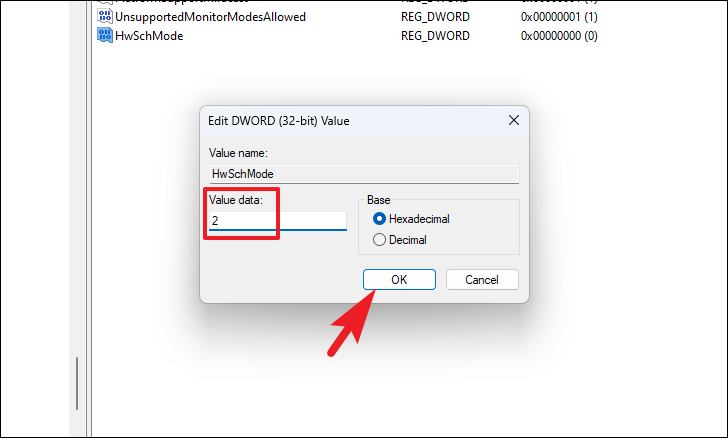
Enabling hardware-accelerated GPU scheduling can help optimize your system’s performance by allowing the GPU to manage its own scheduling. While improvements may be subtle, particularly on newer hardware, it’s a feature worth trying to see if it benefits your system.


