Windows 11 introduces new features and enhanced security measures, one of which is the requirement for TPM 2.0. If you’re using a Gigabyte motherboard and need to enable TPM 2.0, this guide will provide you with detailed steps to ensure your system meets the necessary requirements for the upgrade.
What is TPM?
The Trusted Platform Module (TPM) is a security technology designed to provide hardware-based, security-related functions. It securely stores sensitive data such as cryptographic keys, passwords, and certificates, adding an extra layer of protection against unauthorized access and cyber threats.
TPM can be integrated into a system in several ways. It might be a dedicated physical chip attached to the motherboard, offering the highest level of security. Alternatively, TPM functionality can be built into the CPU as part of the chipset or firmware, providing comparable security benefits. There’s also the option of virtual TPMs, but these are less secure and more susceptible to vulnerabilities, so they are generally not recommended.
TPM 1.2 vs TPM 2.0
Two primary versions of TPM have been released by the Trusted Computing Group: TPM 1.2 and TPM 2.0. TPM 1.2 was introduced in 2011, with its last revision in 2015. TPM 2.0 is the newer version, first released in 2014 and updated as recently as 2019. This newer version offers enhanced security features, supports more cryptographic algorithms, and provides platform-specific functionalities.
Microsoft initially considered TPM 1.2 for Windows 11 but ultimately mandated TPM 2.0 due to its advanced security capabilities. TPM 2.0 supports features like public-key cryptography and asymmetric digital signature generation, making it a more robust solution for modern security requirements.
Why Windows 11 Requires TPM 2.0
As one of the most widely used operating systems, Windows is a frequent target for cyberattacks. To bolster security, Microsoft has made TPM 2.0 a mandatory requirement for Windows 11. TPM 2.0 enhances system security by providing hardware-level protection against unauthorized access and safeguarding sensitive data.
Most computers manufactured in the last several years are equipped with TPM 2.0 or can support it. By enforcing this requirement, Microsoft aims to ensure that systems running Windows 11 meet a baseline level of security to protect users from modern threats.
Read more: What is Windows 11 TPM 2.0 (Trusted Platform Module) Requirement
How to Check if TPM Is Enabled on Your PC
Windows + I on your keyboard.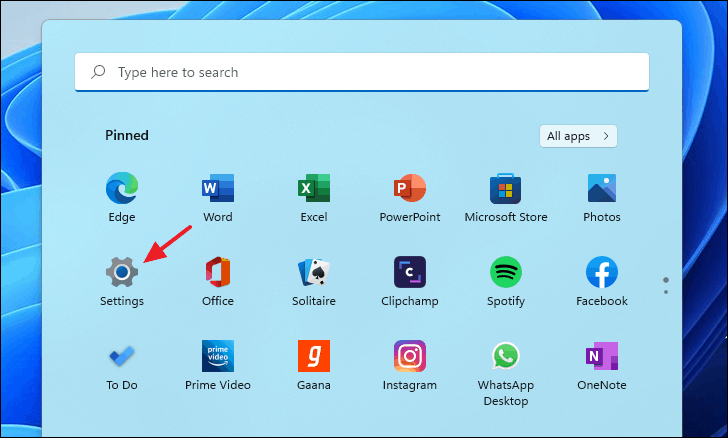

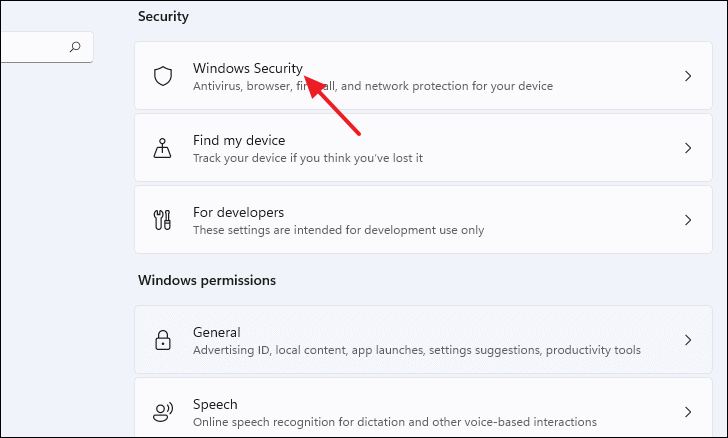
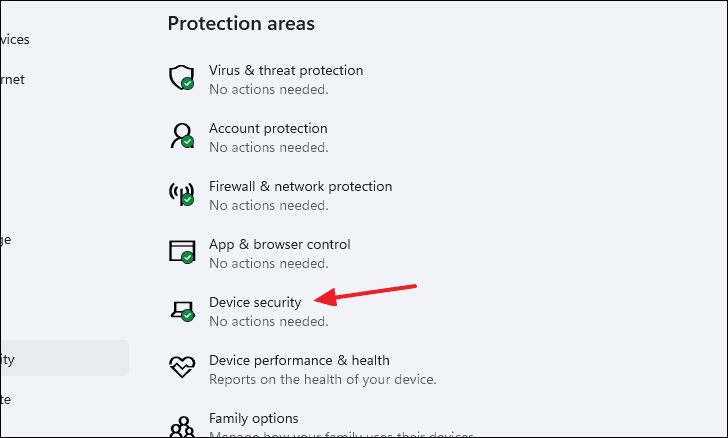
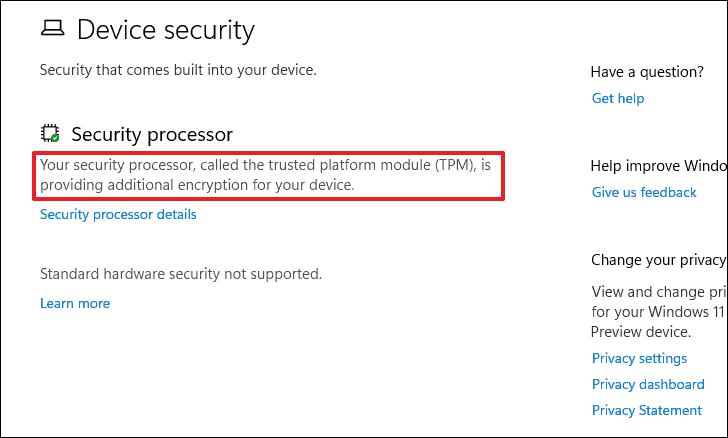
If you see a message stating “Your security processor, called the trusted platform module (TPM), is providing additional encryption for your device” under the “Security processor” section, TPM 2.0 is enabled on your system.
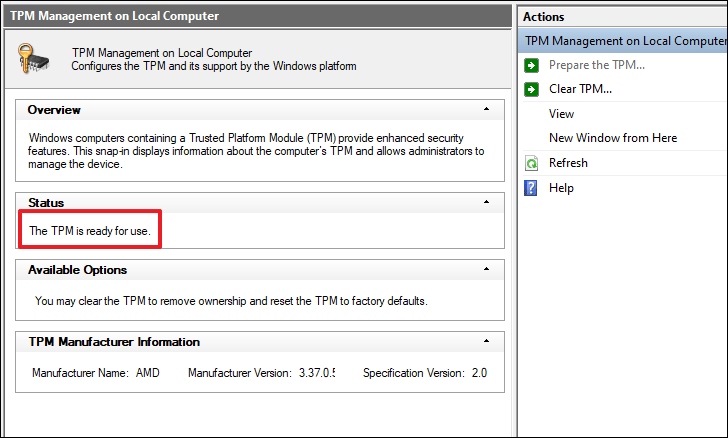
Alternatively, you can check the TPM status using the TPM Management console:
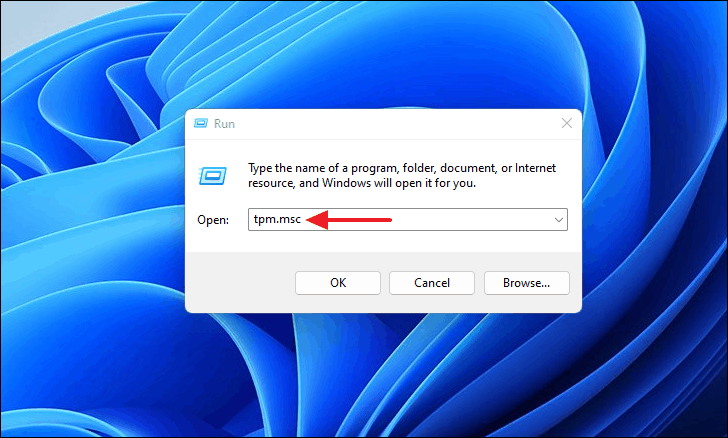
This will open the TPM Management console. If the Status section displays “The TPM is ready for use,” then TPM 2.0 is active on your PC.
Read: How to Install Windows 11 on Legacy BIOS without Secure Boot or TPM 2.0
How to Enable TPM on Your Gigabyte Motherboard BIOS Settings
If TPM 2.0 is not enabled on your system, you can activate it through your motherboard’s BIOS settings. Please exercise caution when adjusting BIOS settings, as incorrect changes can lead to system instability or prevent your computer from booting. Follow these steps carefully.
Read: How to Find Motherboard Model on Windows 10
Enabling TPM on AMD-Based Platforms
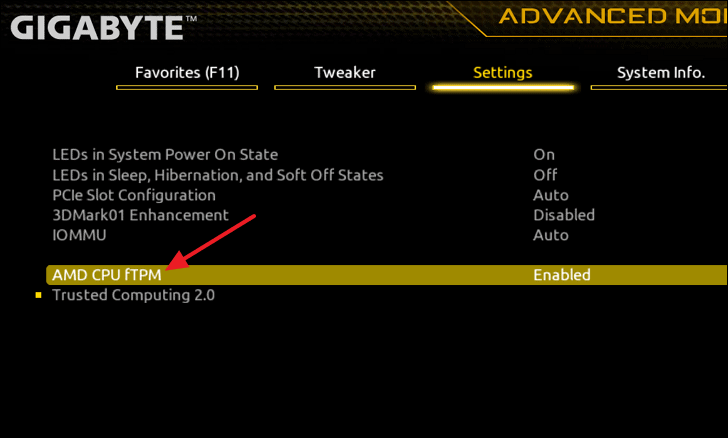
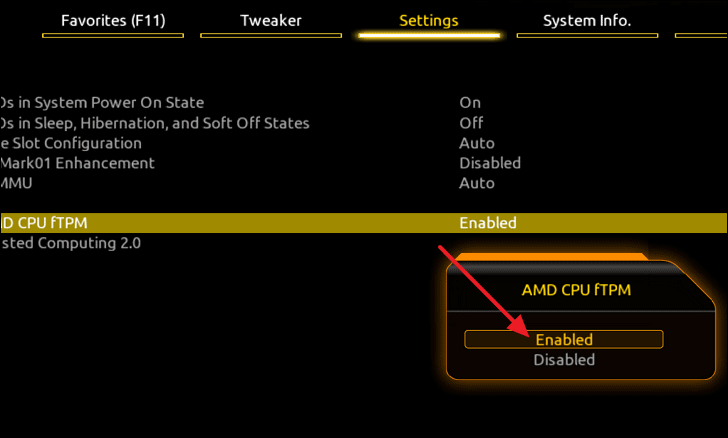
If you have an AMD processor, follow these steps to enable TPM 2.0:
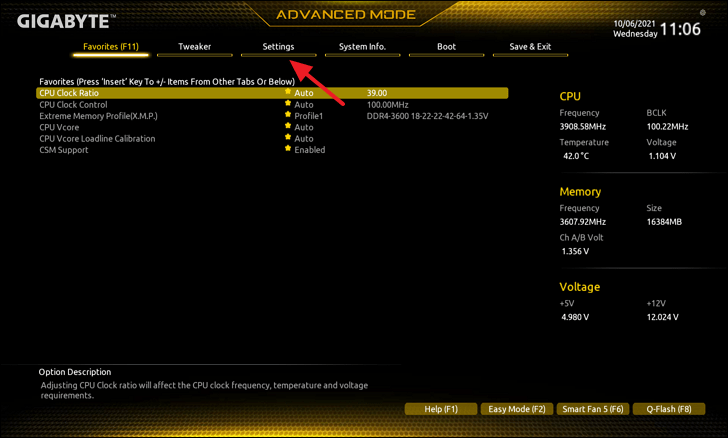
Del key on your keyboard when the boot screen appears to enter the BIOS settings. This key is typically used for accessing the BIOS on Gigabyte motherboards.F2 to switch to “Advanced Mode” for more configuration options.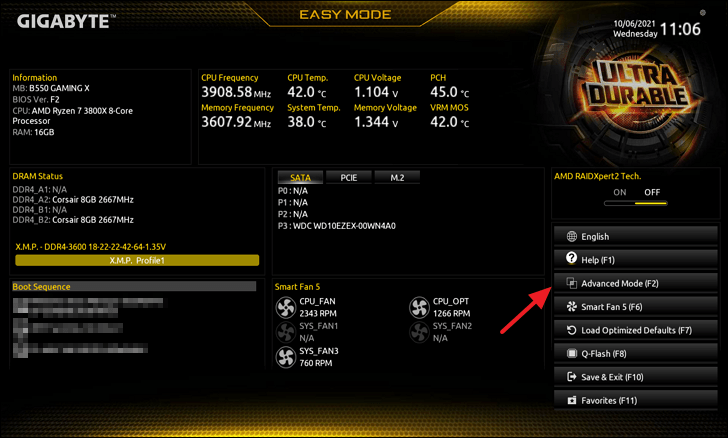
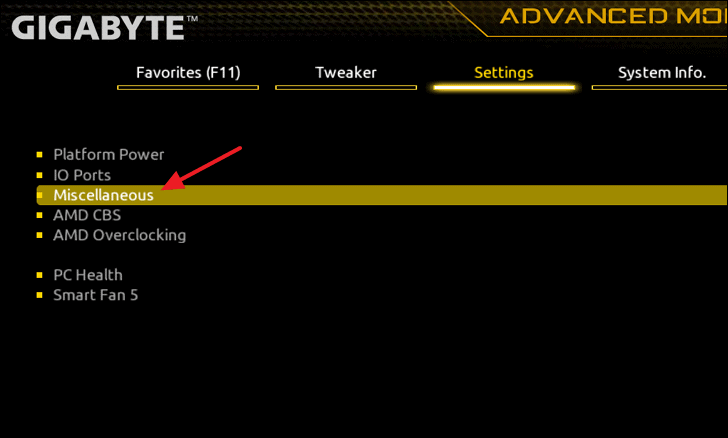
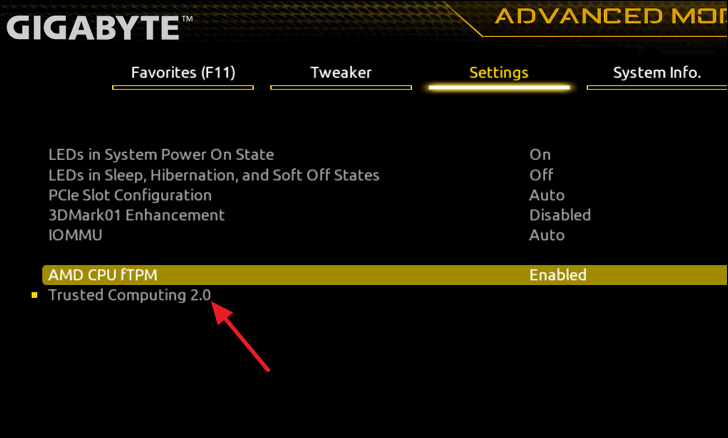
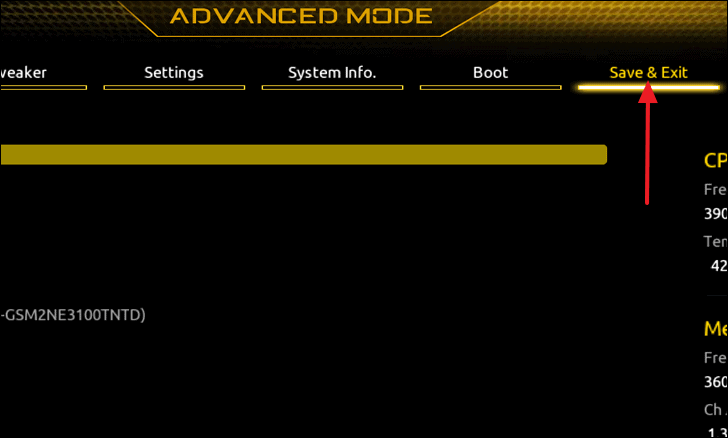
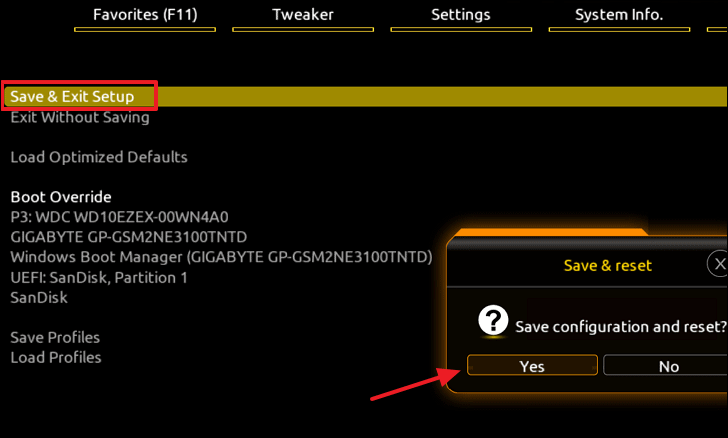
Your AMD-based system now has TPM 2.0 enabled, preparing it for the Windows 11 upgrade.
Enabling TPM on Intel-Based Platforms
For Intel processors, the process is similar with slight variations:
With TPM 2.0 enabled, your Intel-based system is now ready for Windows 11.
By enabling TPM 2.0 on your Gigabyte motherboard, you ensure that your system meets the security requirements for Windows 11, allowing you to take full advantage of the new features and enhancements it offers.