Installing Windows 11 can be an exciting experience, but it can quickly turn frustrating when you encounter errors that seem insurmountable. One common issue is the requirement for ‘Secure Boot’ and ‘TPM 2.0’ to be enabled on your machine. While this is straightforward on UEFI BIOS systems, it presents a significant challenge for those with Legacy BIOS.
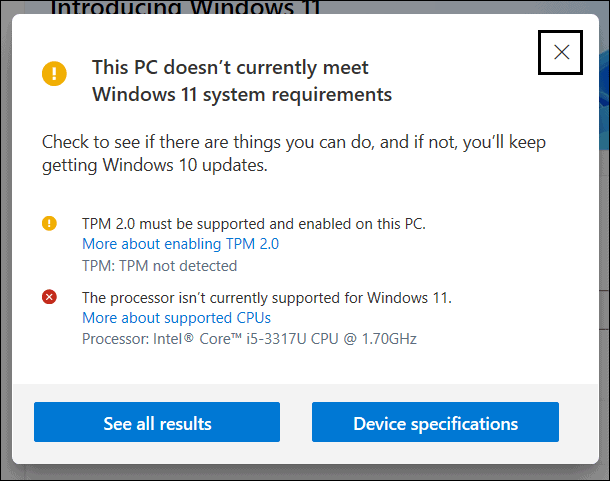
Switching from Legacy to UEFI BIOS mode isn’t always a viable option, as it can result in data loss. Moreover, even after switching, many older computers lack the option to enable TPM 2.0 in BIOS.
Fortunately, the Windows user community has developed workarounds to bypass these requirements. We’ll explore three methods to install Windows 11 on Legacy BIOS systems without Secure Boot or TPM 2.0.
Method 1: Create a bootable Windows 11 USB drive without TPM and Secure Boot checks
This method utilizes Rufus, a third-party ISO burner software, to create a bootable Windows 11 USB drive that bypasses TPM and Secure Boot checks.
Requirements:
- Windows 11 ISO image
- 8GB USB flash drive
- Rufus software (beta version)
-
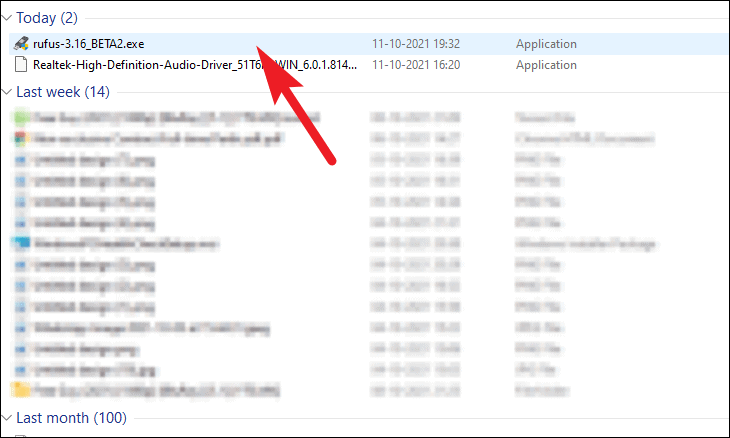
Download the latest beta version of Rufus from rufus.ie/downloads.
-
Run the Rufus executable file.
-
Insert your USB drive into your computer.
-
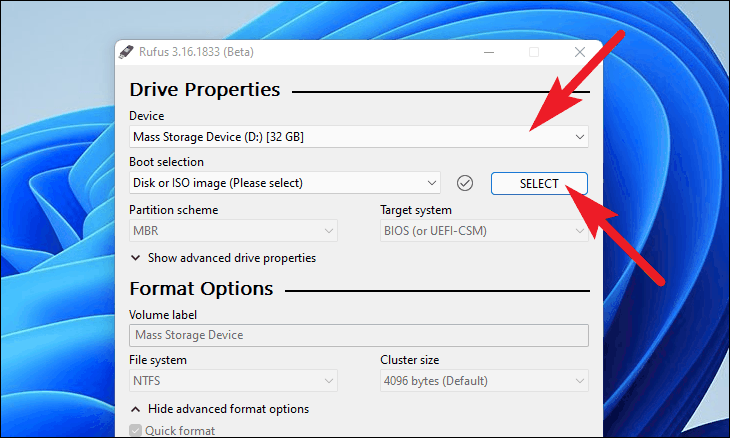
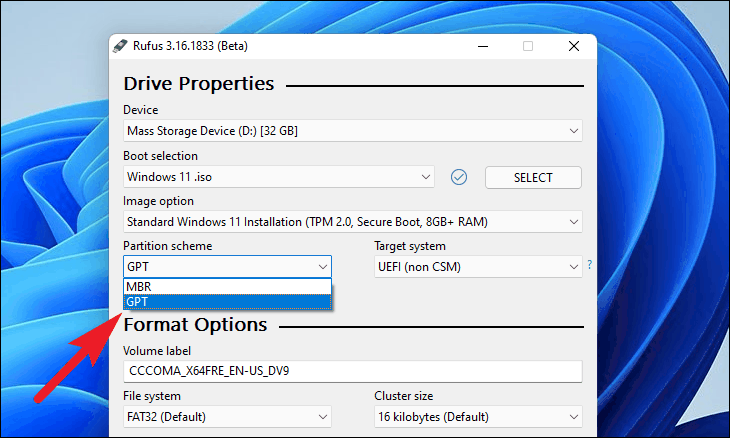
In Rufus, select your USB drive from the ‘Device’ dropdown menu.
-
Click the ‘SELECT’ button next to ‘Boot selection’ and choose your Windows 11 ISO file.
- Under ‘Image option’, select ‘Extended Windows 11 Installation’.
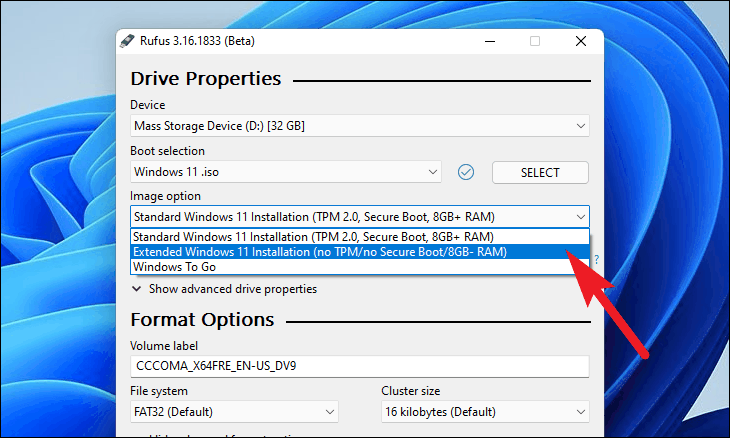
- For ‘Partition scheme’, choose ‘MBR’ for Legacy BIOS or ‘GPT’ for UEFI BIOS.
-
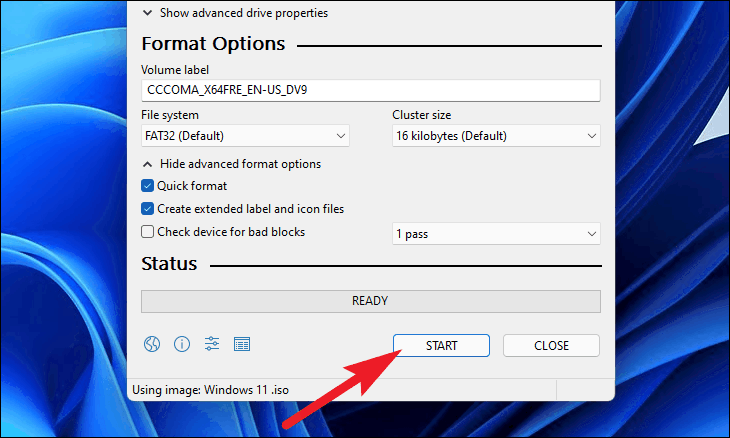
Configure other options as needed or leave them at default settings.
-
Click ‘START’ to begin creating the bootable USB drive.
Once complete, you’ll have a bootable Windows 11 USB drive that can install the OS on unsupported PCs.
Method 2: Manually modify Windows 11 ISO files
This method involves replacing a key file in a Windows 10 bootable USB with its Windows 11 counterpart.
Requirements:
- Windows 11 ISO image
- Bootable Windows 10 USB drive
- 8GB USB flash drive
- A computer running Windows 10 (preferably)
- Mount the Windows 11 ISO file by right-clicking it and selecting ‘Mount’.

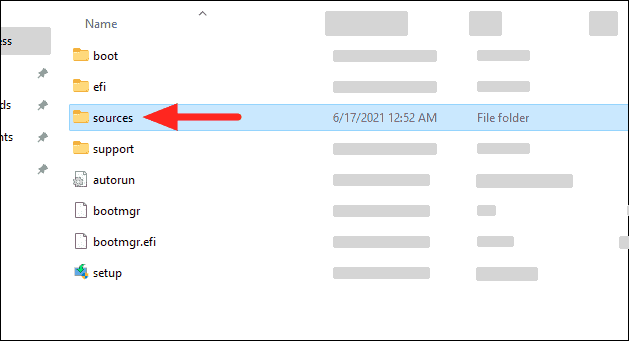
- Navigate to the ‘sources’ folder in the mounted ISO.
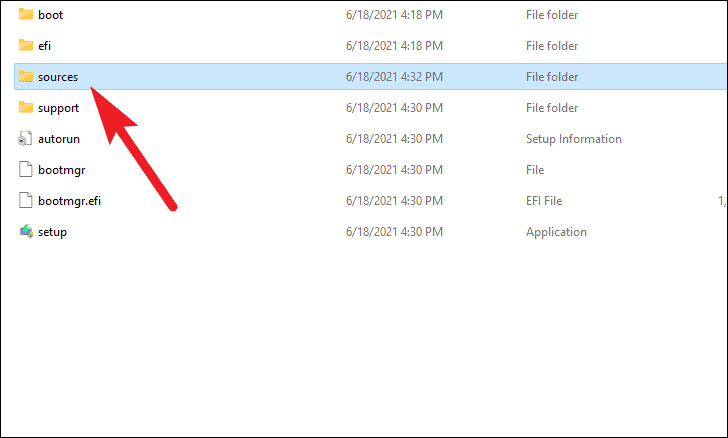
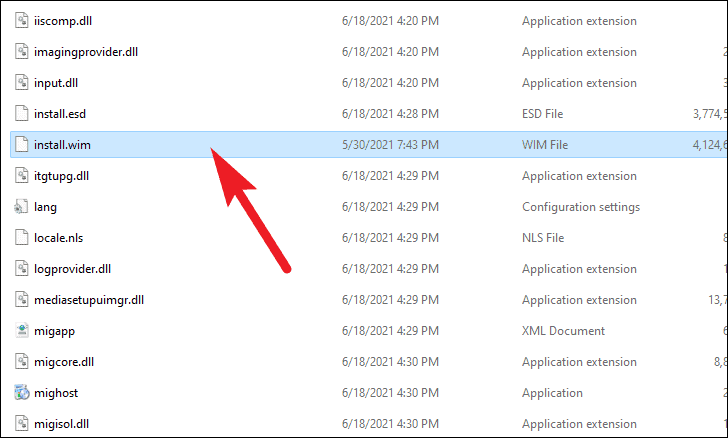
- Copy the ‘install.wim’ file from this folder.
-
Insert your bootable Windows 10 USB drive and open it in File Explorer.
-
Navigate to the ‘sources’ folder on the Windows 10 USB drive.
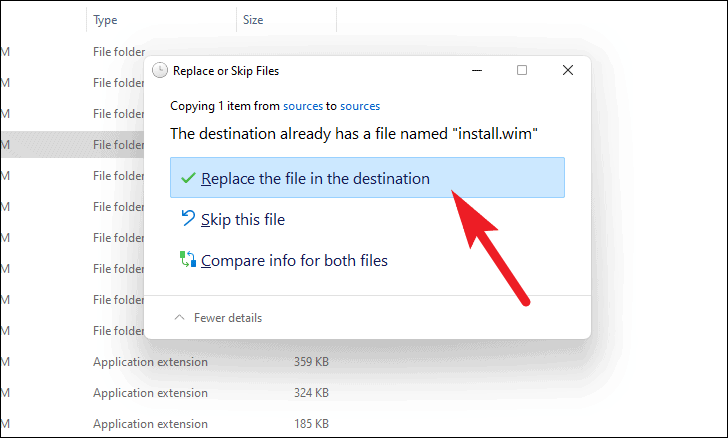
- Paste the ‘install.wim’ file you copied from the Windows 11 ISO into this folder.
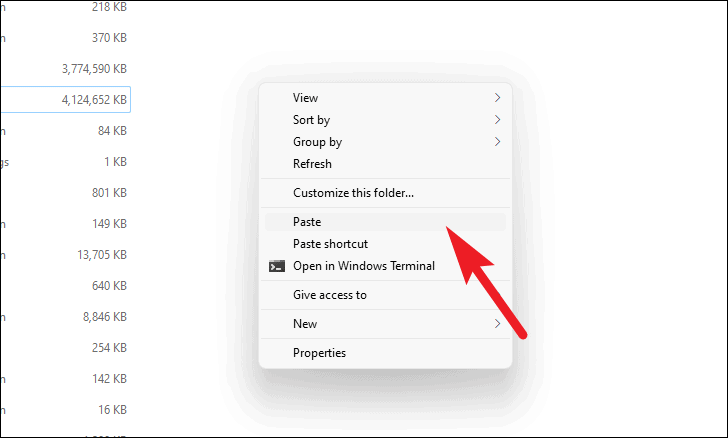
- When prompted, choose to replace the existing file.
- Reboot your computer and boot from the modified Windows 10 USB drive.
You should now be able to install Windows 11 without Secure Boot or TPM checks.
Method 3: Registry hack to bypass Secure Boot and TPM 2.0 check
This method involves modifying registry values to bypass the Secure Boot and TPM 2.0 checks during Windows 11 installation.
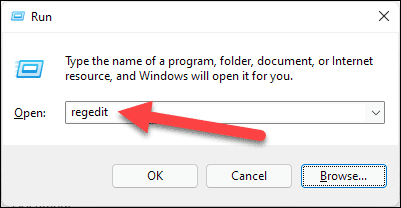
- Press Windows + R, type ‘regedit’, and press Enter to open Registry Editor.
- Navigate to: HKEY_LOCAL_MACHINE\SYSTEM\Setup
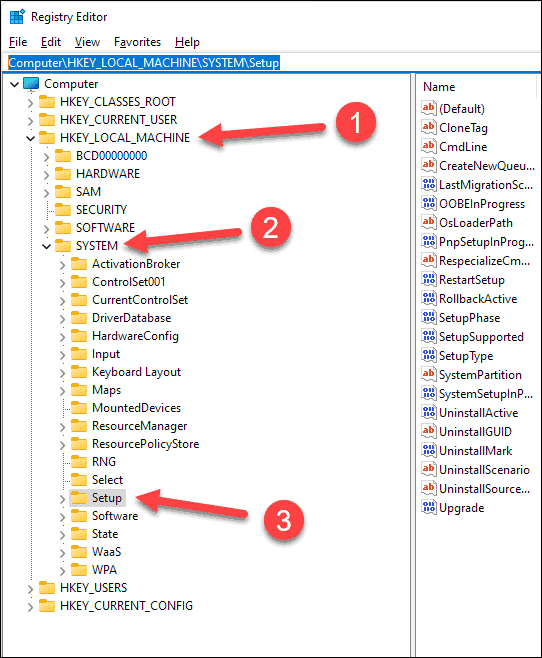
- Right-click in the right panel, select ‘New’ > ‘Key’, and name it ‘LabConfig’.

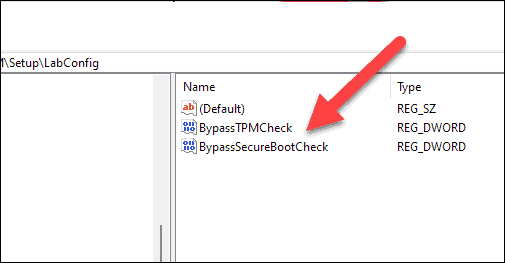
- In the ‘LabConfig’ key, create two new DWORD (32-bit) Values:
- Name: BypassTPMCheck
- Name: BypassSecureBootCheck
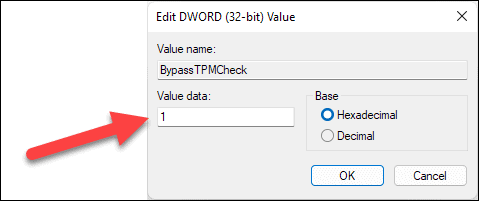
- Double-click each new value and set their ‘Value data’ to 1.
-
Close Registry Editor and restart your computer.
-
Run the Windows 11 setup by mounting the Windows 11 ISO on your PC.
The installation should now proceed without TPM 2.0 and Secure Boot checks.
Ineffective workarounds for Legacy BIOS
Be aware that the following methods do not work for installing Windows 11 on Legacy BIOS systems:
- Copying the ‘sources’ folder from Windows 10 ISO to Windows 11 ISO.
- Copying the ‘appraiserres.dll’ file from Windows 10 ISO to Windows 11 ISO.
- Some users may only achieve a clean installation, losing the option to keep files and folders during an upgrade.
By following one of the effective methods outlined above, you should be able to successfully install Windows 11 on your Legacy BIOS system without the need for Secure Boot or TPM 2.0.


