

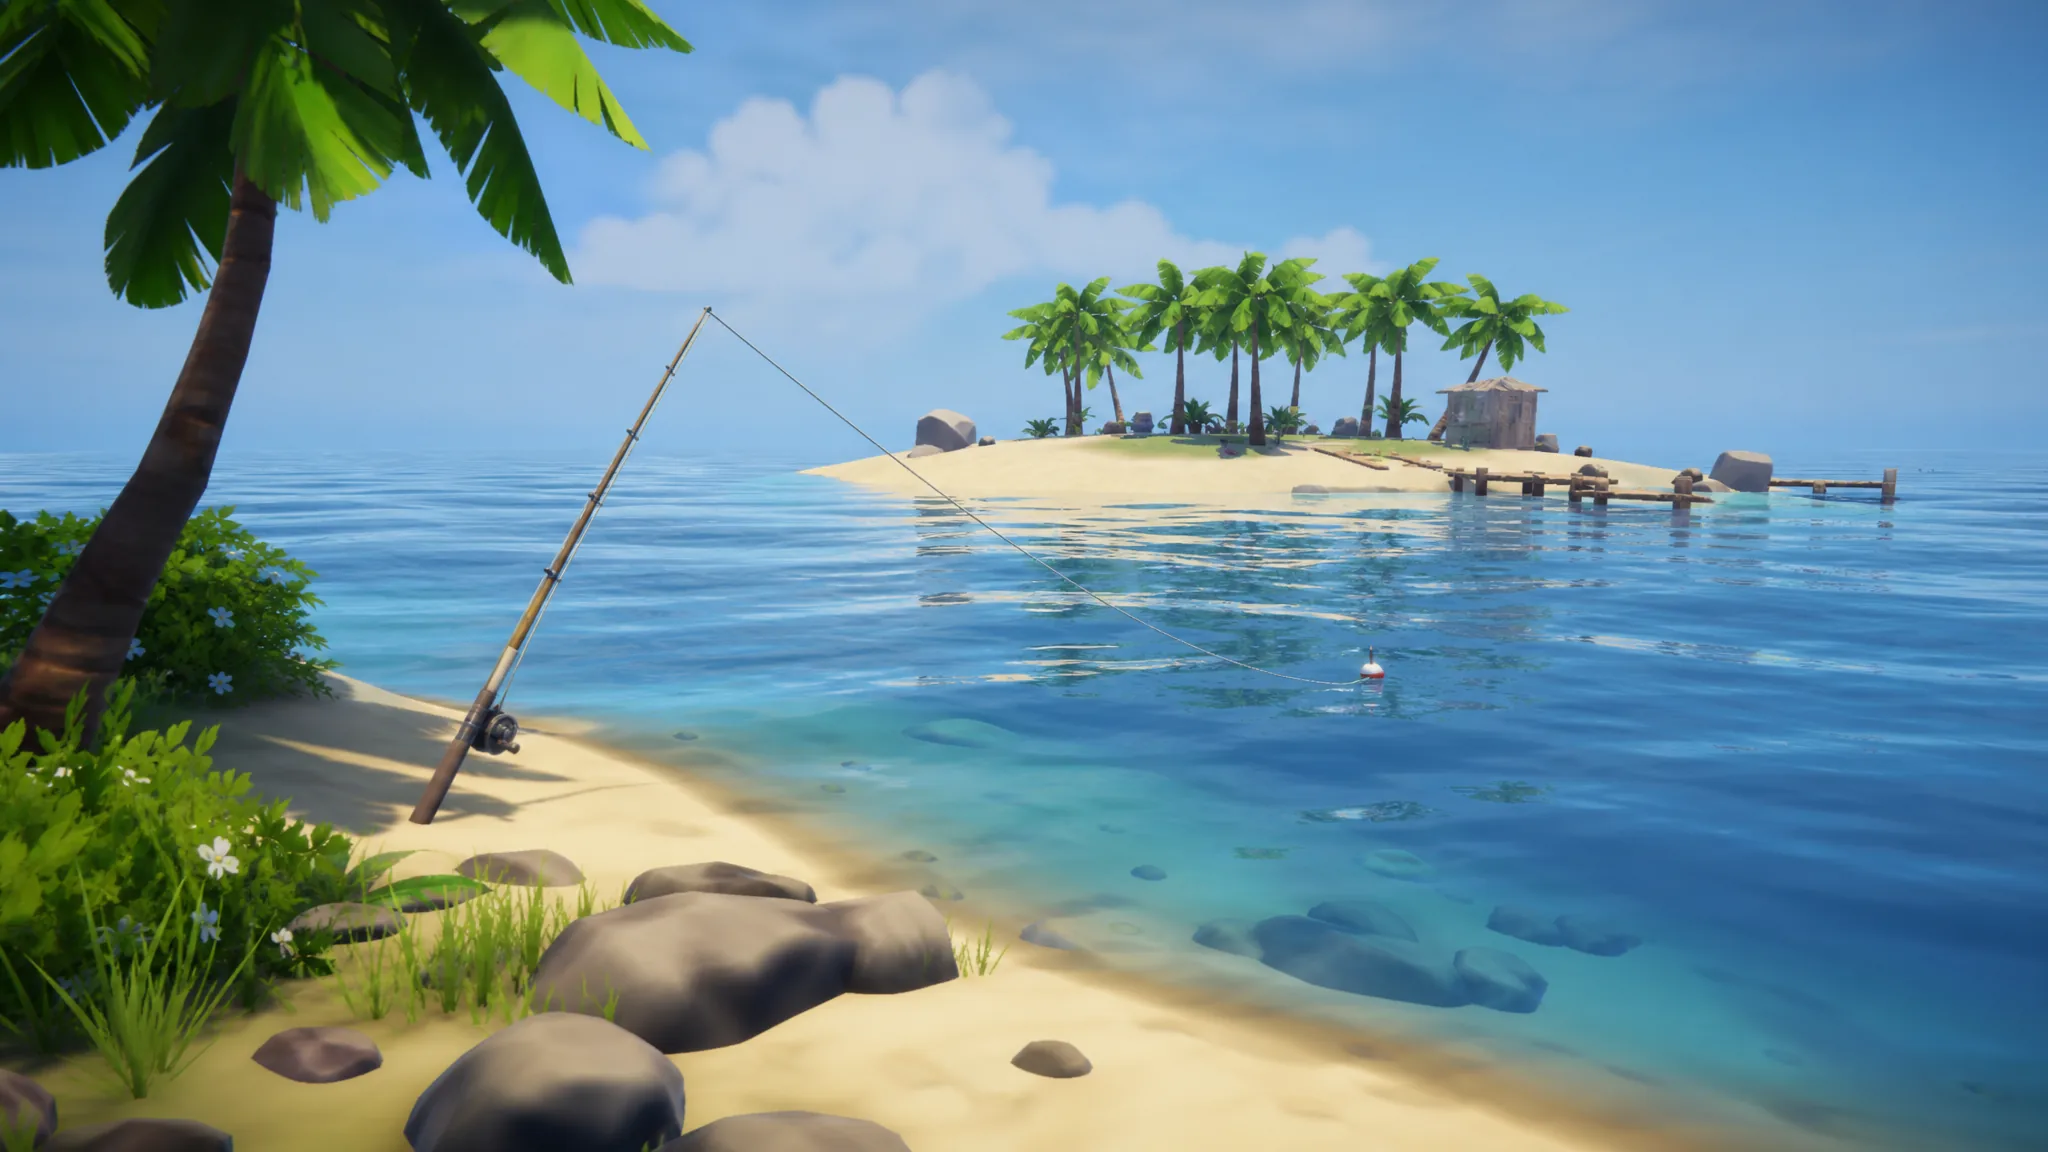
The Bean achievement in How to Fish is handed out for one thing only: finishing the entire game, including the final boss, in under 60 minutes. A relaxed playthrough runs several hours, so this is a dedicated speedrun where you skip everything that does not push you toward the ending. It is possible in co-op, but running solo removes waiting and gives you full control of the pace.
Quick answer: Start a fresh save, rush the five islands (Lighthouse → Forest → Desert → Rocks → Volcano) using the buy order below, kill each island boss, and defeat both Volcano whales before the 60-minute timer expires. The credits rolling is what unlocks Bean.

Before you start the Bean run
Attempt this after you have already beaten the game once. Knowing boat controls, boss attack patterns, and where each key NPC stands saves more time than any single shortcut. Keep a separate save file dedicated to the run so you never mix it with a normal playthrough.
Spend money only on gear that speeds up progress. The plan is a tight upgrade chain that carries you from a basic Knife to a fully maxed SMG by the time you reach the two whales. If you burn cash on side gear, the later fights drag out and you lose the run on the clock.
Full route overview
| Island | Priority buys | Boss and summon | Unlocks |
|---|---|---|---|
| Lighthouse | Crab Fishing Rod, Knife (+1 upgrade), Beer, Radar | Spider Crab (Empty Beer Can Lure) | Boat Key + travel |
| Forest | Fishing Rod ($3), Pistol, inventory slot, Dynamite | Giant Piranha (Modified Leech) | Desert coordinates |
| Desert | SMG ($650) + Compensator, max bullet damage | Pufferfish (Carrot) | Rocks coordinates |
| Rocks | Professional Lure ($50), Professional Boss Lure, Dynamite | Tuna mini-boss → Albatross | Volcano coordinates |
| Volcano | Max SMG, Red Dot Sight, inventory slots, Scientific Lure | Bowhead Whale → Mutated Bowhead Whale | Ending + Bean |
Lighthouse: leave in 5 to 6 minutes
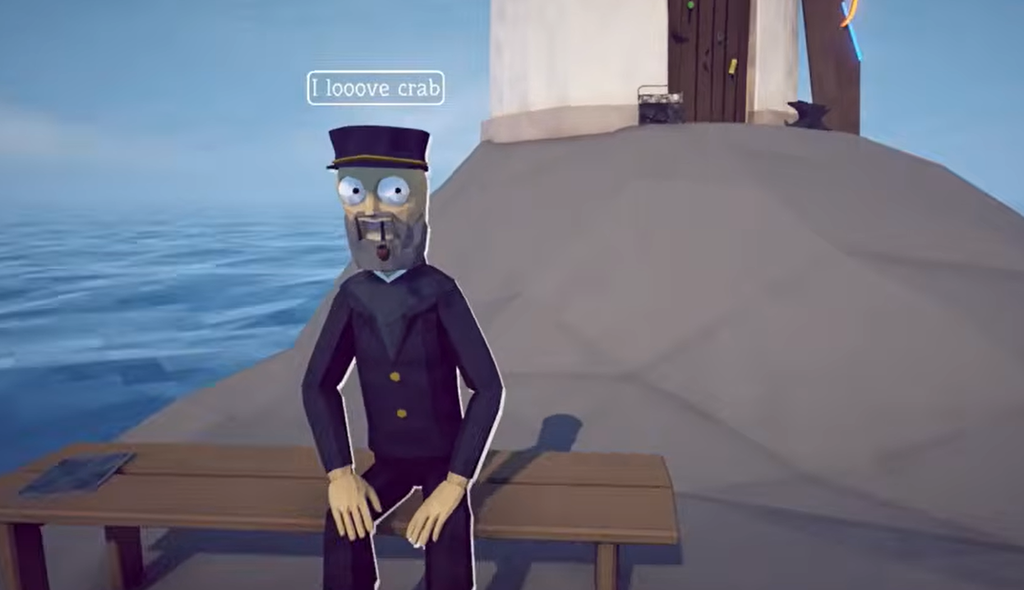
How fast you clear the starter island sets the tone for the whole run. Instead of fishing random creatures, pick up and feed 60 clams to the lighthouse keeper. Each clam pays $1, so a full 60 gives you $60 to buy the Crab Fishing Rod, the Beer, and the Knife. Upgrade the Knife once if you can spare the cash, since it shortens the boss fight.
Hand the Beer to the keeper to receive the Empty Beer Can Lure, then use it to summon the Spider Crab. After the fight, feed the Spider Crab drops back to the keeper. That money covers the Radar and gets you the Boat Key, which is what actually unlocks travel.
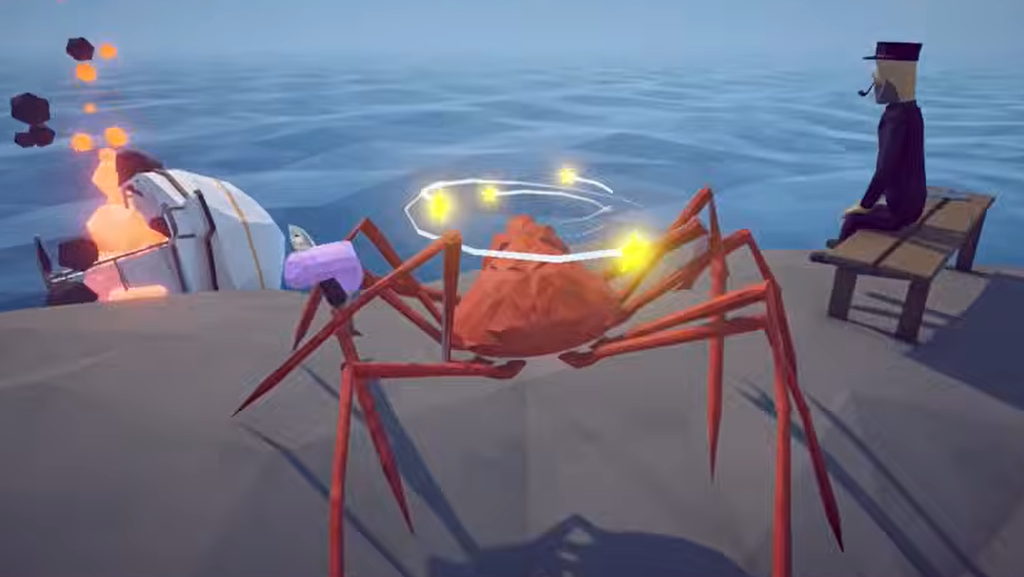
Spider Crab boss
The base Knife can win this fight, so an upgrade is only about speed. The crab charges in a straight line and stuns itself after every attack. Wait for it to lunge, then strike the moment the stars appear over its head. Back off when the stars fade and repeat until it dies.
Forest: Pistol and the Giant Piranha
On arrival, talk to the lady sitting at the base of a tree to start her quest. Find three leeches on the ground, mostly hidden in the grass, and give them to her for a Modified Leech. Keep that item, because it is the only way to summon the Giant Piranha.
Buy the Fishing Rod here for $3. It costs almost nothing and is required to catch fish and summon bosses on later islands, so do not skip it. To raise money for the Pistol, light Dynamite and throw it into the sea, then feed the floating fish to the man by the shed. Grab an inventory slot while you are here.
Giant Piranha boss
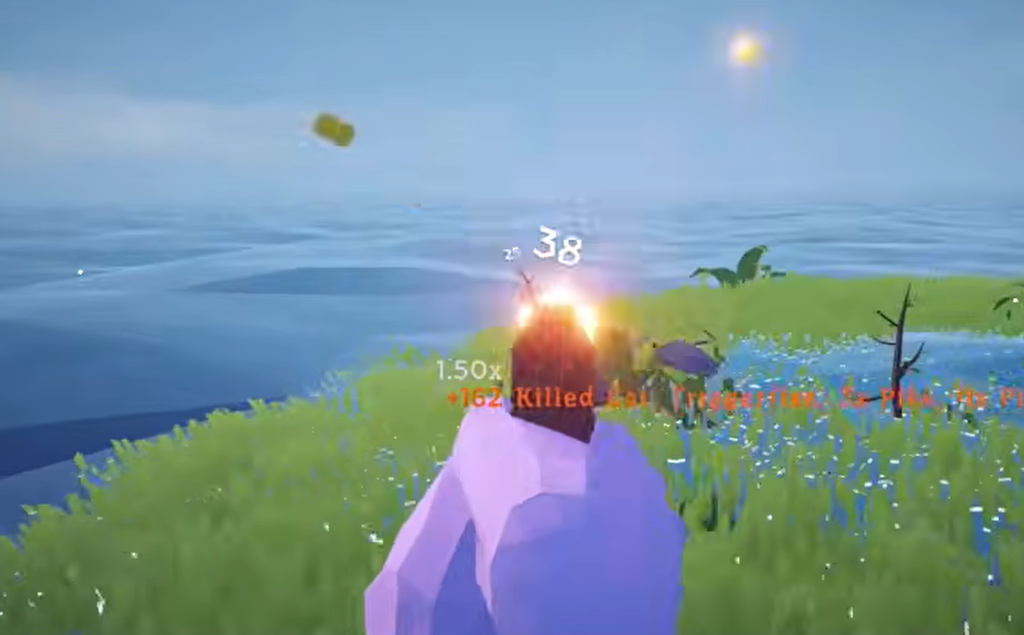
The Piranha flings itself around and hits hard, so fight it with the Pistol to keep your distance. Keep moving in a circle, watch it constantly, and fire whenever a window opens. Eat smaller piranhas to top up health. When it dies, take the skeleton to the lady for the Desert coordinates.
Desert: buy the SMG and beat the Pufferfish
This island is where your main weapon comes from. Farm money with Dynamite, then buy the SMG ($650), add the Compensator, and max out bullet damage. Skip every other gear upgrade.
Next you need the Carrot, the lure that summons the Pufferfish. Use the Standard Lure to reel in an endangered fish, then hand it to the Tourist NPC sitting under one of the palm trees to receive the Carrot.
Pufferfish boss
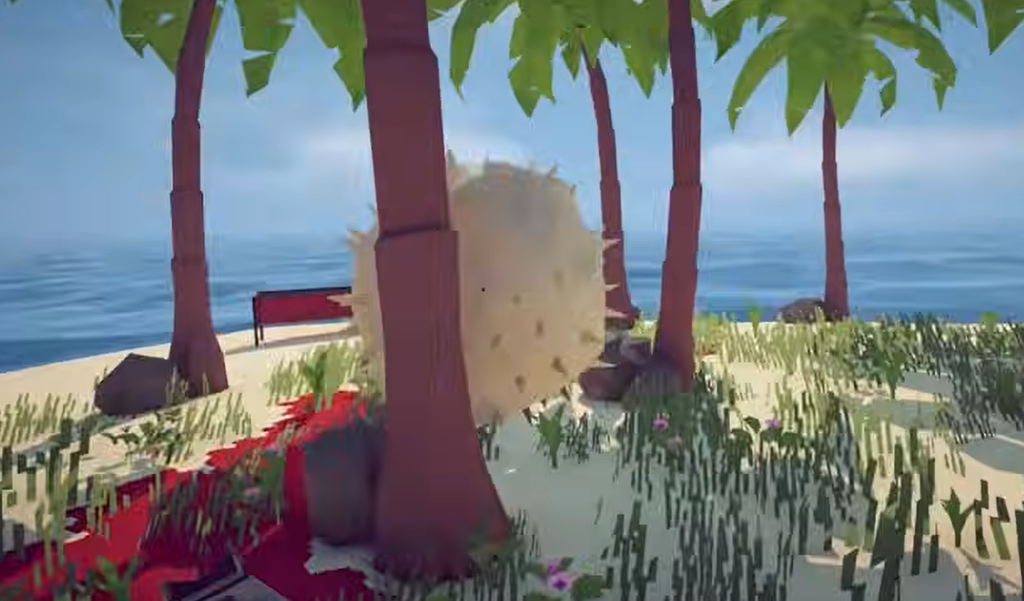
Drop the Pufferfish as far from yourself as possible to buy setup time, then create a gap. Fight near the palm trees, since the rocks at their base can trap the Pufferfish for a few seconds and hand you a clean damage window. Once it drops below 50% health it grows larger and spews purple poison, so widen your circle and duck behind different trees to avoid the cloud while still baiting it into snags. Pick up the Pufferfish Fin and give it to the Tourist for the Rocks coordinates.
Time check: if you are under 30 minutes at this point, you are on pace. If not, restarting is usually faster than pushing a doomed run.
Rocks: Tuna, Albatross, and the meat you must keep
The Rocks route is linear. Farm about $1,200, buy the Professional Boss Lure, catch and kill the Tuna mini-boss, use the Tuna to lure the Albatross, defeat it, then give the Albatross Head to the NPC in the orange shirt inside the store for the Volcano coordinates.
For money, buy the Professional Lure ($50) and catch professional fish such as Bass, Red Snapper, Sengarat, Dripper, and Voxelfish. Drop 15 Dynamite and at least seven caught fish inside the red hut across from the grill, throw one lit Dynamite in to kill the whole pile, then feed everything to the lady in the store. One good haul covers your costs.
To spawn the Tuna, max your HP by eating fish or clams, drop 20 of 25 Dynamite inside the gear shop, and light one outside while switching to another item just before it blows so it does not kill you. Catch the Tuna at the shop door with the Professional Boss Lure, drop it on the Dynamite pile, and detonate the half-lit stick.
Albatross boss
There are two ways to finish this fight. The comparison below covers both.
| Dynamite strategy (fast, risky) | SMG strategy (slow, safe) |
|---|---|
| Max HP, build a pile of 30 to 40 Dynamite at island center, light a spare and switch items to keep it half-lit, place the Tuna on the pile, and detonate the moment the Albatross swoops in. | Max HP, place the Tuna near the gear shop door while you stand inside, then shoot the Albatross as it comes for the bait, ducking into the shop each time it attacks. |
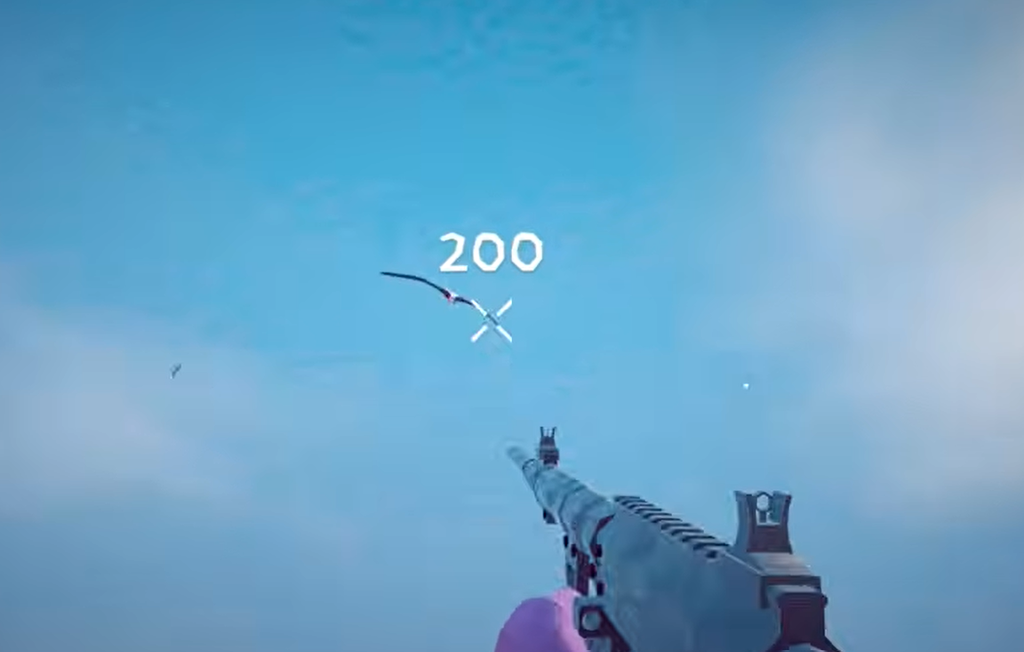
Pick up the Albatross Meat and keep it in your inventory. You need it for money on the Volcano. The dynamite path can whiff if your timing is off, while the SMG path is reliable but slower, especially with an underleveled gun.
Volcano: max the SMG and clear both whales
Cook the Albatross Meat in the lava and feed each piece to the NPC on the left of the tent for $1,500 apiece. Pour that money into maxing the SMG damage and bullets, and buy the Red Dot Sight. If you fall short, catch more fish, cook them in the lava, and sell them until every upgrade is bought. Also max your inventory slots and stock cooked fish both on your person and around the island for healing during the two boss fights.
Bowhead Whale
Buy five beers and give them to the NPC in the hazmat suit to get the Fish Bucket Lure. Use it with the Fishing Rod to catch the Bowhead Whale, drop it at the volcano base, and start shooting. Every few seconds it leaps up to crush you, so relocate on each jump and keep firing on the ground. Some jumps are fast and hard to dodge, which is why the cooked fish healing matters. After the kill, add the whale to your inventory and eat Footsnails to recover for the final fight.
Mutated Bowhead Whale
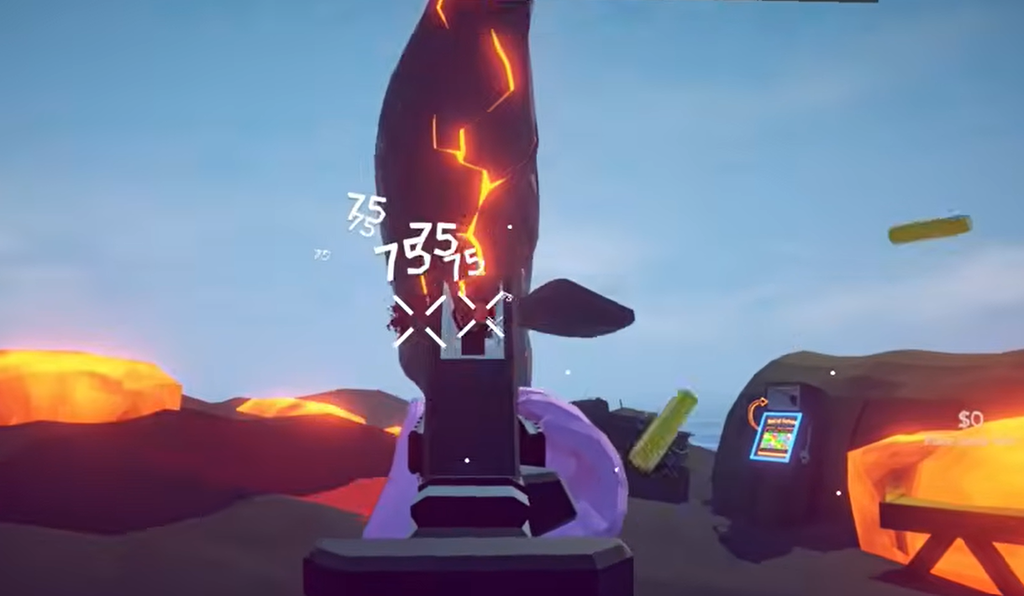
Carry the Bowhead Whale up the volcano and drop it inside to spawn the Mutated version, then immediately jump back to the base to dodge its opening attack. Use the same routine as before: keep your distance, avoid the crush, and stay topped up on health. There is no solo cheese for this fight, so play it clean. Killing it triggers the ending.
How to know Bean unlocked, and why runs fail
When the Mutated Bowhead Whale dies, the game plays the ending and the credits roll. If your total time was under 60 minutes, the Bean achievement pops during or right after that sequence. The single most common cause of failure is not the bosses but small delays that stack up: chasing rare creatures, buying the Radar-equivalent extras you do not need, or over-farming after your gear is already good enough.
If a serious attempt lands around 62 to 65 minutes, your route is basically correct. Trimming the Spider Crab fight, reaching each island faster, and tightening the money loops on Rocks and the Volcano is usually enough to drop under the hour.
Save-edit alternative
Some players skip the timed run entirely by editing the save file, which drops you onto the final island next to the last boat. This is an exploit rather than a legitimate clear, and its reliability changes between game versions, so it may not work on every patch.
C:Users%USERNAME%AppDataLocalLowDazed GamesHow to FishSaves"SpawnedIsland": 4
"MaxIsland": 5
"FinalBossKilled": trueWhether you earn it on a clean sub-hour run or take the save-edit shortcut, the confirmation is identical: the ending fires and Bean registers. The legitimate route is the safer path if you want to keep your main progress intact, and once your buy order is memorized, the whole clear becomes a repeatable sprint rather than a gamble.





