
Experiencing the backgroundTaskHost.exe error on Windows 11 can be quite unsettling, especially when it interrupts your regular workflow or causes applications to crash unexpectedly. Since this process is vital for the operating system’s functionality, it’s important to resolve the issue promptly to prevent further system instability or potential damage to your system files. Below are several methods you can use to fix this error and get your system running smoothly again.
Run SFC and DISM Scans Using Command Prompt
Command Prompt into the search bar. When the search results appear, right-click on the Command Prompt app and select Run as administrator to open it with administrative privileges.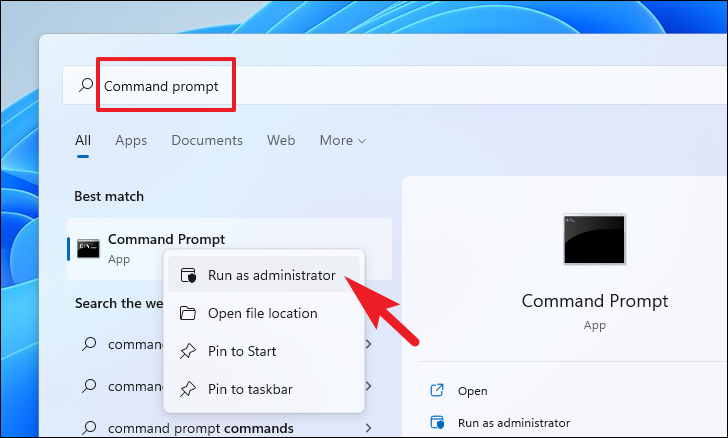
Yes to allow the app to make changes to your device. If you’re not logged in as an administrator, you’ll need to enter administrative credentials.Enter to run the Deployment Image Servicing and Management (DISM) tool, which will repair the system image:DISM /Online /Cleanup-Image /RestoreHealth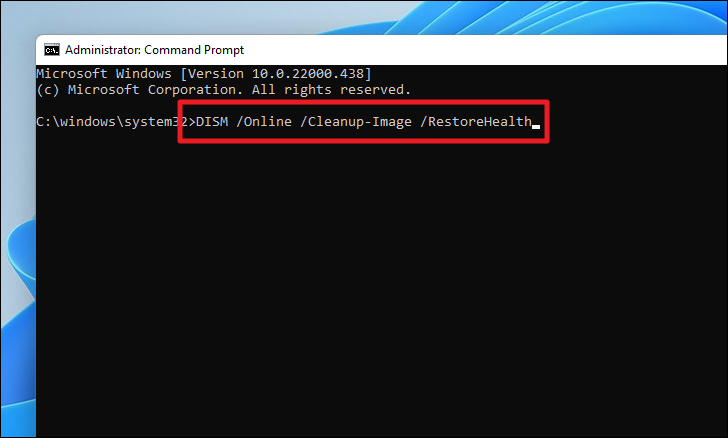
Note: This command requires an active internet connection as it downloads necessary files from Microsoft’s servers.
Enter to run the System File Checker (SFC), which will scan for corrupted system files and repair them using the healthy files from the system image:SFC /scannow
backgroundTaskHost.exe error still occurs. If it does, proceed to the next method.Roll Back to a System Restore Point
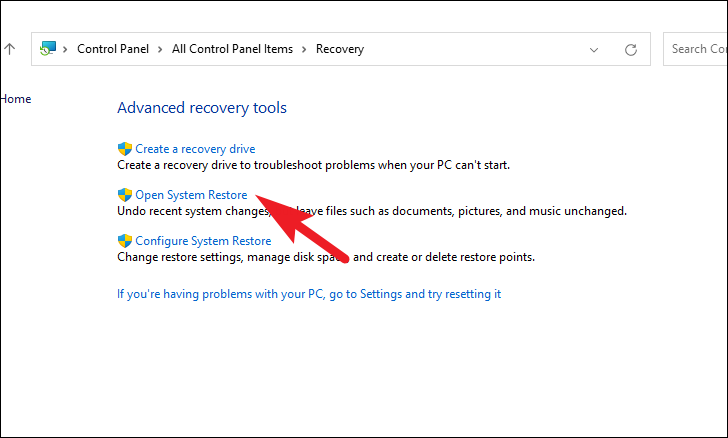
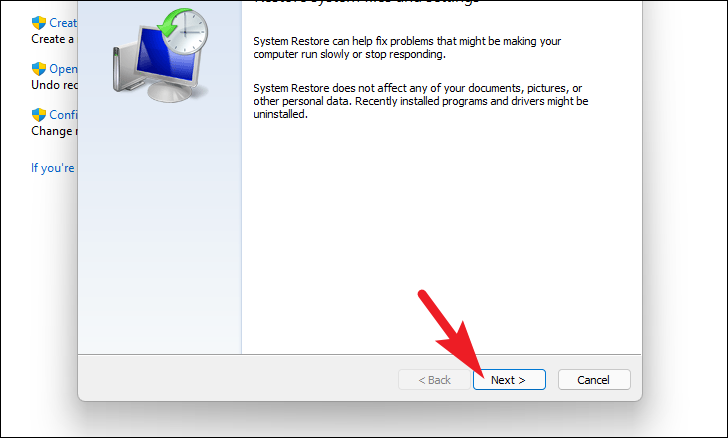
If you suspect that a recent software update or a new application is causing the error, you can restore your system to a previous state before the issue began.
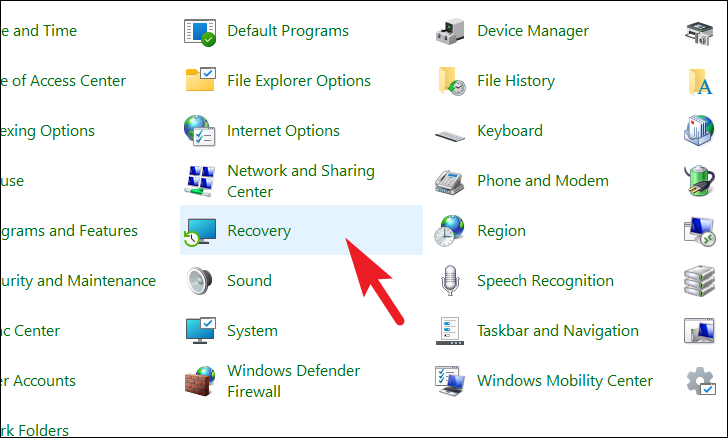
Windows + R on your keyboard to open the Run dialog box. Type control and press Enter to launch the Control Panel.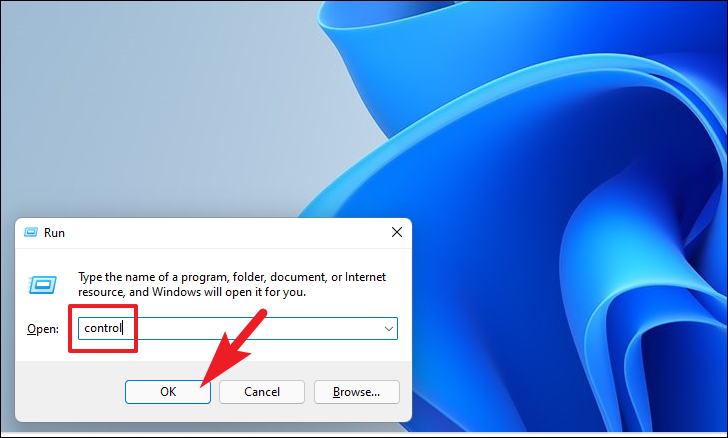
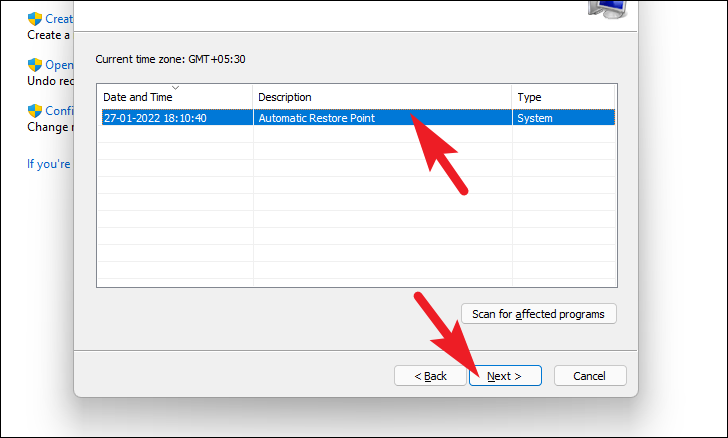
Scan for affected programs. Review the list, then click Close.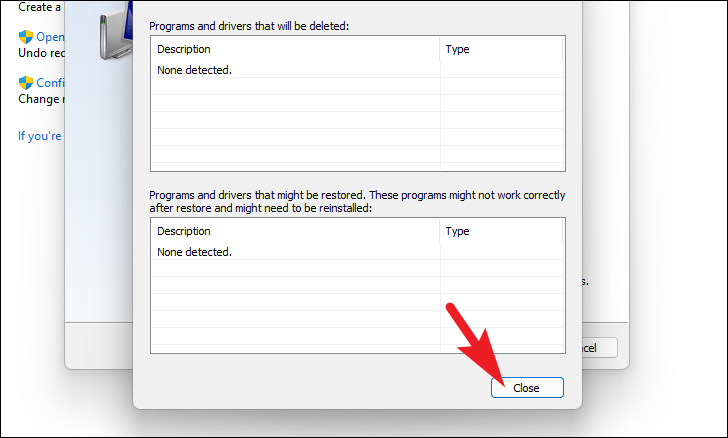
Finish to begin the restoration process. Your computer will restart automatically to apply the changes.
After your system has been restored, check to see if the error persists. If it does, you might need to consider resetting your PC.
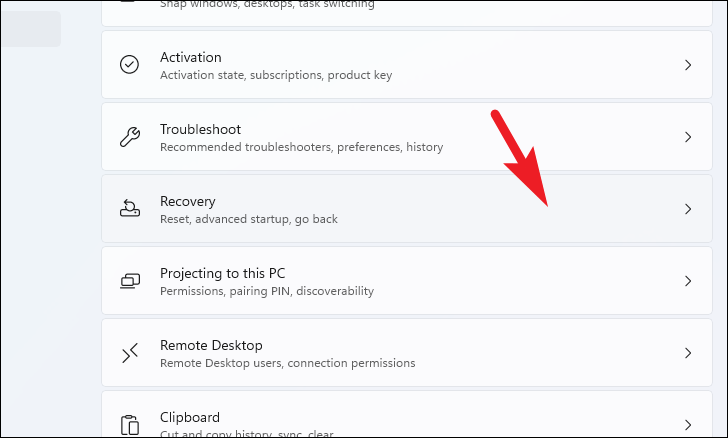
Reset Your Windows 11 PC
If other methods haven’t resolved the issue, resetting your PC can help by reinstalling Windows while keeping your personal files intact.
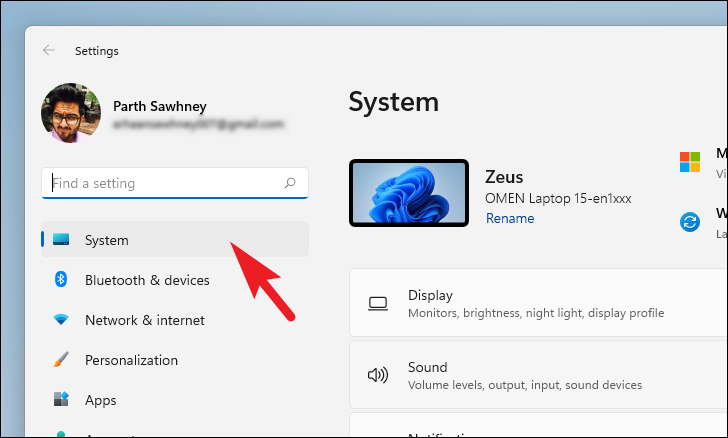
Settings from the pinned apps or by searching for it.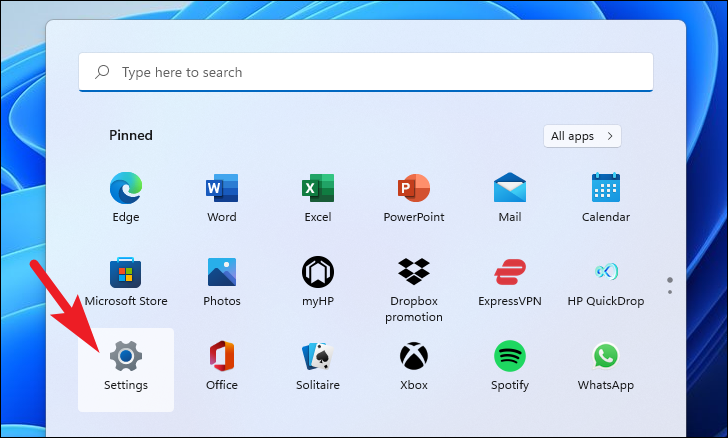
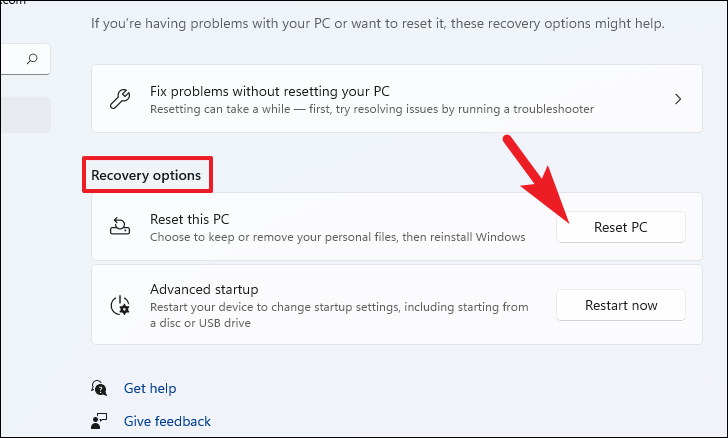
Keep my files to reinstall Windows without losing your personal data.
Note: You won’t need any external installation media for this process.
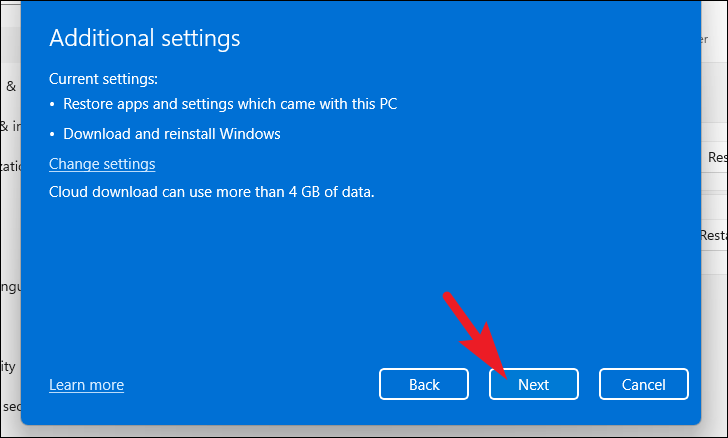
Cloud download and Local reinstall. Selecting Cloud download is recommended for a fresh copy of Windows from Microsoft’s servers, although it requires an internet connection.
Change settings. You can alter options such as Clean data and Delete files from all drives depending on your preferences.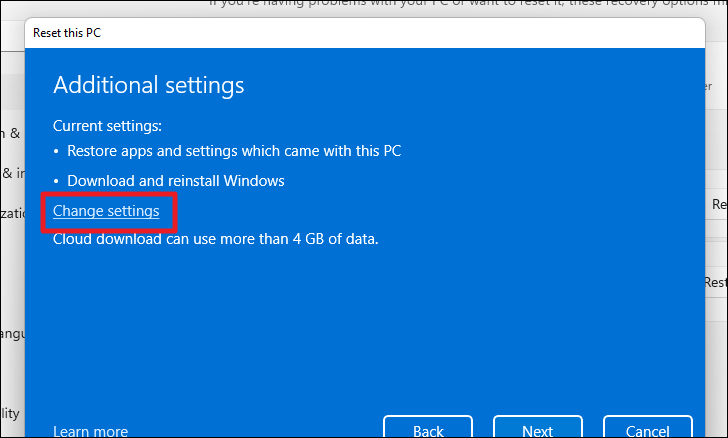
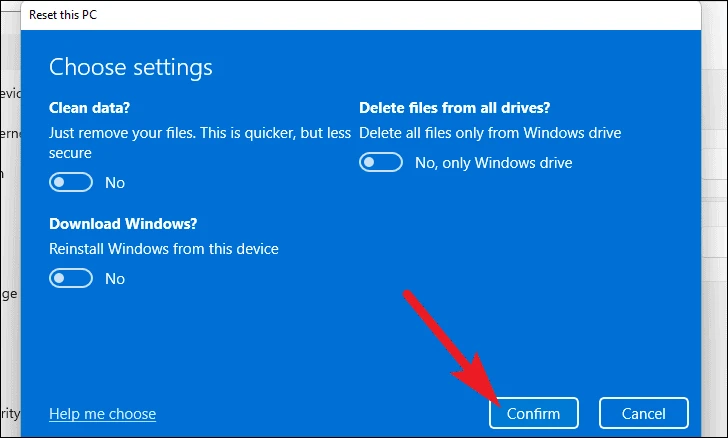
Reset to begin the process.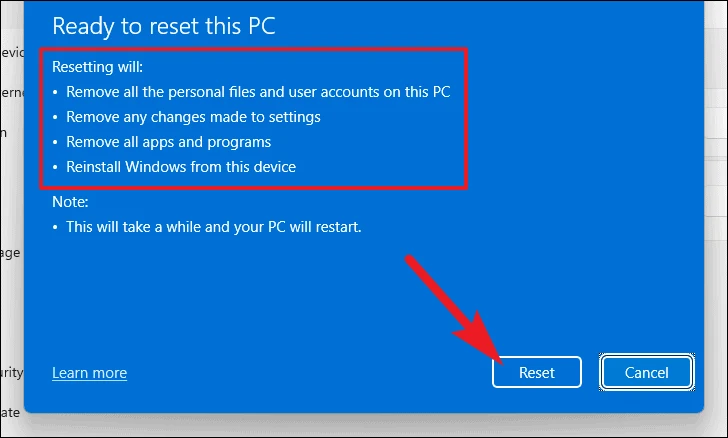
Your computer will restart several times during the reset. This process can take a while, so ensure your laptop is plugged in or your desktop won’t lose power during this time.
By following these methods, you should be able to resolve the backgroundTaskHost.exe error on your Windows 11 PC and restore it to proper working condition.


