How to Fix it when Microsoft Teams Keeps Crashing on Windows 11 or Windows 10 PC
Fix Microsoft Teams app crashing issue with these simple instructions on your Windows 11 and Windows 10 PC.
Fix Microsoft Teams app crashing issue with these simple instructions on your Windows 11 and Windows 10 PC.
by Parth Sawhney
Microsoft Teams is a widely used platform for business communication. However, some users have encountered an issue where the app keeps crashing on their Windows 10 or Windows 11 PCs. If you’re facing this problem, there are several solutions you can try to resolve it. Below are methods ranging from simple to more in-depth steps to help you fix the crashing issue in Microsoft Teams.
Check Microsoft Teams’ Service Status
Before troubleshooting on your device, it’s wise to ensure that the problem isn’t with Microsoft’s servers. If Teams servers are down, the app may crash or fail to open. You can quickly check the service status to confirm.
Look for the ‘Teams’ option on the left side of the page. If you see a green tick next to it, the servers are running correctly. Any other symbol indicates an issue with the service.
If the servers are functioning properly, proceed to the next method to troubleshoot the issue on your device.
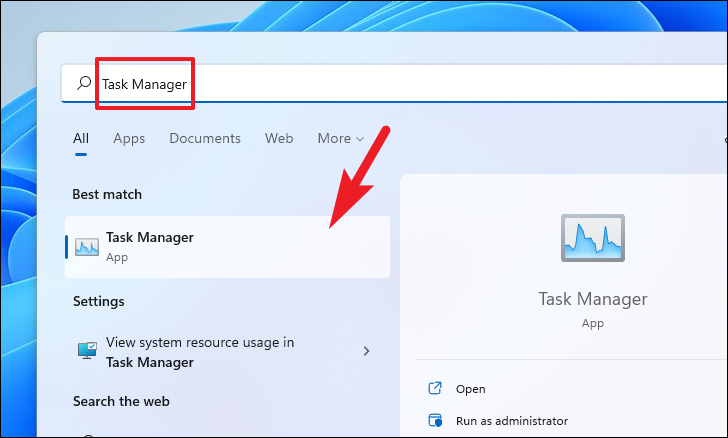
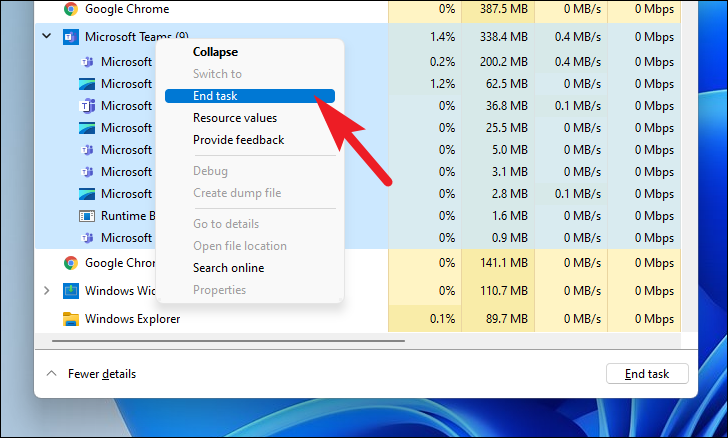
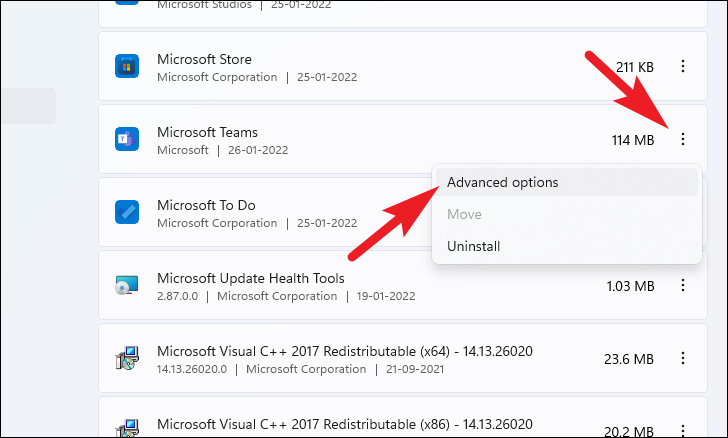
Kill Microsoft Teams App from the Task Manager
Sometimes, even after closing the app, some of its processes continue to run in the background, preventing it from restarting properly. Terminating all Teams processes can help.
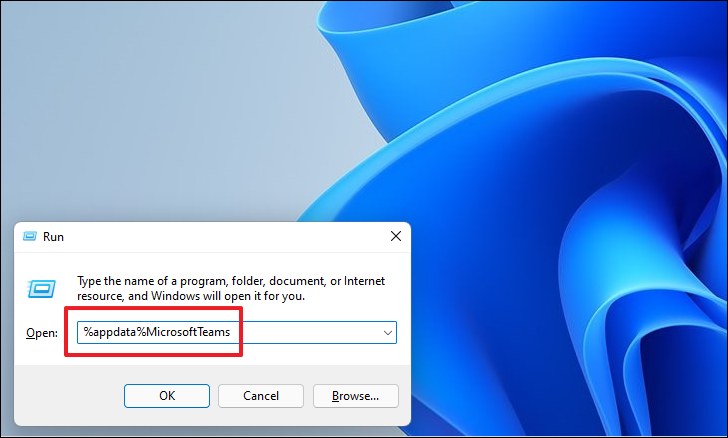
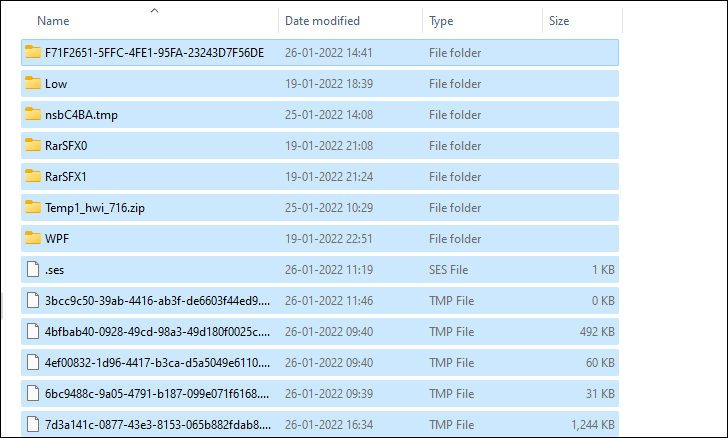
In the folder that opens, select all files and folders by pressing Ctrl + A. Then, press Shift + Delete to permanently delete them. Confirm any prompts that appear.
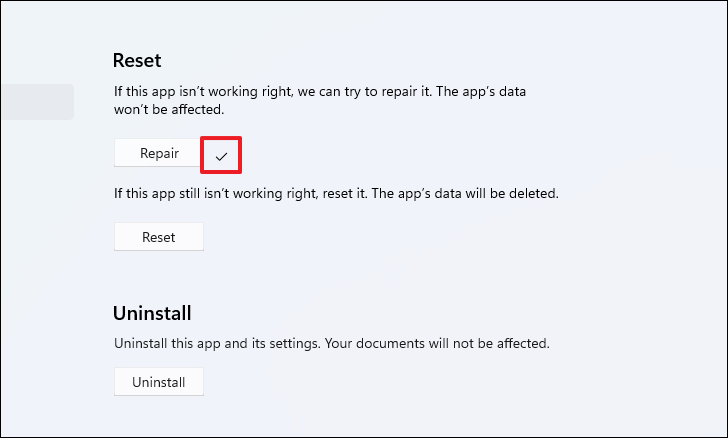
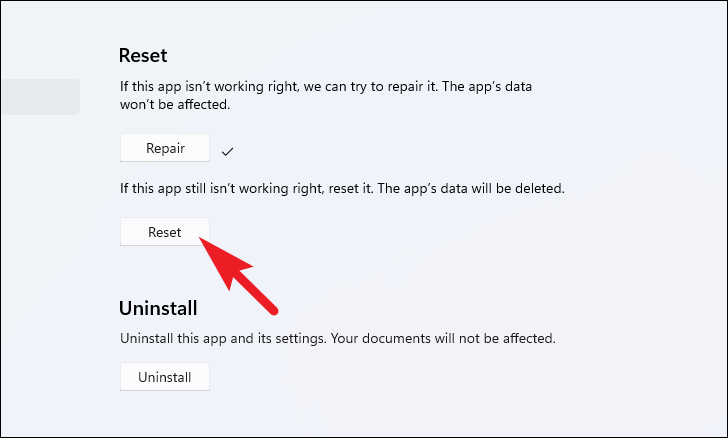
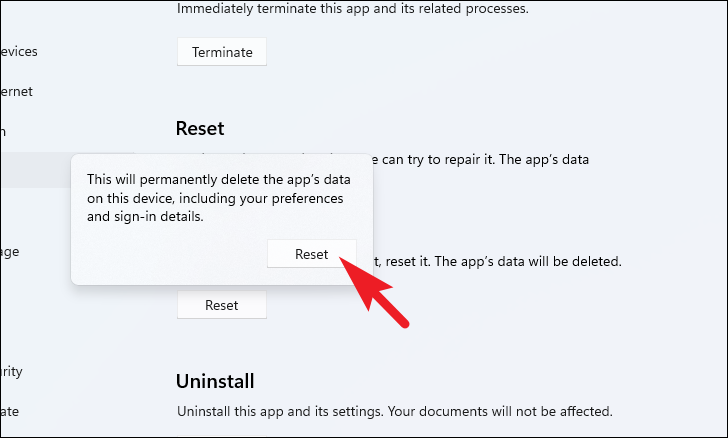
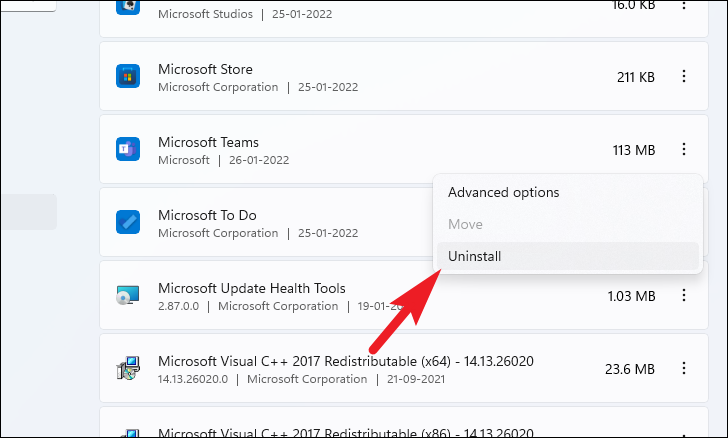
If repairing doesn’t work, you can reset the app. In the same ‘Reset’ section, click ‘Reset’. Be aware that this will delete the app’s data, and you will need to sign in again.
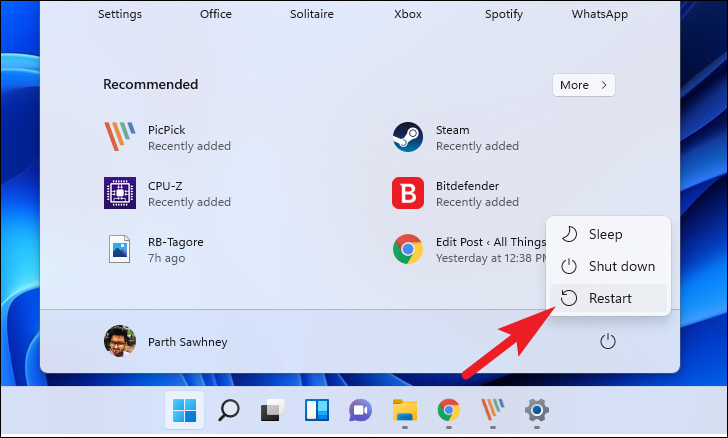
After restarting, click on the ‘Chat’ icon on the taskbar (if available). If you don’t see it, you can download the latest version of Microsoft Teams from the official website.
Once installation is complete, launch Teams and verify if the crashing problem is resolved.
By following these methods, you should be able to fix the crashing issue with Microsoft Teams on your Windows PC. If the problem continues, consider reaching out to Microsoft Support for further assistance.