
Windows 11 offers a refreshed interface and significant improvements, making it an exciting upgrade for Windows 10 users. However, some individuals face issues when attempting to install Windows 11 on their PCs.
Although the installation process is typically simple, various factors can cause it to fail. It’s crucial to ensure your computer meets the minimum system requirements for Windows 11. You can verify this manually or use Microsoft’s PC Health Check App.
Below is a list of common error codes encountered during installation, along with their meanings, to help you diagnose and fix the issues preventing Windows 11 from installing on your system.
Common Windows 11 Installation Error Codes
If an error code appears during the failed installation, refer to the list below to understand the issue and how to address it.
| Error Code | Probable Issue |
| 0xc1900223 | This error indicates a problem with downloading and installing the update. Windows Update will try again later, so no action is needed on your part. |
| 0xC1900200 – 0x20008 0xC1900202 – 0x2008 |
Your PC doesn’t meet the minimum requirements for Windows 11. |
| 0xC1900208 – 0x4000C | An incompatible app on your PC is blocking the installation. |
| 0xC1900107 | A cleanup from a previous installation attempt is pending. Restart your PC and try again. |
| 0x80073712 | A required file is damaged or missing. Repairing system files may resolve this issue. |
| 0x800F0923 | A driver or software on your PC isn’t compatible with Windows 11. |
| 0x800F0922 | Your PC couldn’t connect to Windows Update servers or there’s insufficient space in the System Reserved partition. |
| Error: The update isn’t applicable to your computer. | Your PC may lack required updates. Ensure all updates are installed before upgrading. |
| 0x80070070-0x50011 0x80070070 – 0x50012 0x80070070 – 0x60000 |
There’s not enough disk space to install Windows 11. Free up space and try again. |
| 0xC1900101 0xC30017 |
An external device or third-party antivirus is causing interference. Disconnect external devices and disable antivirus software temporarily. |
| 0x8007042B 0x4000D |
An unexpected process interrupted the installation. Performing a clean boot may help. |
Source: Microsoft
If you didn’t receive an error code, try the following methods to resolve the installation problem.
1. Bypass TPM and Secure Boot Check Using Registry Editor
If your system lacks TPM or Secure Boot, or enabling them doesn’t fix the issue, you can bypass these checks via the Registry Editor.
Windows+R to open the Run dialog box. Type regedit and press Enter to launch the Registry Editor.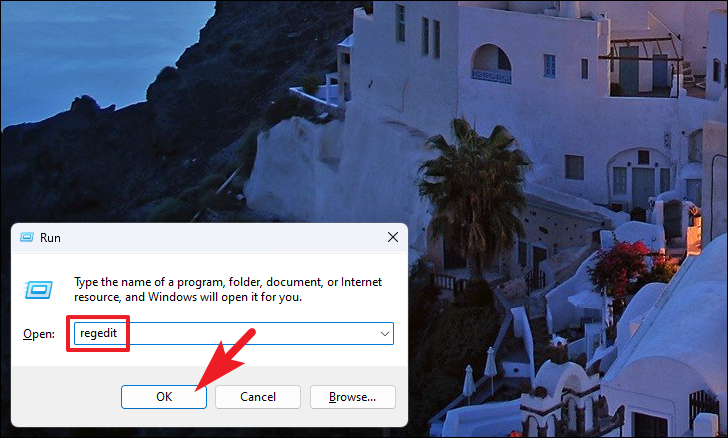
Computer\HKEY_LOCAL_MACHINE\SYSTEM\Setup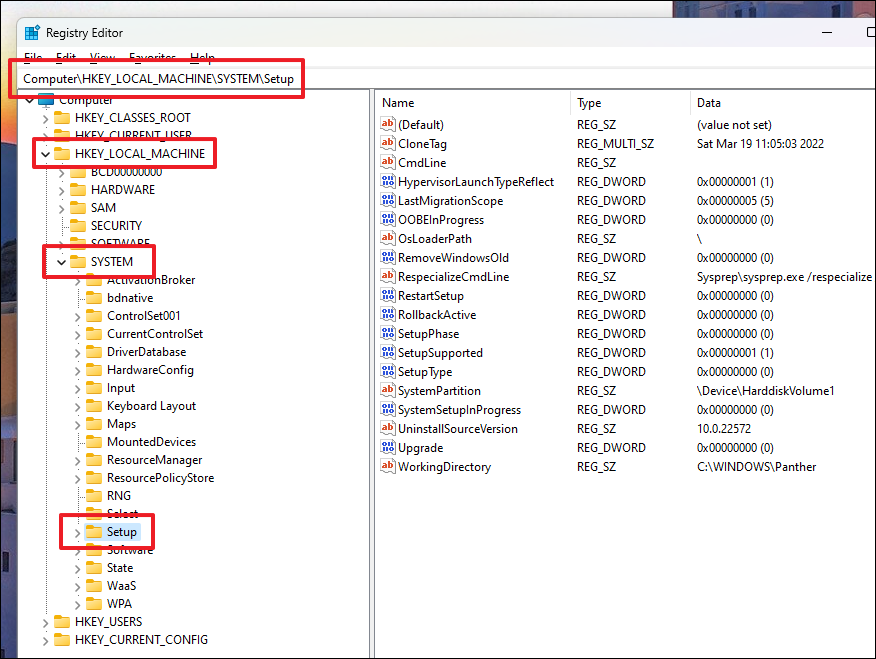
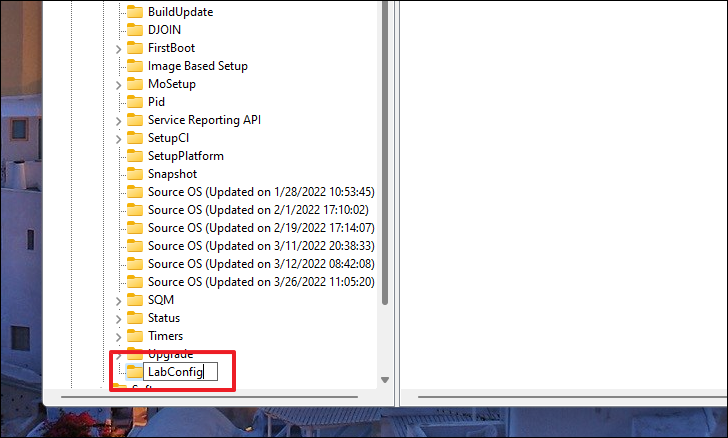
LabConfig selected, right-click in the right pane, hover over New, and choose DWORD (32-bit) Value. Create two DWORD values named BypassTPMCheck and BypassSecureBootCheck.
BypassTPMCheck, set the value data to 1, and click OK. Repeat this for BypassSecureBootCheck.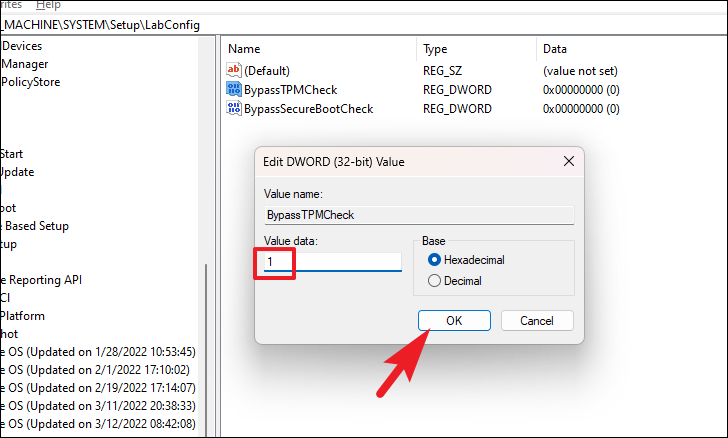
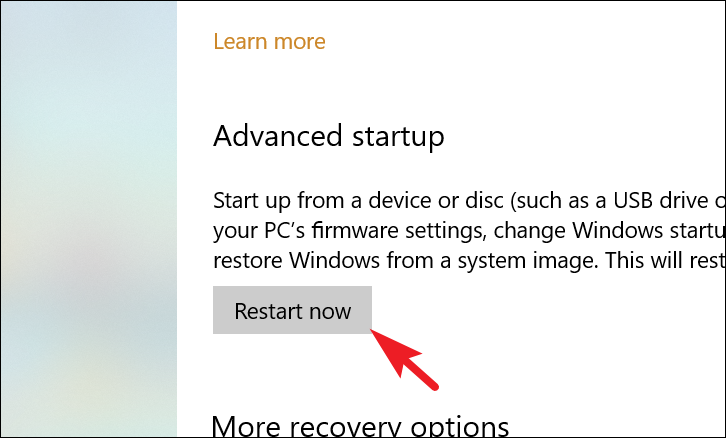
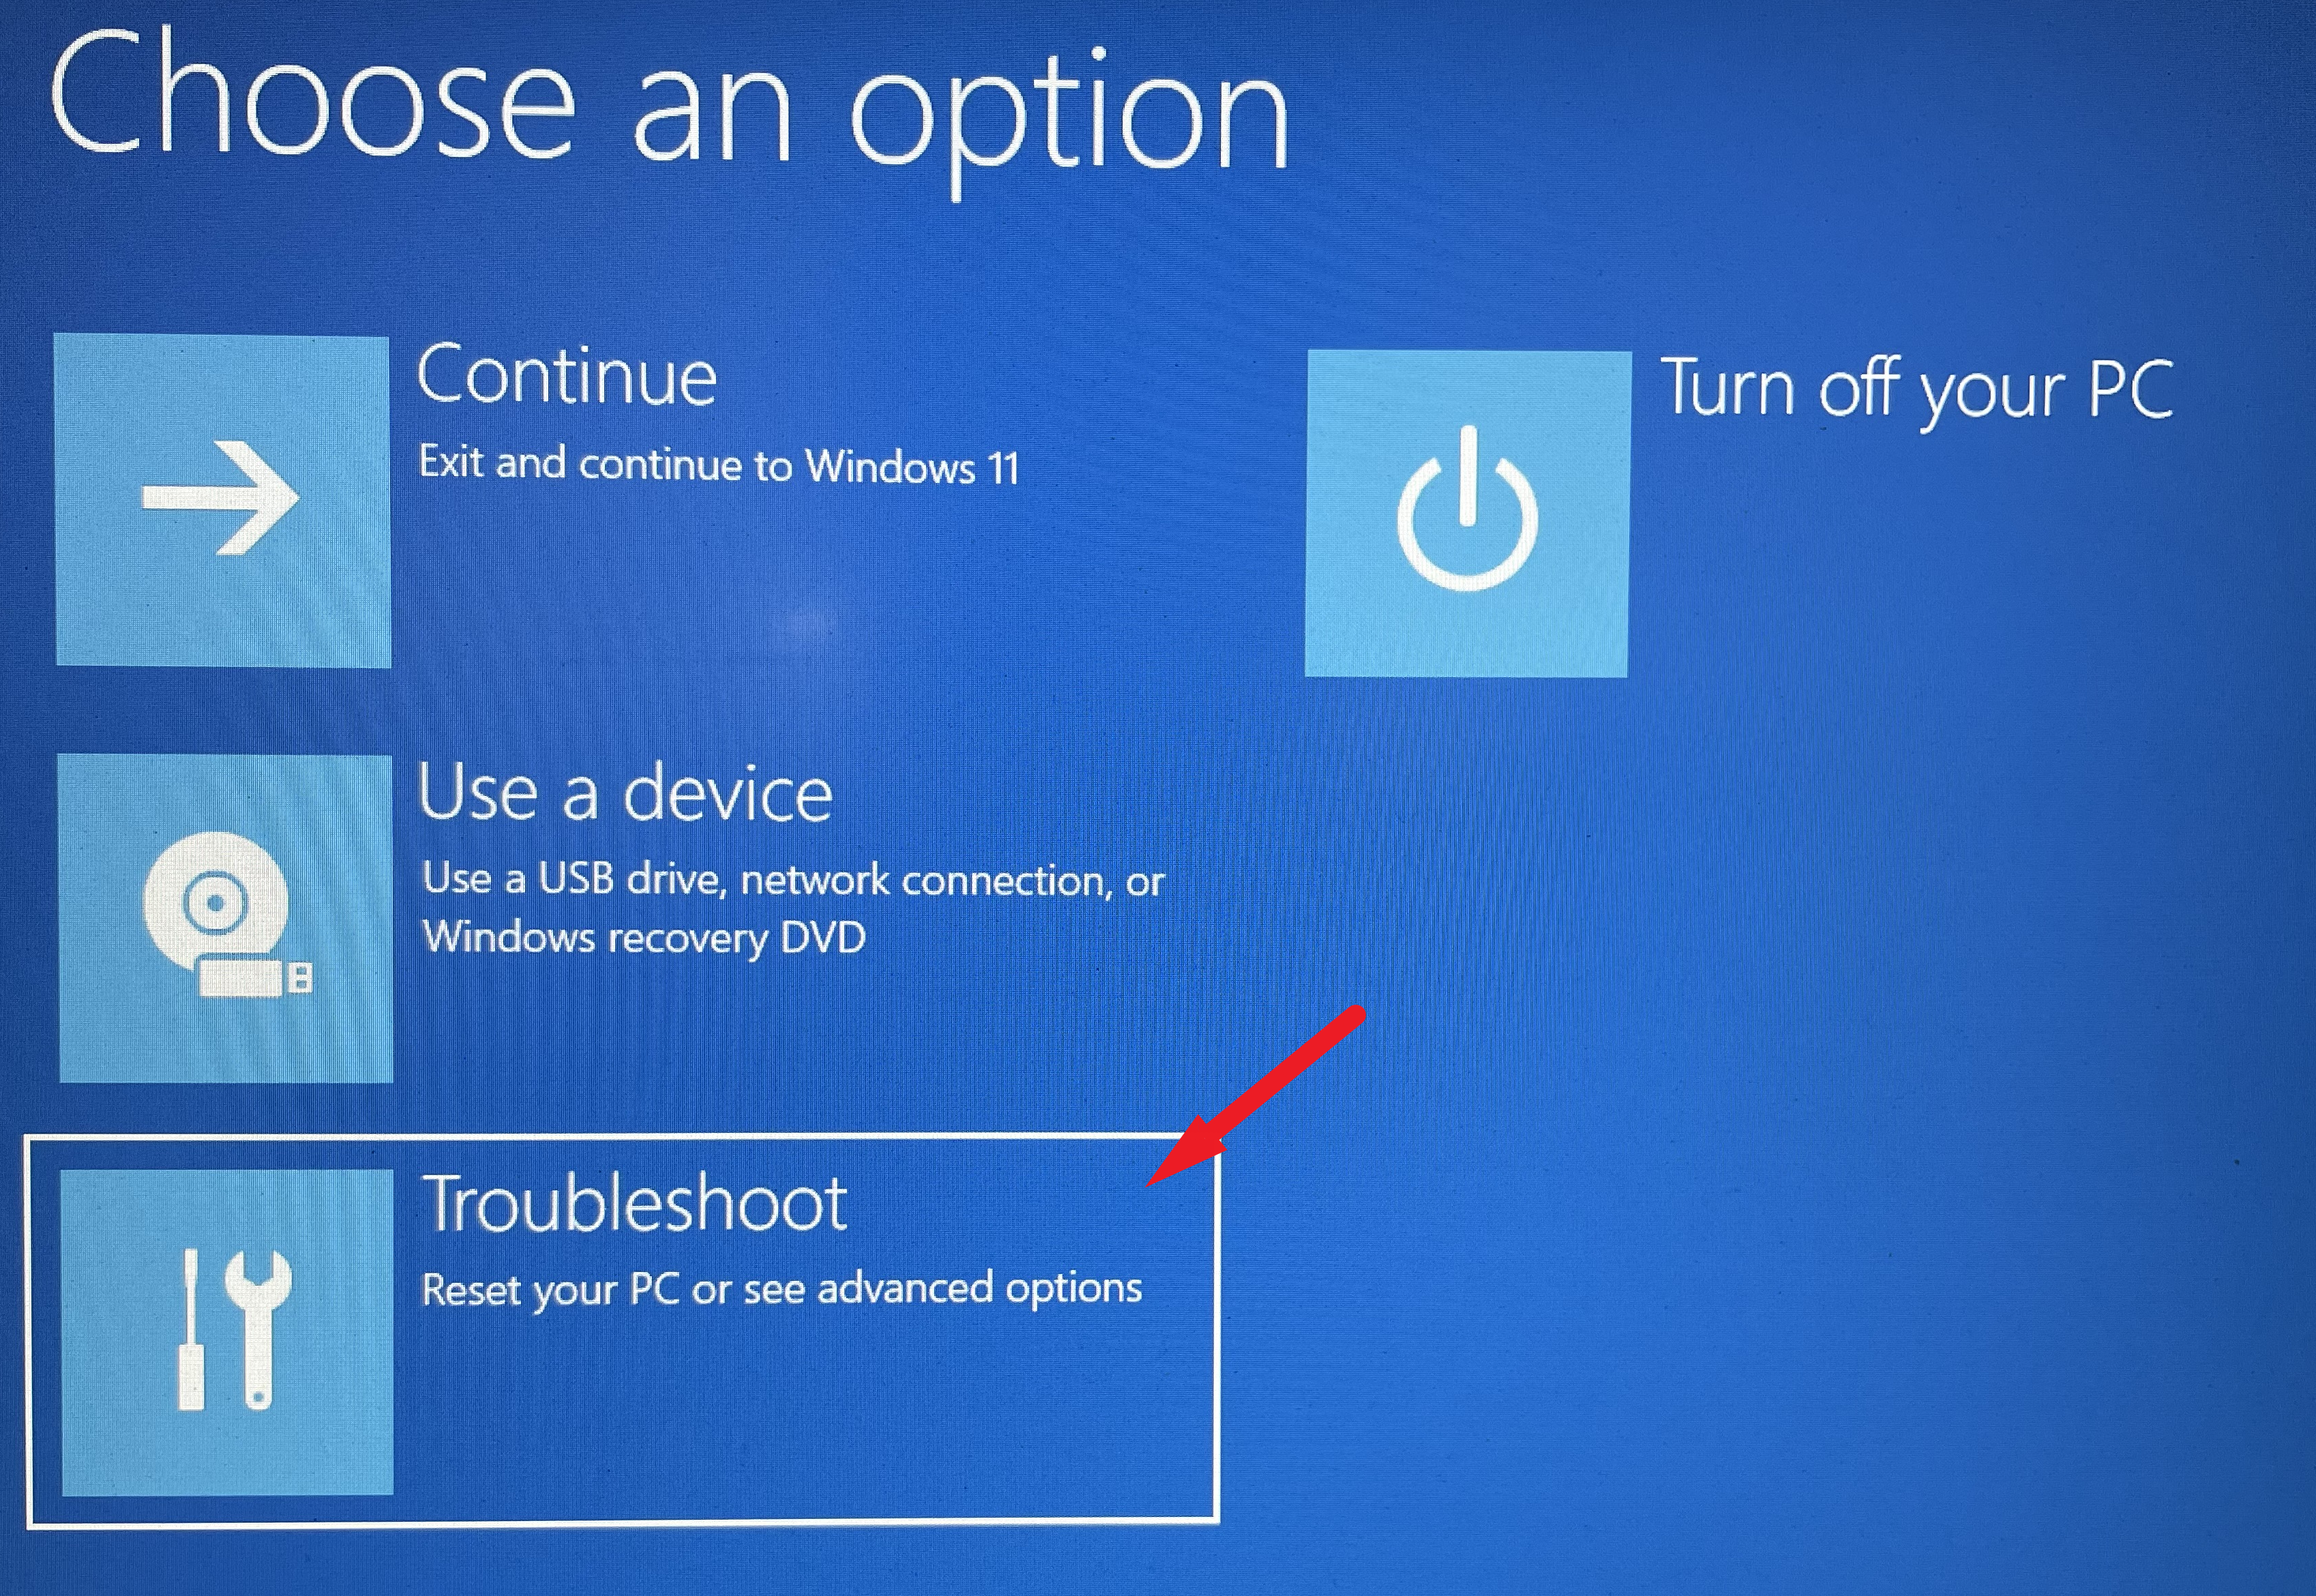
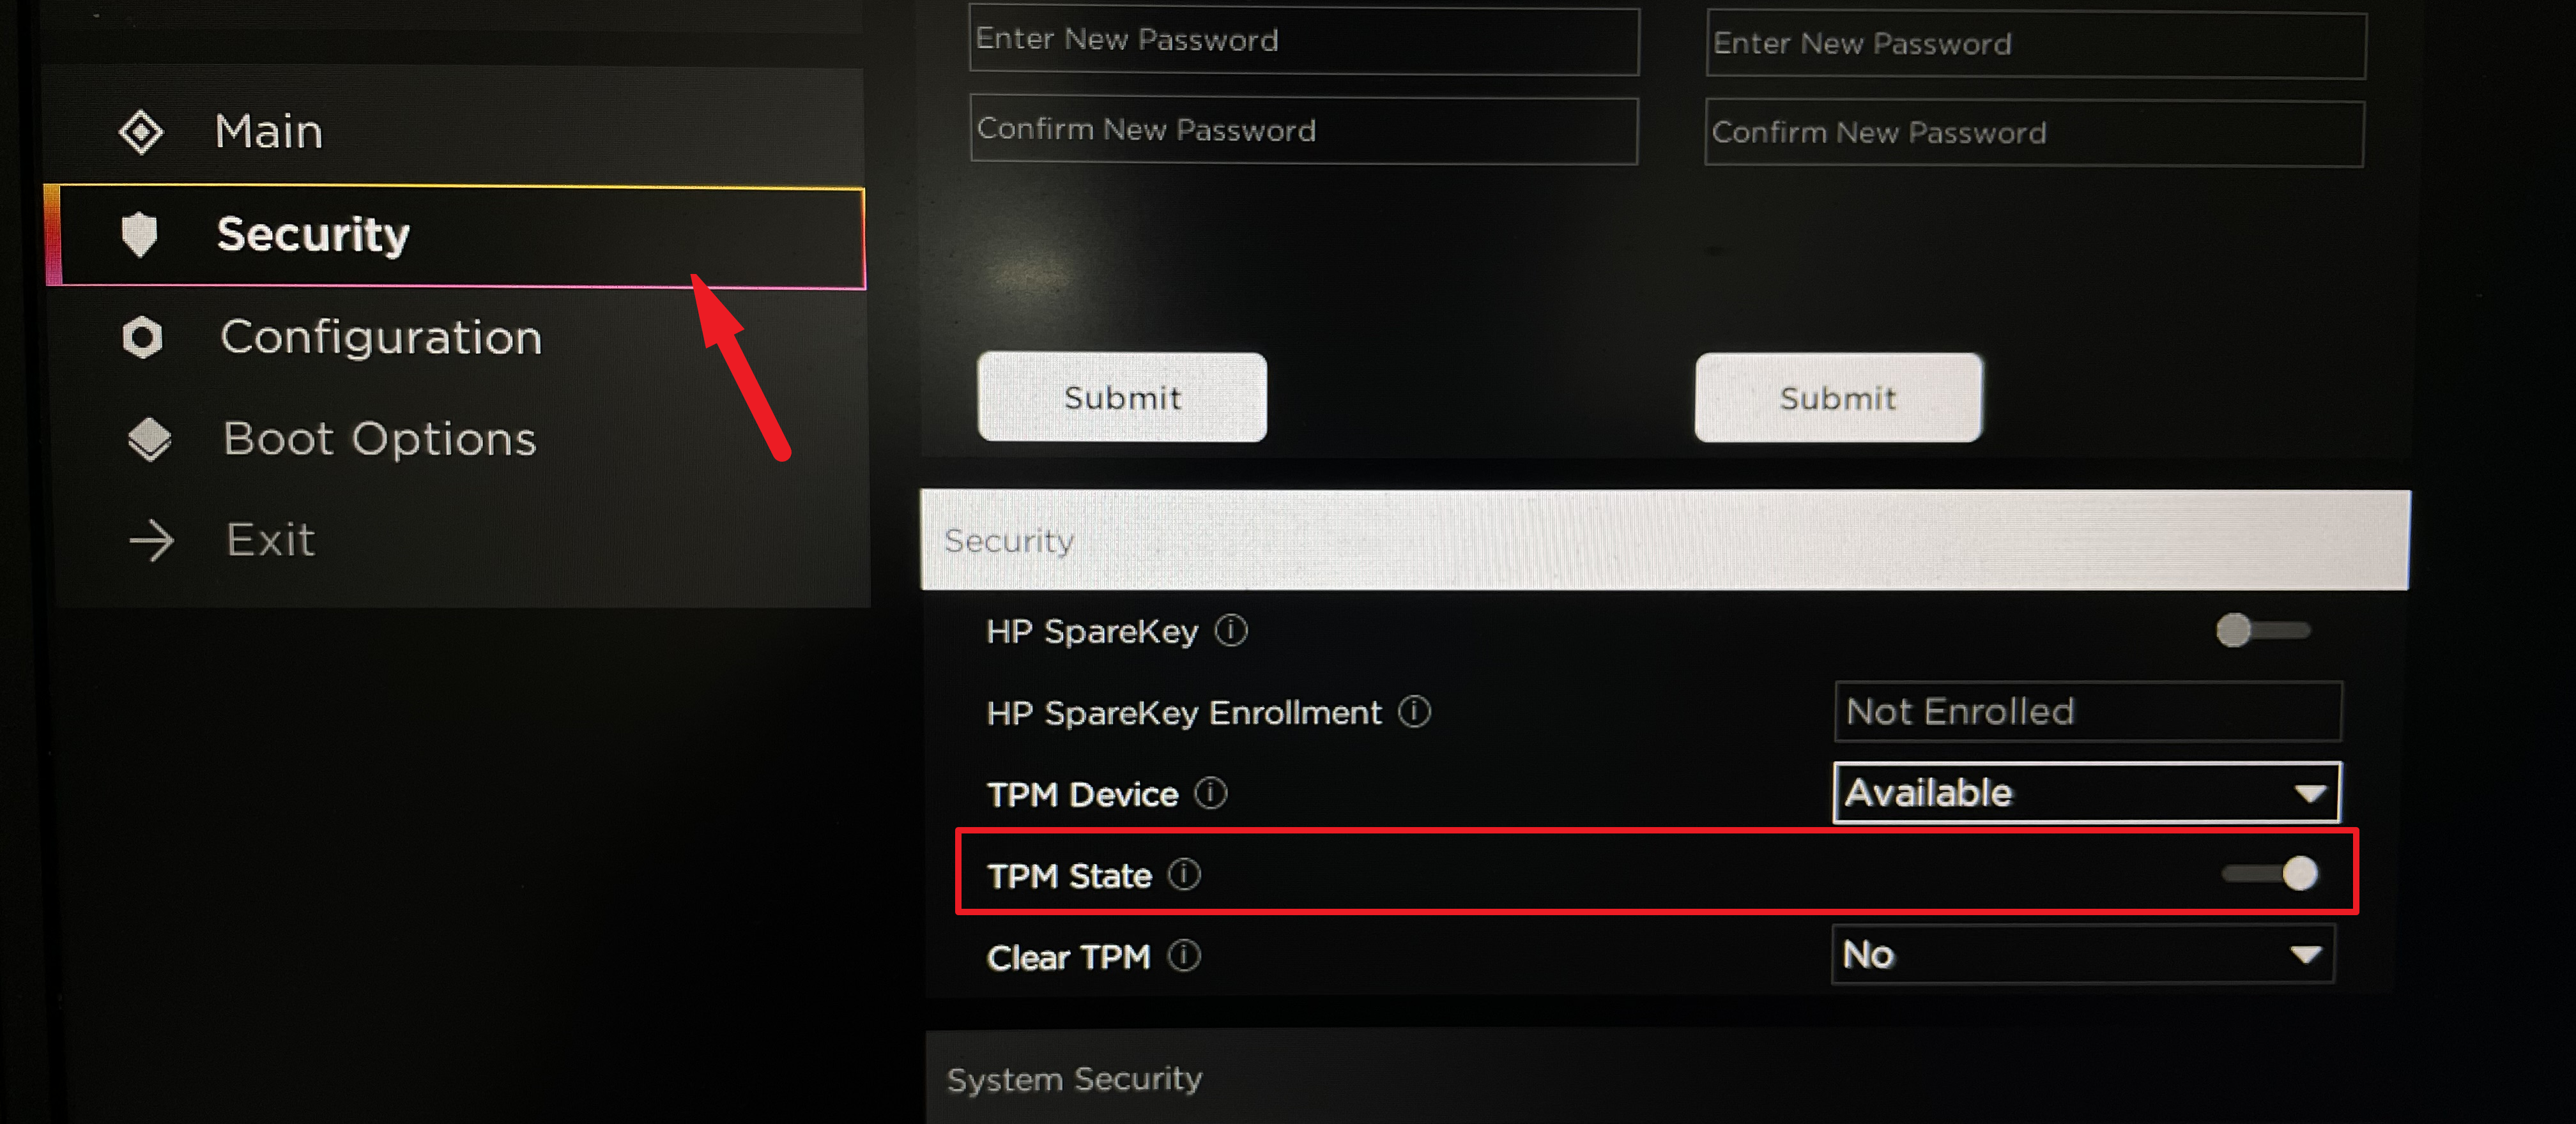
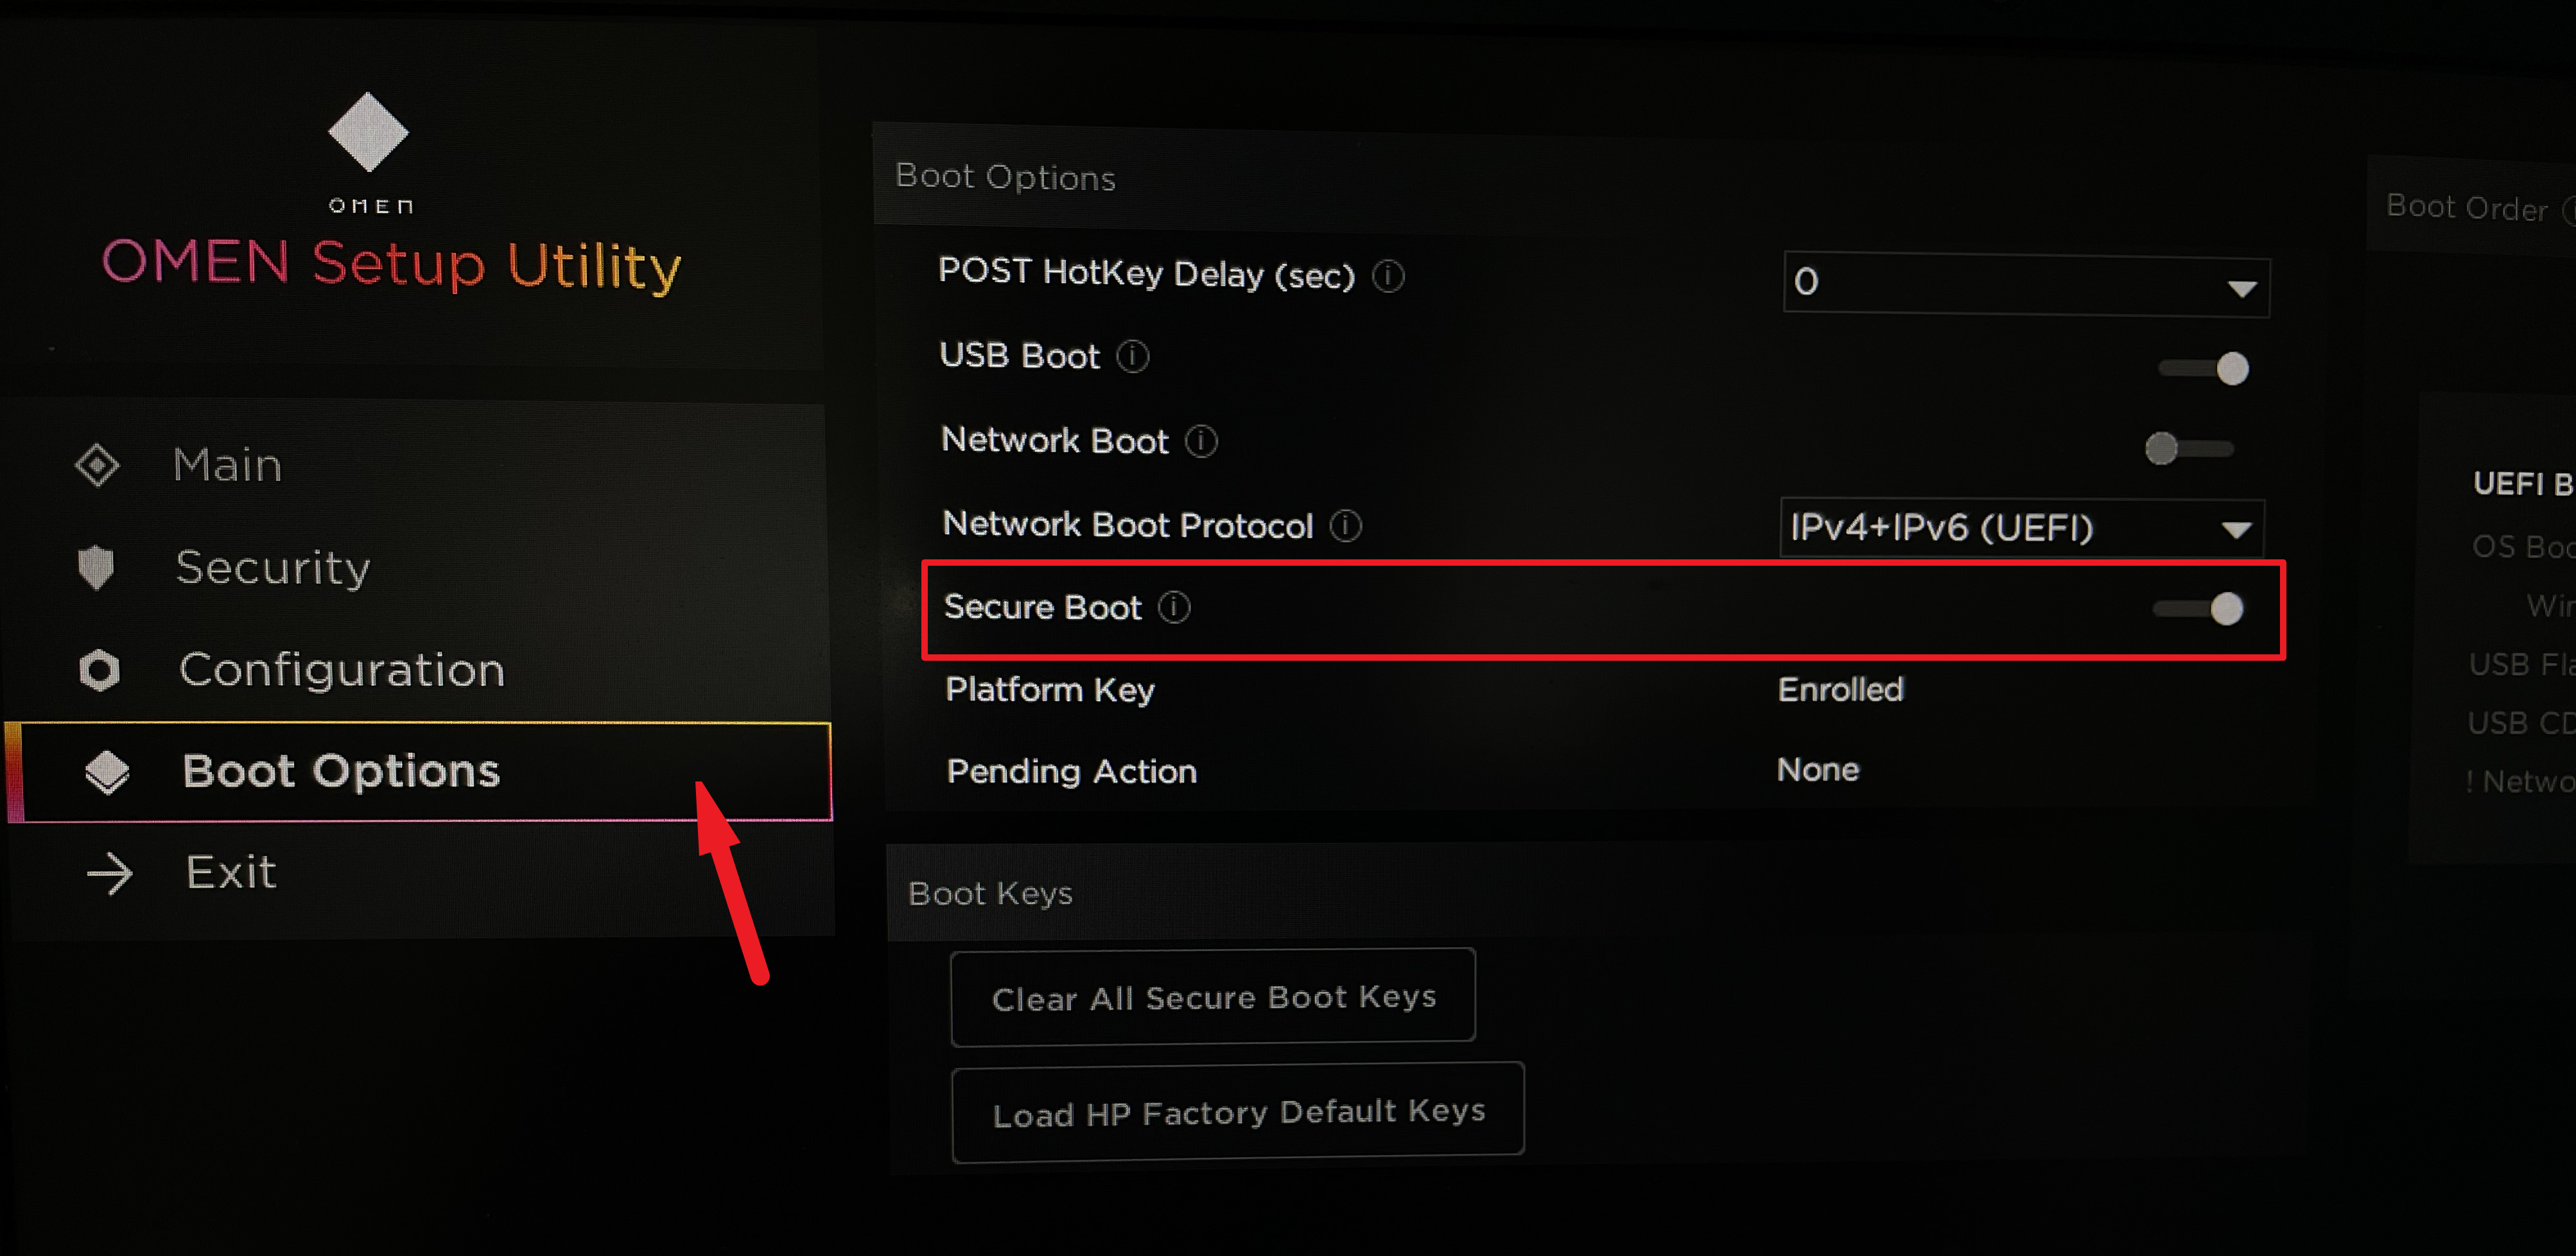
2. Enable TPM and Secure Boot from the BIOS Setup
Enabling TPM and Secure Boot can resolve installation issues, as these are required for Windows 11.
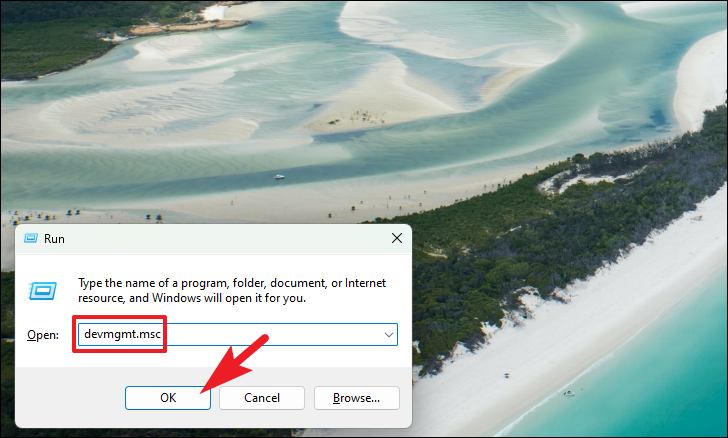
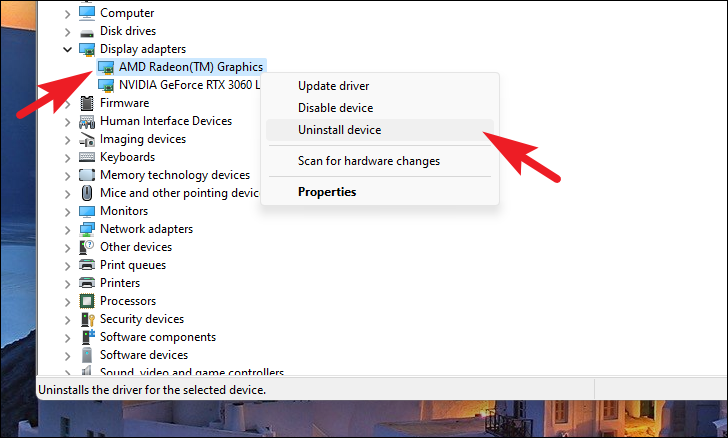
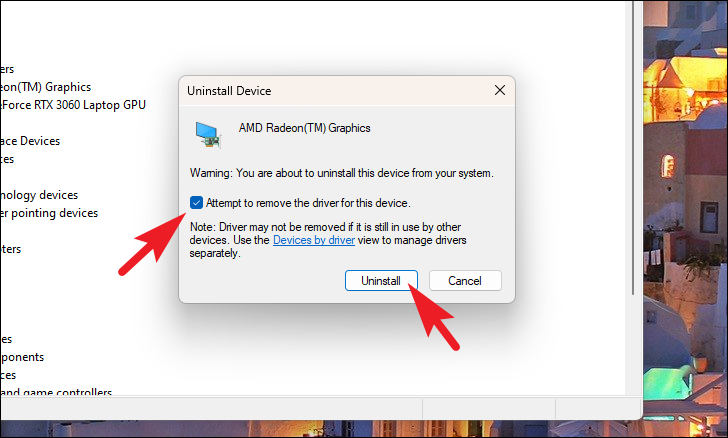
3. Uninstall Graphics Drivers from Your System
Sometimes, graphics drivers can interfere with the installation. Uninstalling them may resolve the issue. They will be reinstalled automatically after the upgrade.
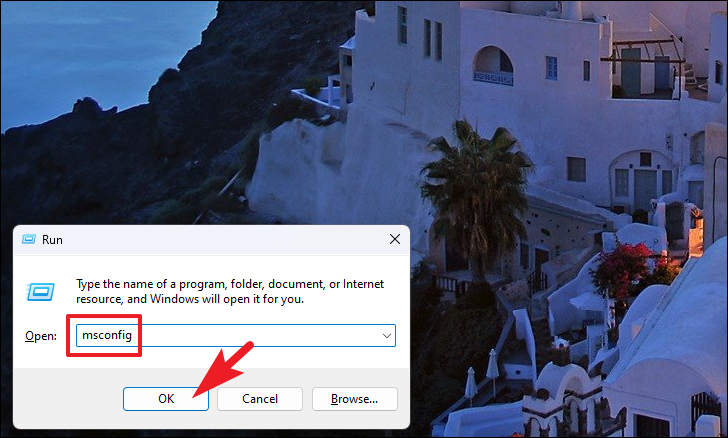
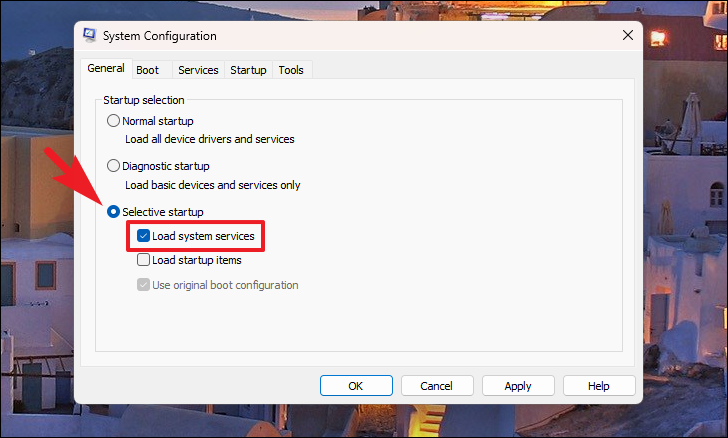
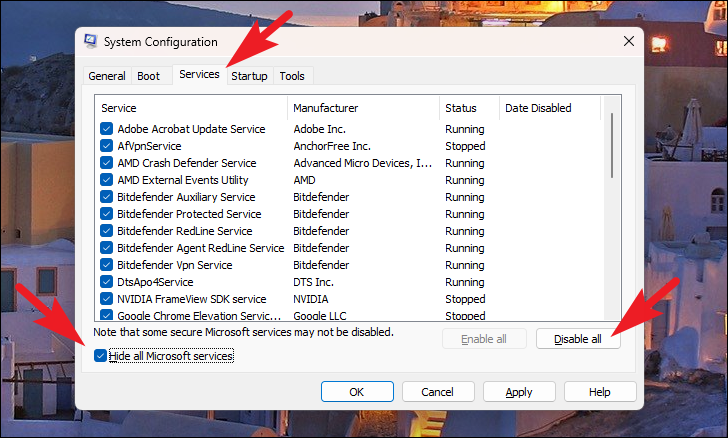
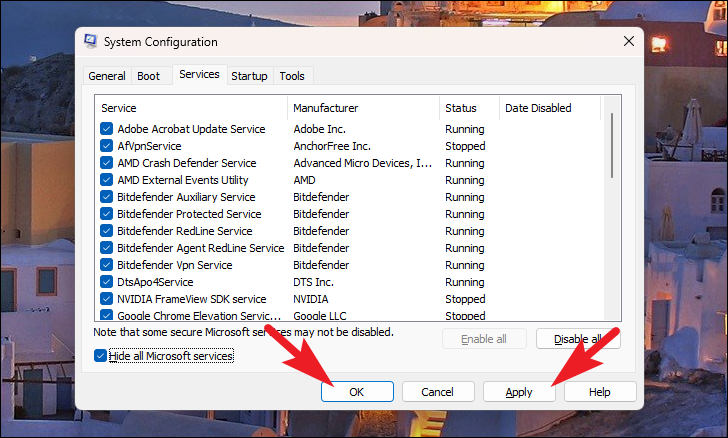
4. Perform a Clean Boot on Your System
A clean boot starts Windows with a minimal set of drivers and startup programs, which can help eliminate software conflicts during installation.
By trying these methods, you should be able to overcome installation issues and upgrade to Windows 11 successfully.


