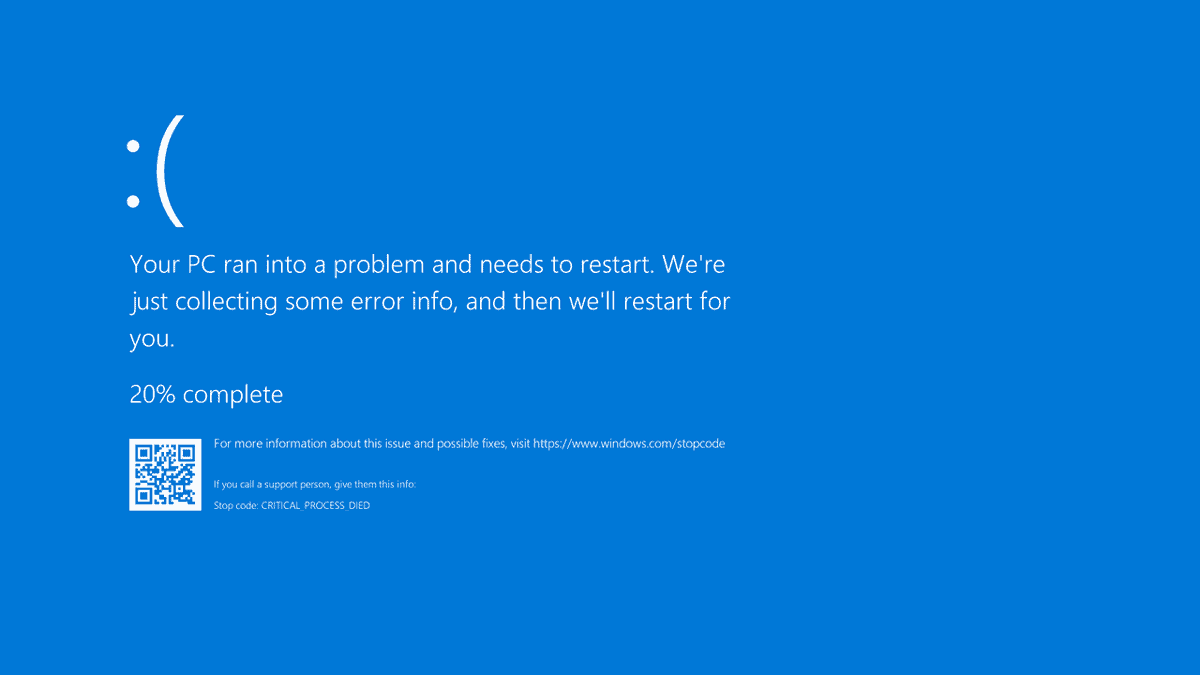
Blue Screen of Death (BSOD) errors are abrupt and unwelcome interruptions that can halt your work and leave you puzzled about the next steps. These errors indicate critical issues within your Windows system, which could stem from software conflicts or hardware failures. This comprehensive guide will walk you through various methods to identify and fix BSOD errors, helping you restore your system’s stability.
Check for driver issues
Outdated or malfunctioning drivers are a common cause of BSOD errors in Windows. Drivers act as a bridge between your hardware and the operating system, and if they’re not functioning correctly, they can lead to system instability. Ensuring that all your device drivers are up to date and functioning properly is a crucial step in resolving BSOD errors.
Start button or press Win + X on your keyboard, and select Device Manager from the menu that appears.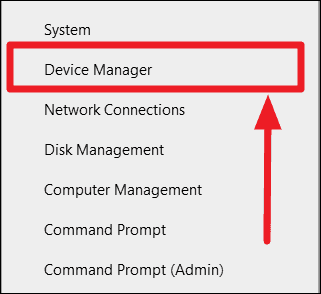

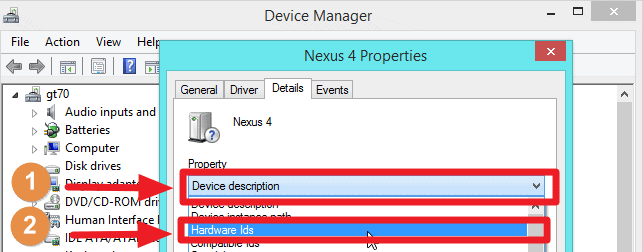


Resolving driver issues often eliminates BSOD errors caused by hardware communication problems.
Perform a System File Checker (SFC) scan
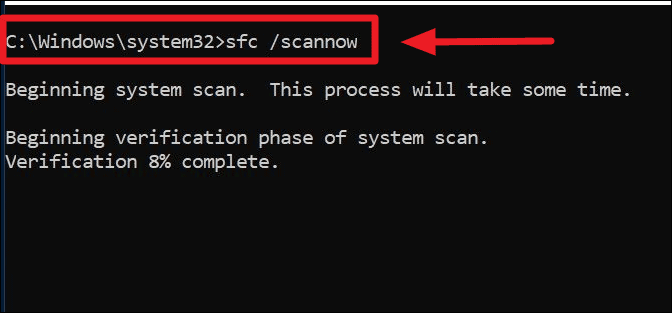
Corrupted or missing system files can lead to BSOD errors. The System File Checker (SFC) is a built-in Windows tool that scans for and repairs such files, potentially resolving BSOD issues.
Start button and choose Command Prompt (Admin) or Windows PowerShell (Admin) from the menu.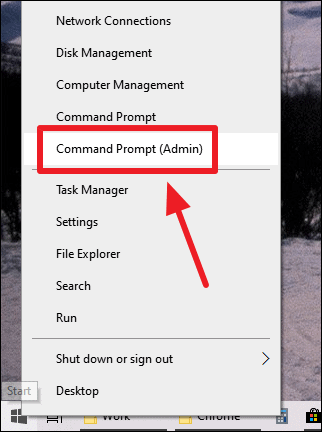
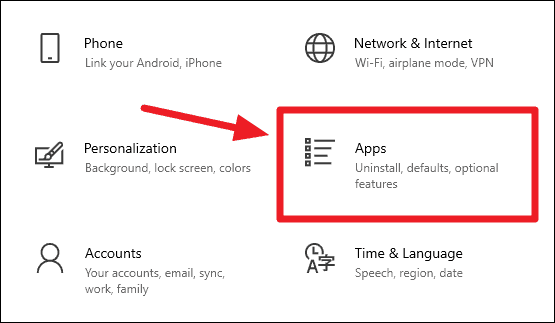
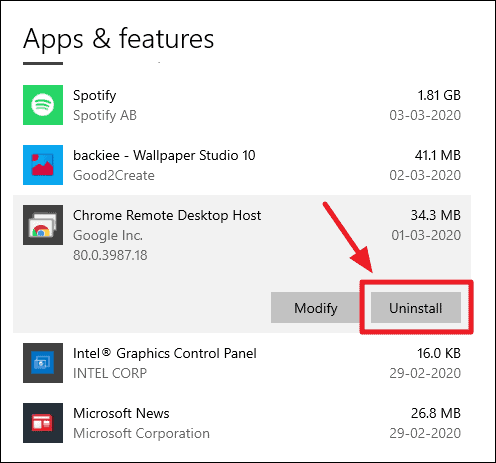
Uninstall recently installed programs
Newly installed software can sometimes conflict with system processes, leading to BSOD errors. If the BSOD started occurring after installing new applications, uninstalling them might resolve the problem.


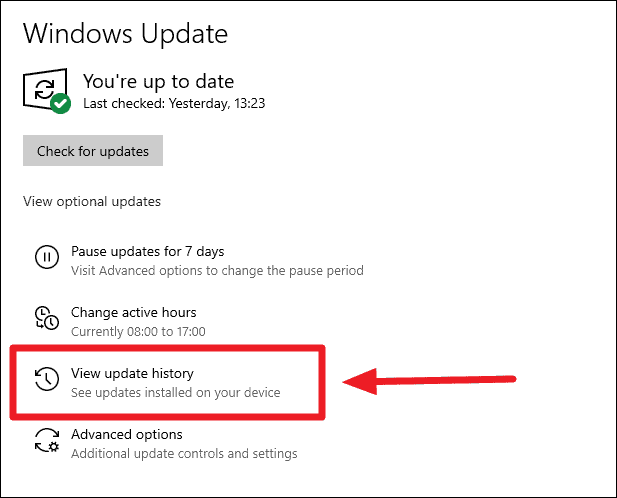
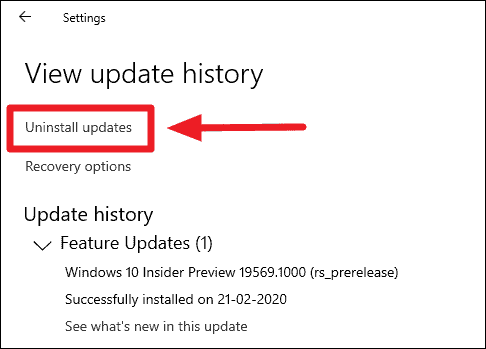
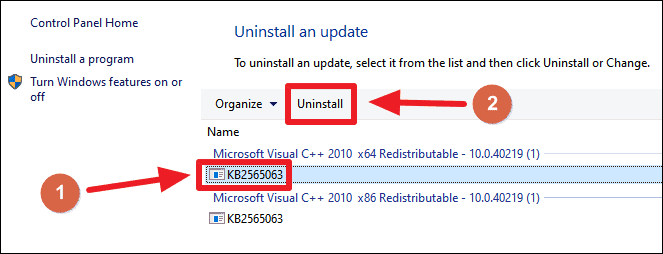
Uninstall recent Windows updates
Occasionally, a newly installed Windows update can introduce new issues, including BSOD errors. If you suspect that a Windows update is the culprit, uninstalling it might help.

Find the BSOD error code
Understanding the specific error code displayed on the BSOD can help identify the underlying issue. While the error codes may seem cryptic, they point towards the cause of the crash.
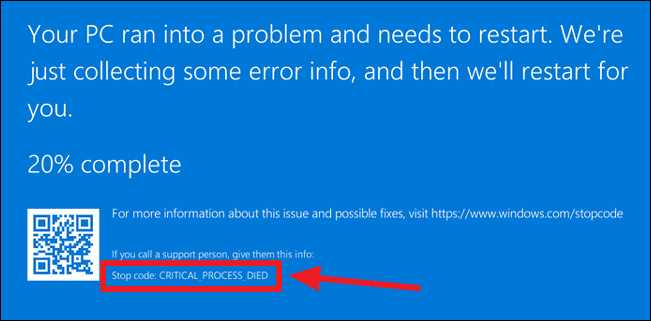
Common stop error codes include:
- CRITICAL_PROCESS_DIED
- SYSTEM_THREAD_EXCEPTION_NOT_HANDLED
- IRQL_NOT_LESS_OR_EQUAL
- VIDEO_TDR_TIMEOUT_DETECTED
- PAGE_FAULT_IN_NONPAGED_AREA
- SYSTEM_SERVICE_EXCEPTION
- DPC_WATCHDOG_VIOLATION
Take note of the error code when the BSOD appears. You can search online for specific solutions related to that error.
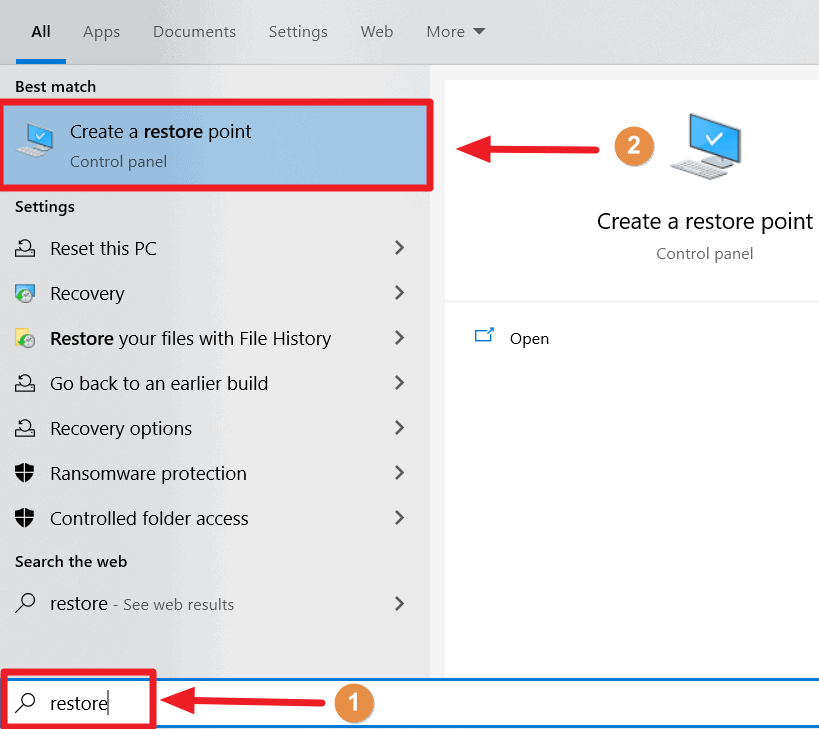
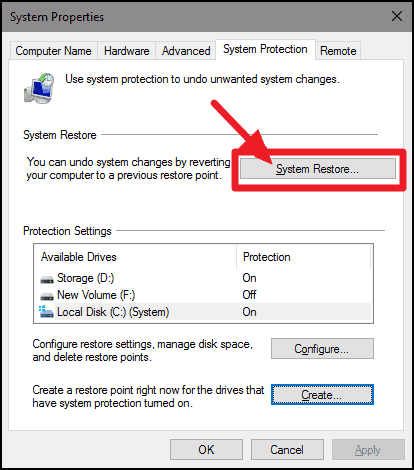
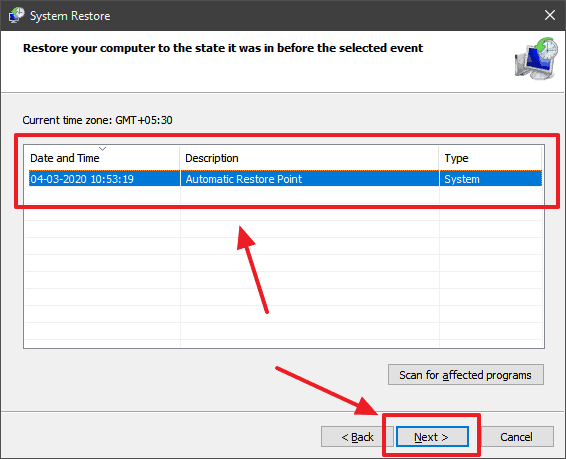
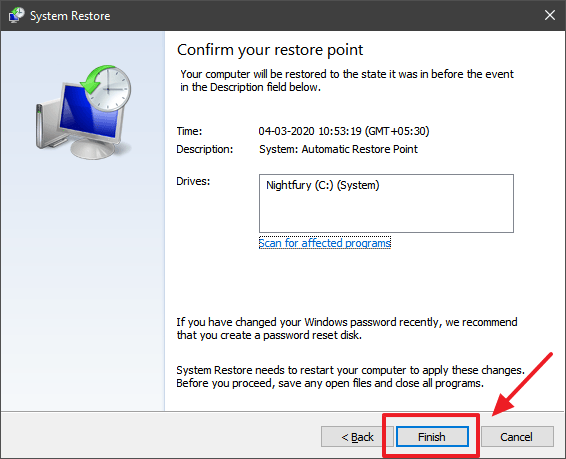
Restore your system to a previous state
If the BSOD began occurring recently, using System Restore to revert your system to an earlier state might resolve the issue. This tool restores system files and settings without affecting personal files.
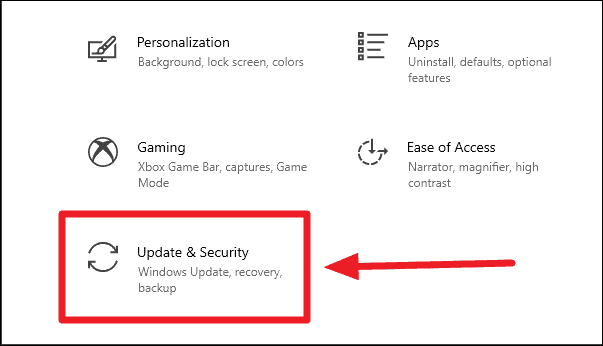
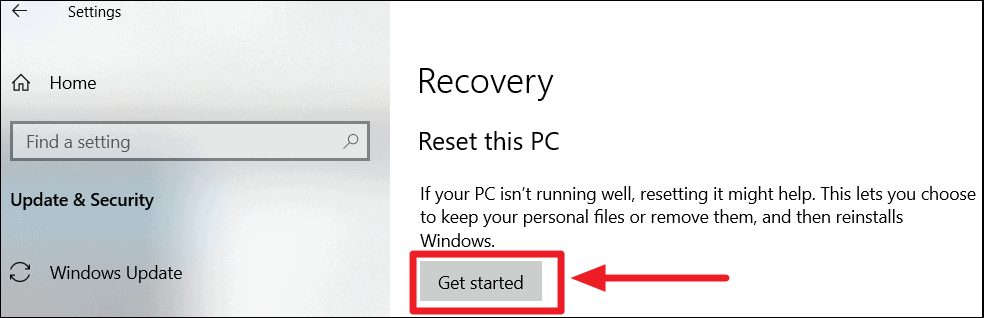
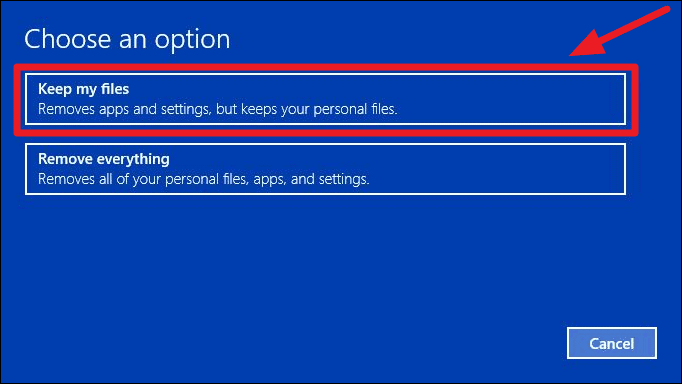
Reinstall Windows 10
If none of the previous methods resolve the BSOD, reinstalling Windows 10 may be the next step. This process refreshes your system files and can fix persistent issues. Remember to back up important data before proceeding.


If you encounter issues starting the reset from Windows, you can perform it through the Advanced Startup options.
Alternative Step: Under Advanced startup in the Recovery settings, click Restart now.
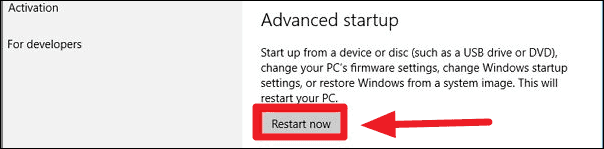
Next: The system will restart into the Windows Recovery Environment. From here, select Troubleshoot, then Reset this PC, and proceed with the reset.
Check for hardware issues
Persistent BSOD errors can sometimes be a sign of failing hardware components. Testing and inspecting your hardware can help identify and resolve these issues.
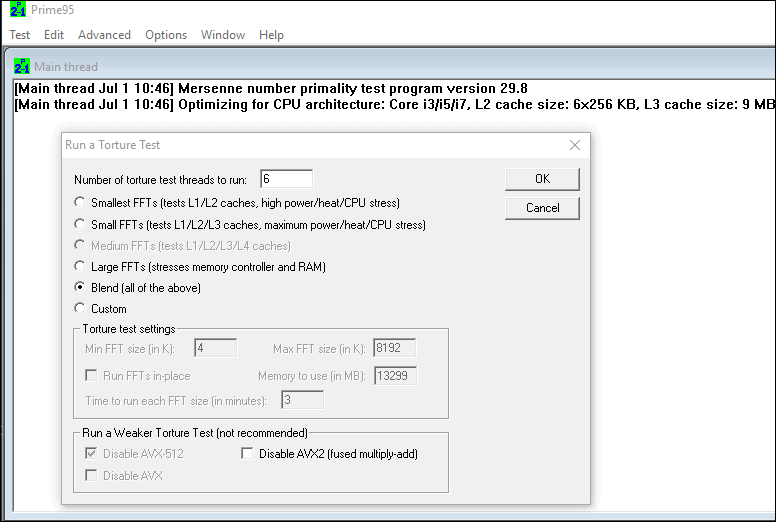
Stress test CPU and RAM
Faulty CPU or RAM can cause system instability. Stress testing these components can reveal underlying problems.
CPU Stress Test: Use a tool like Prime95 to perform an intensive CPU test. Run the test for several hours to check for errors.
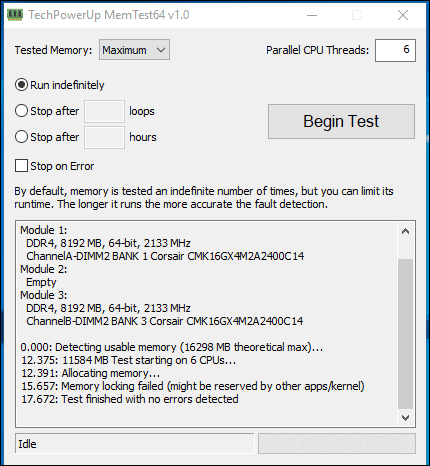
RAM Stress Test: Use MemTest64+ to test your RAM for errors. This tool will help identify any issues with your memory modules.
Physically check RAM modules
Dust or poor connections can affect RAM performance. Carefully remove your RAM modules, clean the contacts gently with a soft, lint-free cloth or an eraser, and reseat them.
Inspect peripheral cards
Additional hardware like graphics cards, sound cards, or network cards can cause BSODs if they fail. Try removing non-essential cards and peripherals to see if the BSOD persists.
Clean your computer’s interior
Accumulated dust can cause overheating and hardware issues. Gently clean the inside of your computer case using compressed air to remove dust from components and fans.
By following these methods, you can diagnose and fix the underlying causes of BSOD errors, restoring your Windows system to proper working condition.


