Google Meet has become a go-to platform for secure video conferencing, especially for students and professionals. While it previously lacked some features compared to competitors like Zoom, Google has steadily improved Meet’s functionality. One essential feature users often seek is the ability to view all participants simultaneously in a grid layout. Fortunately, Google Meet now supports Grid View natively on iPad, allowing you to see multiple participants during a meeting without any additional extensions or workarounds.
Here’s how you can enable Grid View on your iPad and, if needed, an alternative method using Chrome Remote Desktop.
Enabling Grid View in Google Meet on iPad
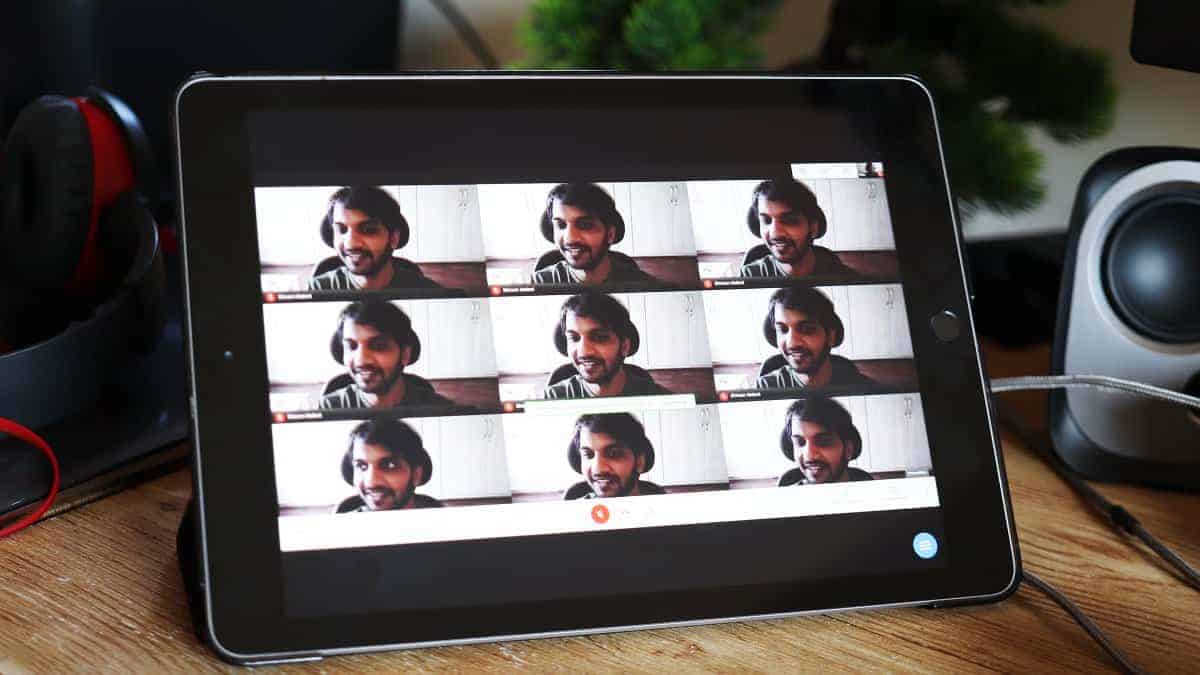
Tiled option to enable Grid View. You can now see multiple participants in a grid format on your iPad.This native method allows you to participate in meetings effectively, seeing and interacting with all participants without any additional tools.
Using Chrome Remote Desktop to Access Grid View on iPad
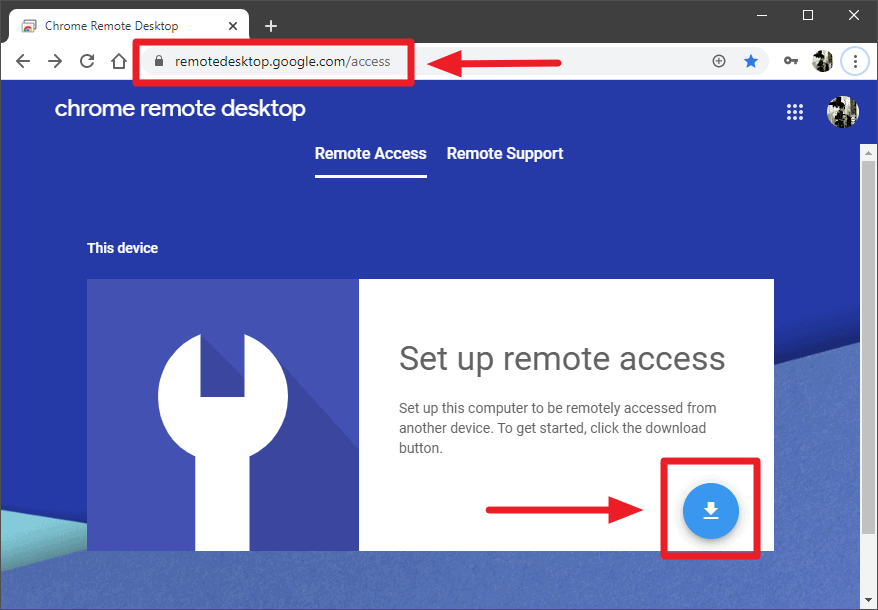
If you’re unable to use the native Grid View feature or need an alternative solution, you can use Chrome Remote Desktop to access Google Meet with Grid View from your iPad. This method involves setting up remote access to your computer and using it to join Google Meet meetings with the Grid View extension enabled.
Important note!
While this method allows you to see and hear everyone in the meeting, you won’t be able to use your iPad’s microphone or camera. You’ll be essentially invisible in the meeting and unable to communicate directly through the iPad. It’s recommended to use this method only if necessary.
Setting Up Chrome Remote Desktop on Your Computer
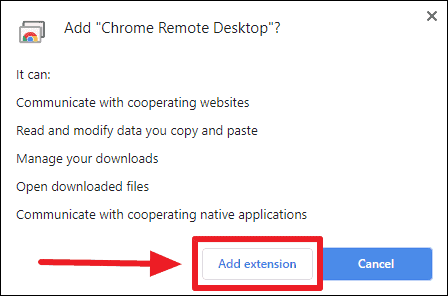
Add to Chrome button.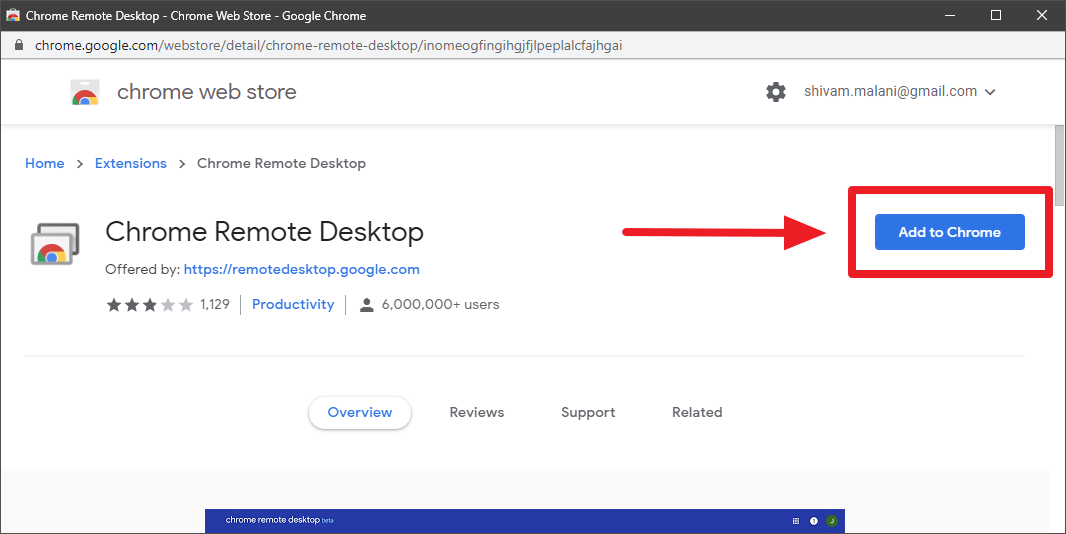

chromeremotedesktophost.msi. Allow the download and click Keep if prompted.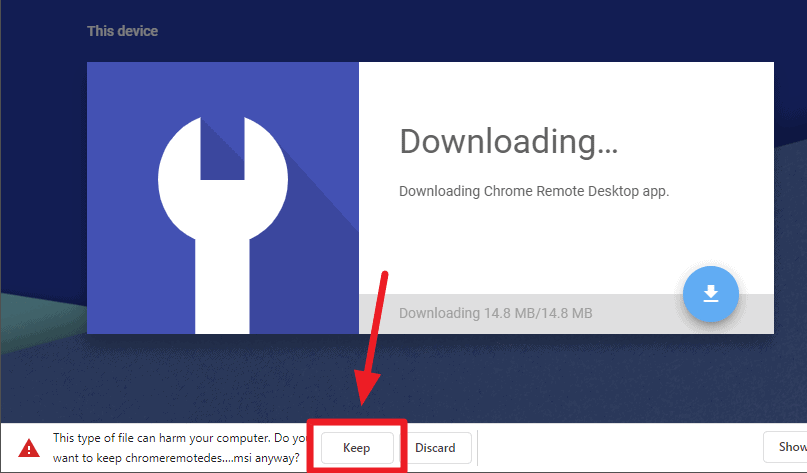
Accept & install button to begin installing the app on your computer.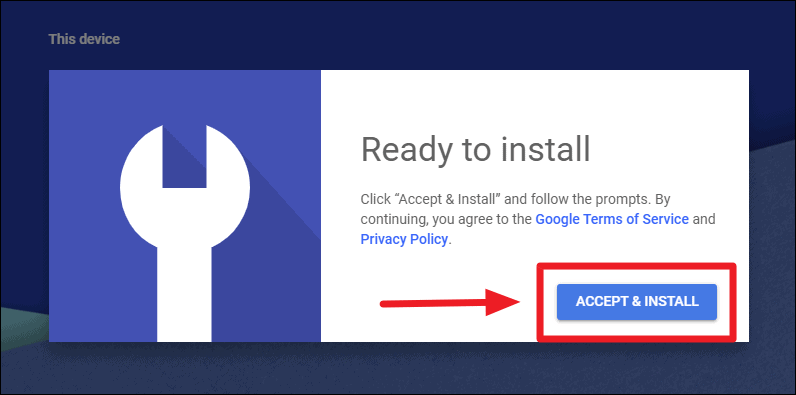

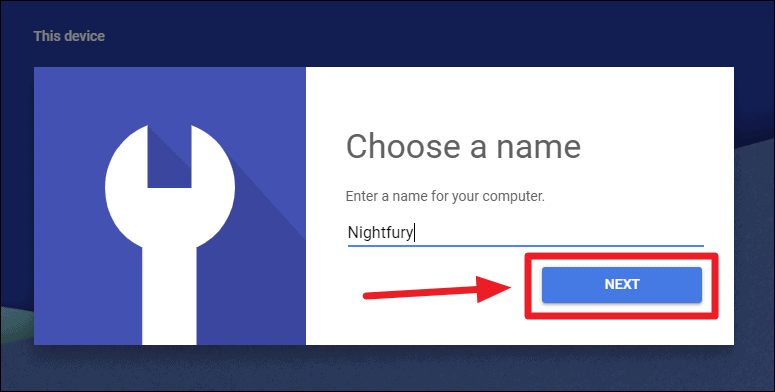
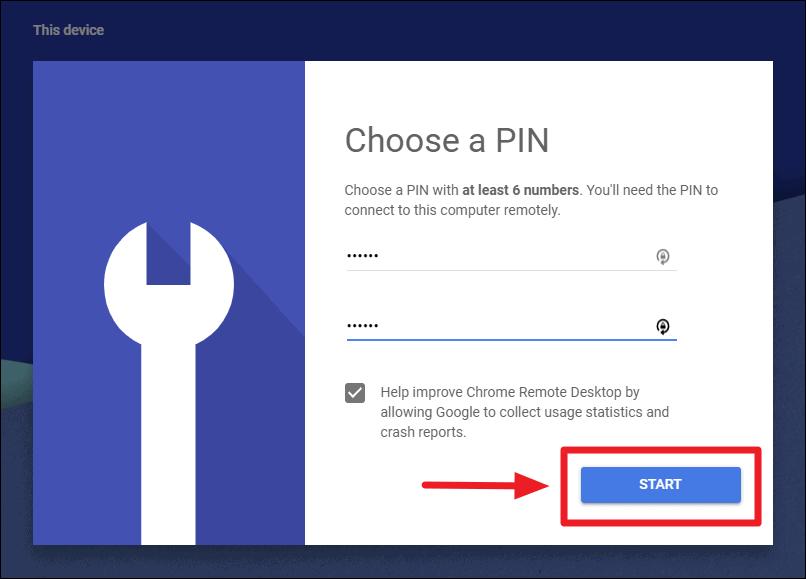
Your computer is now set up for remote access using Chrome Remote Desktop.
Accessing Your Computer from iPad
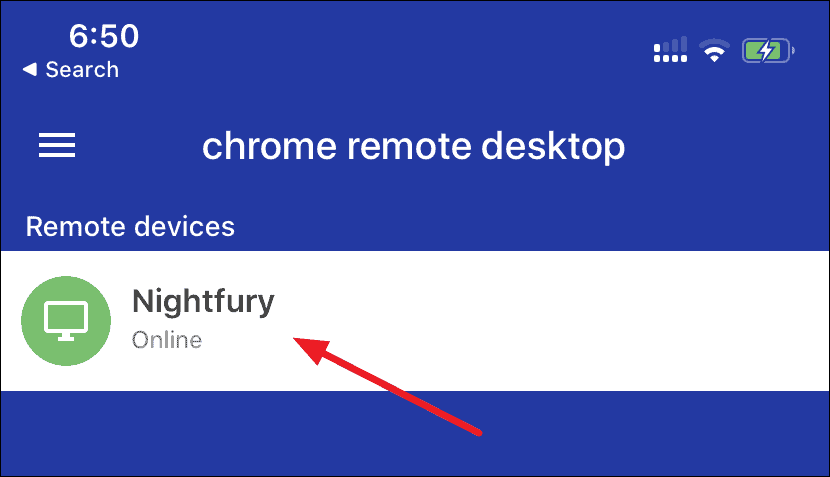
Connect. You may choose to remember the PIN for future access.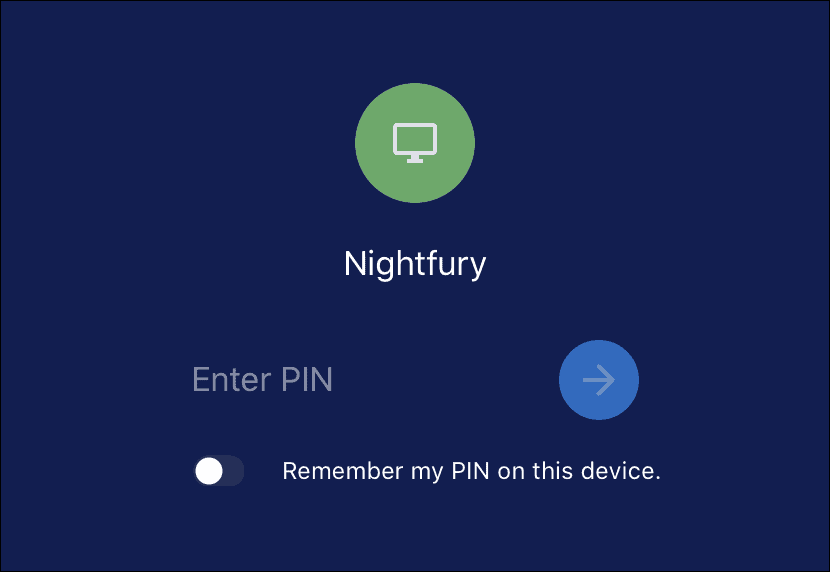
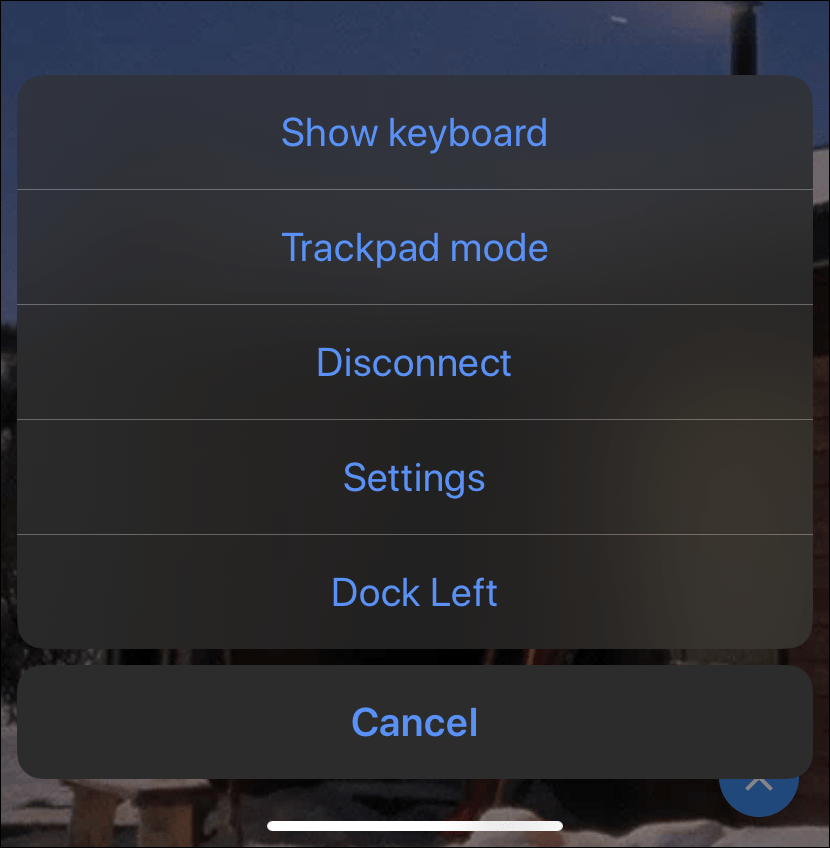
Viewing Google Meet with Grid View via Remote Desktop
Below is how Google Meet Grid View looks on an iPad using Chrome Remote Desktop:

While the native Grid View feature in Google Meet on iPad should suffice for most users, the Chrome Remote Desktop method is available if needed. However, using it means you cannot communicate using your iPad’s microphone or camera, which may limit your interaction during meetings. It’s advisable to use the native options whenever possible for a better experience.