

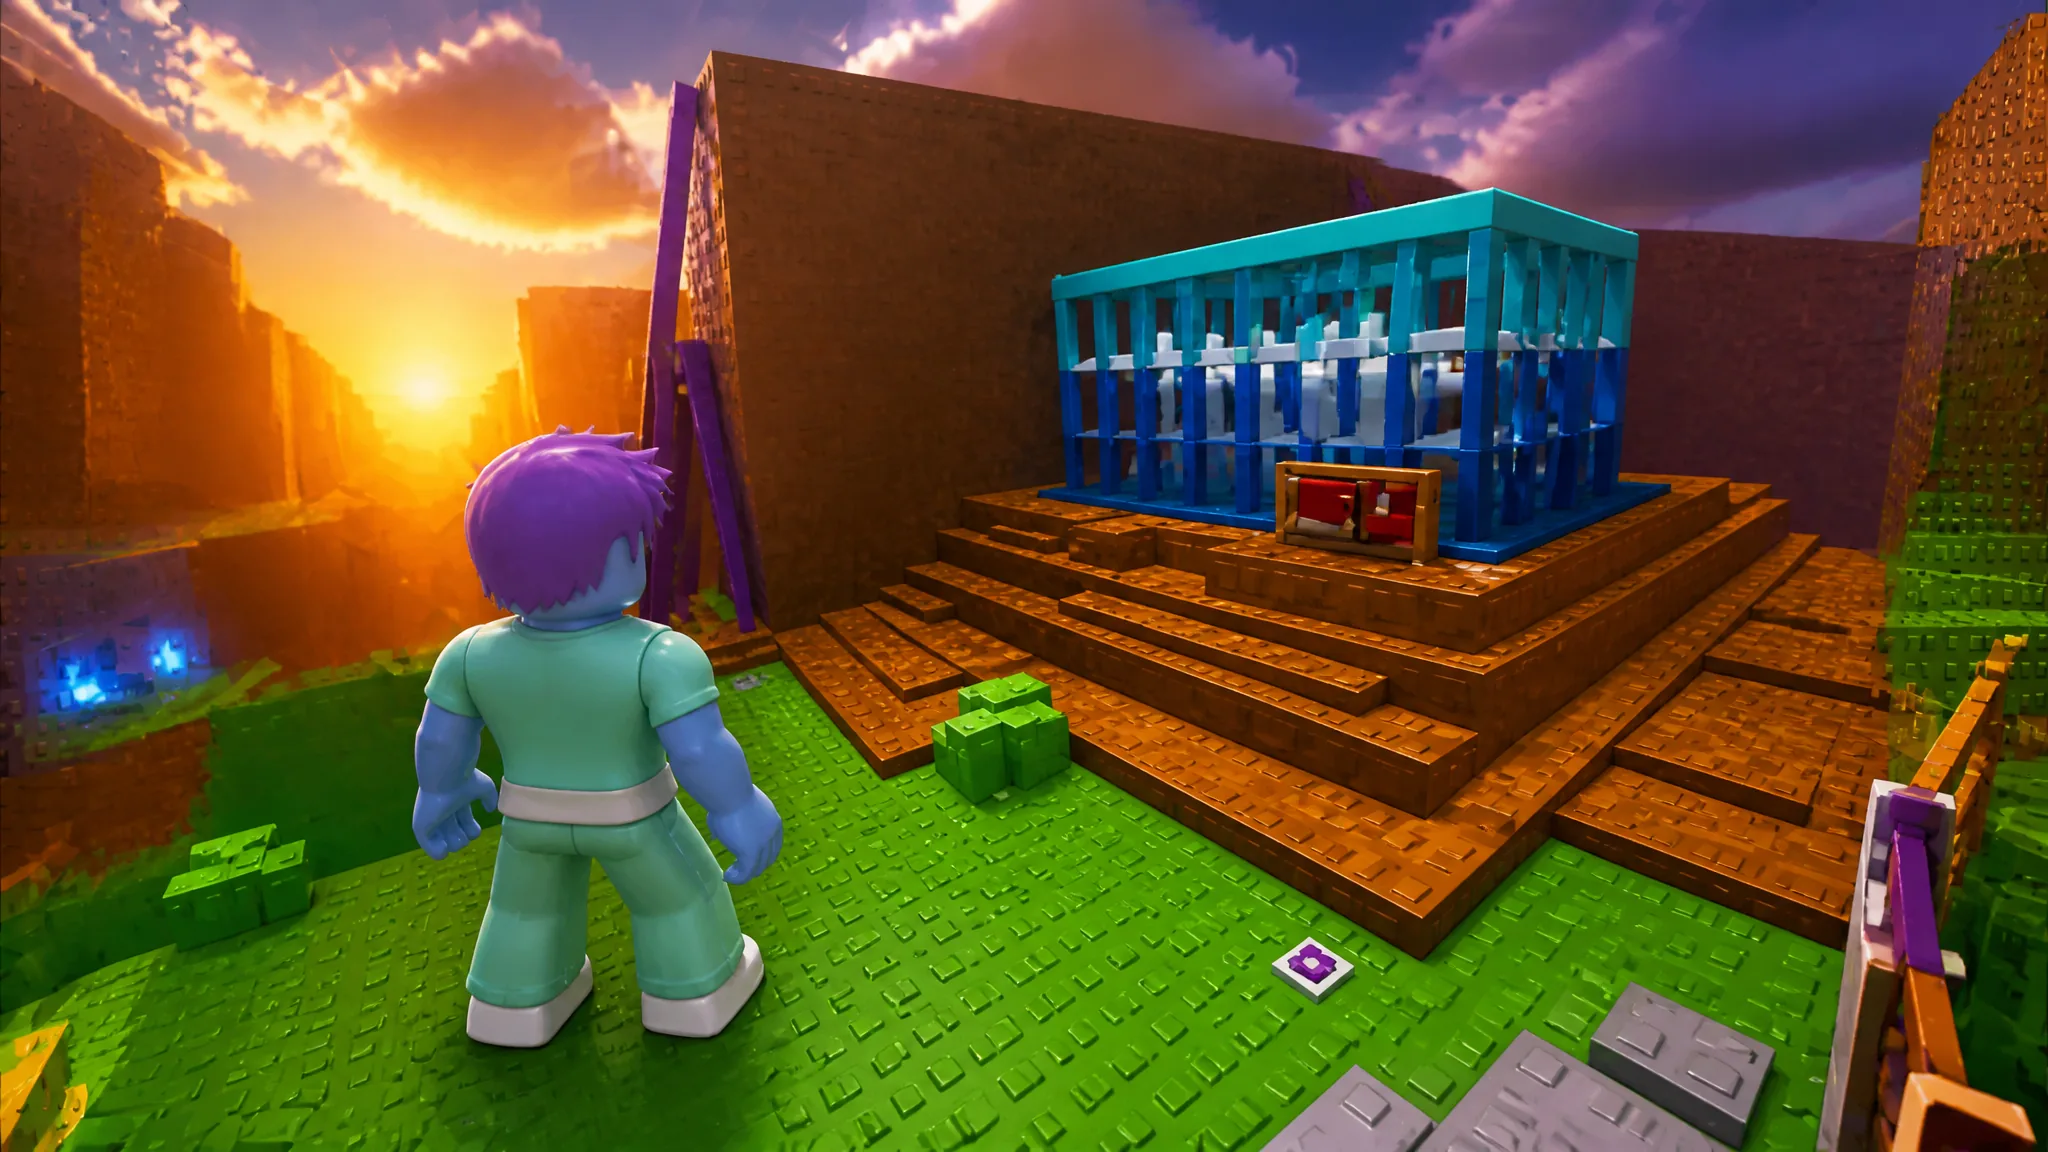
Chaos Canyon serves as The Hunt: Roblox 20’s 2009 stop. This tight classic deathmatch arena measures progress through knockouts instead of collectibles and offers two separate rewards. Completing the brief route awards the Bloxxer badge and Crest of the Canyon back accessory; the longer hidden route in that map grants the Chaos Canyon secret badge plus an extra item back at the hub.
Quick answer: In the 2009 hub, survive the tornado for 60 seconds. Then get 4 KOs in Chaos Canyon for the Bloxxer badge. The secret badge requires completing the quests associated with all five hidden wall codes.
Every reward tied to the 2009 Chaos Canyon stage
Four separate things are on the table here, and they are not all unlocked in the same place. Two come from the normal quest, two come from the hidden one.
| Reward | How you earn it |
|---|---|
| Chaos Canyon Bloxxer badge | Get 4 KOs inside Chaos Canyon |
| Crest of the Canyon (back accessory) | Claim at the 2009 hub pedestal |
| Chaos Canyon secret badge | Finish all five hidden code quests |
| 2009 secret item | Touch the item behind the Bloxy cola can |
Requirements before the Chaos Canyon portal opens
The event opens one year at a time, meaning 2009 remains locked until the prior stage is complete. If the portal is missing entirely, you are blocked by the preceding year rather than by this stage.
- The 2008 Rocket Arena stage completed, with all ten painted eggs and five KOs.
- Claim the Brick-Blast Jetpack reward at the hub pedestal.
- Speak with the 2009 NPC to bring out the tornado.
- The normal Chaos Canyon badge already on your account, if you want the secret one.
Survive the 60-second tornado in the 2009 hub
Entering the house will not protect you. The tornado continues to affect you indoors, while the small room leaves little space to escape.
Get 4 KOs in Chaos Canyon for the Bloxxer badge
Your position and survival time have no bearing on this objective. Only knockouts count, with the top-left tracker showing 0 / 4 KOs. Use that live total rather than any other number.
The hotbar includes the familiar Roblox arsenal — rocket launcher, sword, trowel, bomb, timebomb and more — though two of those tools handle nearly everything.
| Weapon | Range | Best use |
|---|---|---|
| Rocket Launcher | Long | Players crossing open ground |
| Sword | Melee | Scrums in the central arena |
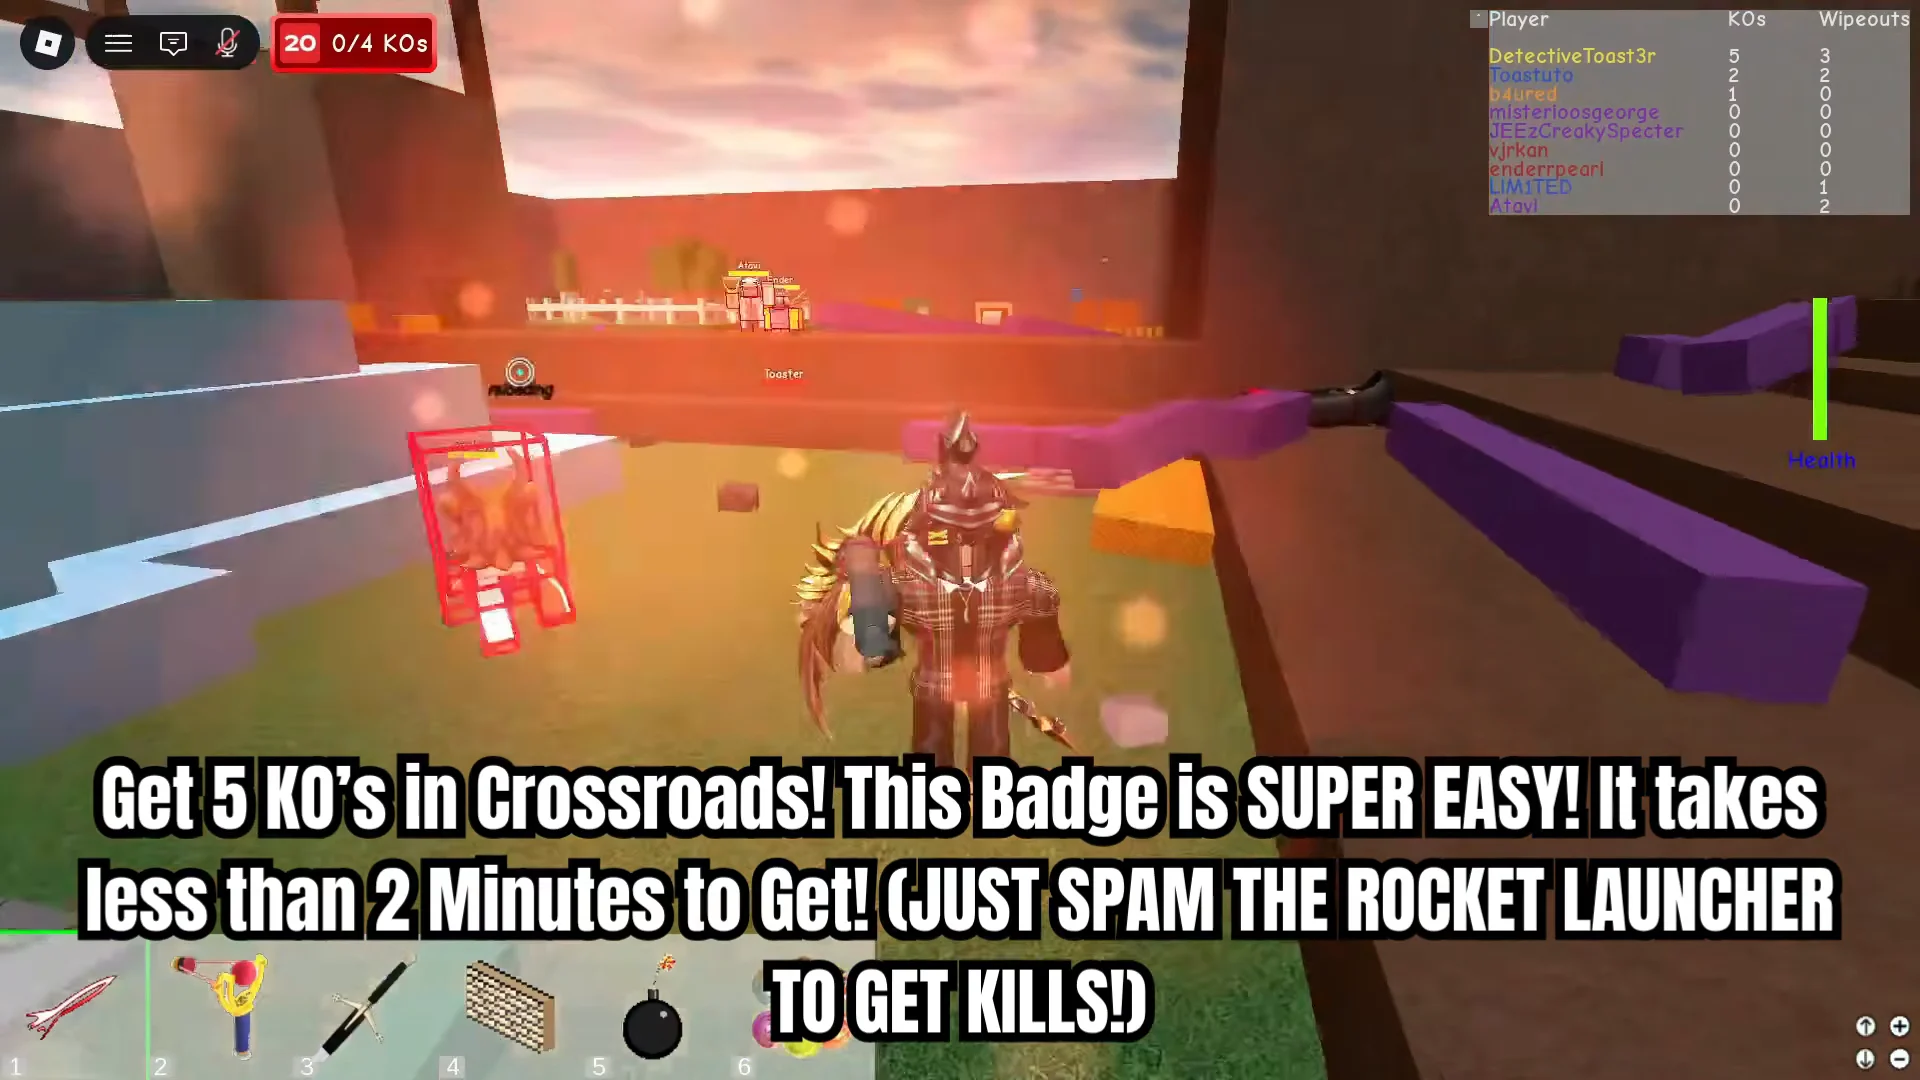
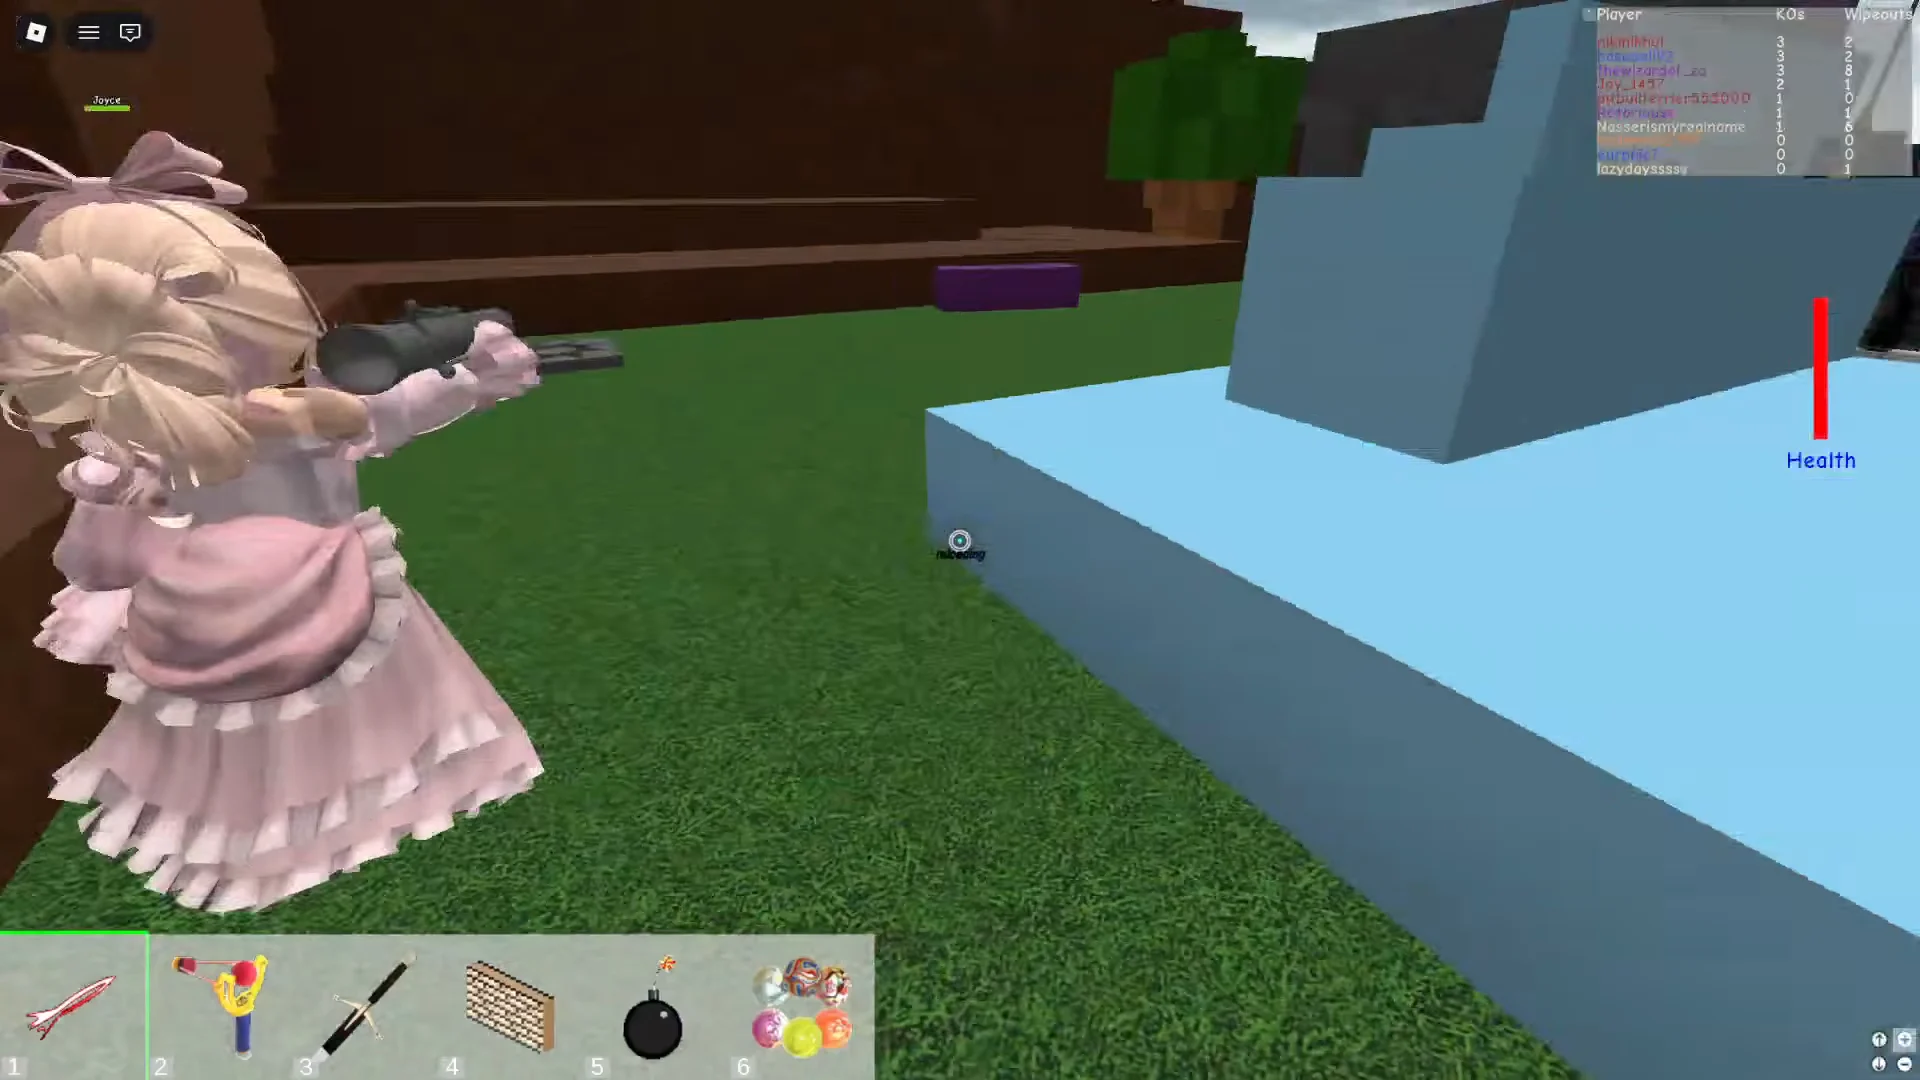
The badge lands the moment the fourth knockout registers. A Badge Awarded popup appears in the bottom-right corner naming the Chaos Canyon Bloxxer badge, the KO counter maxes out and stops climbing, and an on-screen prompt tells you to head back to the hub for your prize. If no popup shows, check the counter — anything under four means one of your hits did not count as a KO.
Claim the Crest of the Canyon at the hub pedestal
Battle Armor and the hidden code room
The secret quest takes place wholly in Chaos Canyon and unlocks only after the normal badge is attached to your account. Its first steps involve a pickup and a room that is easy to overlook.
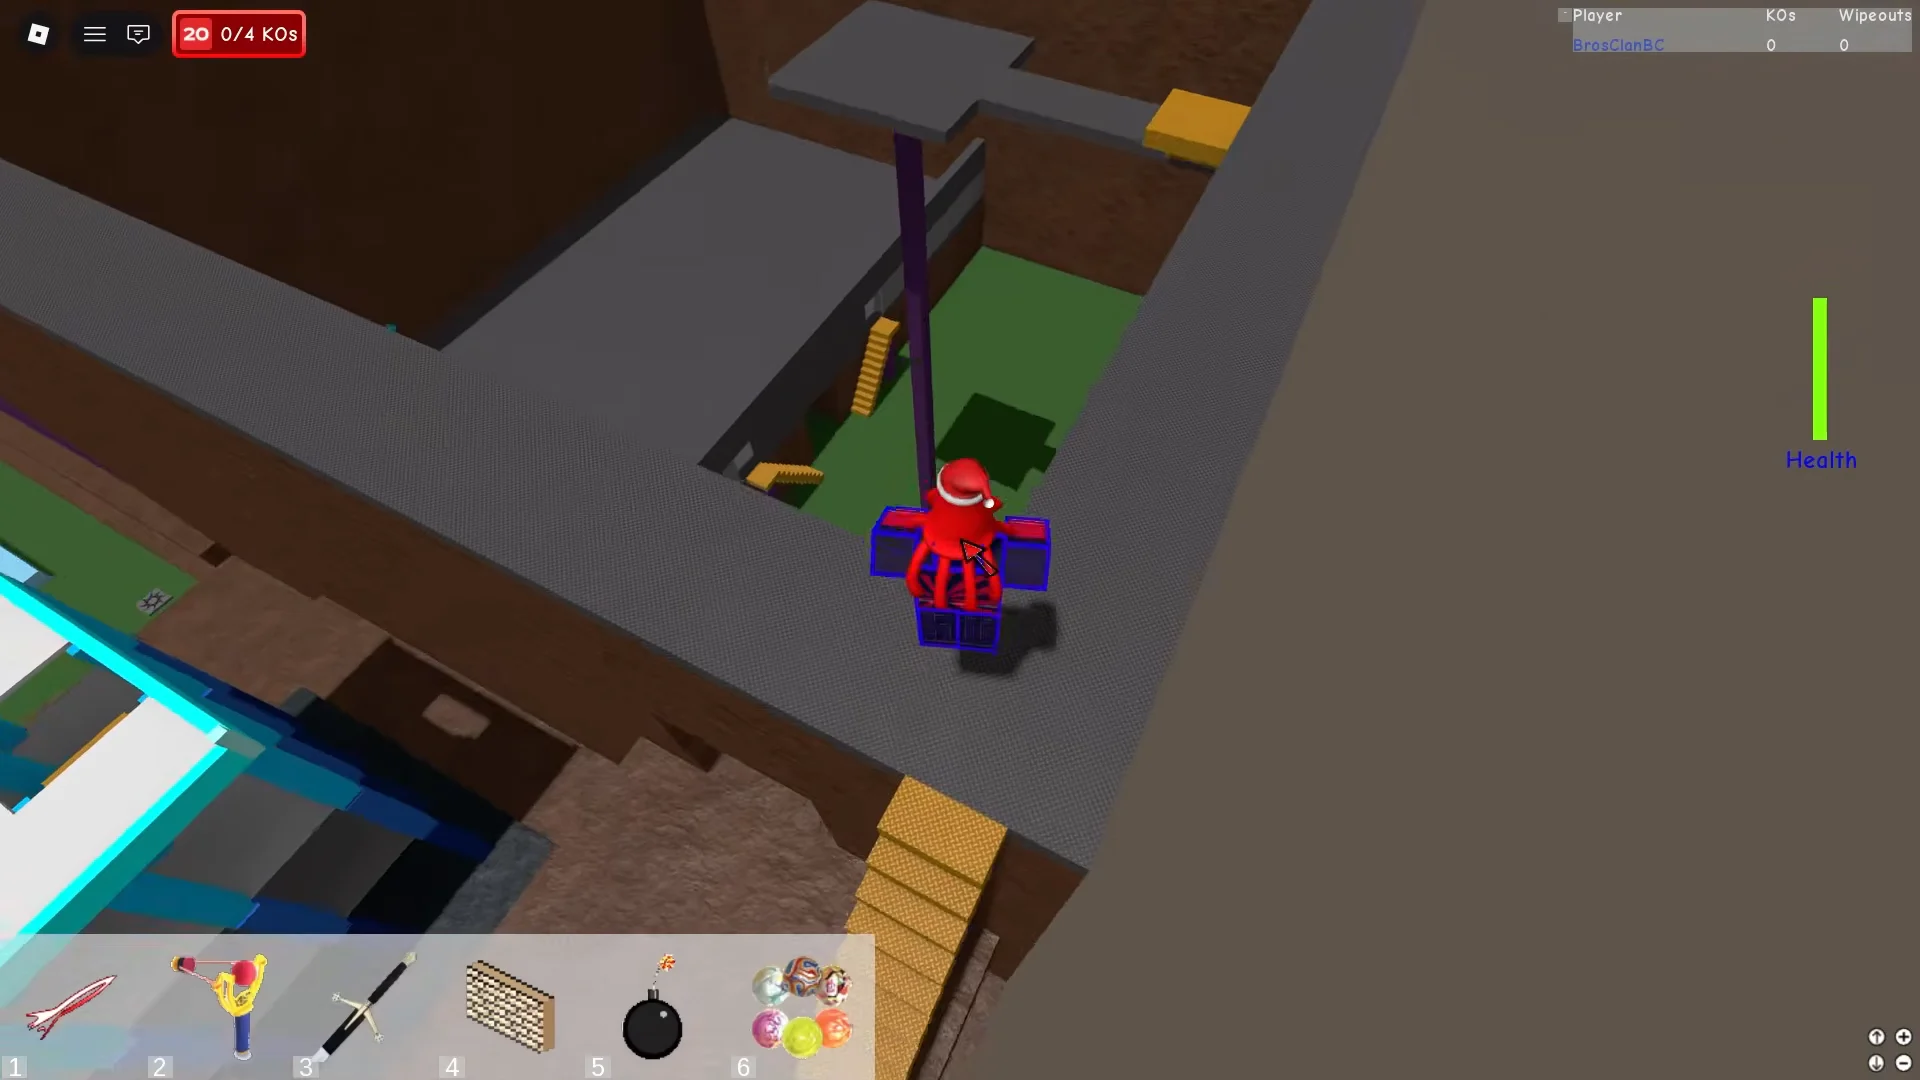
Inside is a room plastered with sticky notes carrying letters, numbers, Roman numerals and symbols. This is where every one of the five quests is switched on.
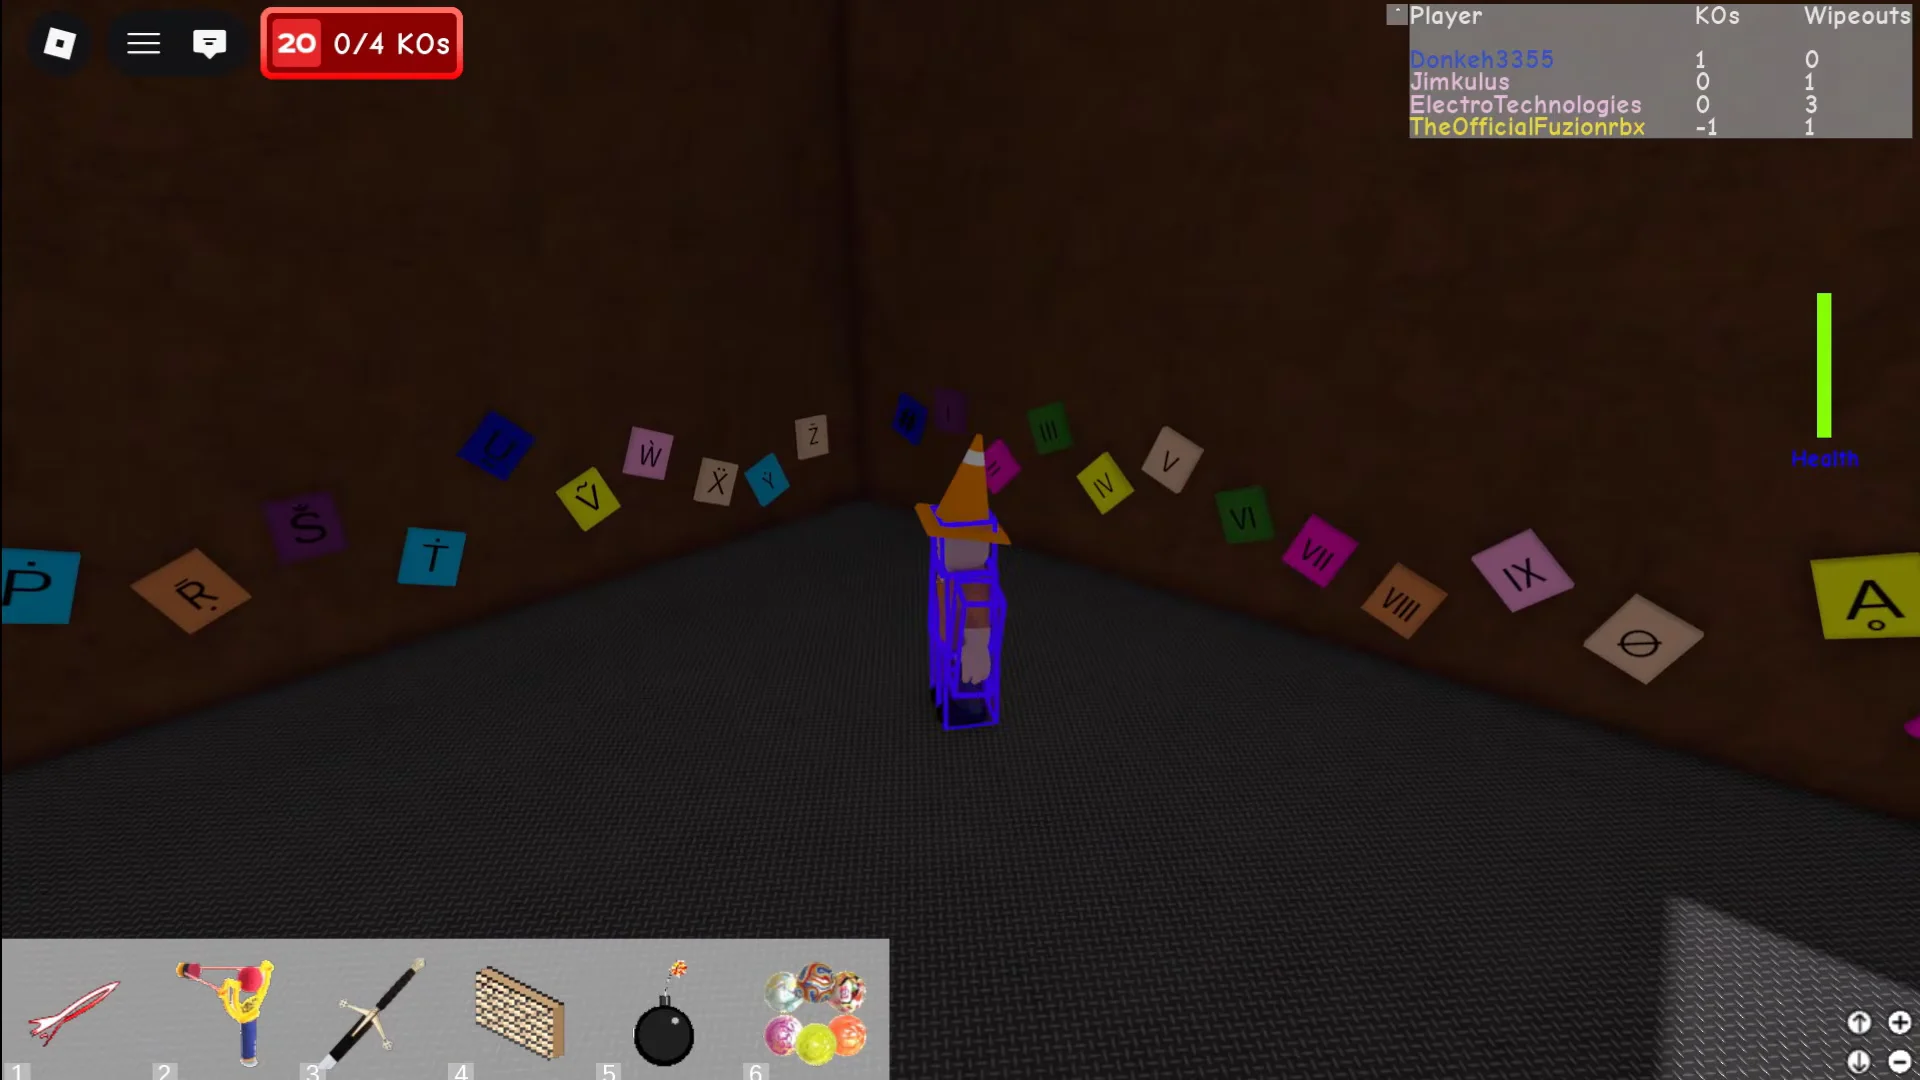
# tile.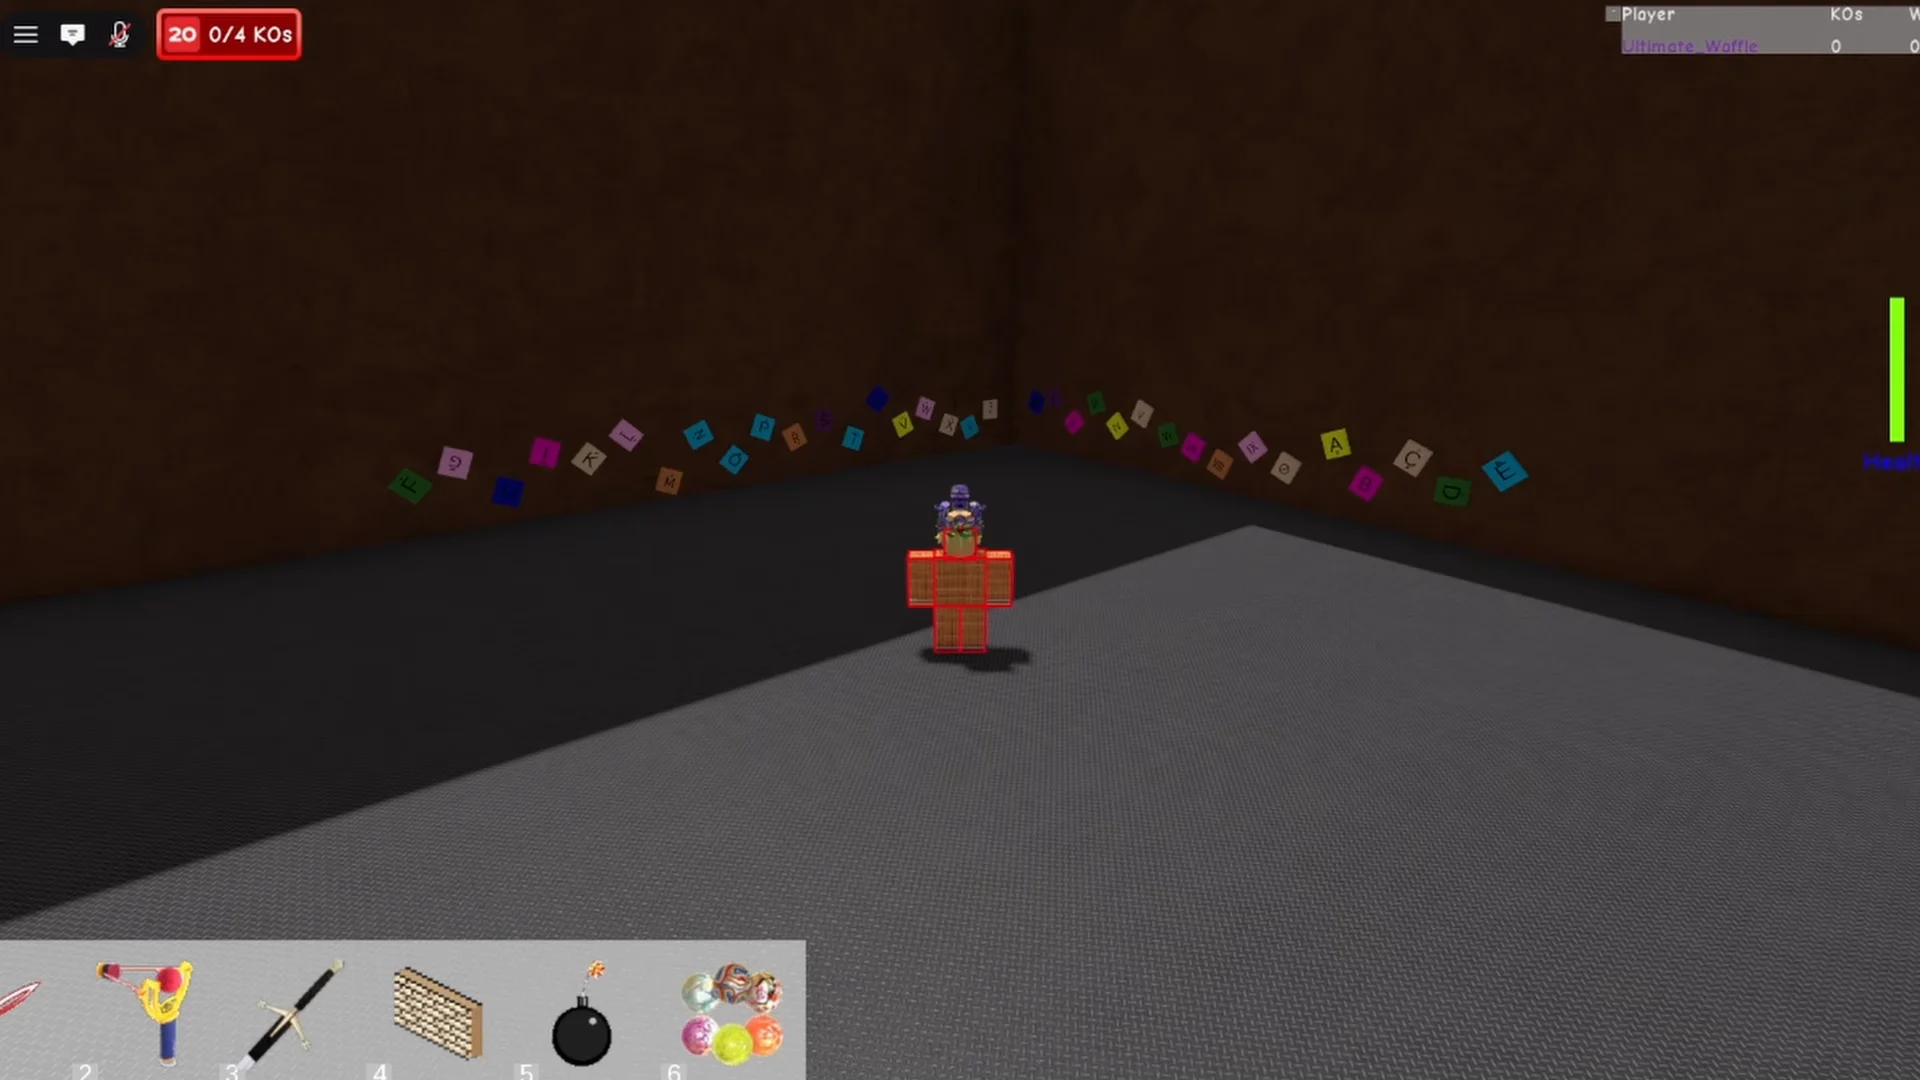
# tile.All five Chaos Canyon codes and aura colors
The wall contains five codes for five different billboard challenges. You may complete them in any order, but only one aura remains active, so each cycle is code first, quest second, and a return to the room afterward.
| Code | Aura | Quest |
|---|---|---|
| #drowssap | Red | Santa’s presents |
| #OKALANI | Yellow | Brothers in Arms |
| #0601412 | Orange | Boat for Sale |
| #4EB4808F5BF5D4CB7759 | White | Laser Hare Removal |
| #800080 | Purple | Cursed Mummies |
Enter the number code with these Roman and Arabic tiles in order: #, 0, VI, 0, I, IV, I, II. The letter code is also written as #OKALAIN; if one spelling has no effect, use the other.
Complete all five billboard quests
The procedure is identical for every quest. Activate the needed aura, exit the room, approach its matching billboard and touch it. The objective then appears on-screen, and any required tool is placed directly in your hotbar.
Santa’s presents (#drowssap, red)
Spell the code out backwards on the letter tiles — #, d, r, o, w, s, s, a, p — and your outline turns red. It is the word “password” reversed, which makes it the easiest of the five to remember.
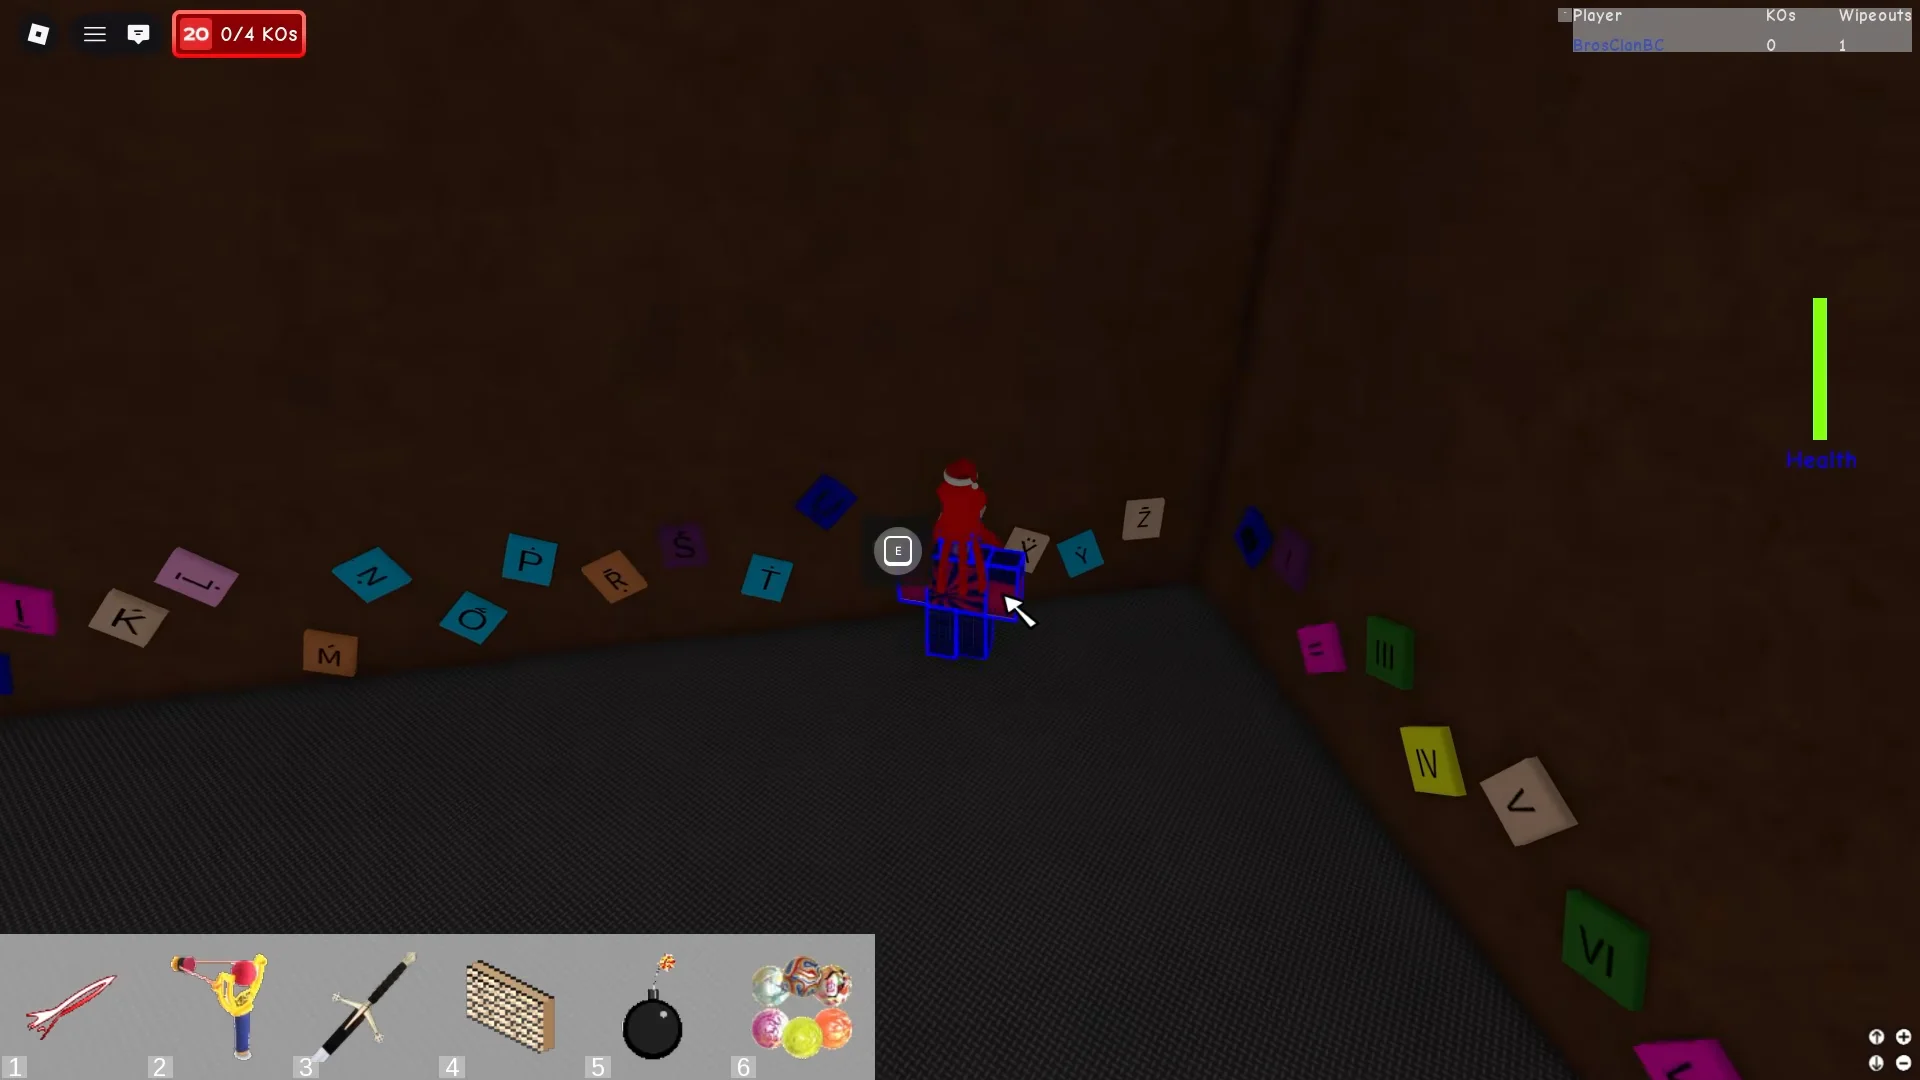
Find the Santa billboard, recognizable by Santa shown behind bars, and touch it to begin “Find the three presents!”
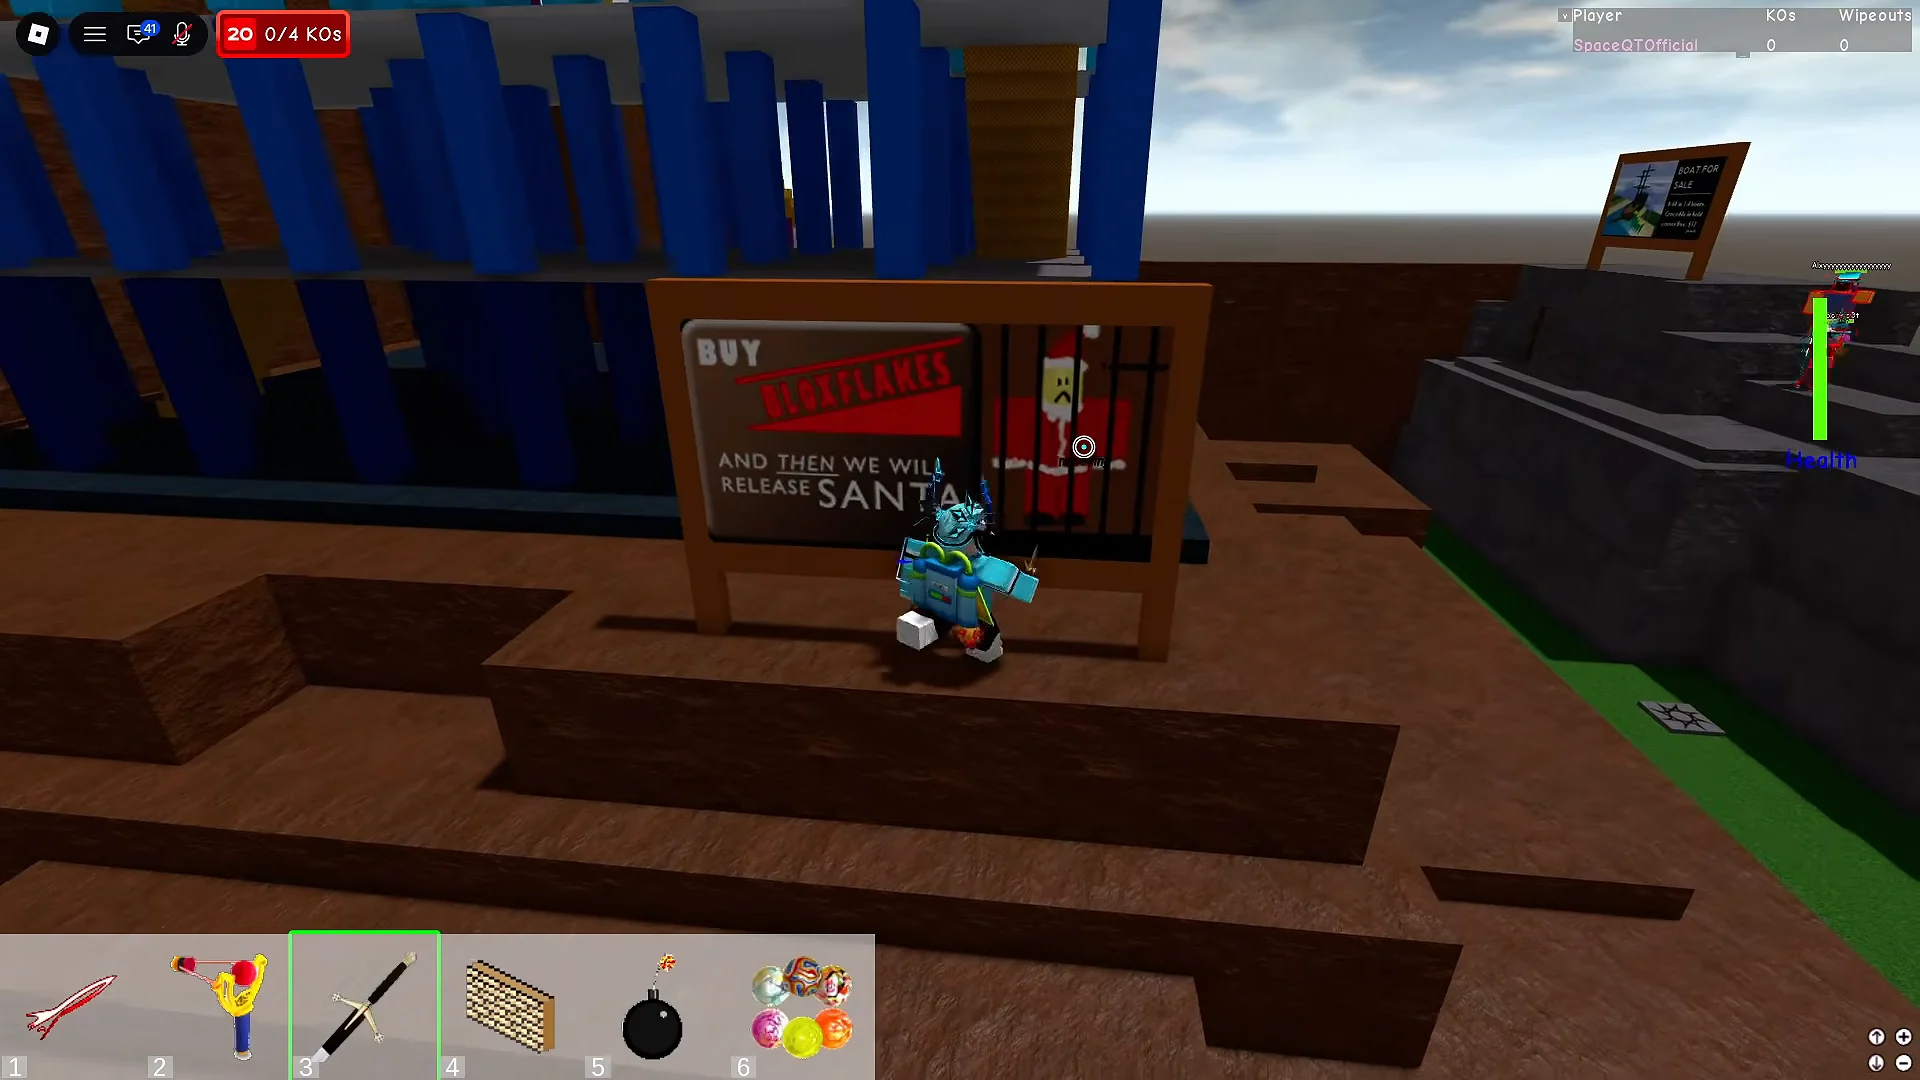
As soon as the objective appears, Santa pursues you, while the three gift boxes remain hidden around the map’s edges.
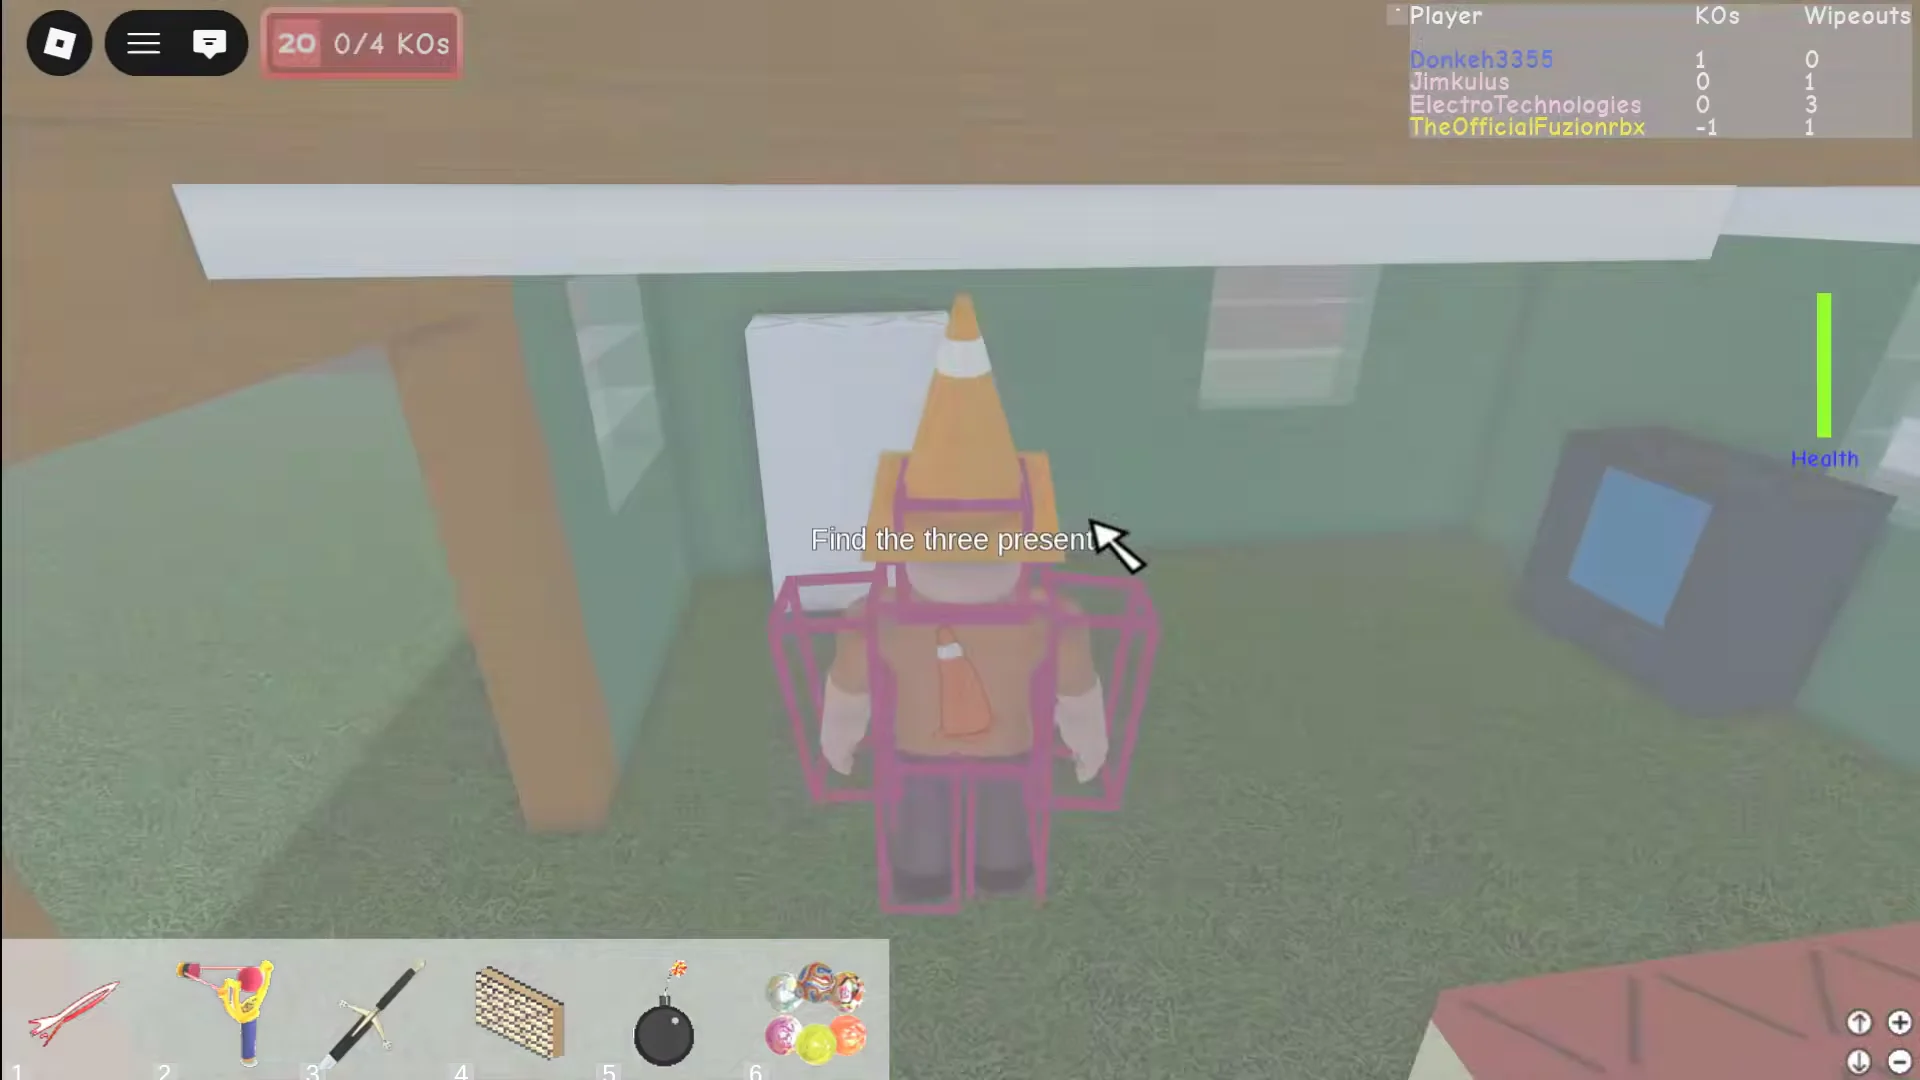
- A ledge inside the ruined stone structure, near the ship billboard.
- The lower cave area under the ladder, or the cave tunnel running through it.
- The ice cave or blue cavern.
- Look among the gravestones in the fenced cemetery behind the white picket fence.
- The dark corridor beside the small green building with the orange roof.
- Up the staircase by the bridge.
Collect each of the three gifts without letting Santa catch you, then go back to the billboard and activate “HO HO HO! You escaped with the presents!”
Brothers in Arms (#OKALANI, yellow)
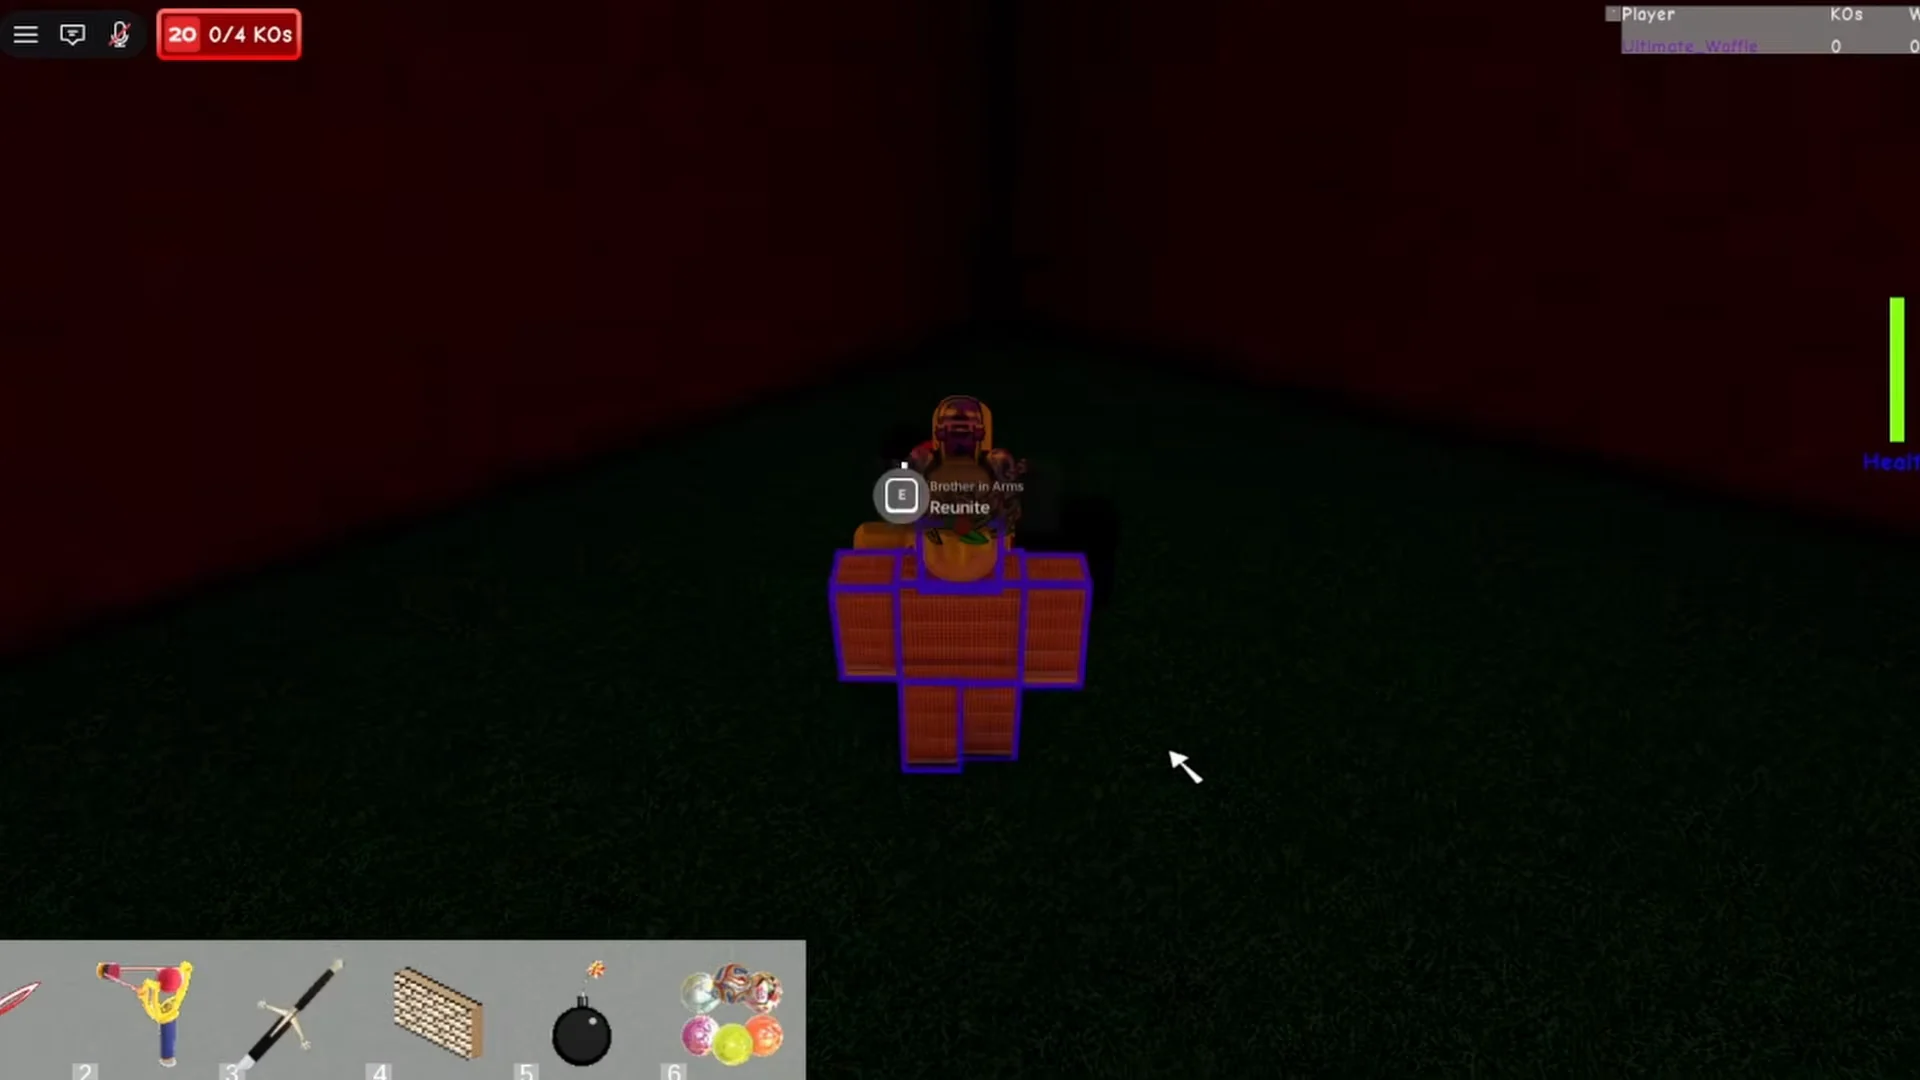
With the yellow aura active, touch the Brothers in Arms billboard to receive “Find the injured brother!” He is sitting on top of the wooden lookout tower with the green roof. Climb up using the ladders, the trowel or the slingshot, press E to pick him up, then carry him down through the tunnel to the fenced yard where his twin is waiting.
Dropping him beside his brother produces the confirmation that the brothers are reunited.
Boat for Sale (#0601412, orange)
This is the code that uses the Roman numeral tiles, so take your time hunting down each one on the walls. Once the aura is up, touch the “BOAT FOR SALE” billboard and make your way to the pirate ship at the dock.
Either descend by the gangplank or launch yourself from the dock’s edge with the slingshot to reach the deck. Go to the steering wheel, press E for the Set Sail prompt, and stay aboard as the ship follows its route until the arrival message says you reached safety.
Laser Hare Removal (#4EB4808F5BF5D4CB7759, white)
The longest code by a wide margin, and the only one whose aura is easy to miss, since your outline simply turns white. Punch in all 21 characters carefully — a single wrong tile means starting again from the #.
Touch the Laser Hare Removal billboard, identifiable by its Before and After diagram, and the HareLaser tool will be added to you.
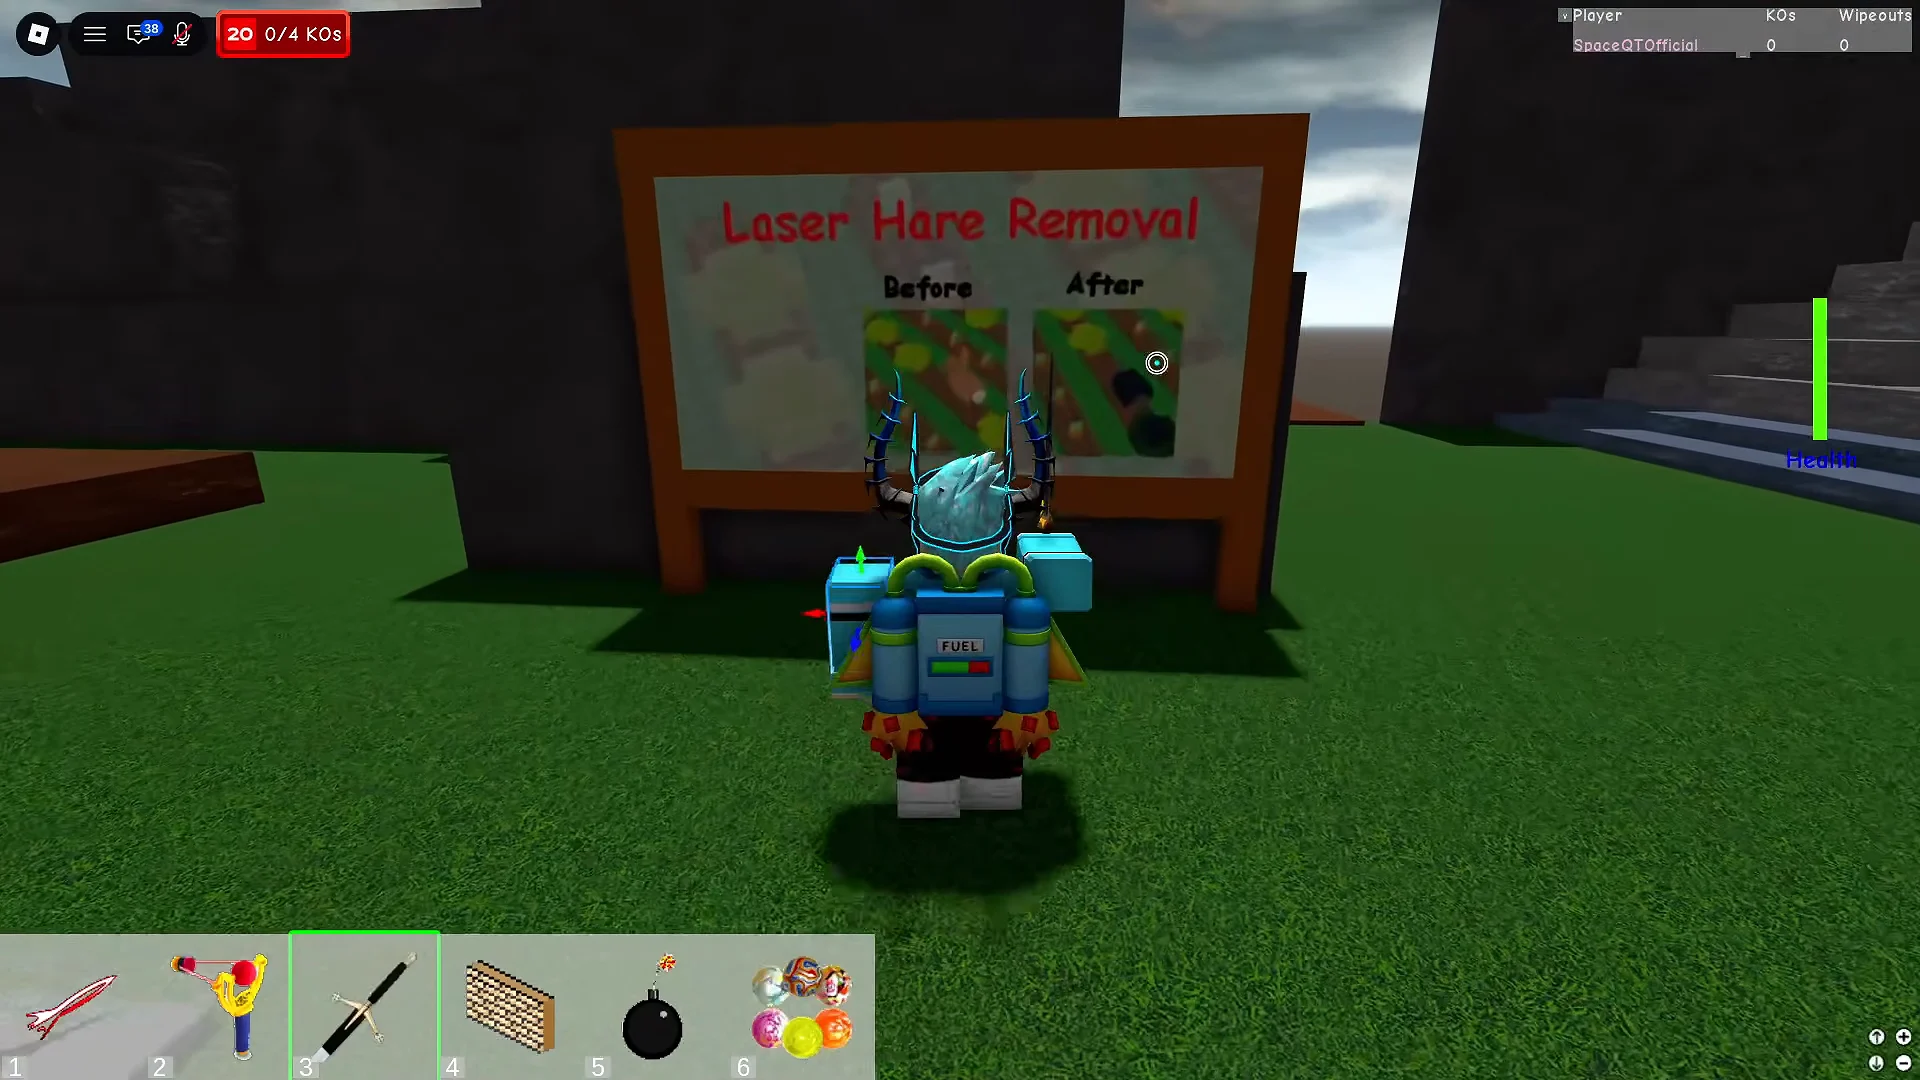
The hares begin sprinting over the grassy yard. Hit every one twice so its coat comes off, then clear both waves until the completion message says the yard is clear.
Cursed Mummies (#800080, purple)
Activating the purple aura enables the Cursed Mummies billboard and places the DisintegrationRay gun in your hotbar. Go onto the sand, find the invisible pyramid, and shoot it as directed by the prompt to awaken the mummies.
The enemies appear and charge at once. Continue shooting the pyramid’s health bar and both attackers until the pyramid breaks apart and the final mummy has disappeared.
Confirm the secret badge and grab the 2009 secret item
When the fifth quest wraps up, the on-screen text reads “All quests complete! Badge awarded!” and the Roblox badge notification for the Chaos Canyon secret badge appears in the corner. That is the whole job inside the canyon — nothing else needs collecting there.
The badge is only half the payout, though. Leave Chaos Canyon, load back into the 2009 hub, and walk behind the oversized Bloxy cola can near the tree and the dirt mounds. A small item floats there, and touching it produces the “You discovered a secret item (2009)” notification.
Following the intended order makes 2009 either among the event’s quickest years or among its slowest. The tornado takes a minute, the four KOs and one pedestal interaction provide the Bloxxer badge and Crest of the Canyon within a few minutes. The hidden wall’s five codes are what can consume an entire afternoon.





