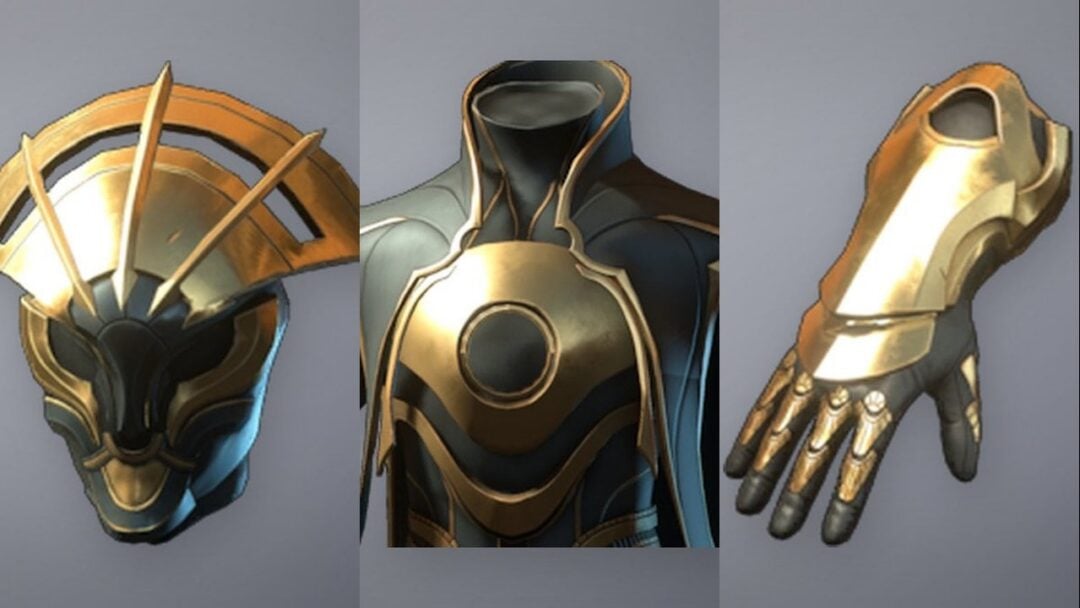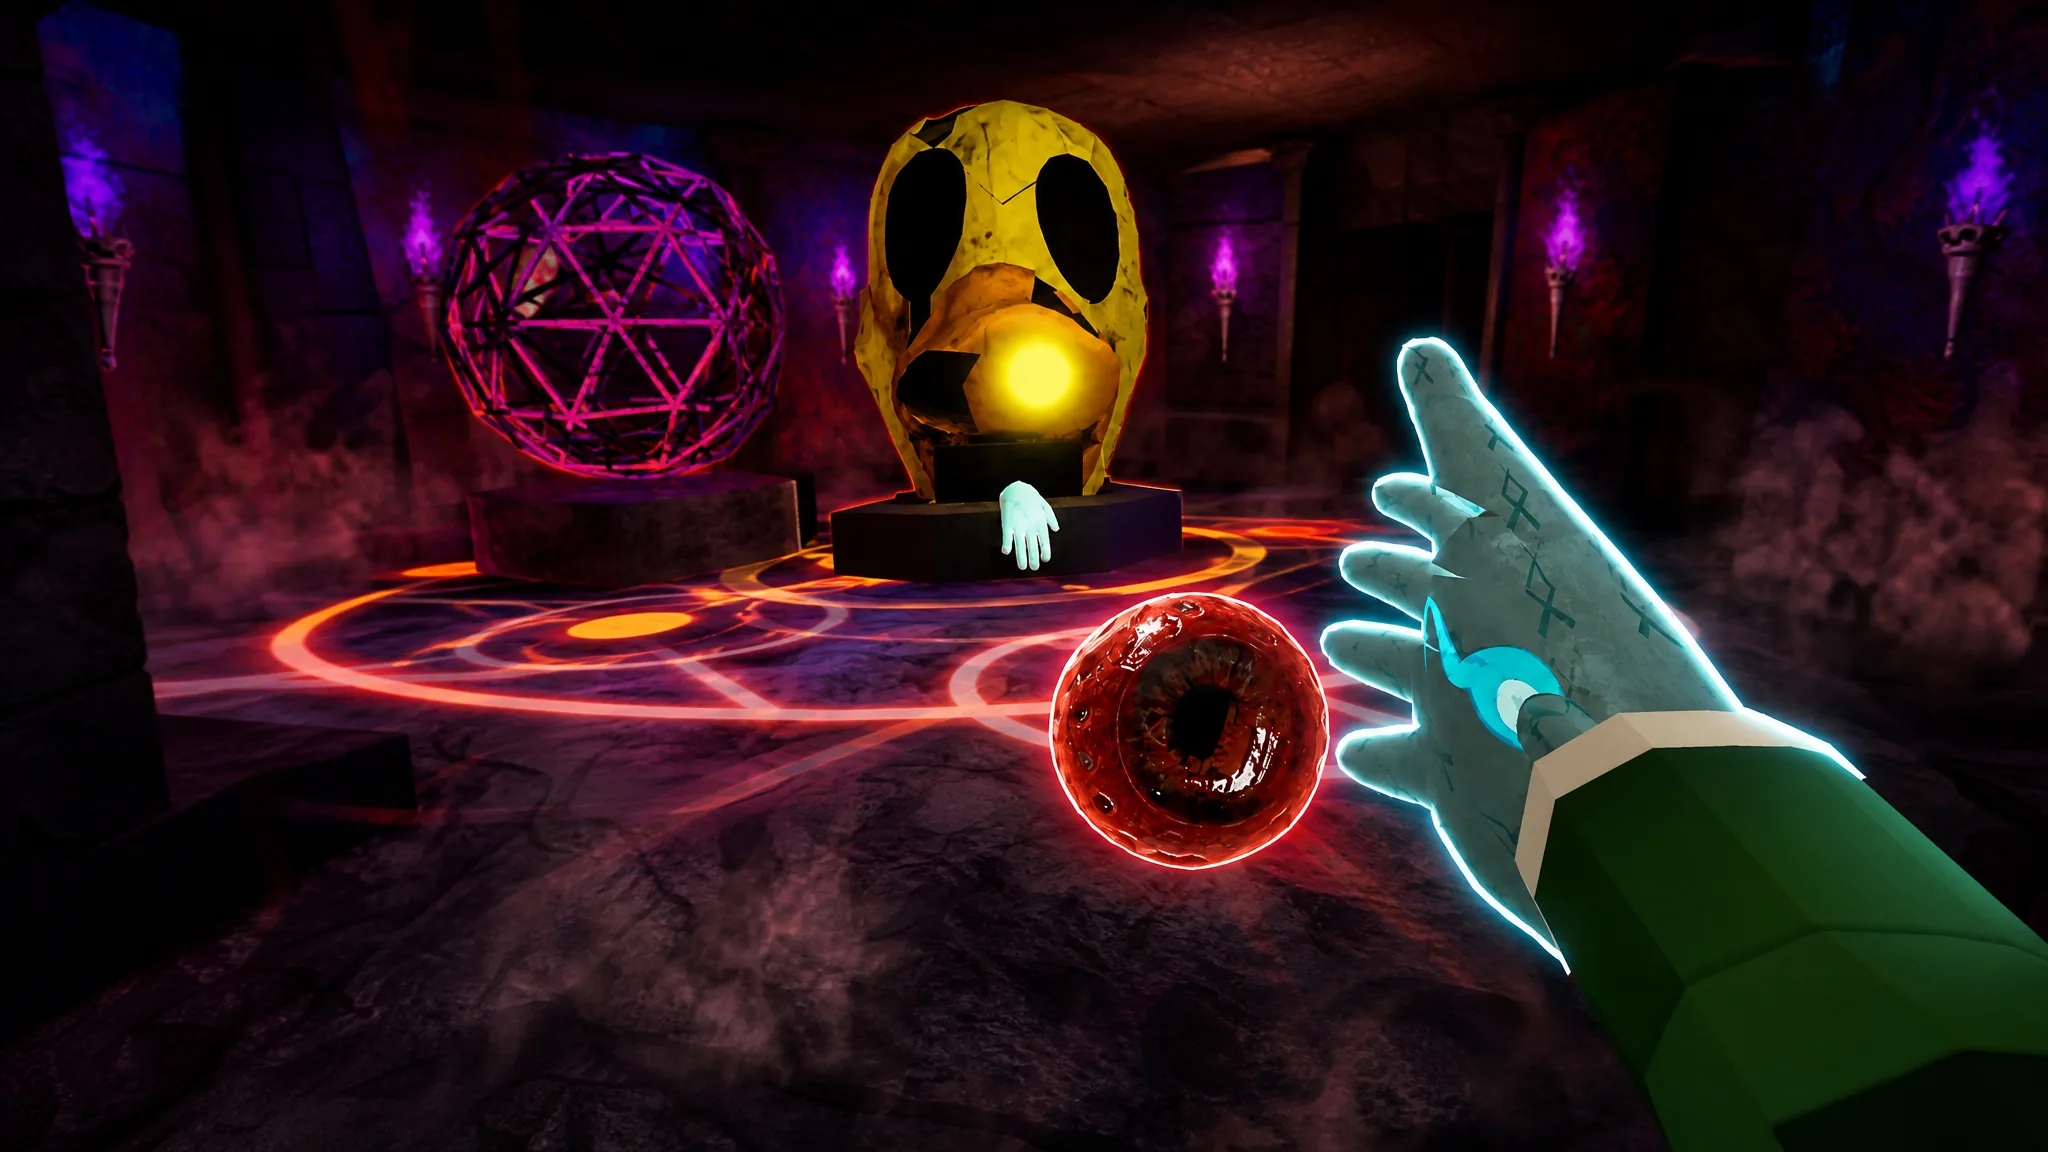
The Marewarder Glove is the reward for beating the Pim boss in Slap Battles, and getting there means clearing a puzzle dungeon first. You collect five colored keys, unlock the glove at the center of the hub, then use it to survive a three-phase fight against Pim. The whole run rewards patience far more than speed.
Quick answer: Enter a normal arena, inspect the half-buried duck mask with E, collect the Ruby, Fiery, Seer, Rune, and Silver keys inside the Liminal dungeon, insert all five to unlock the Marewarder Glove, then clear Pim’s three phases to earn the glove and the Pim badge.

Enter Pim’s realm from a normal arena
E to inspect it.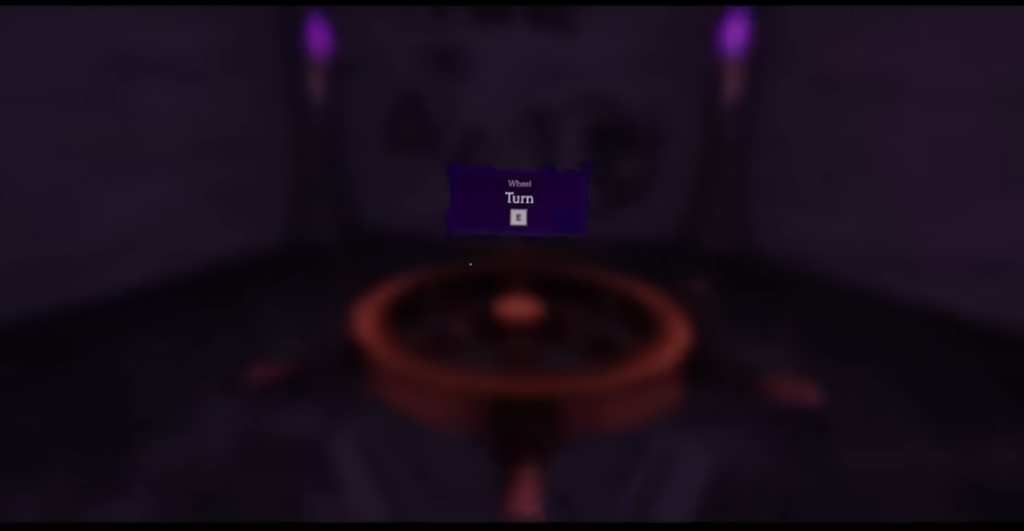
The turnwheel and the freeze rule
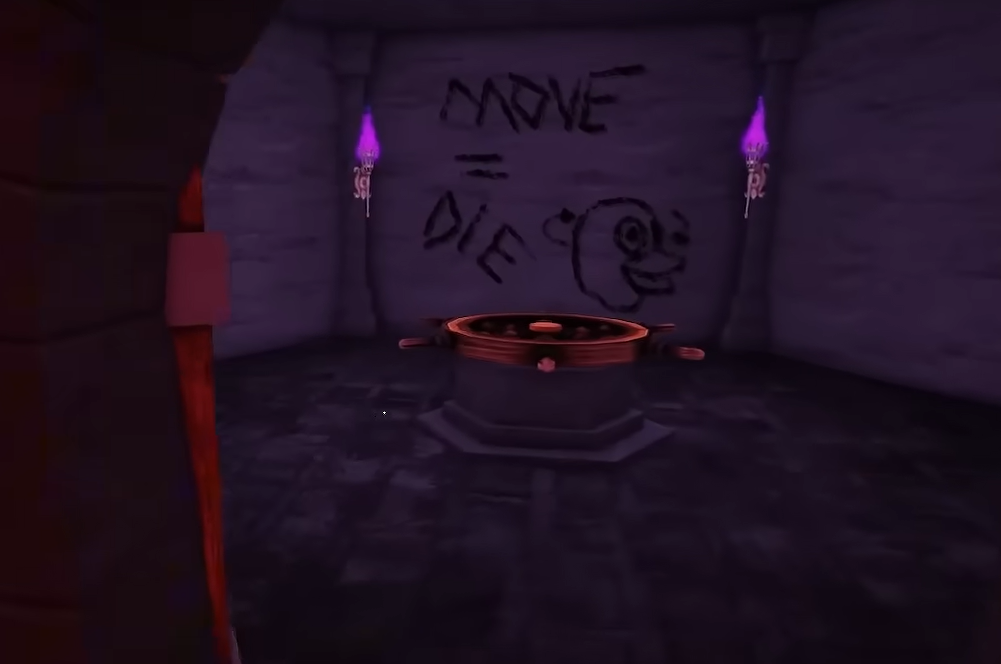
The hub contains a large wooden ship’s wheel behind a door marked “DON’T MOVE.” Turning the wheel with E rotates the outer rooms so a new challenge sits behind the door each time. This is how you reach every key, so you will return to it constantly. Every count in the steps below is measured from the default starting position.
One mechanic overrides everything else. At random moments, Pim’s giant duck face fills your screen. The instant that happens, stop moving completely until it disappears. Walking, jumping, or turning while Pim is on screen fails the run and sends you back to the start.
Chests are randomized. Many hold Health Potions or a Shrinking Potion, but some are mimics with teeth that bite and remove a heart. Mimics despawn after a few seconds, so jump onto a nearby chest or platform and wait them out. Save Health Potions for emergencies, since natural healing is slow.

All five key locations
Two of the keys sit behind quick obby rooms, while the Fiery and Rune keys require an inner wheel and a code. Here is the fast reference before the detailed routes.
| Key | How to reach it |
|---|---|
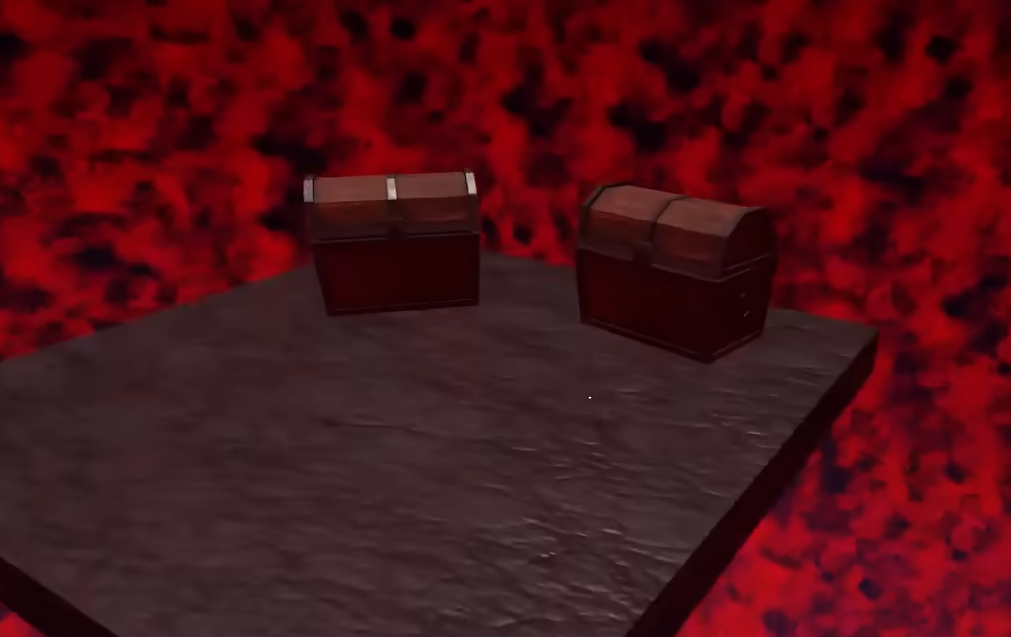
| Ruby Key | Turn the main wheel twice, enter the red portal, cross the disappearing obby, open the chests. |
| Fiery Key | Grab the Dungeon Map from the blue room’s inner wheel, then use it to cross the tile floor in the eye room. |
| Seer Key | Pull a lever in the blue room’s inner wheel, then climb the ladder room to a hatch full of chests. |
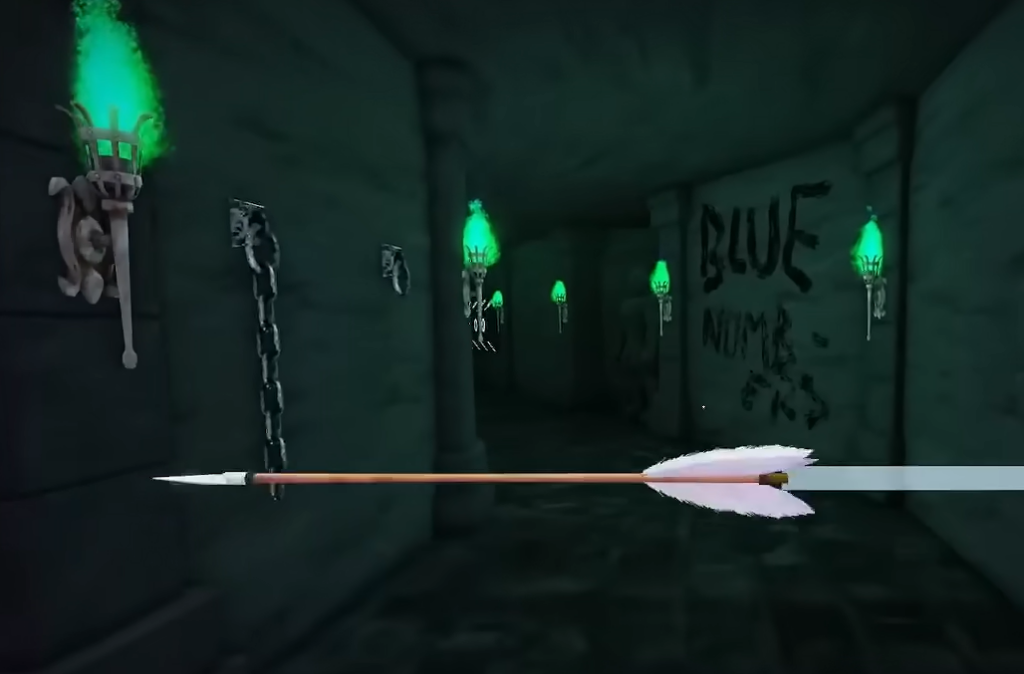
| Rune Key | Read four passkey numbers on the walls, then input the 4-digit code in the green room. |
| Silver Key | Use a Shrinking Potion at the small door above the eye hallway ladder. |
Ruby Key
Fiery Key

Seer Key

Rune Key
Silver Key
Unlock the Marewarder Glove
Once all five keys are in your inventory, return to the central chamber with the glowing wireframe sphere and insert each key into its matching locked door. The Marewarder Glove then becomes claimable at the center. You know it worked when the glove is added and you can equip it before the fight.
| Stat / Ability | Detail |
|---|---|
| Power | 50 |
| Speed | 15 |
| Dash (E) | Crosses large gaps |
| Lift (R) | Launches you upward |
| Flare (F) | Reveals hidden platforms and distracts chasing Pim heads |
| Shout (G) | Unlocks in Phase 3; stuns enemies that glow green |

Beat the Pim boss fight (three phases)
Phase 1
You start by running from a black hole. Use Flare (F) to reveal the platforms ahead and to distract the Pim heads chasing you, and dodge the purple attacks. Three yellow orbs appear during the phase, and you need to slap each one back at Pim to end it.
Phase 2
Activate the six lamps around the arena to open the flowers. Then bait Pim’s attacks so they land inside the open flowers, which is how you deal damage this phase. Avoid the orbital cannons and barrages. If static slows your mana regeneration, slap the static ball to clear it.
Phase 3
The final phase unlocks the Shout ability (G) and splits Pim into Mouth and Eye. Wait for each one to glow green, hit Shout to stun it, then attack while it is stunned. Use Lift (R) to jump over the shockwaves. After both are down, aim Shout at the central blue barrier to finish the fight.

Winning awards the Marewarder Glove and the Pim badge, confirming the boss is cleared. If the fight fails, the most common causes are moving while Pim’s face is on screen during the dungeon, and rushing the disappearing tiles instead of letting them reappear. Slow, deliberate movement carries you through both the puzzle rooms and the boss phases far more reliably than speed.