
Skype is still one of the most popular VoIP and video chat application available in the video conference software market. This popularity is justified as the application have an already established user base and it is available on multiple platforms such as Windows, macOS and Linux.
With the quite sudden insurgence from various other video conference application such as Zoom and Google Meets during this pandemic, Skype has also stepped up its video chat with lots of new features.
We will look at how to install Skype on Ubuntu 20.04 machines using two different methods in this guide.
Install Skype using Snap Command
The Skype snap available on Snapcraft store is packaged and distributed by Microsoft. Snaps are self-contained application packages that run on your Ubuntu system without changing or installing files in your root directory.
Snap packages can be installed either through command-line or by using the Ubuntu Software Centre. Open your terminal by pressing Ctrl+Alt+T and run the following command to install Skype snap package.
sudo snap install skype --classic
The snap will be downloaded and installed on your Ubuntu 20.04 system soon. Whenever Microsoft update the Snapcraft store snap package, your Skype will be updated automatically.
Install Skype from Official Microsoft Repository
As Skype is not an open-source application, it is not available in Ubuntu 20.04 repositories. We can still install Skype with apt, but we need to add the Microsoft’s Skype repository to our Ubuntu software sources list.
Open your terminal and run the following wget command to obtain the Skype’s repository authentication key (GPG key):
wget -O - https://repo.skype.com/data/SKYPE-GPG-KEY | sudo apt-key add -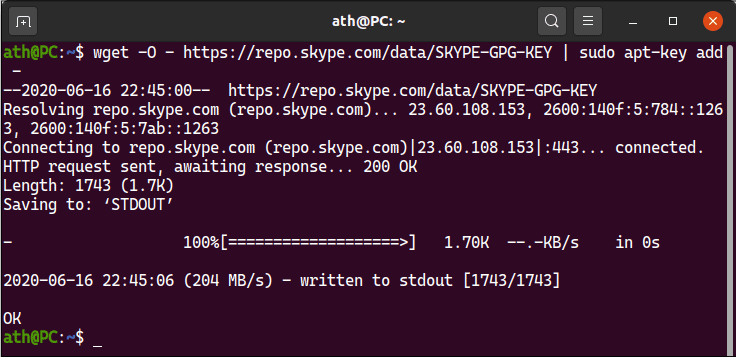
Once the GPG key is added to your Ubuntu system, you can add Microsoft’s Skype repository by running:
sudo add-apt-repository 'deb [arch=amd64] https://repo.skype.com/deb stable main'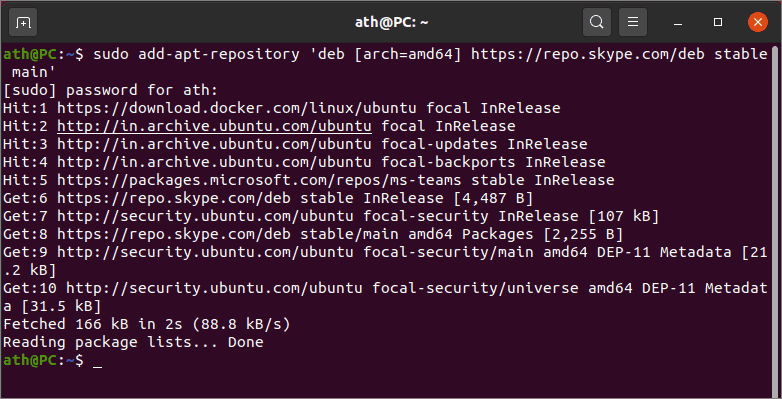
Now you can finally install Skype on your Ubuntu 20.04 system using apt. Update the repositories list for Ubuntu by running the apt update command. The Skype package from Microsoft repository is called skypeforlinux and thus you can install it by running:
sudo apt update
sudo apt install skypeforlinux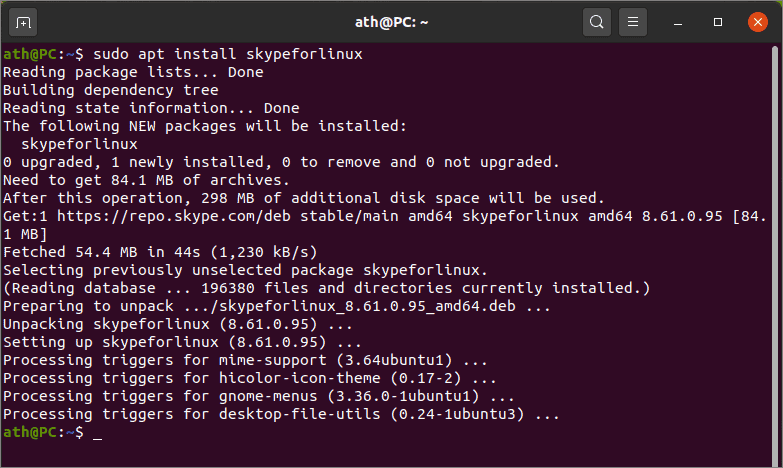
Skype will soon be installed on your system and it will be updated as a regular Ubuntu package whenever you run the apt upgrade command.
You can now launch Skype through the application menu by typing “skype” in the activities search bar and clicking on the icon.

Skype icon will appear in the Ubuntu system tray when launched and run as background application if the window is closed. You can now continue to login to your skype account by clicking on ‘Let’s go’ and start calling your friends and family.