The global crisis we’re in has forced us to use video conferencing apps for everything, from office meetings to classes. And Google Meet is one of the most popular choices out there for this purpose, especially for a lot of schools that were already using G Suite for Education. And now, with Google making Meet free for everyone, its usage has soared even higher.
Teachers have been relying on Google Meet to keep the education of their students au courant. But there’s no denying that it has not been a walk in the park for teachers to make this adjustment, not unless the park is the Jurassic Park. And let’s face it, students (a lot of them) have not been making it easier for their teachers either. So there’s always something new to worry about. One of the biggest worries the teachers face is mirroring.
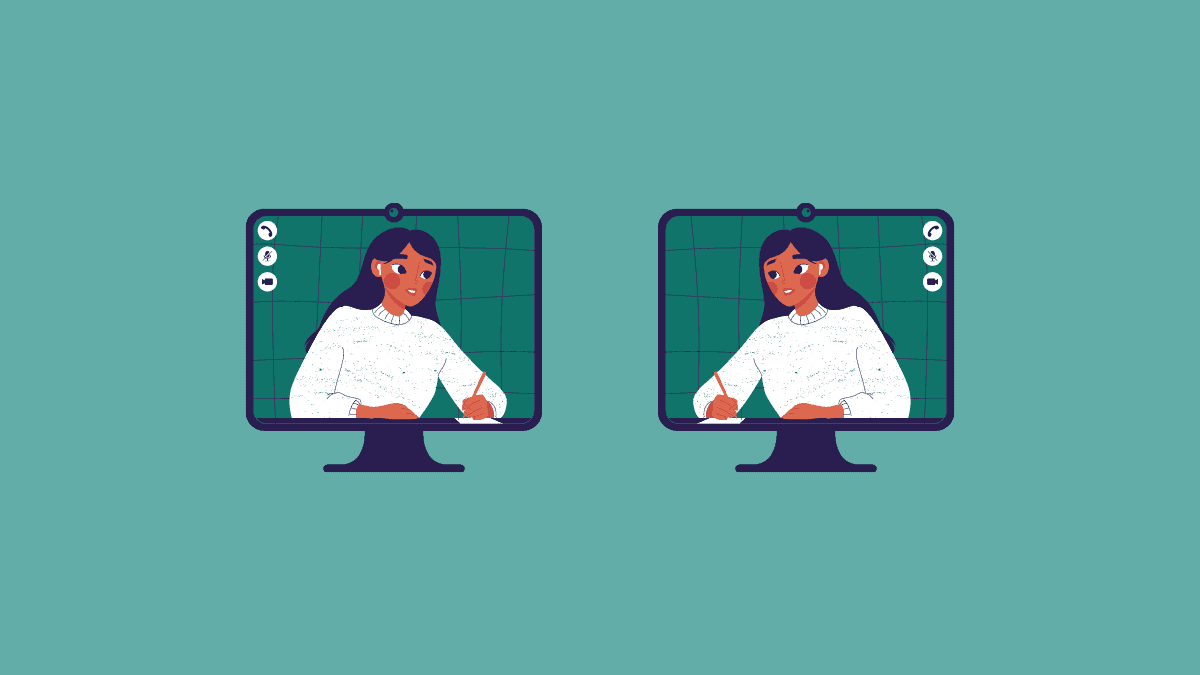
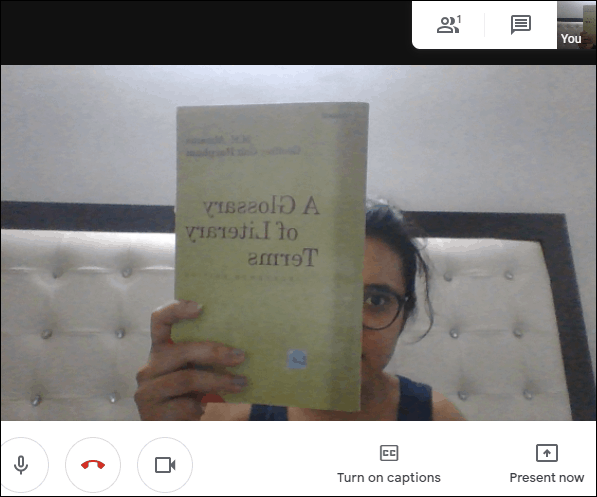
Using a board, textbook, or a paper to tackle a difficult concept is nothing new. But using it on a video conference app does complicate the situation. The image you see on your screen is mirrored. So it’s natural to panic that your students are seeing the image as mirrored too, and can’t read anything. Let’s sally forth and see what to do in this situation.
Don’t worry! The participants are seeing the correct image/video
Yeah, you read that right. You don’t need to do anything in such a situation. Even though you see the mirror image at your end, the participants can see the image, or rather the video, correctly.
Whether you are using a document camera or your normal webcam to share a textbook, document, or a board with your students, there’s no need to panic. Google Meet does mirror your video, and there’s no setting to reverse it. But the mirroring that you see is happening only on your end, and your students can see everything as intended.
How to Stop Mirroring on Google Meet
Even though the mirroring is only at your end, and the meeting participants see the image/ video correctly, you can put an end to this confusion if you want. VideoMirror is a Chrome extension that mirrors your screen. So, mirror a mirrored screen, and you’re back to normal!
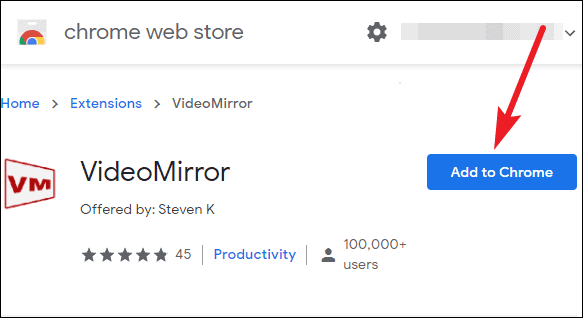
Go to the Chrome web store and search for the ‘VideoMirror’ extension. Or, click on the link below to go there.
Click on the ‘Add to Chrome’ button to install the extension.
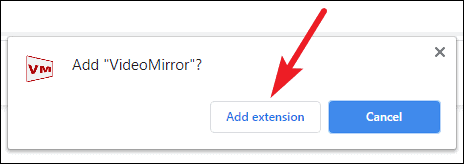
A confirmation dialog box will appear on the screen. Click on the ‘Add extension’ button to install it.
The icon for the extension will appear on the right of your address bar with the rest of your extensions.
To mirror your video while in the meeting, click on the extension icon. It will mirror your screen, but since Google Meet already mirrors the screen, the extension would reset it to the normal position.

Note that the extension affects only your screen and not the actual video. So it won’t have any effect on what the other participants see, i.e., they will see your video without any mirroring as you want them to.
Use ‘Present Now’ in Google Meet for a better experience
If you are using a document camera to share the textbook or document with the class, there’s another way to have a more refined experience. You could instead choose to present your screen.
Let’s do this with the example of the IPEVO document camera. If you have an IPEVO document camera, all you need to do is download and install the IPEVO Visualiser software onto your computer.
After connecting your IPEVO document camera, open the IPEVO Visualiser app and adjust the camera angle. Then go to meet.google.com and start or join the meeting.
Now, the thing to remember here is that you don’t want to use your document camera as the preferred camera in Google Meet if you don’t want screen mirroring at your end. Instead, use your built-in webcam as the camera in Google Meet for video.
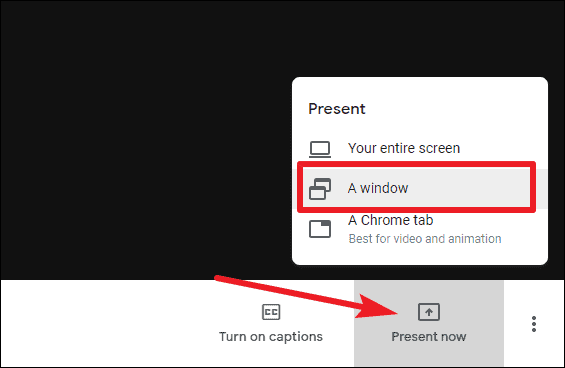
Then, click on the ‘Present Now’ button on the meeting toolbar and select ‘Window’ from the menu. When the dialog box opens, select IPEVO Visualiser from the options and click on the ‘Share’ button.
The document you want to share with the rest of the class will be visible to them. And the image would neither be mirrored on their end, nor yours. You can follow this suit with any other document camera and their accompanying software.
The screen mirroring on Google Meet can be really confusing, especially considering the fact that most of us are new to working in a virtual environment. And the fact that Google Meet does not have an in-built setting to mirror your screen does make everything more complicated. Here’s hoping that this guide can uncomplicate the situation for you, so you can instead focus all your energy on the concept you’re teaching.