
Medications are an important part of so many of our lives. With iOS 16, you can use your iPhone to help you remember the medications that you take daily. Moreover, in case you are not on regular medication but still wish to keep a track of your occasional medicines or take supplements/vitamins, you will be able to log and track them right from the Health app on your device.
You can even view the information available about your medications in the Health app to understand them better. But under no circumstances, should you use the feature as a substitute for professional medical judgment.
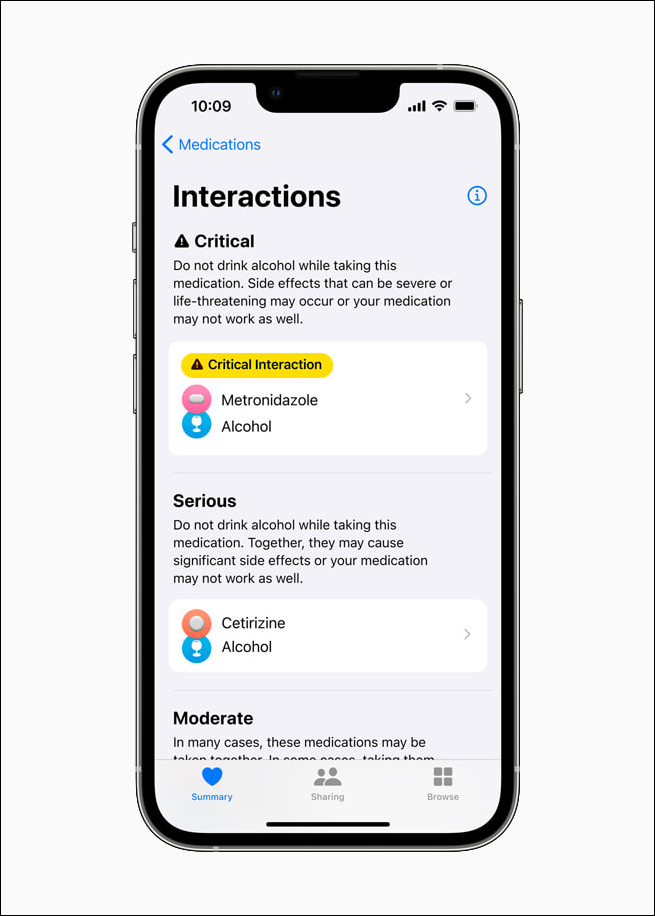
Users can also receive an alert if there is a potential for critical interactions for medications they have added to the Health app. So, if one of your medications can cause a critical side-effect by interacting with another medication on your list, the Health app will notify you of that. It will also notify of any interactions the medication might have with alcohol. The interaction feature is only available in the US as of now, though. Hopefully, Apple will add more countries soon.
Note: The Medications feature is a beta feature and won’t be available generally until the public release of iOS 16 in the fall of 2022.
Add and Setup Schedule for Medication from the Health App
Before you can start receiving notifications for your medications, you will need to add them to your Health app and set up a schedule for them so you can receive a timely update and log them properly.
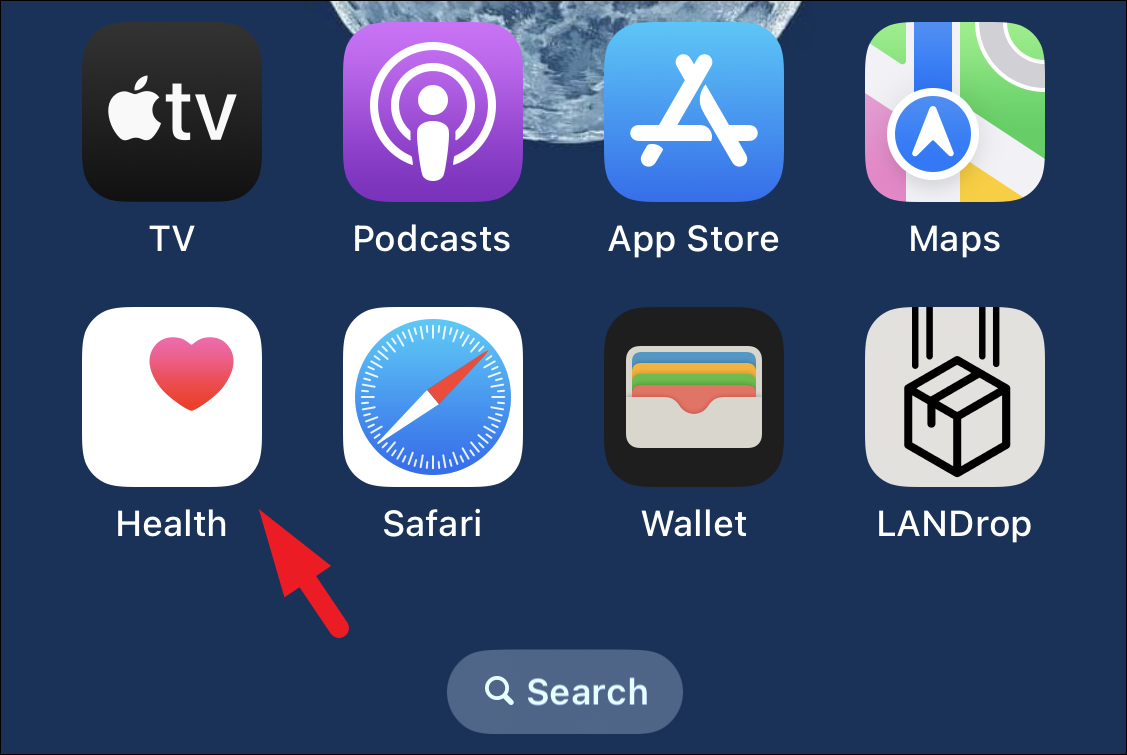
To add medicines, first, head to the Health app either from the home screen or the app library of your device.
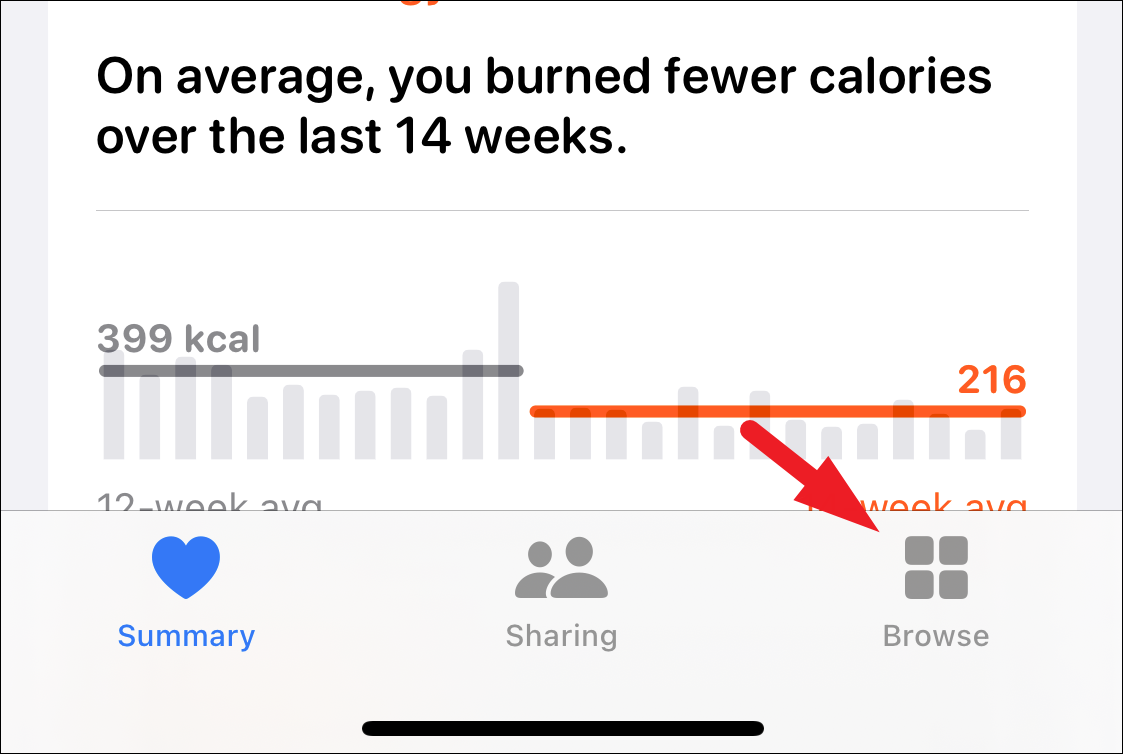
After that, tap on the ‘Browse’ tab present in the bottom right corner of the screen to continue.
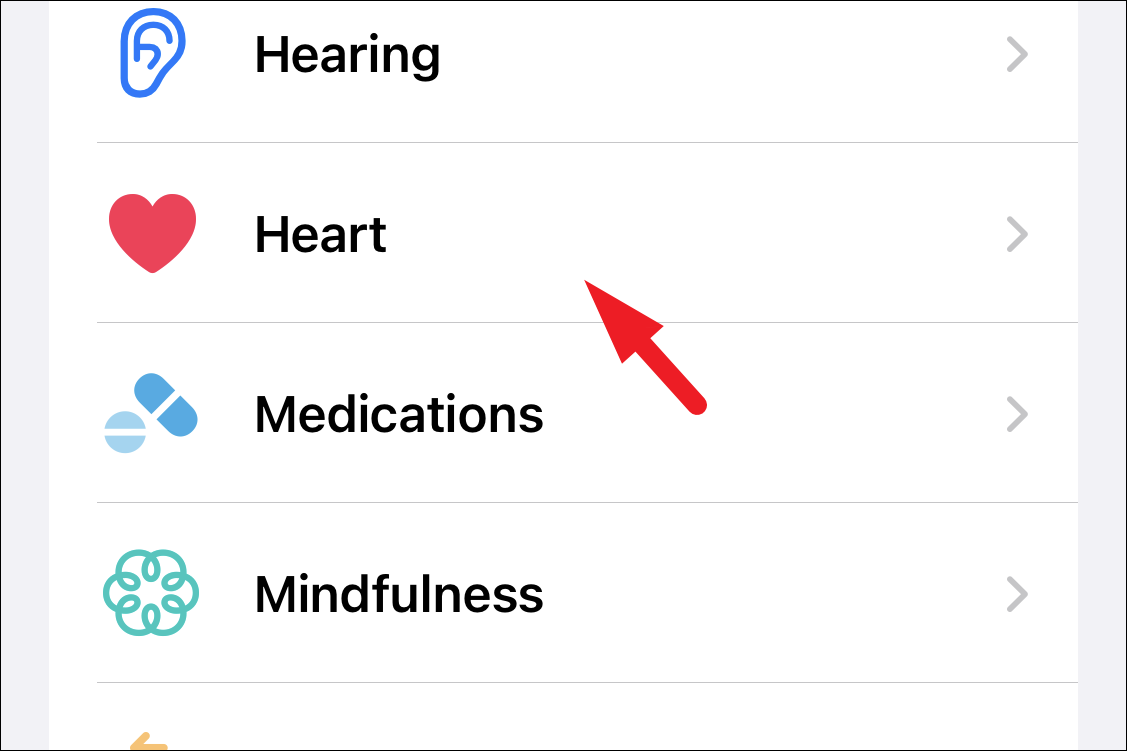
Next, on the Health app, locate and tap on the ‘Medications’ tile from the list to proceed.
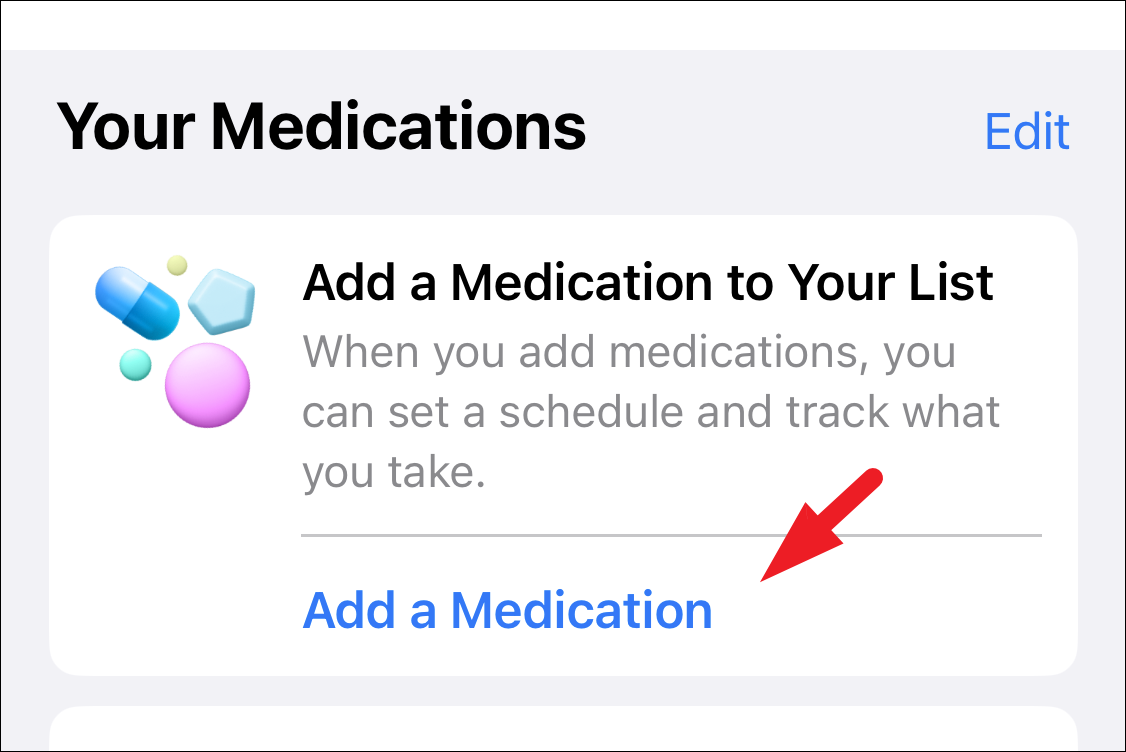
Then, on the next screen, tap on the ‘Add a Medication’ button present under the ‘Your Medications’ section to start adding a medicine, supplement, or vitamin to the health app. This will bring an overlay window to your screen.
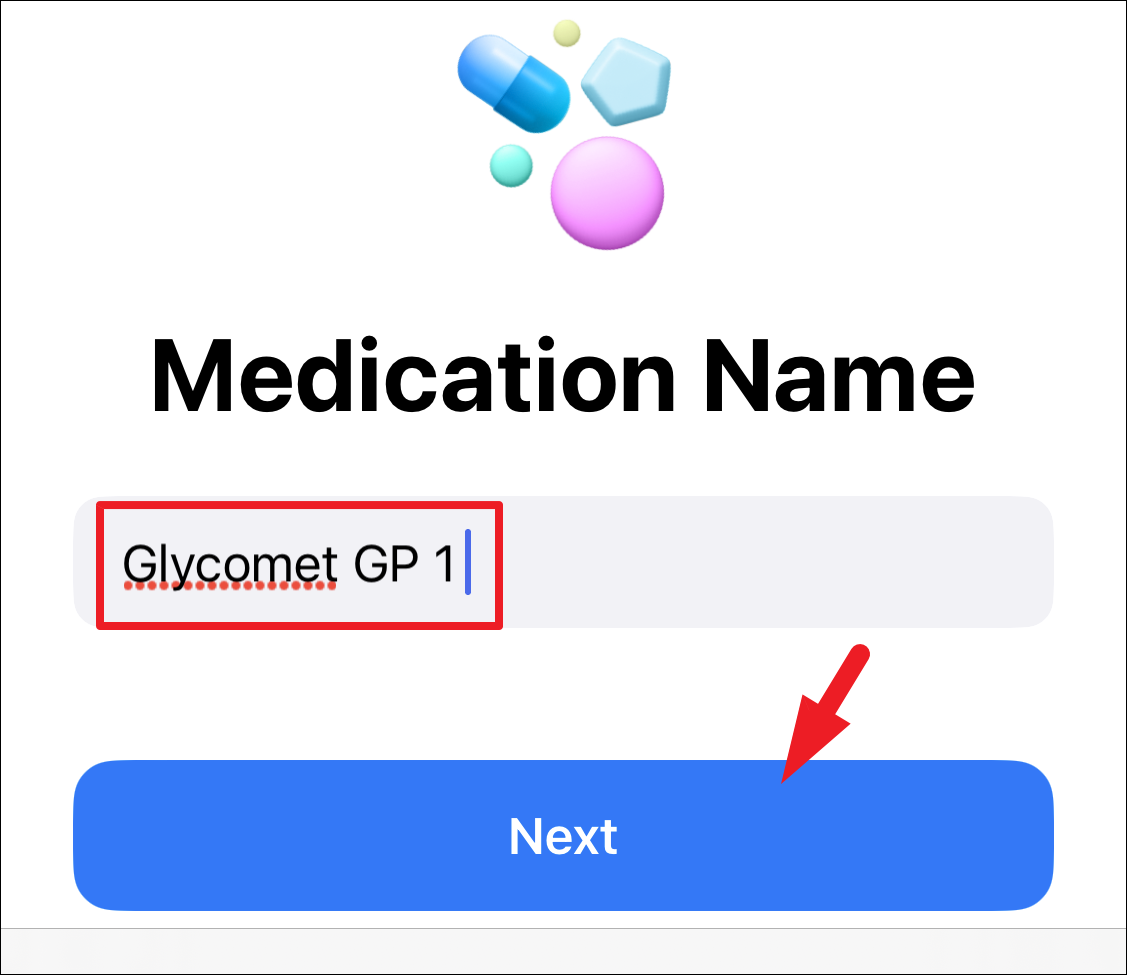
Next, enter the medication name in the text box provided and then tap on the ‘Next’ button to proceed.
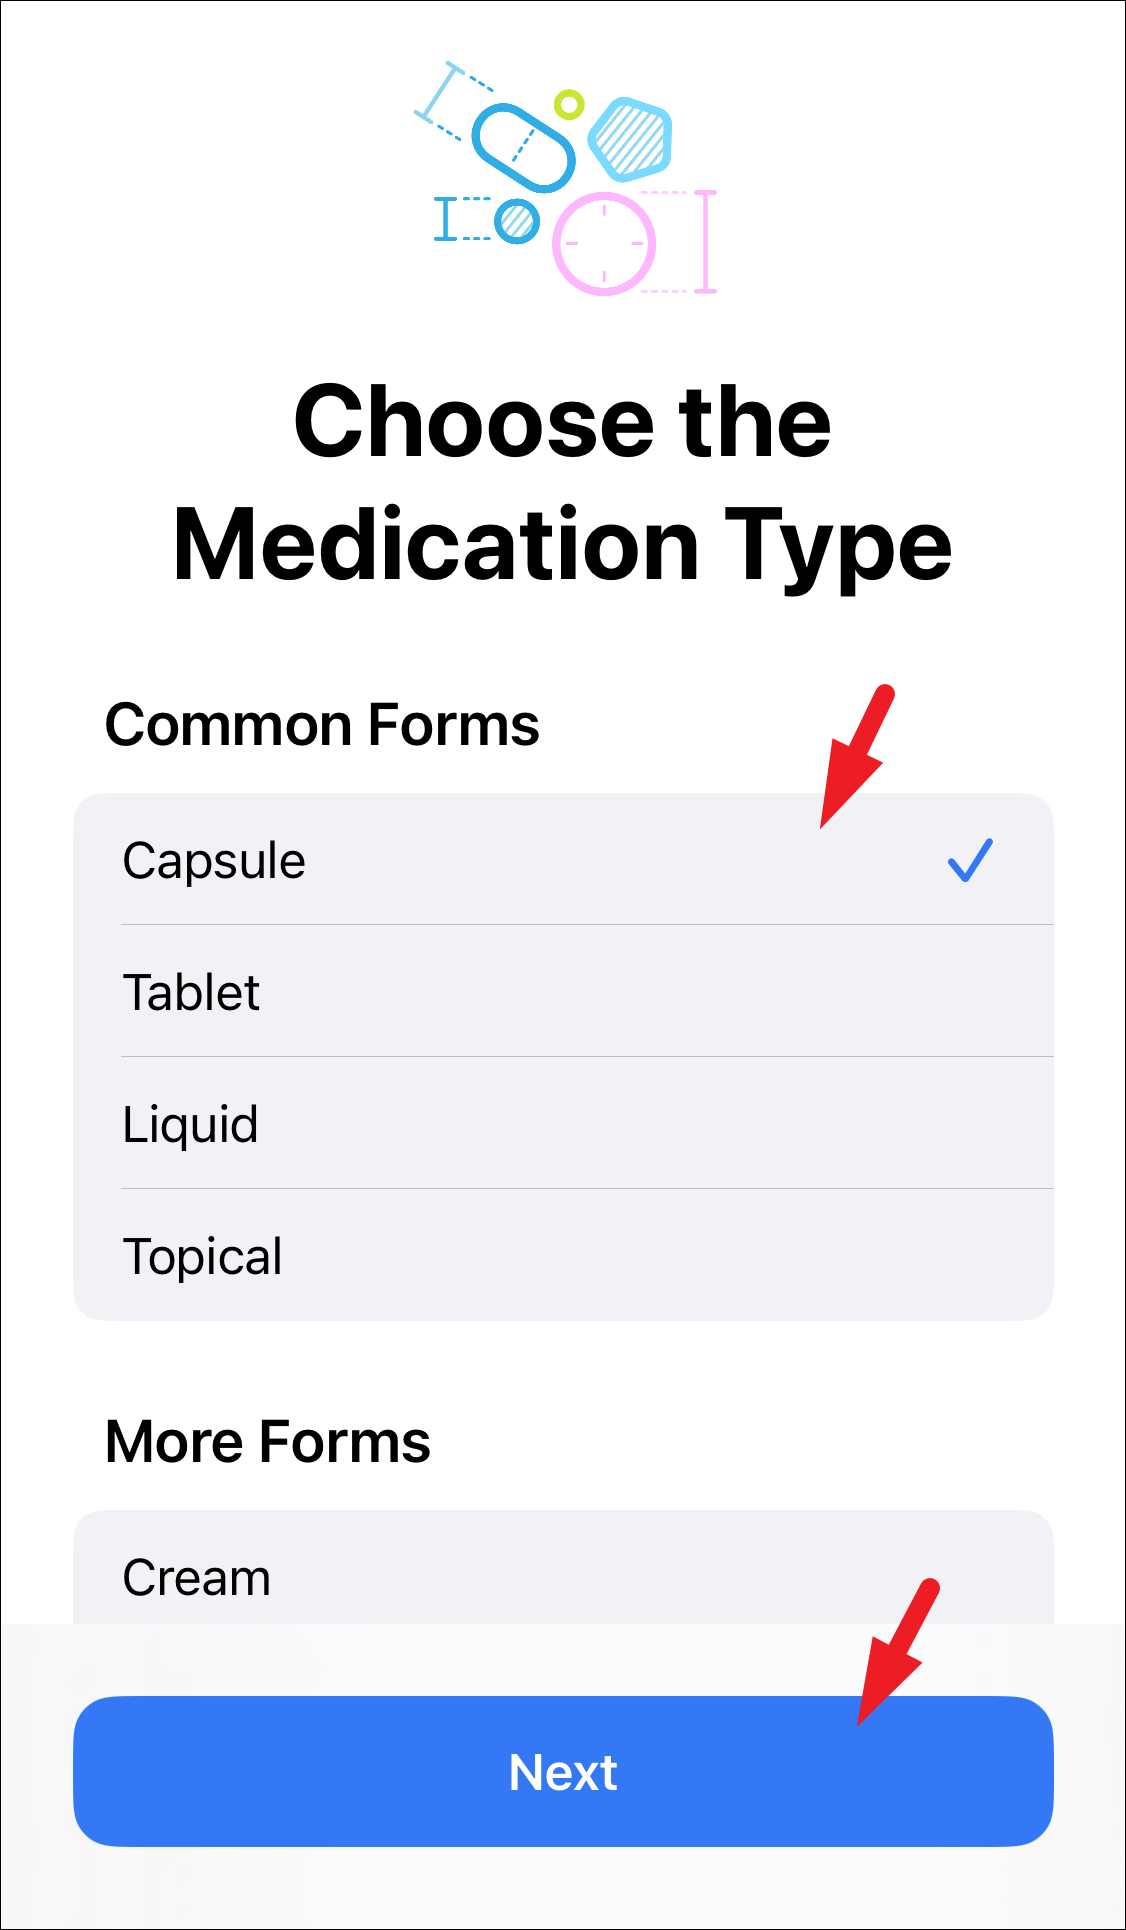
On the next page, you will be required to choose the form of your medicine. Tap on the form of your specific medicine by tapping on the option from the list. After that, tap on the ‘Next’ button to continue.
Then, you can enter the strength details of the medicine. To do so, first, enter the numerical value as mentioned on the packaging of the medicine in the text box and then choose the unit by tapping on the ‘Choose Unit’ button. This will bring an overlay window to your screen. After that, select the unit of medicine strength as mentioned on the packaging.
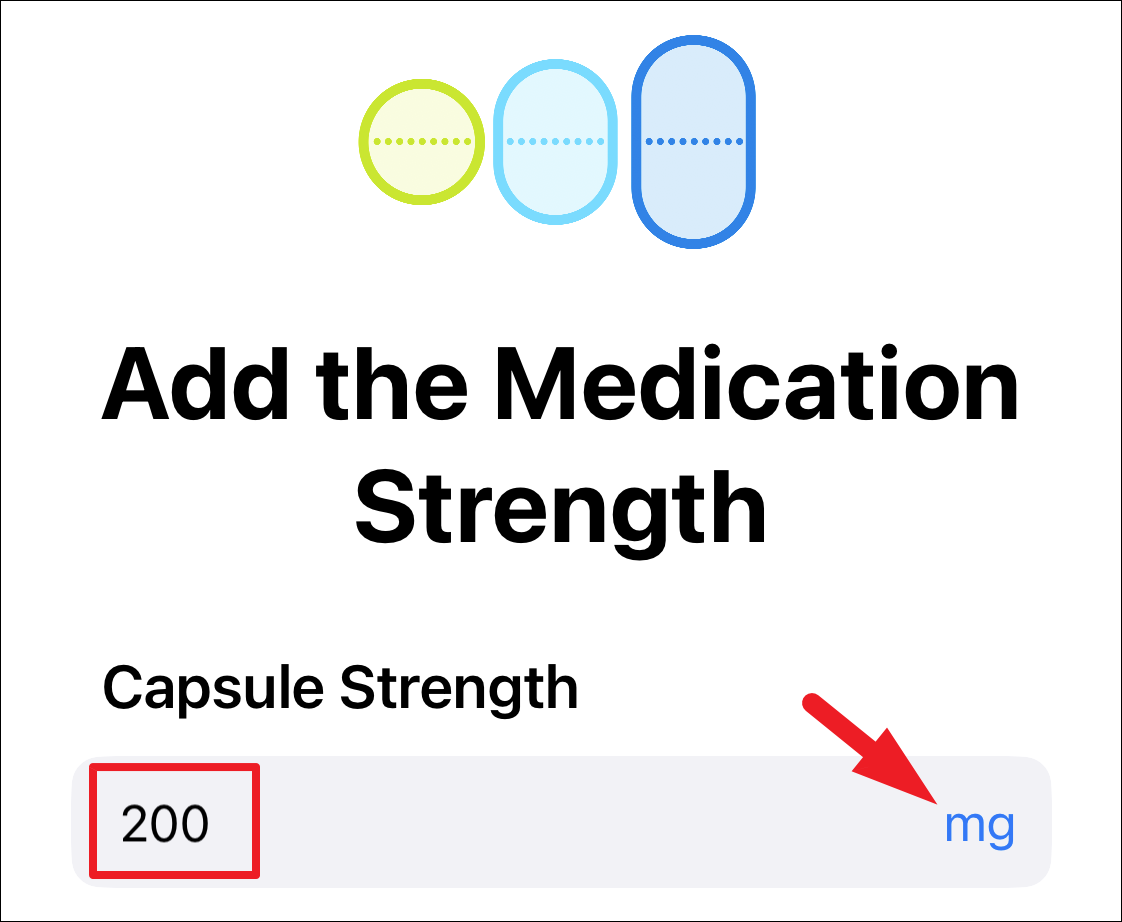
In case you do not know the strength information or it is a vitamin/ supplement that you are creating a schedule for, tap on the ‘No Strength Information’ option and then tap on the ‘Next’ button present at the bottom of the page to continue.
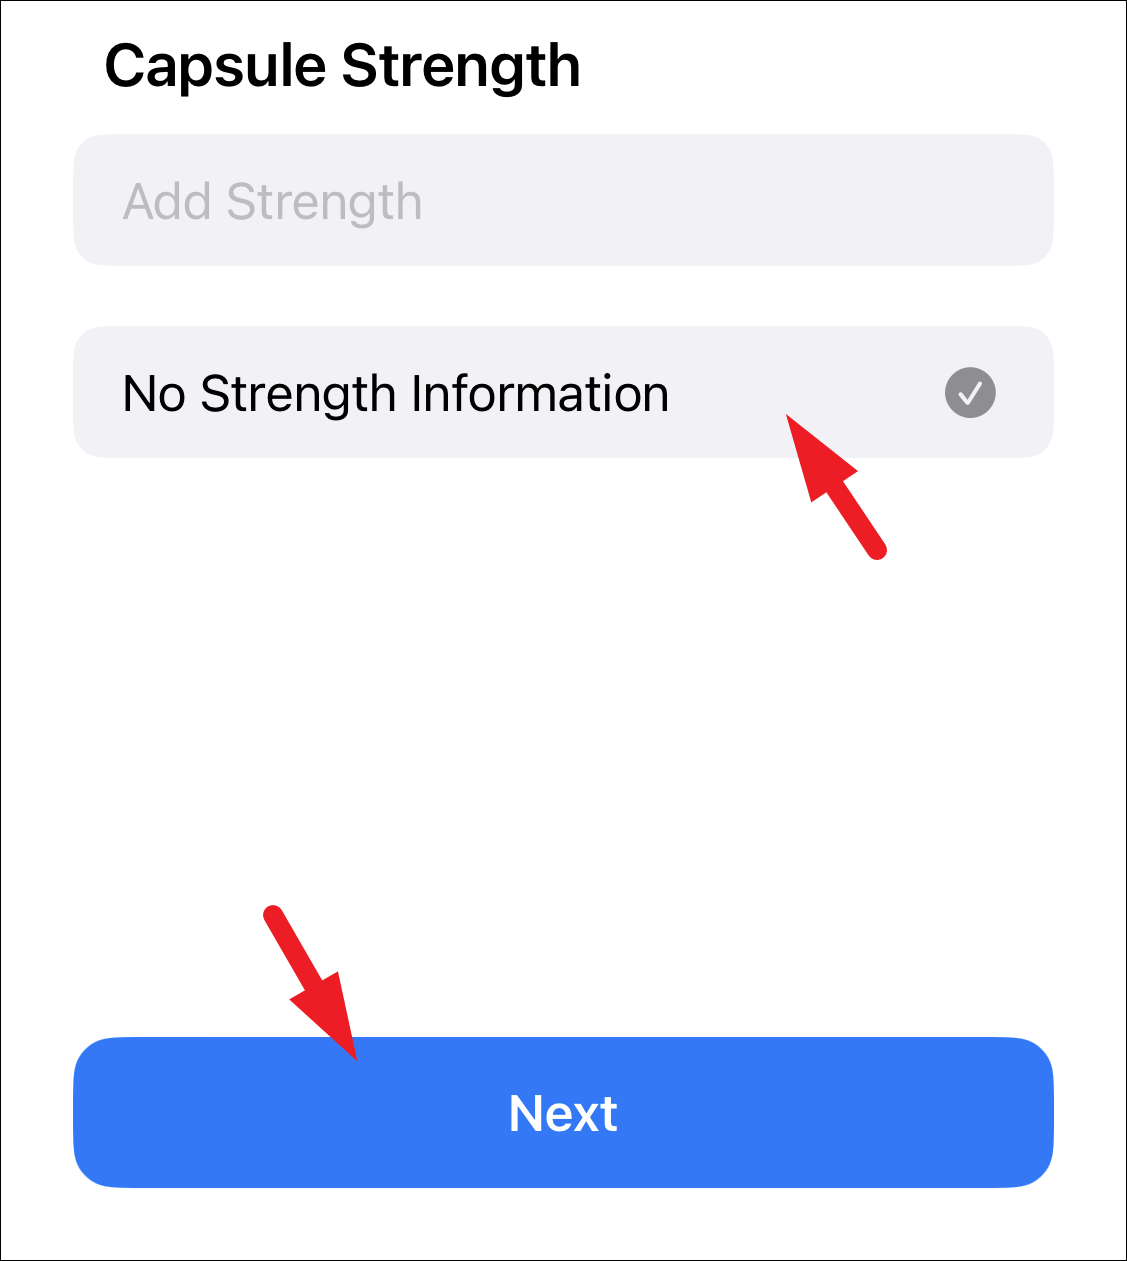
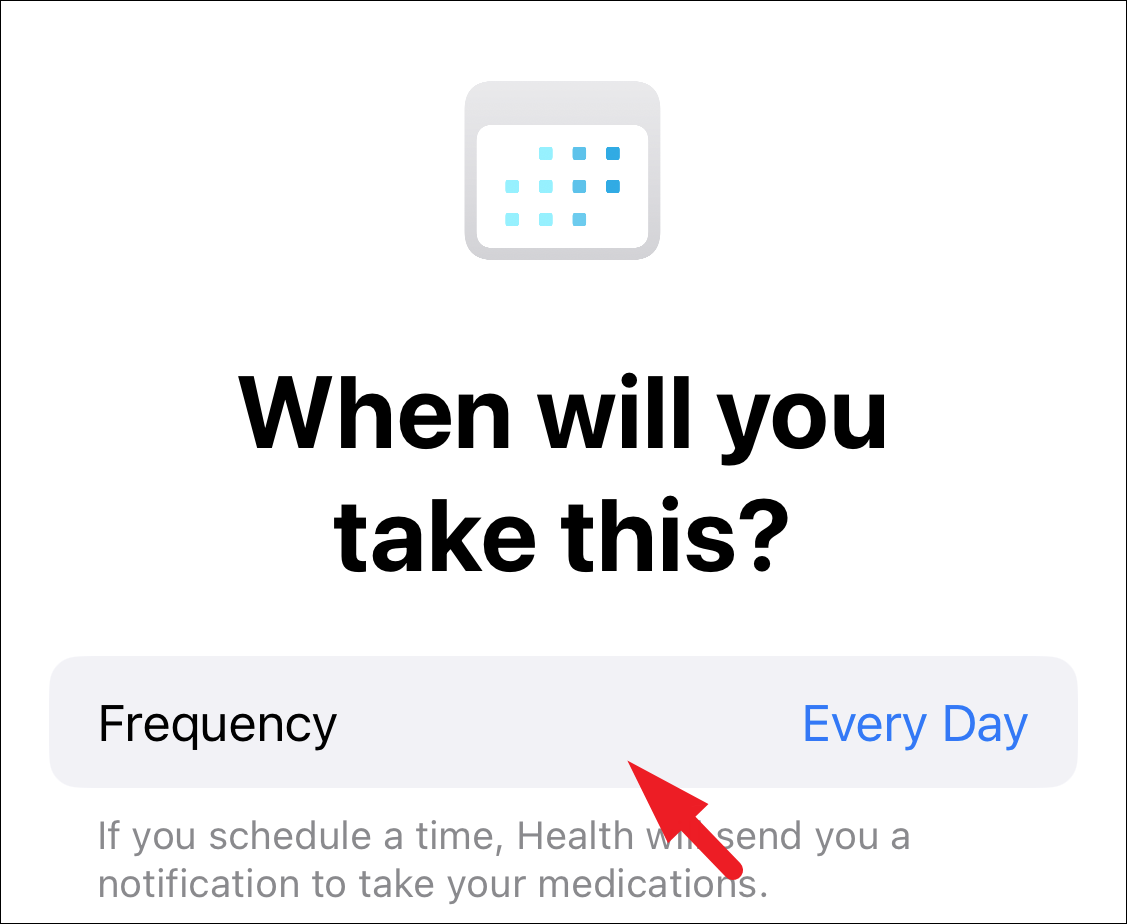
After that, you will have to set up the schedule for taking the medication. To select a frequency, tap on the ‘Frequency’ option to continue. This will bring an overlay window to your screen.
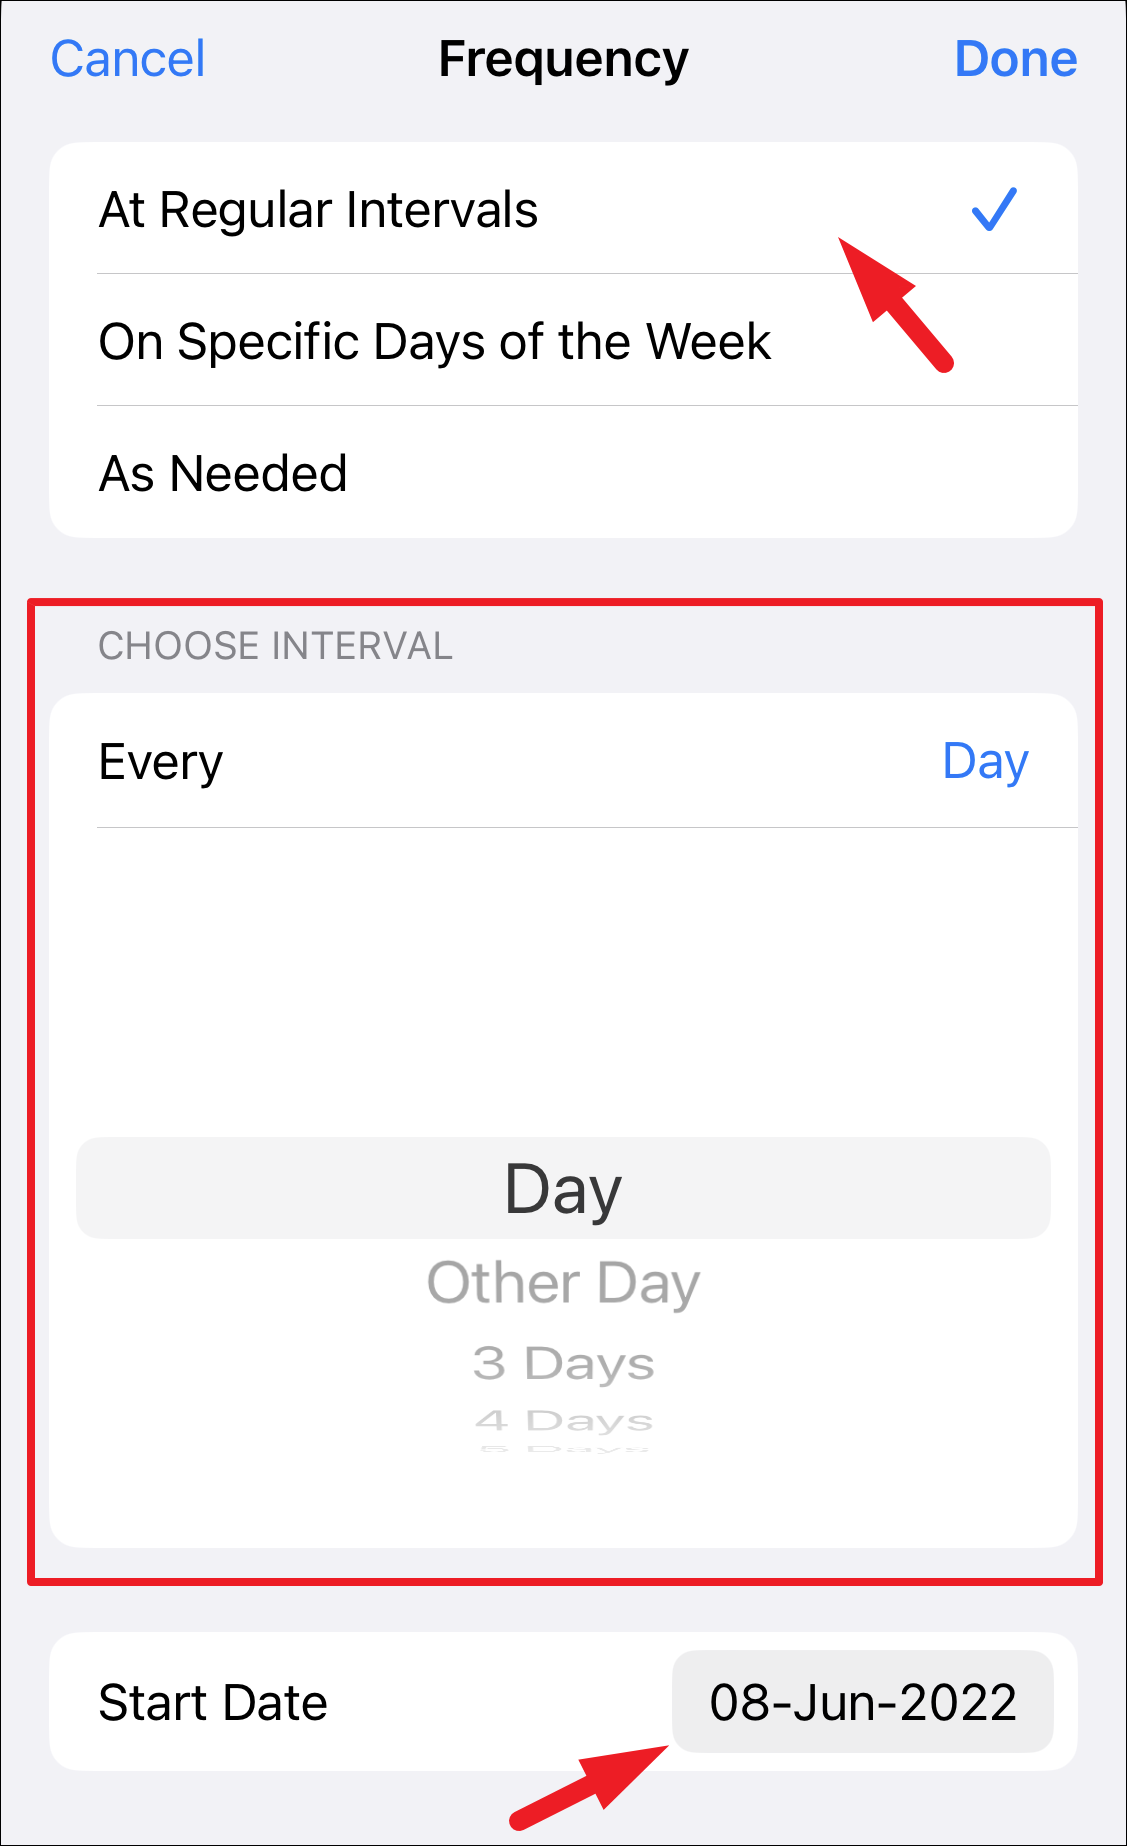
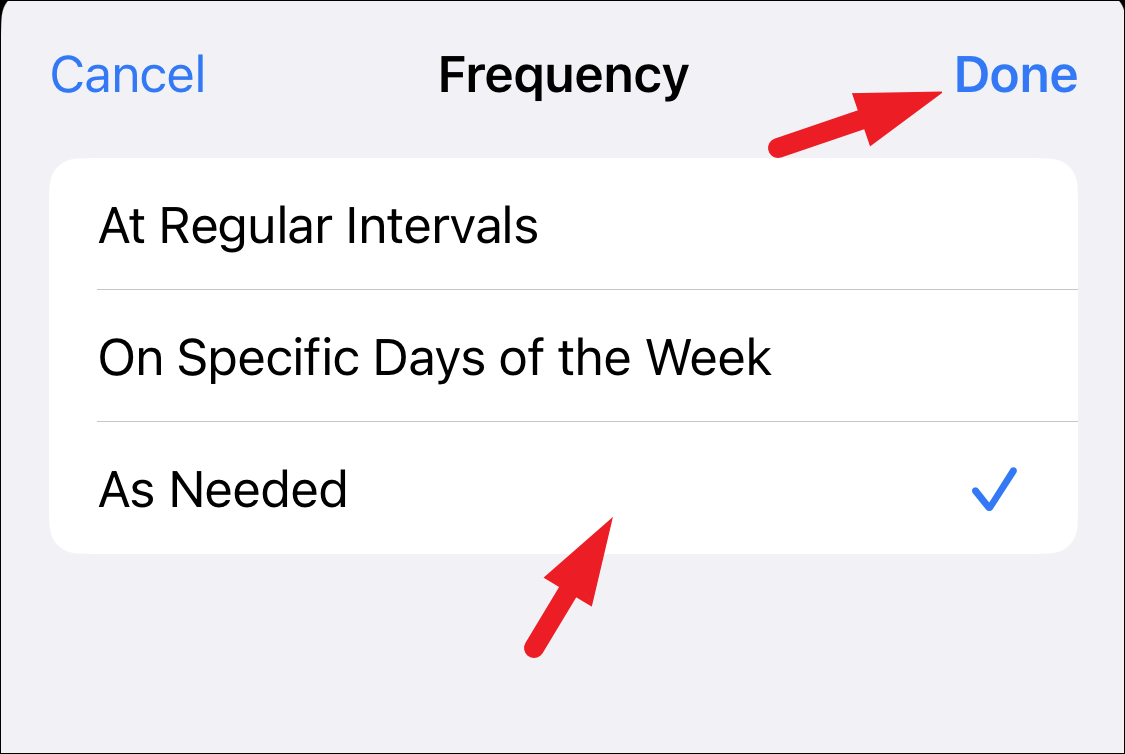
Next, on the ‘Frequency’ page, you will have to choose the desired frequency for the medication, though the options are pretty self-explanatory, below is a quick gist for your perusal:
- Regular Intervals: This option will allow you to set a schedule based on the number of days that need to elapse until your next dosage is due. This will work for most of the regular medications you are on that need to be taken every day, every other day, or so on.
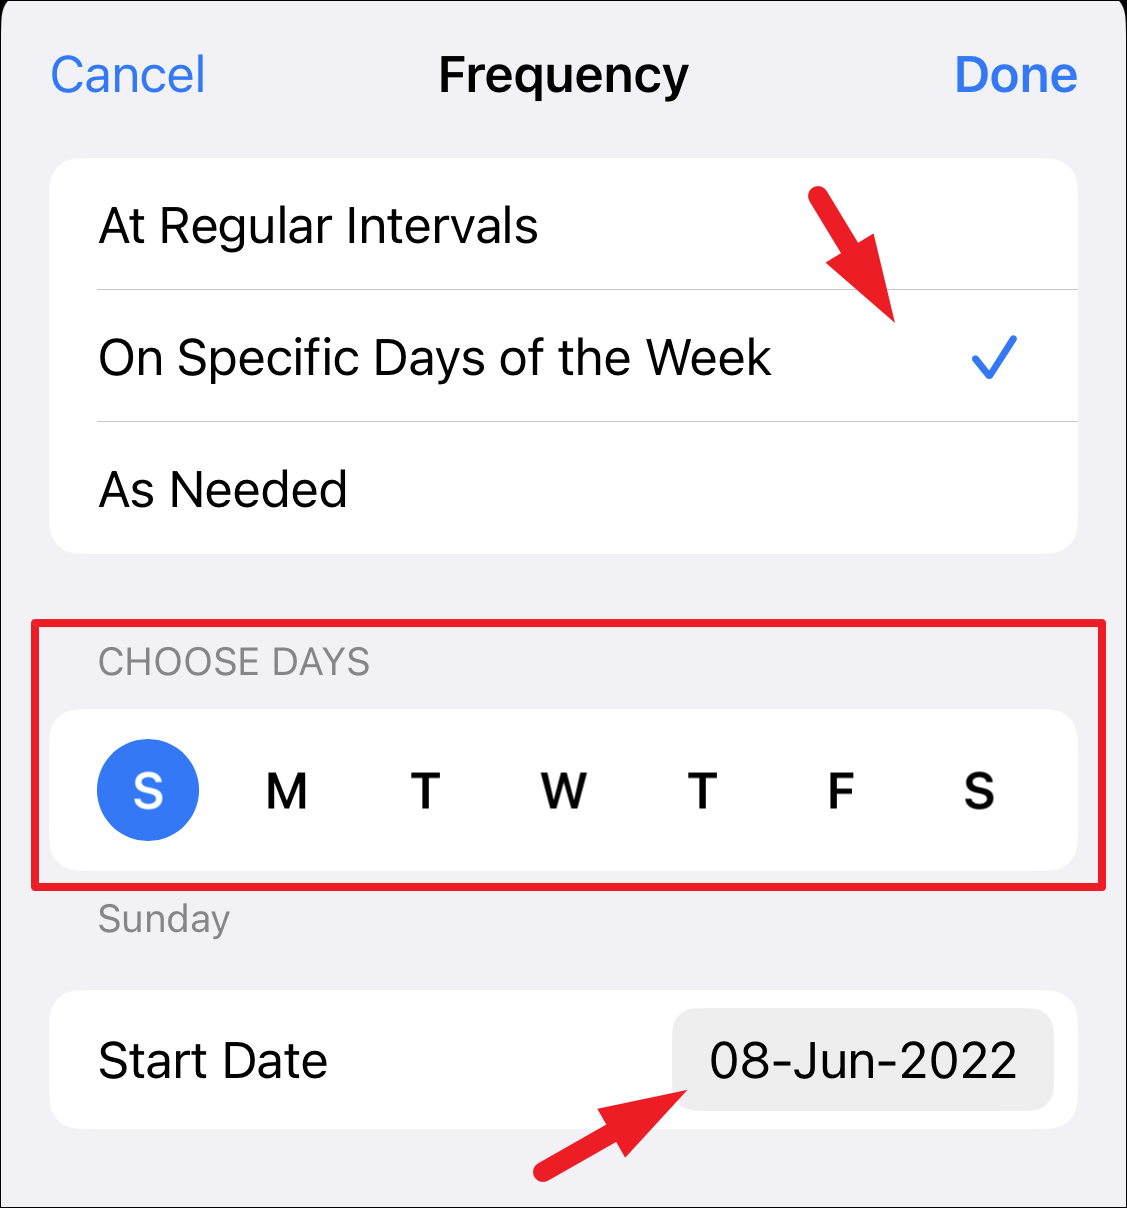
- On a Specific Day of the Week: As the name suggests, this option will allow configuring the schedule based on the days of the week that you need to take the medication. This option is most suitable when there are irregular intervals between your dosages.
- As Needed: This option will work best for the medicines, supplements, and vitamins that you do not intake regularly but use occasionally. You will not get a reminder for medications marked as ‘As Needed’, though you can head to the Health app and manually log them as and when required.
If you have selected the ‘At Regular Intervals’ frequency, choose the frequency days from the ‘Choose interval’ section. After that, choose a start date for the medication by tapping on the date tile present right beneath it.
In case you have chosen the ‘Specific Days of the week’ frequency, select the days that you wish to be reminded of the dosage from the section. Then, select the starting date by tapping on the tile present below the section.
Once you have chosen and configured your desired frequency, tap on the ‘Done’ button present at the top right corner to confirm it.
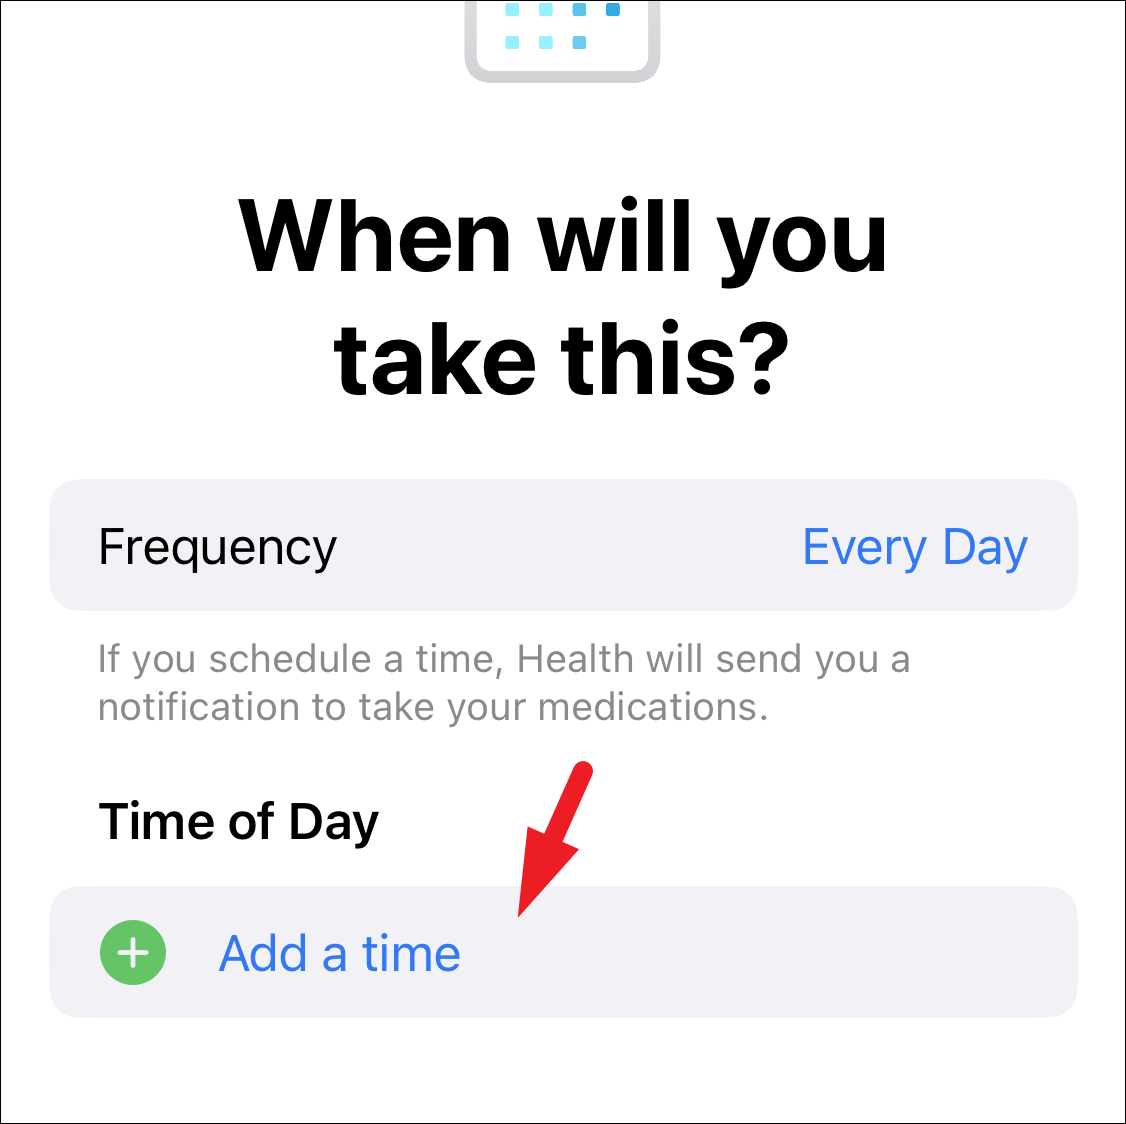
After that, if you have selected the interval-based frequency or the specific day frequency, you will be required to choose a time of the day when you wish to be reminded. To do so, tap on the ‘Add a time’ button present under the ‘Time of the Day’ section.
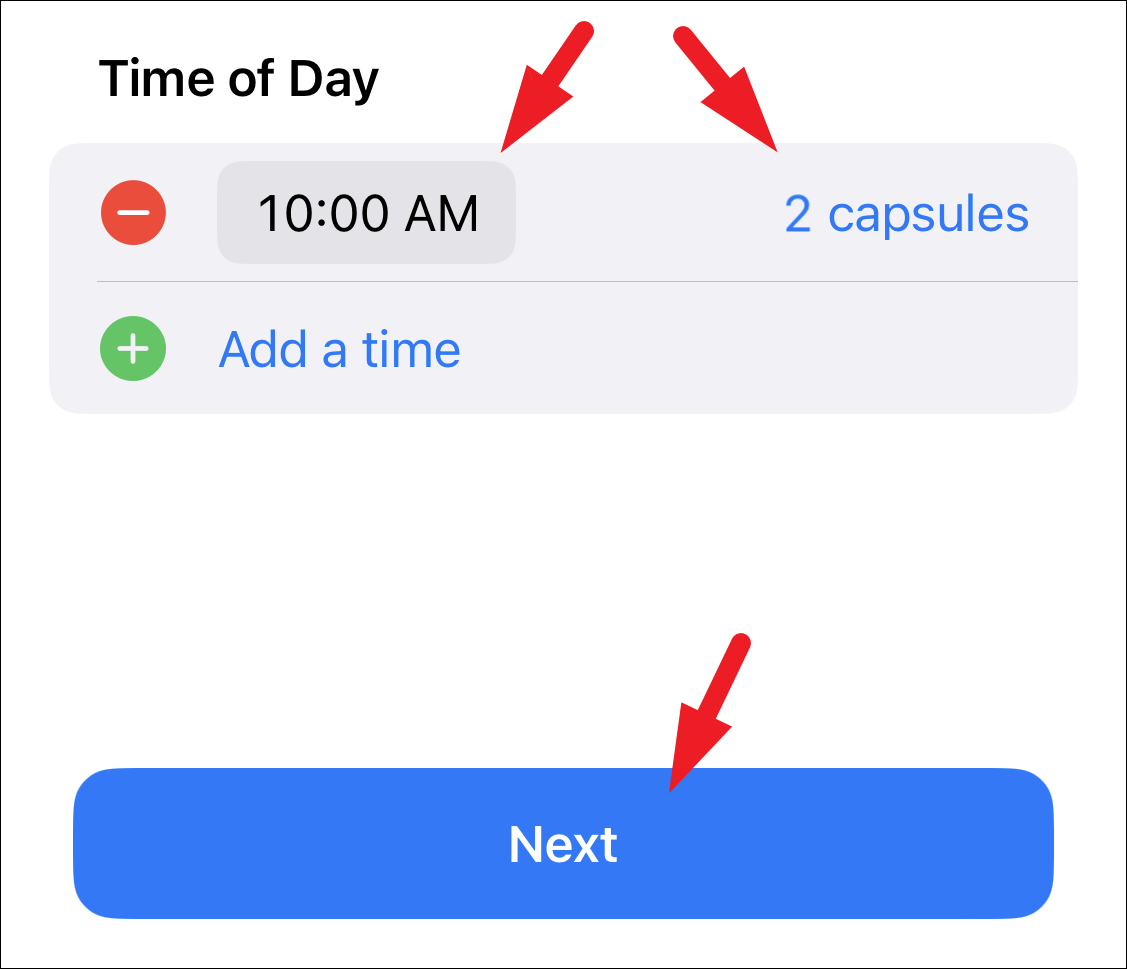
Next, tap on the mentioned time to change it according to your preference. After that, if you wish to change the number of medications, tap on mentioned quantity following the time field and type the required quantity. Once you have configured the time and quantity of the medication, tap on the ‘Next’ button present at the bottom of the page to proceed.
Note: If you need to take medication multiple times a day, you can add a reminder for another time by tapping on the ‘Add a time’ option present in the ‘Time of Day’ section.
On the next page, you can choose an icon for the medication by tapping on any of the icons present in the grid. In case you do not wish to have an icon, tap on the ‘Skip’ button to proceed. Otherwise, select an icon and tap ‘Next’ to proceed.

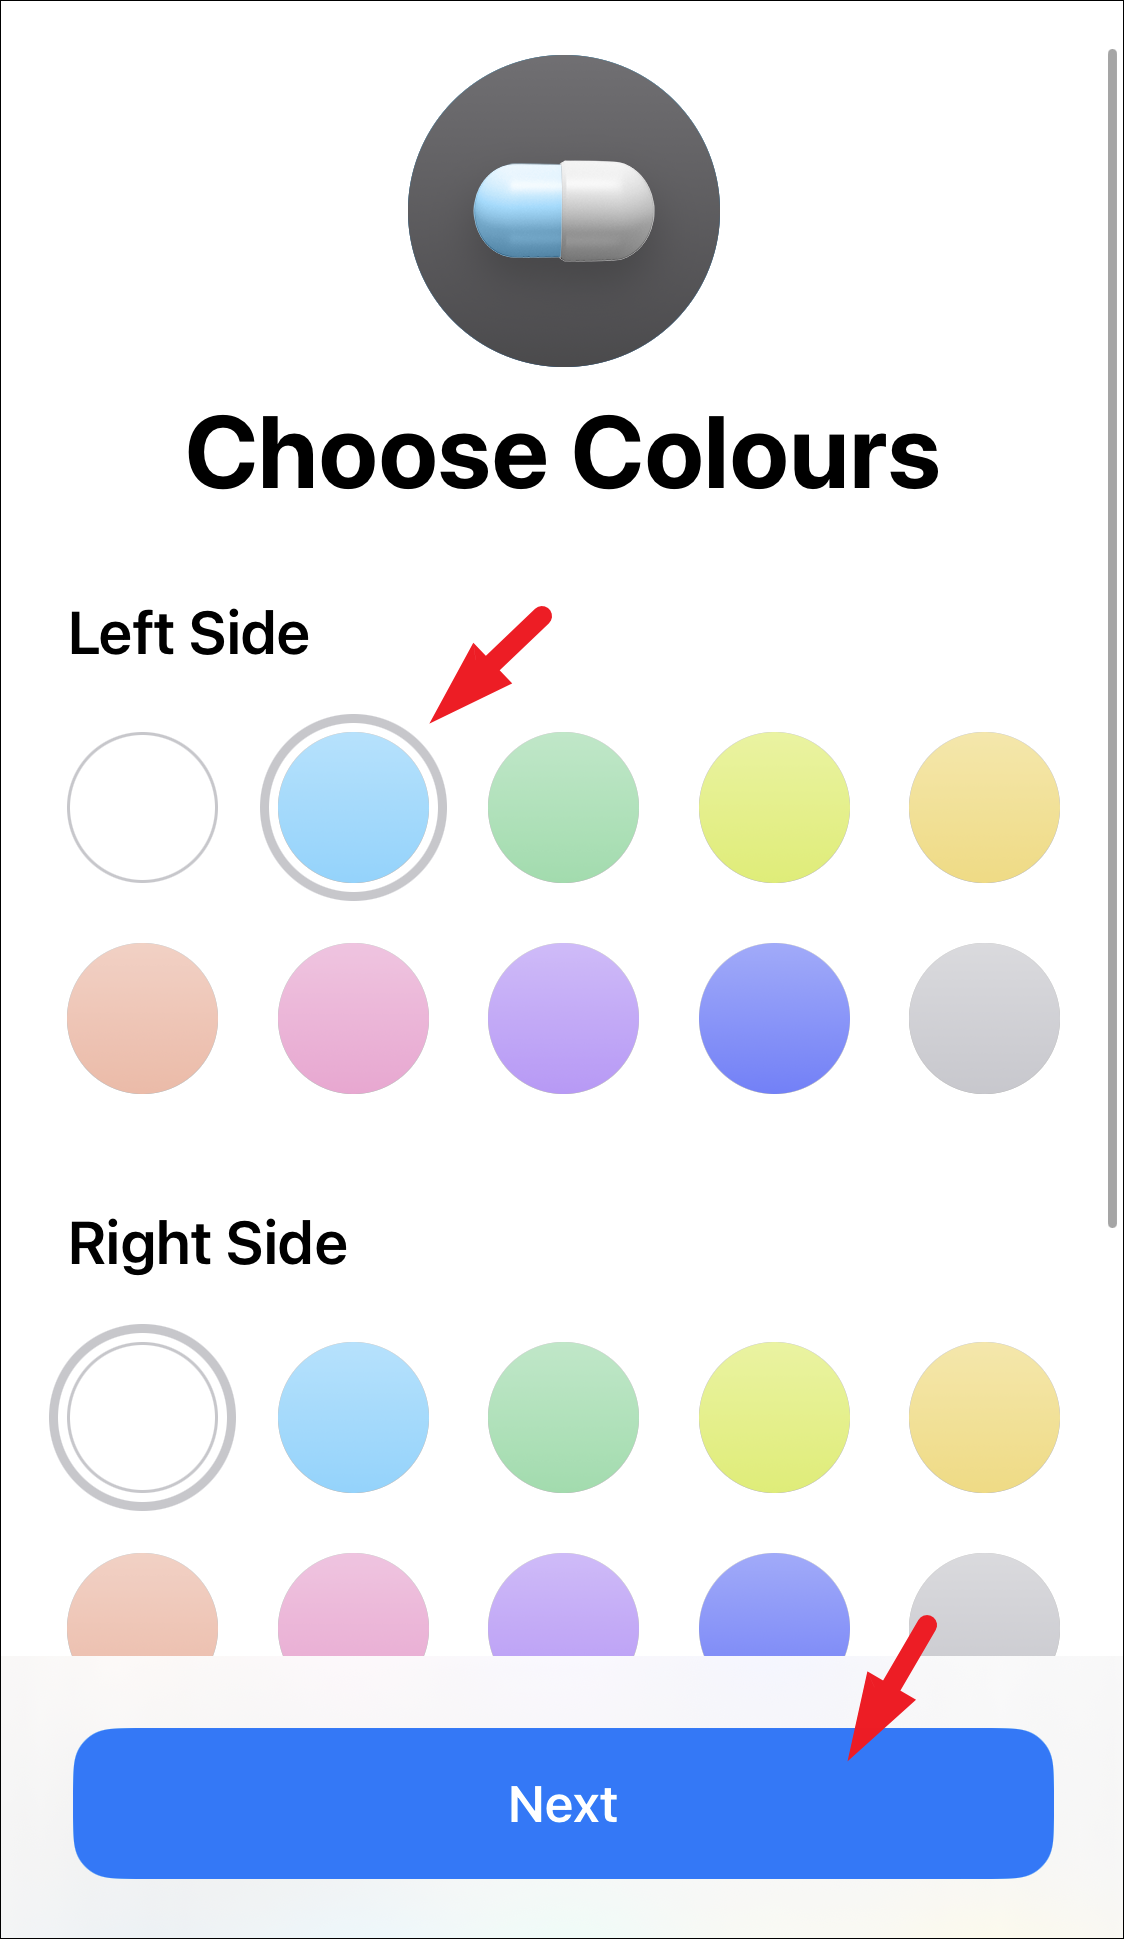
If you had chosen to display an icon for the medication, you can choose the color of the medication icon as well as the background to match the medication in real life from the color palette however you like. Once done, tap on the ‘Next’ button present in the bottom section of the window to proceed.
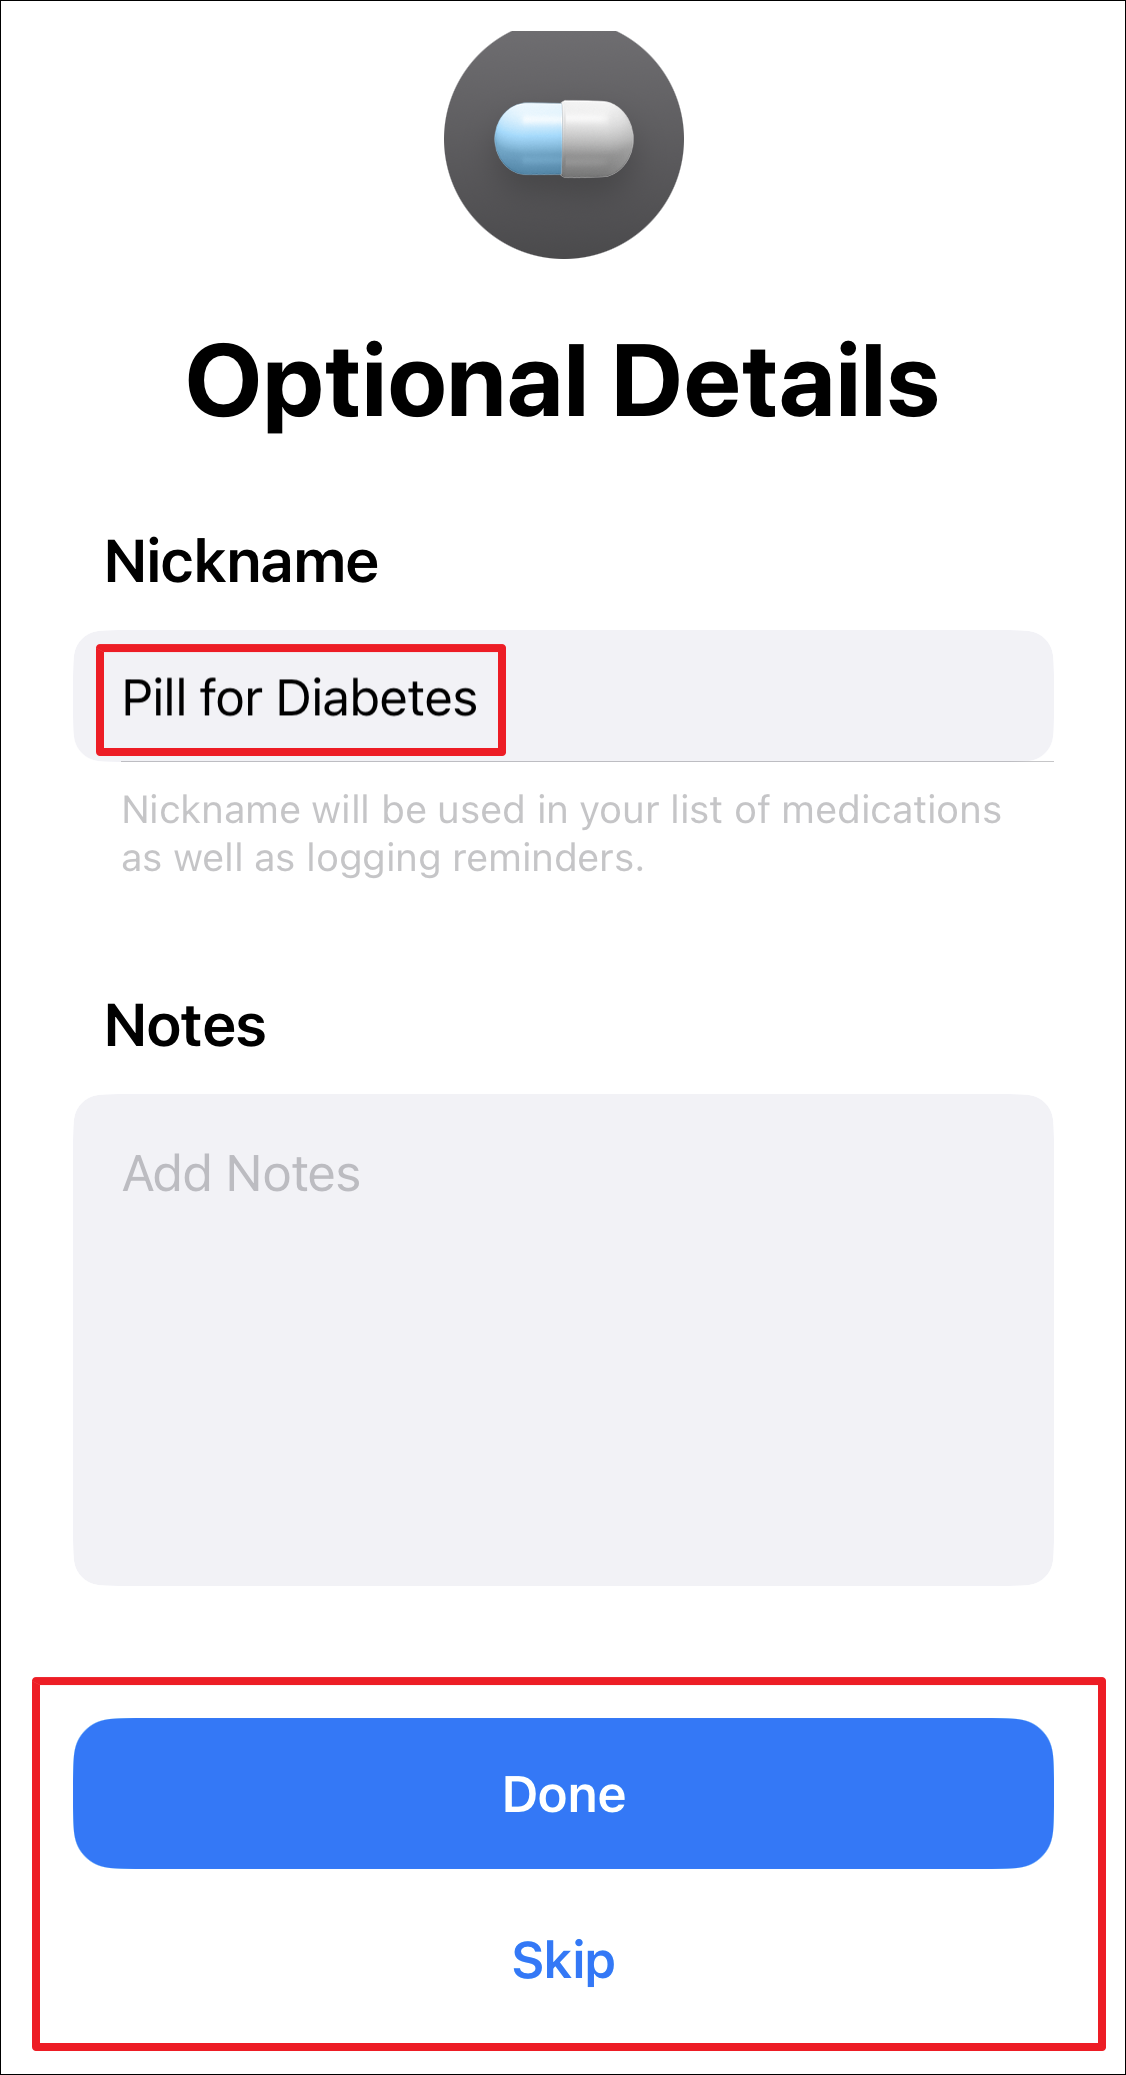
Then, finally, add a nickname for the medication entry you just created to easily identify the medication. You can also add notes for the medication, or any other information relevant to you using the ‘Notes’ section. Keep in mind these are optional details and you can completely skip this setup by clicking on the ‘Skip’ button present at the bottom of the page. If you have entered details, tap on the ‘Done’ button to add the medication and set the reminder.
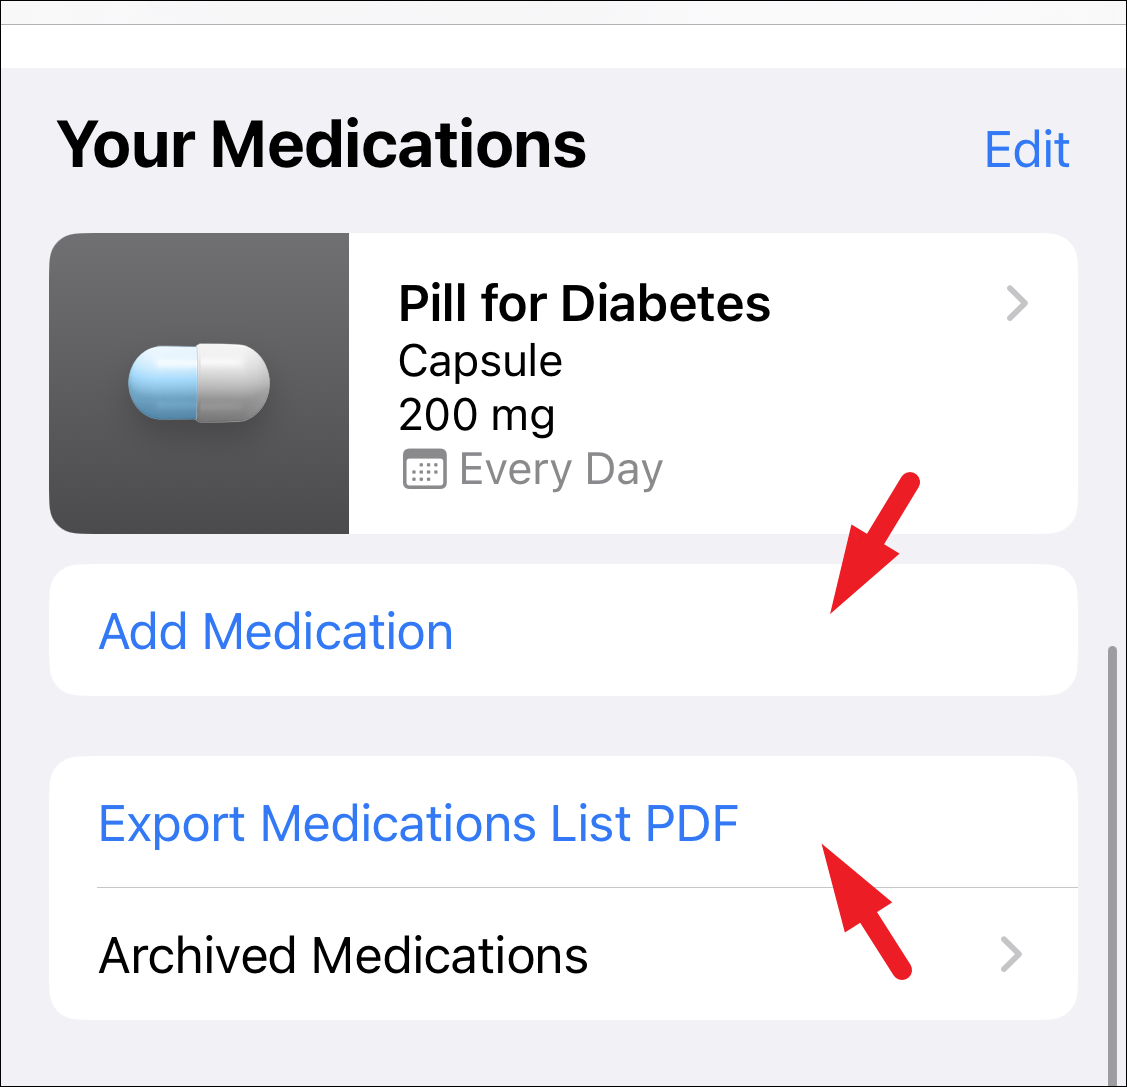
You will now be able to see all the medications that you have entered and set a schedule for under the ‘Your Medications’ section. You can also add more medication by tapping on the ‘Add medication’ button. Moreover, if you wish to see or send someone a complete list of medications that you have added to the Health app, simply tap on the ‘Export Medications List PDF’ tile to proceed. This will bring up an overlay window on your screen.
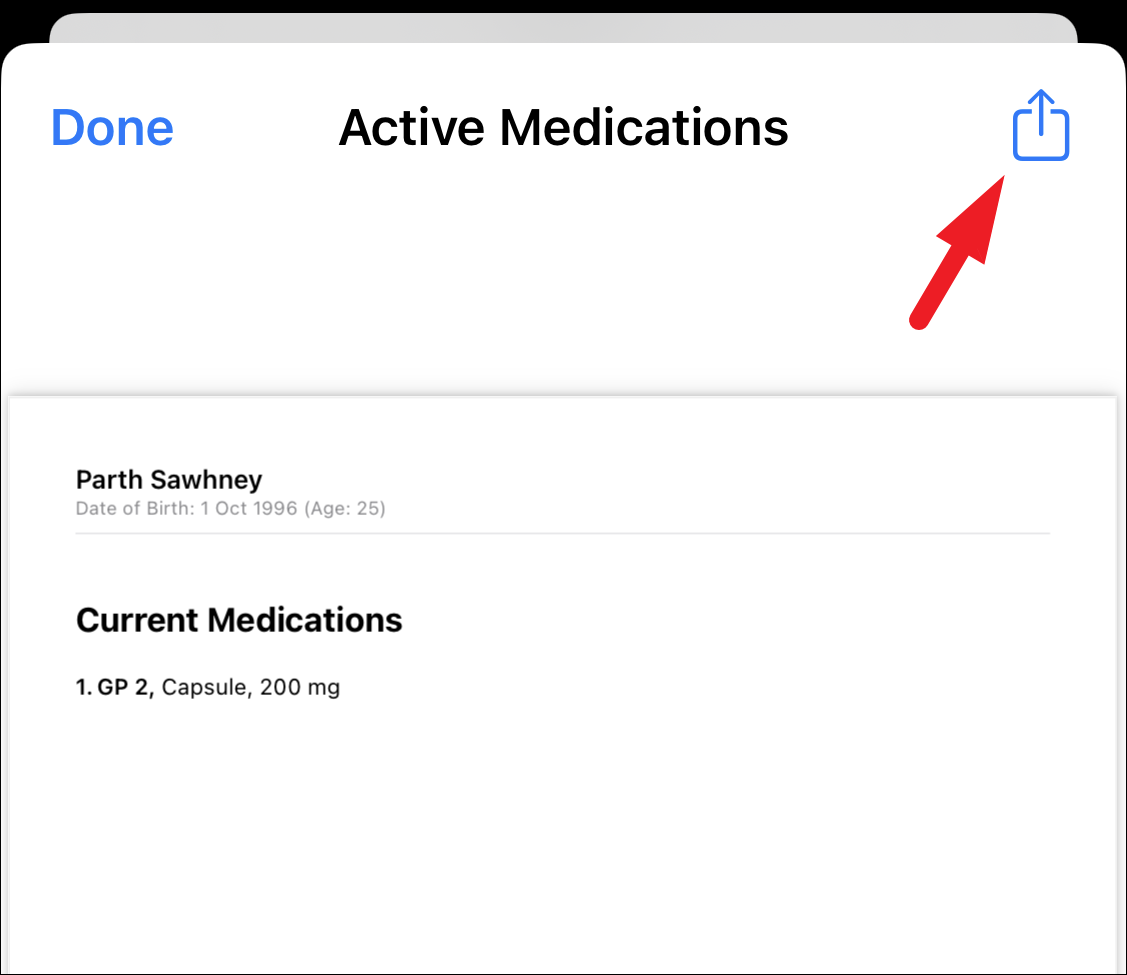
Next, tap on the ‘Share’ button present at the top right corner of the overlay window and share the PDF using your preferred platform.
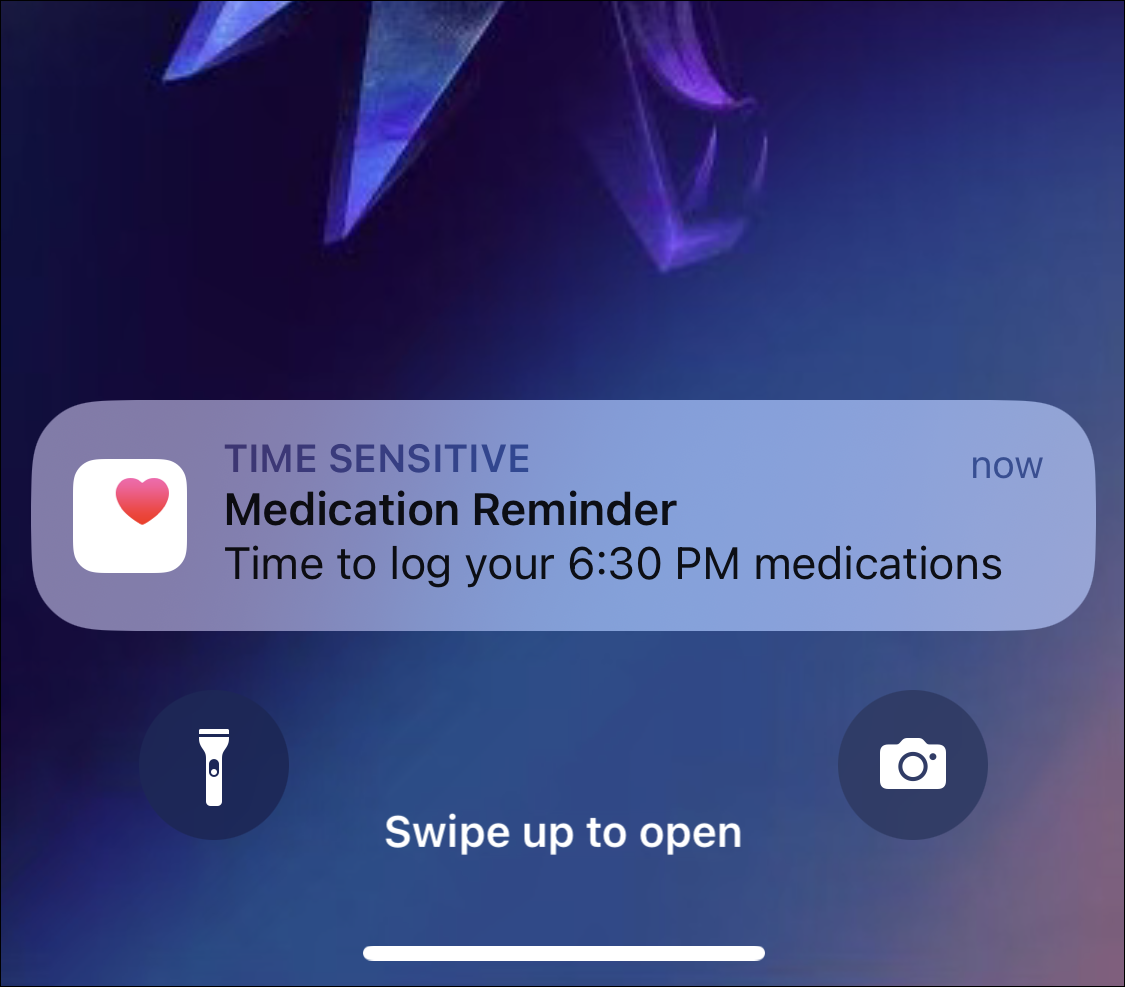
That’s it, you have successfully added and set up a schedule for your medications, which will be delivered to you at your chosen time.
There you go, folks. With iOS 16, you can set up reminders for your medication and never forget about taking a dose.


