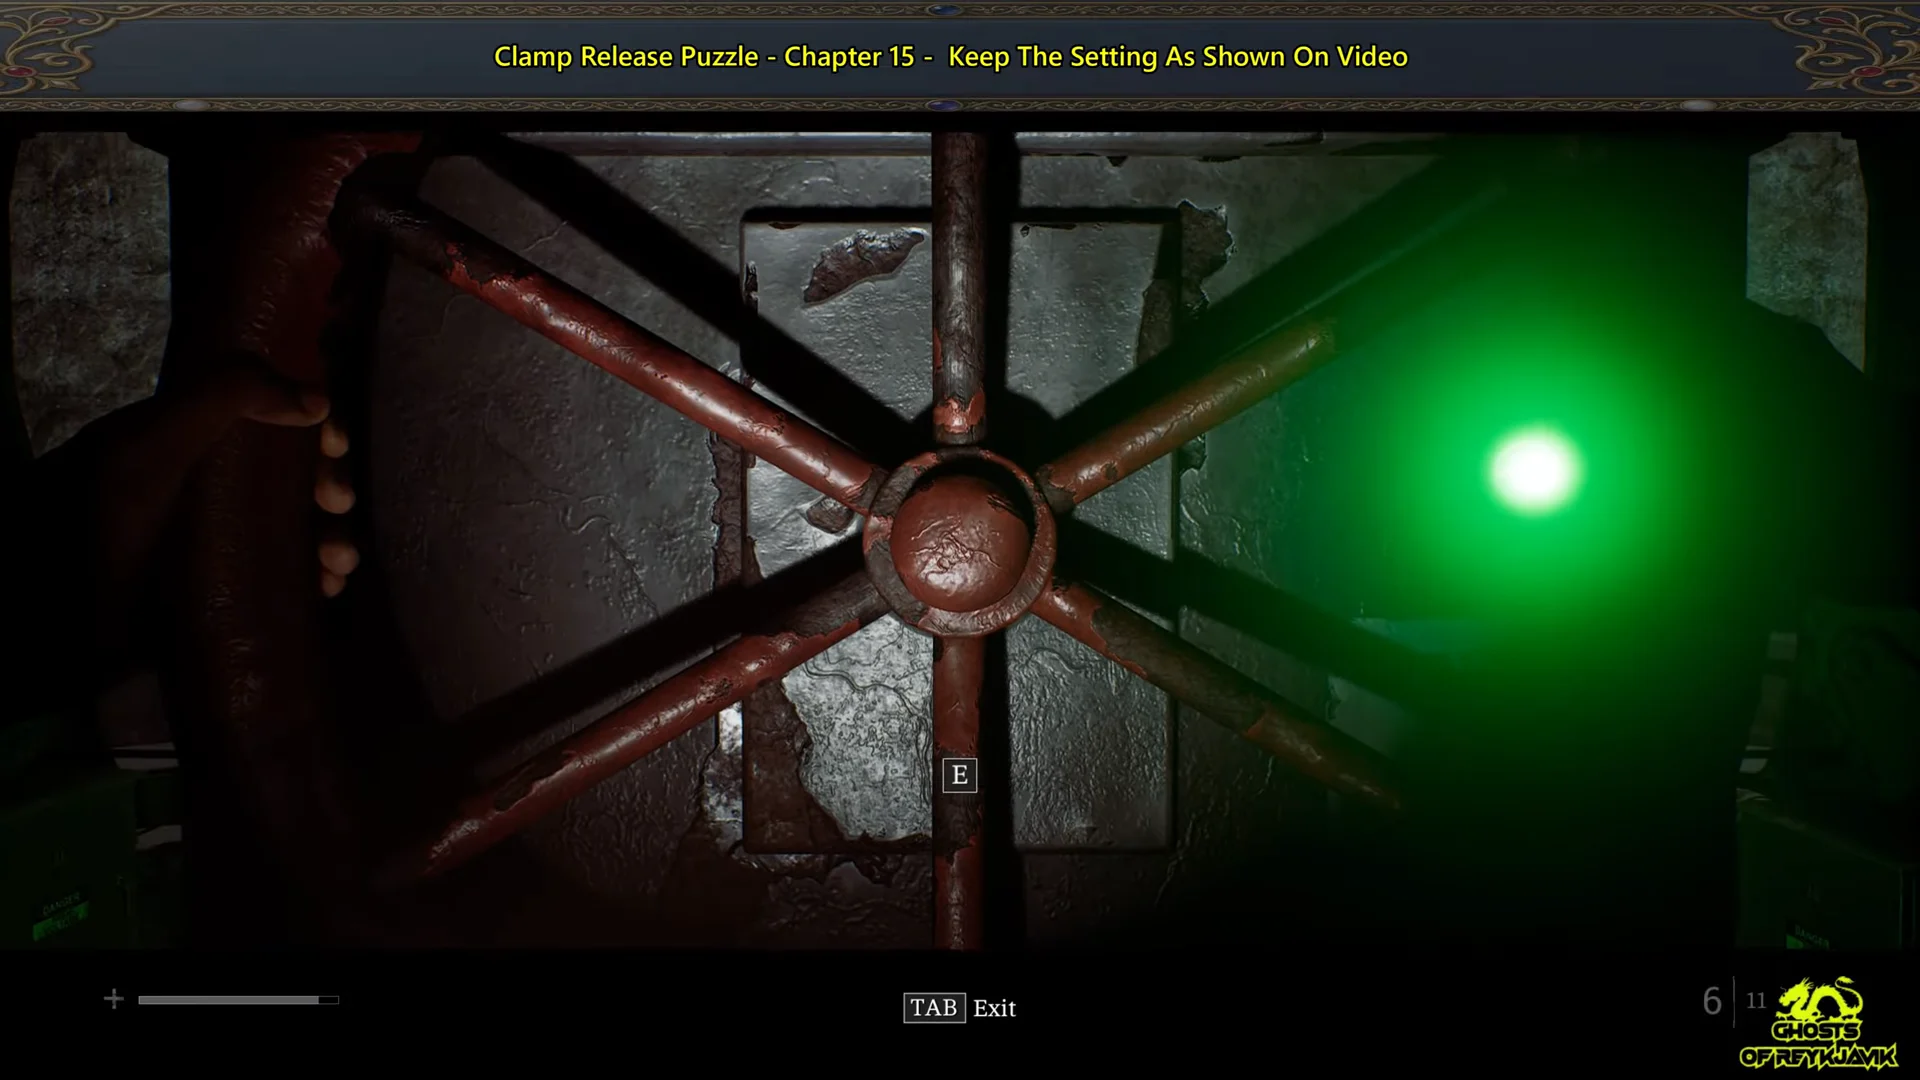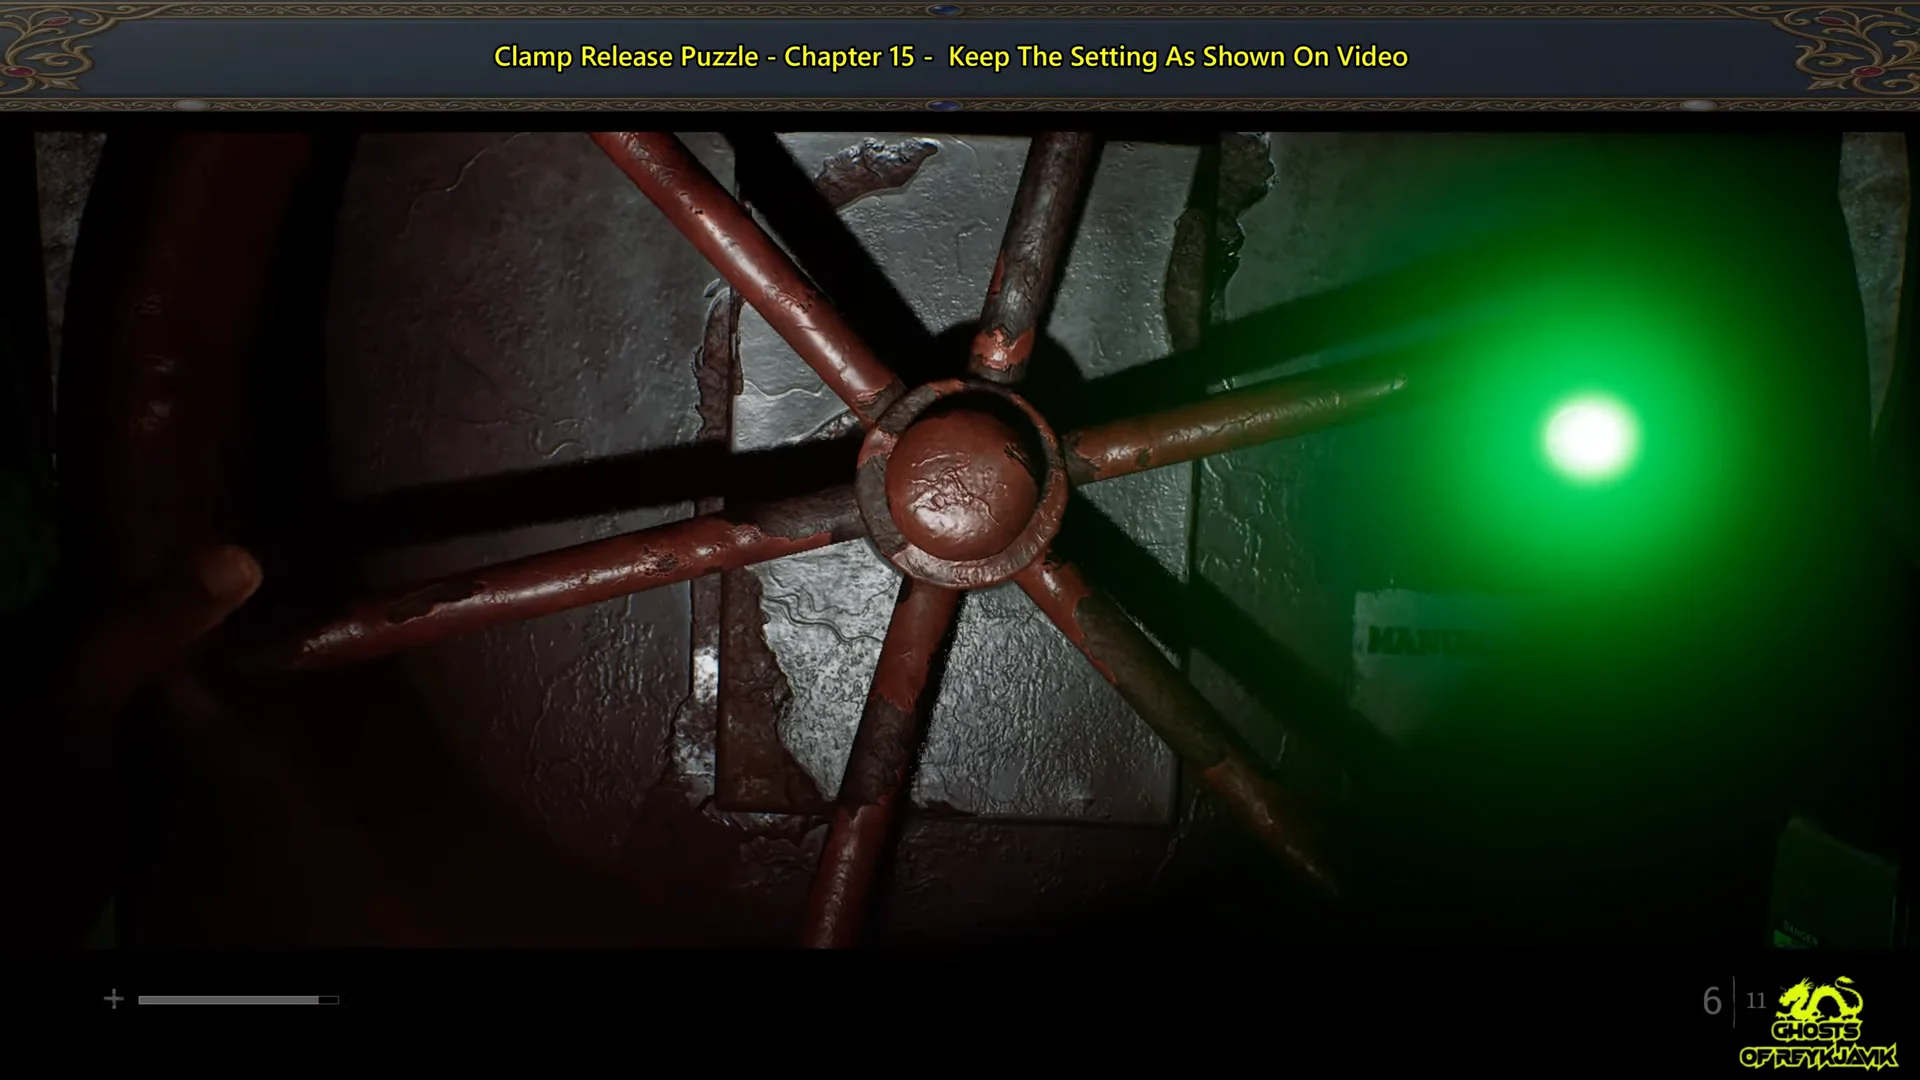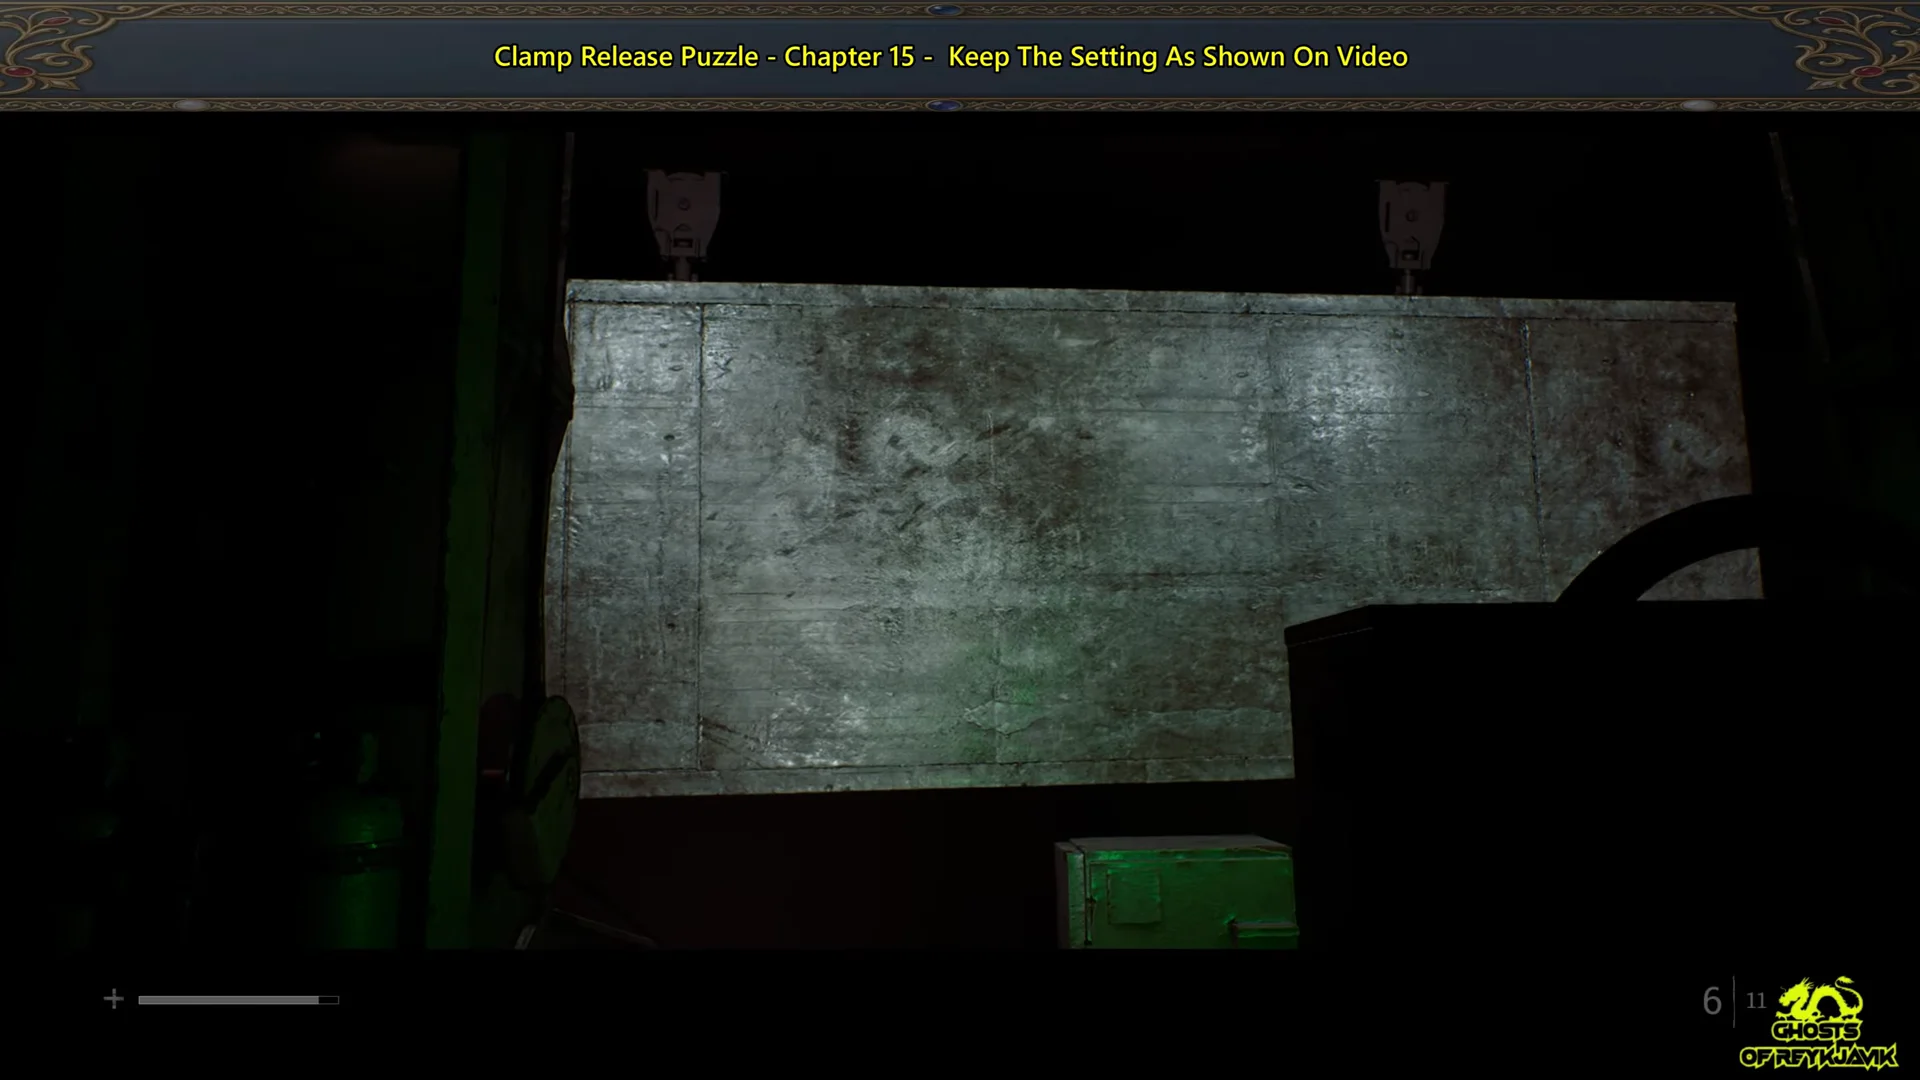
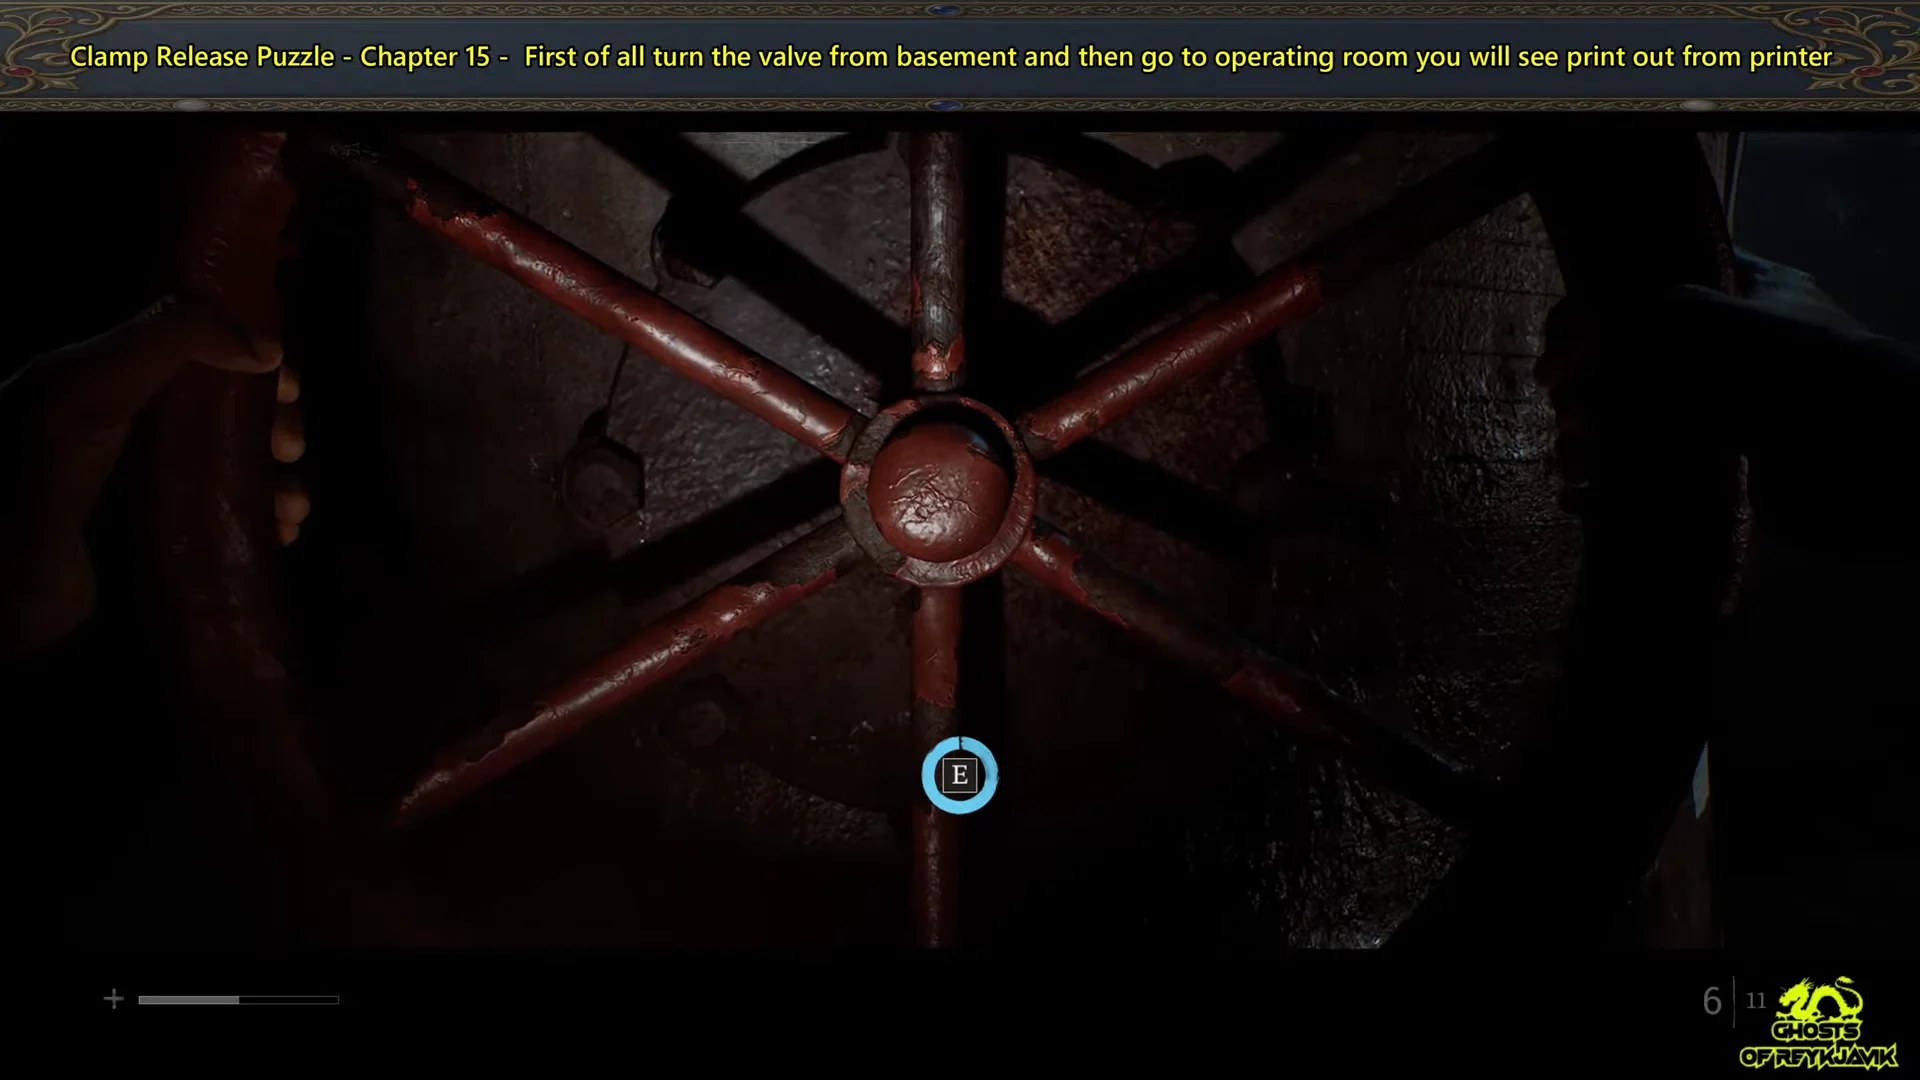
The Clamp Release Procedure in the SWDP – Different area of Silent Hill: Townfall asks you to free the clamps holding a shipping container in place. The printout beside the console is your only in-game clue, but its loose wording makes the exact dials, switches, and sliders hard to pin down. Two things gate your progress here: opening Valve F in the basement, then configuring the 920CEG control panel correctly.
Quick answer: Open Valve F in the basement, then set the 920CEG panel — Balance to Intermediate, code D71, Report switches 1/3/6, Battery One to B and Battery Two to C — press Release, and turn the red valve.
Open Valve F in the basement first
The control panel throws a warning until you restore pressure downstairs, so start with the valve. The hand-drawn facility map marks Valve F, the Generator, and Joe, which helps you orient in the dark corridors.
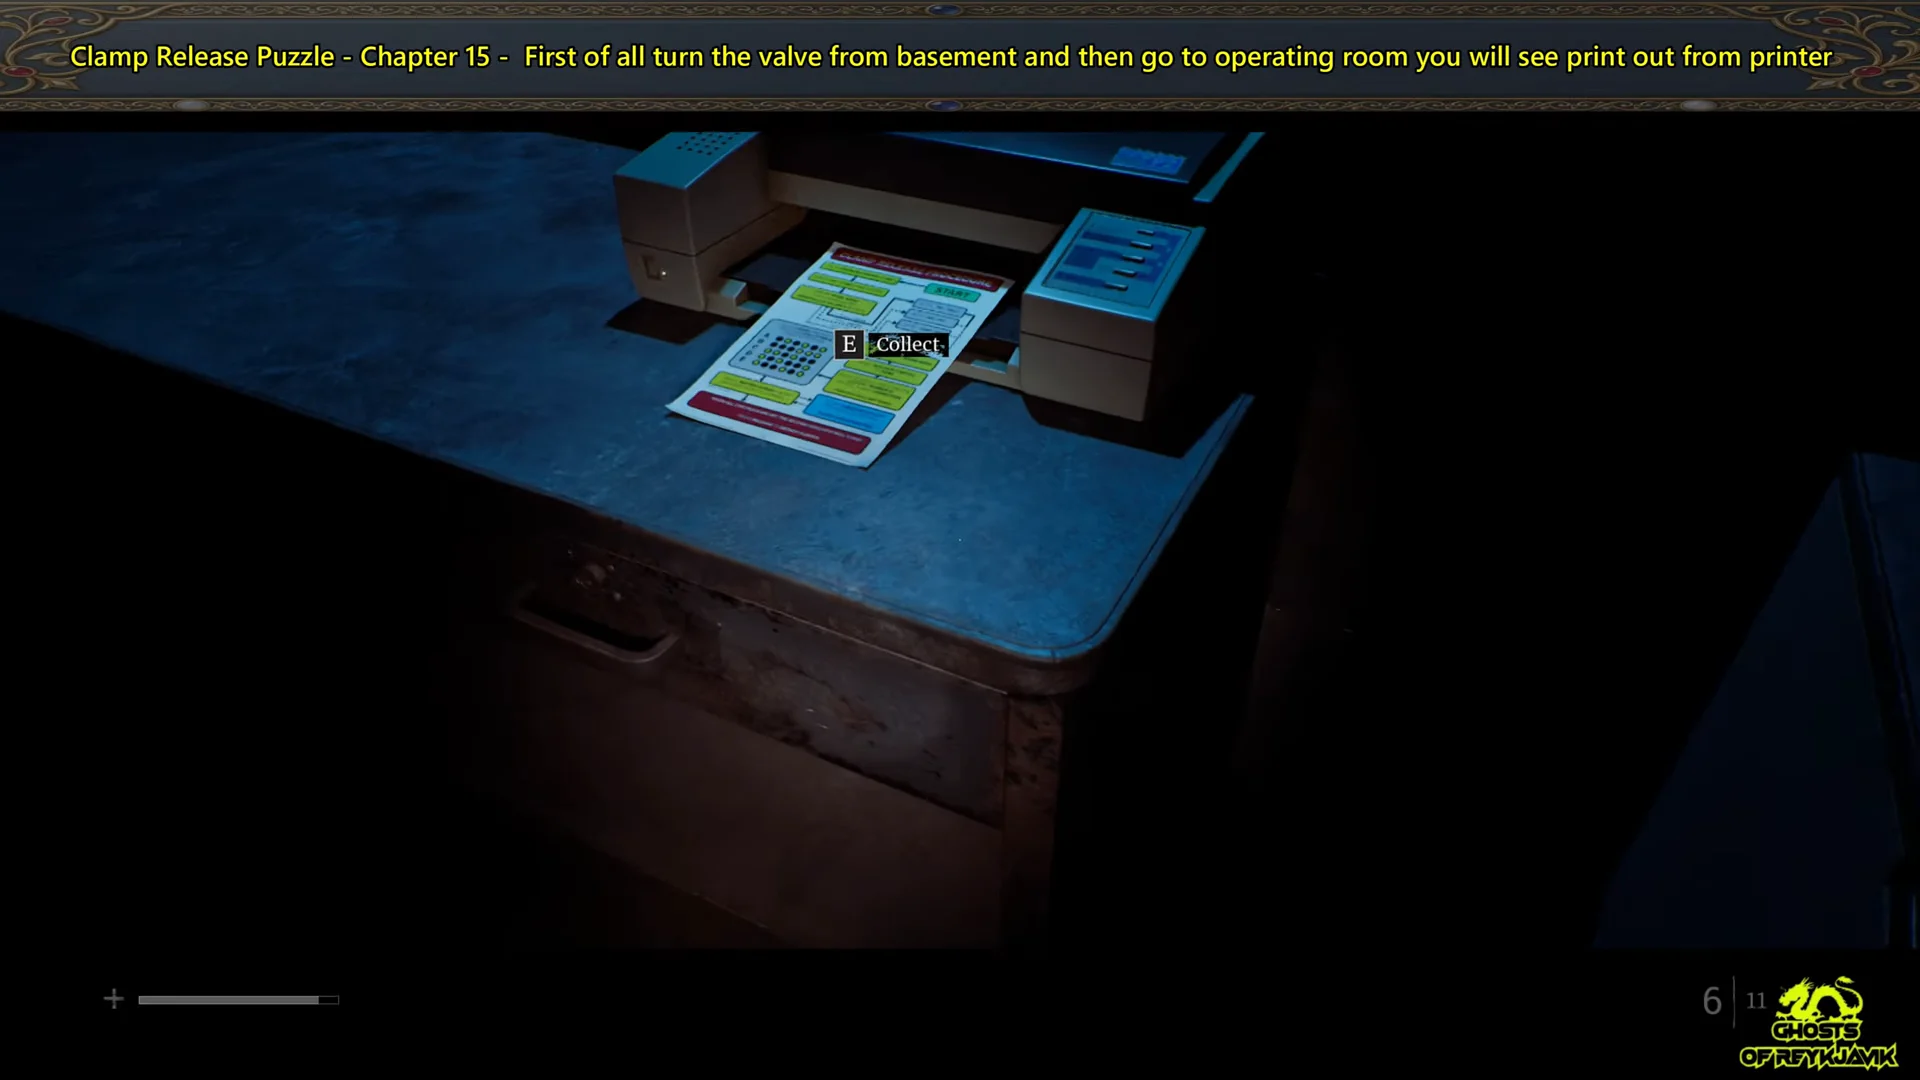
Grab the Clamp Release Procedure printout
Head back upstairs and step into the operating room. Collect the sheet waiting in the printer to the console’s left before using any controls; it contains the only diagram showing the layout of every board section.
Clamp Release control panel settings (Model 920CEG)
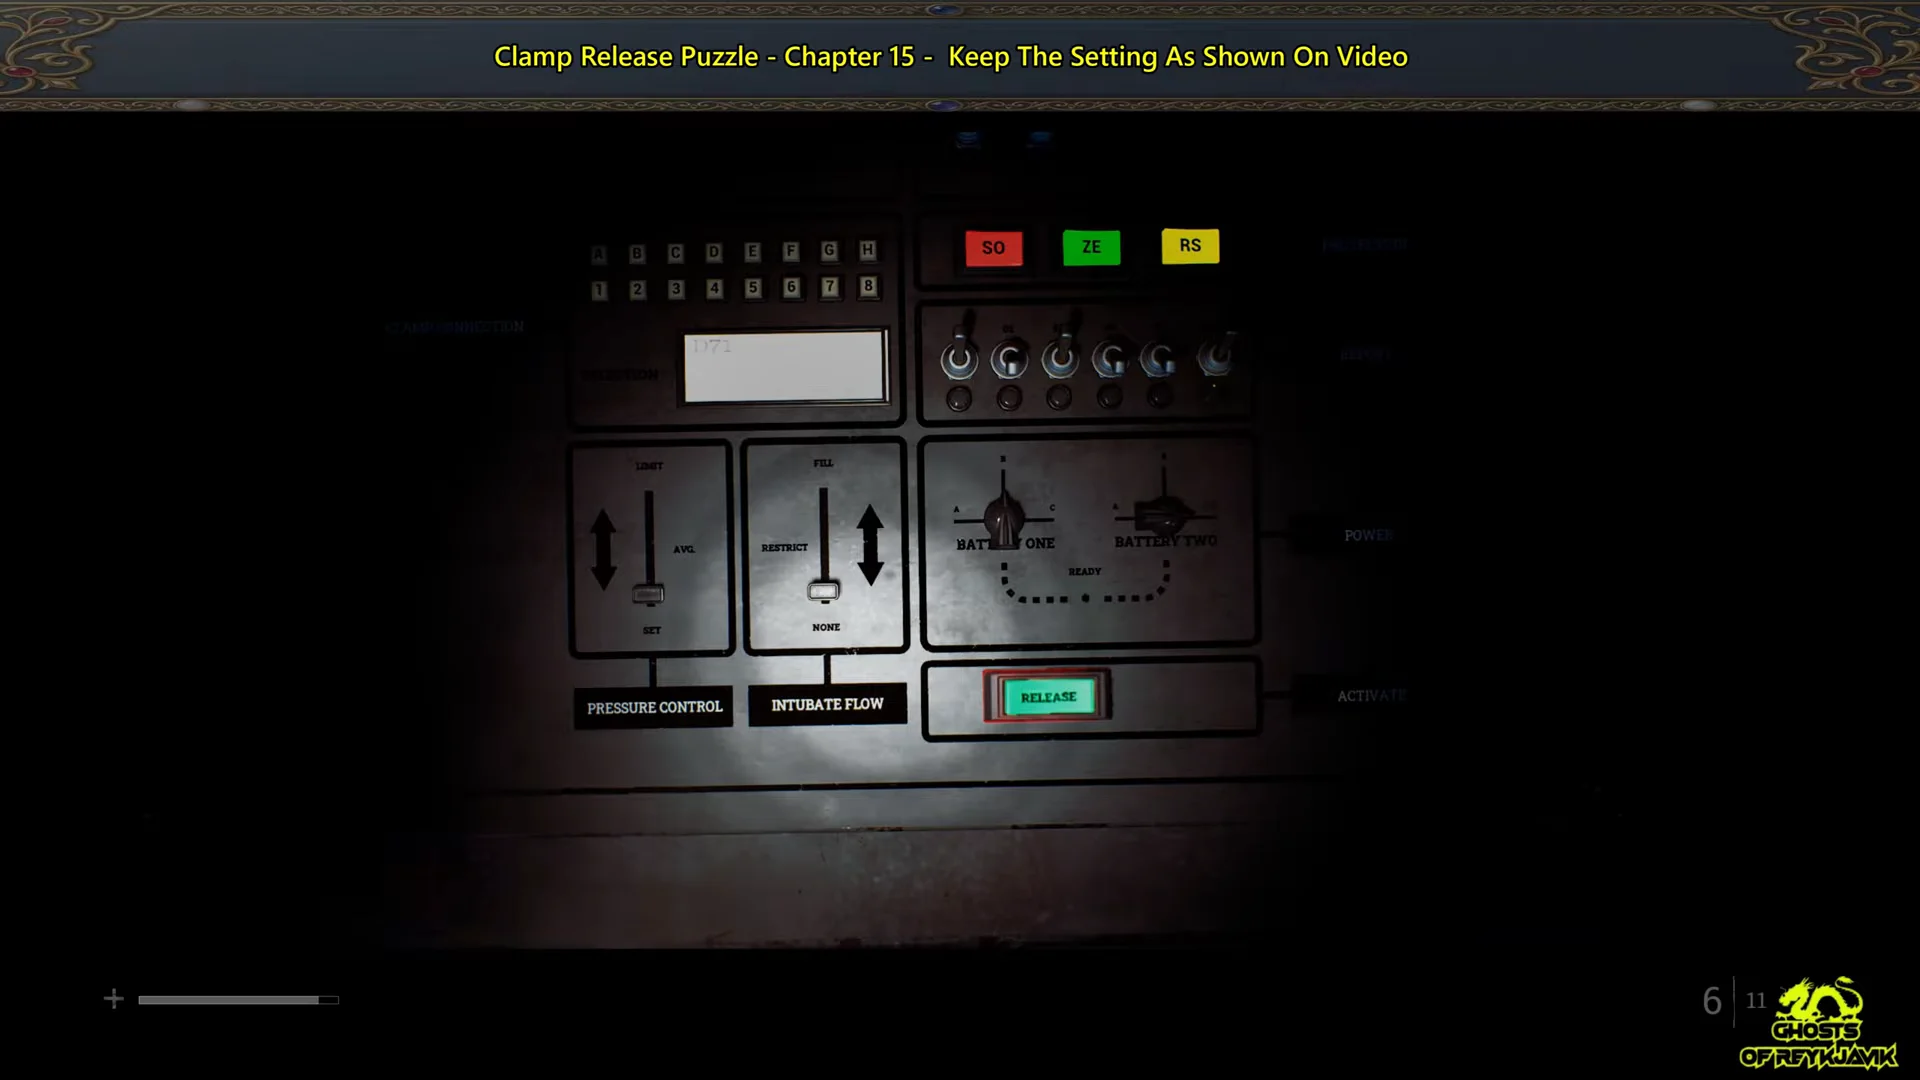
Interact with the Remote Clamp Control Panel on the console desk. Check the upper-left corner first — the model number reads 920CEG, confirming this is the correct board. The order you enter the values does not matter; only the finished board is checked. Apply each setting below.
| Section | Setting |
|---|---|
| Pressure Control (bottom left) | Dial down to Set |
| Notify (top) | Self and All to On |
| Balance (center) | Set Tension (L) to Intermediate and Tension (R) to Intermediate. |
| Run Off (center) | Down to Disengaged |
| Intubate Flow (bottom) | None |
| Clamp Connection (center) | Enter D71 |
| Report (center) | Switches 1, 3, and 6 lit |
| Battery One (center) | B (pointing up) |
| Battery Two (center) | C (pointing right) |
| Protection (center) | SO, ZE, or RS (any) |
The settings people get wrong
Clamp Connection code D71: This code identifies the clamps rather than acting as a password, and it is visible through the observation window on the clamp arms. Open the keypad and punch it in exactly, letter first, so D71 shows on the SELECTION display. Entering the digits without the leading “D” will not register.
Report switches: The clamp’s letter ID drives this row. For D, light switches one, three, and six only — you will see the yellow light appear beneath each active switch. Any extra lit switch makes the whole configuration invalid.
Battery One, Battery Two, and Protection: Set Battery One to B (directly above) and Battery Two to C (to the right); the selectors share the same lettering, so it is easy to mix them up. When both are correct the green READY light comes on. The Protection buttons — SO, ZE, and RS — stand for Simon Ordell, Zoe Ellis, and Richard, and any of the three completes the puzzle without changing anything else.
Press Release and confirm it worked
Look at the Activate panel along the board’s bottom edge. A correct setup makes the green Release button flash, indicating success. Press it to play a short scene as the heavy clamp gate starts moving; an autosave then records this stage as complete.
If Release remains dark, check the Report switches, the two battery selections, and the D71 input; these are the three entries players most commonly get wrong.
Turn the red valve to raise the blast gate
The console takes care of the electronics, but you still need to pull the gate by hand. Before leaving the operating room, collect anything else you want, including the printed procedure.