Windows 11 users who own an iPhone have long sought a seamless way to integrate their messaging between devices. While Mac users enjoy this convenience effortlessly, Windows users have faced challenges—until now. With the introduction of Intel Unison, you can now sync your iPhone with your Windows 11 PC and use iMessage directly from your computer.
What is Intel Unison?
Intel Unison is an application developed by Intel that bridges the gap between your iPhone and Windows 11 PC. It allows you to send and receive messages (including iMessages), view and manage notifications, and transfer files between devices. Unlike the existing ‘Phone Link’ app on Windows, which has limited functionality with iOS devices, Intel Unison offers a more fluid and comprehensive experience.
Although originally intended for 12th Gen Evo Systems, Intel Unison has been found to work on PCs with other CPUs as well. This broadens its accessibility to a wider range of users looking to enhance their cross-device interaction.
There are some limitations to be aware of. Currently, Intel Unison only supports pairing one phone with one PC at a time, unlike ‘Phone Link’ which supports multiple devices. Additionally, phone mirroring is not yet available but may be included in future updates.
On a positive note, Intel Unison utilizes Wi-Fi Direct for connectivity, meaning it does not require both devices to be on the same network, potentially offering a smoother connection experience compared to ‘Phone Link’.
To begin using iMessage on your Windows 11 PC, you’ll need to install Intel Unison on both your PC and your iPhone, and then pair them. Follow the detailed steps below to get started.
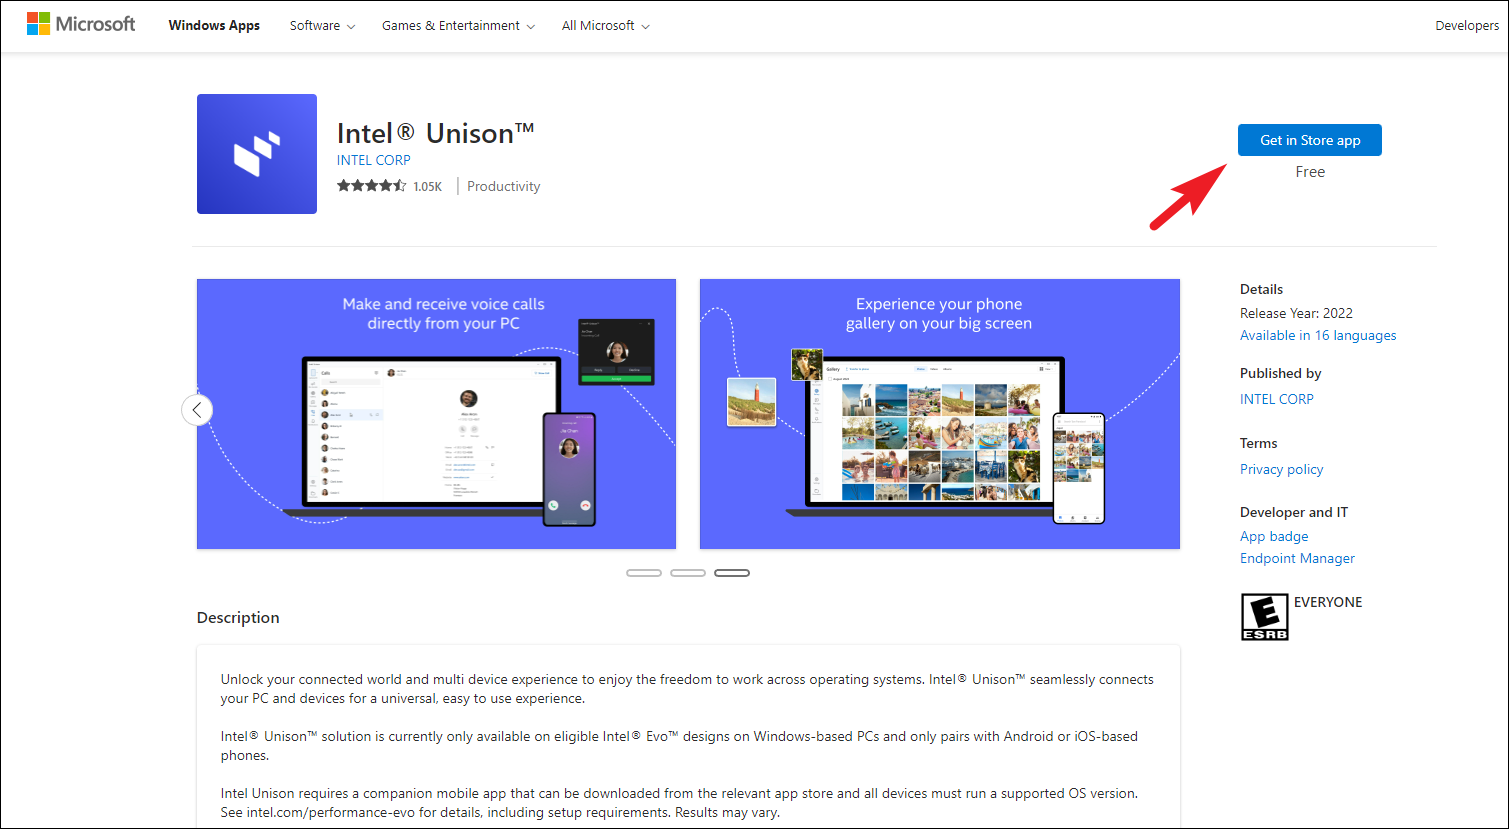
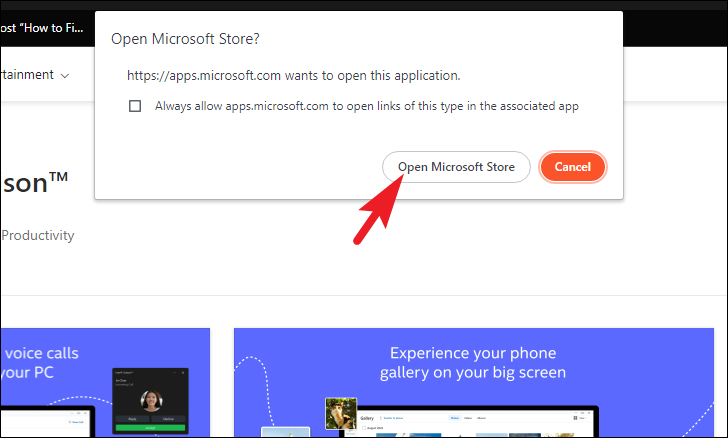
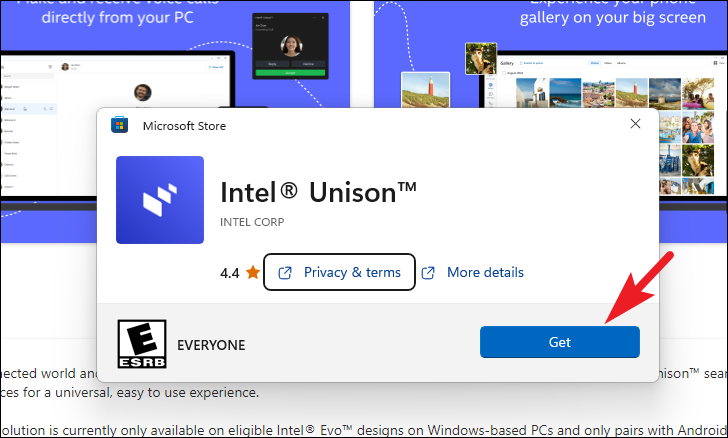
Download Intel Unison on Your Windows 11 PC
Intel Unison is available on the Microsoft Store. However, if you can’t find it through the Store’s search function in your region, you can download it directly from the Microsoft website.


Your PC setup for Intel Unison is now complete. You should see the pairing screen, ready for you to connect your iPhone.
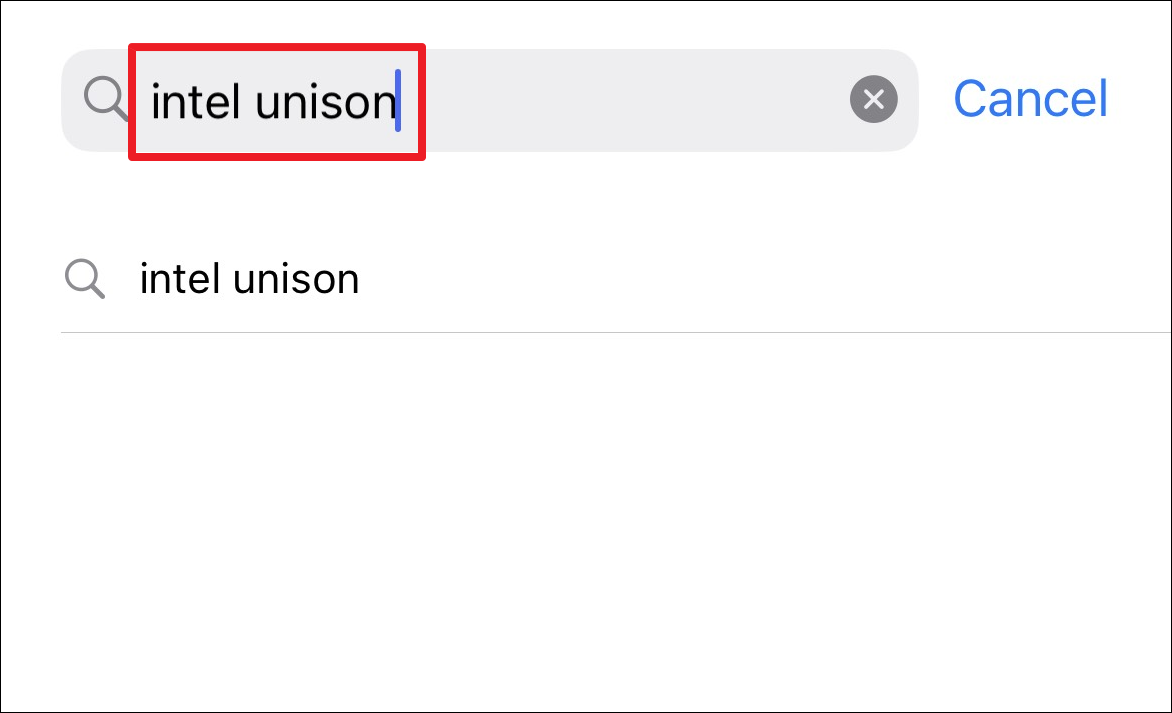
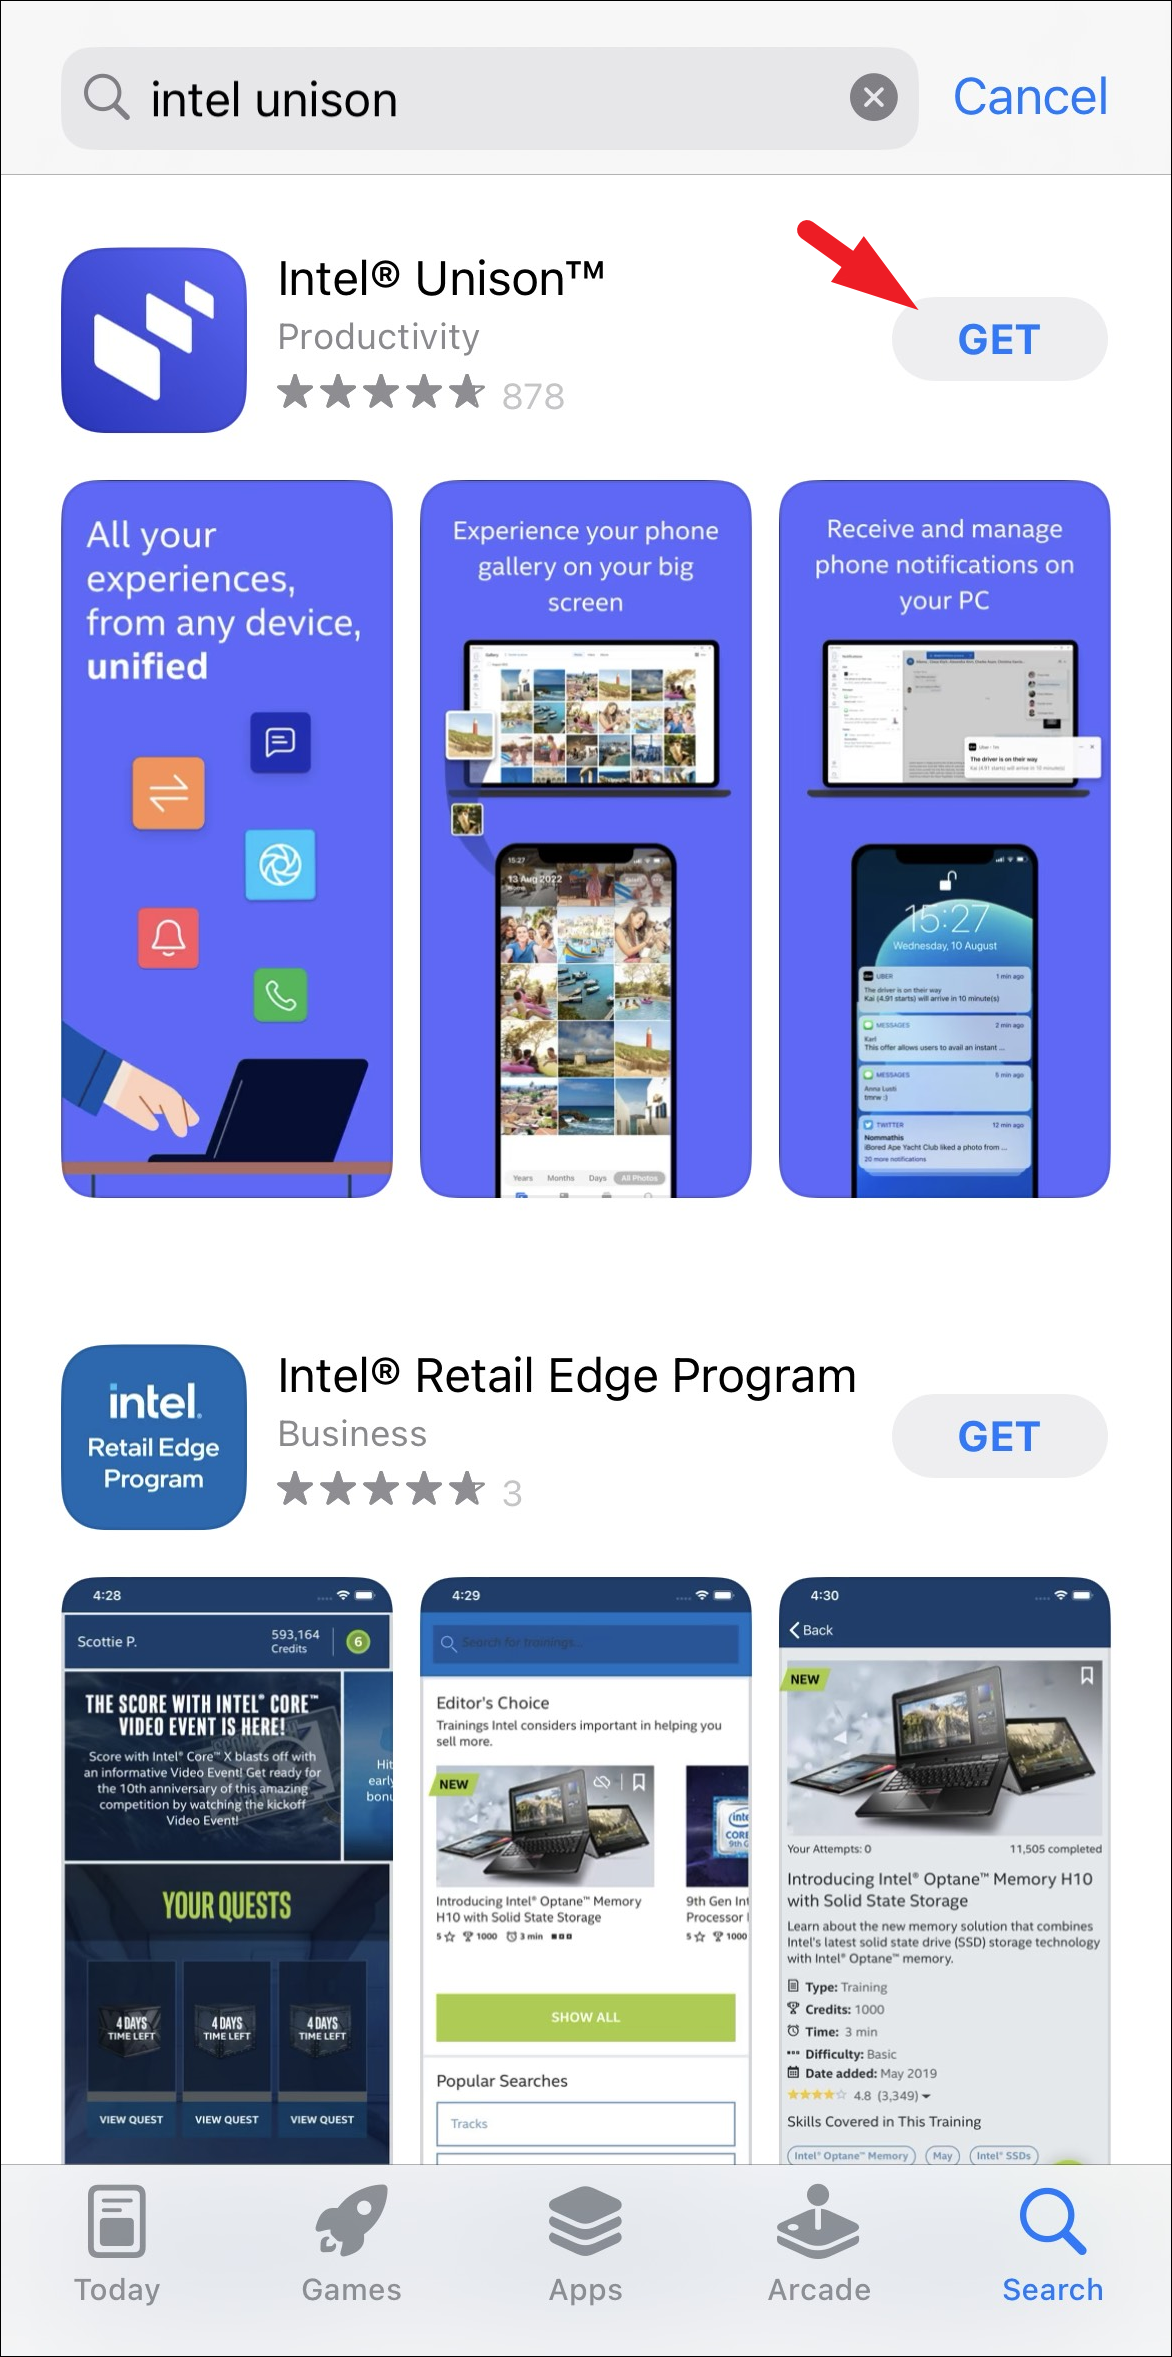
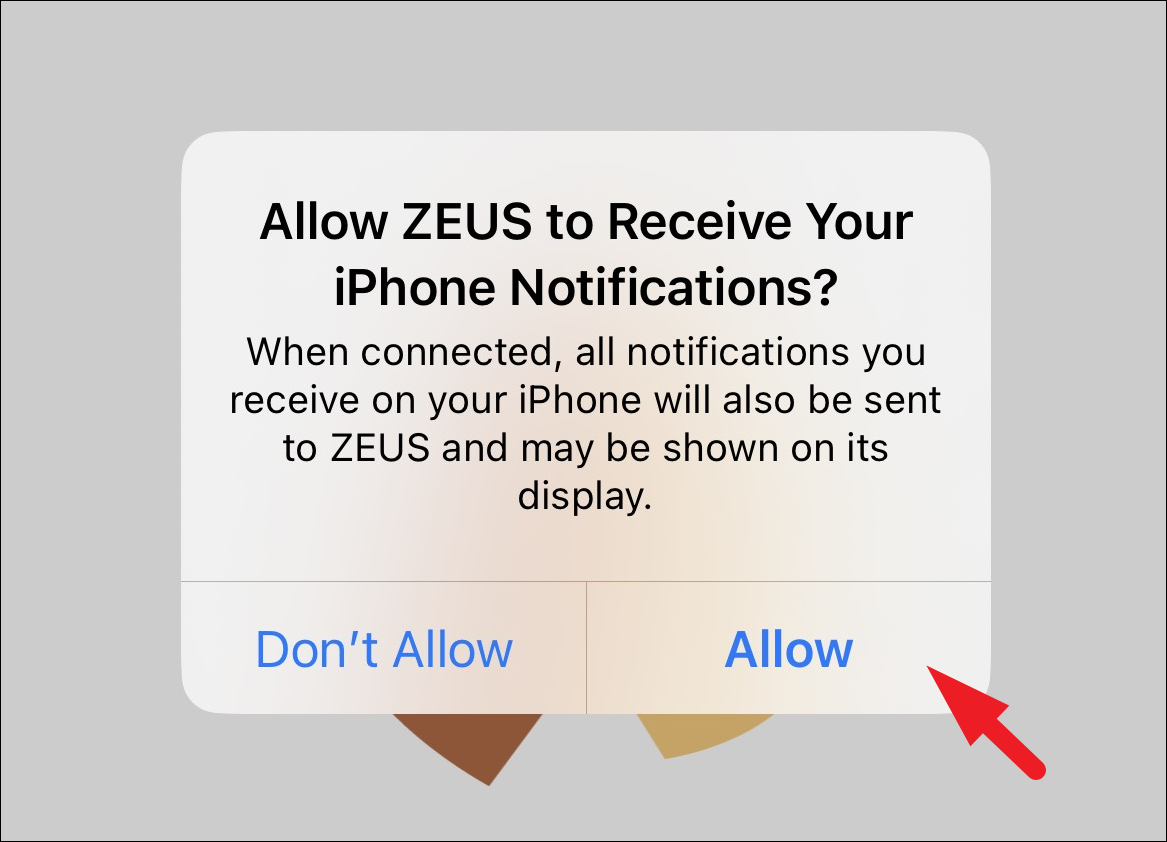
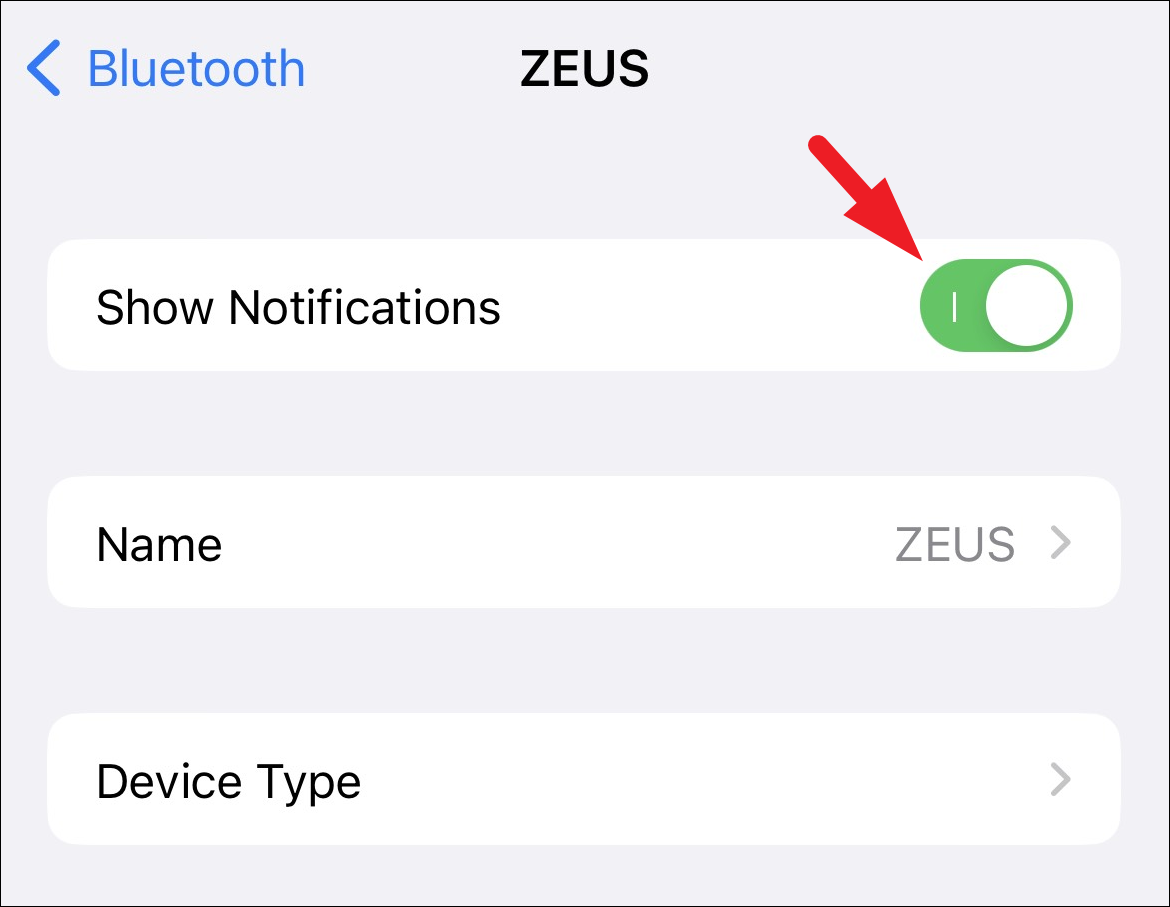
Download and Set Up Unison on Your iPhone
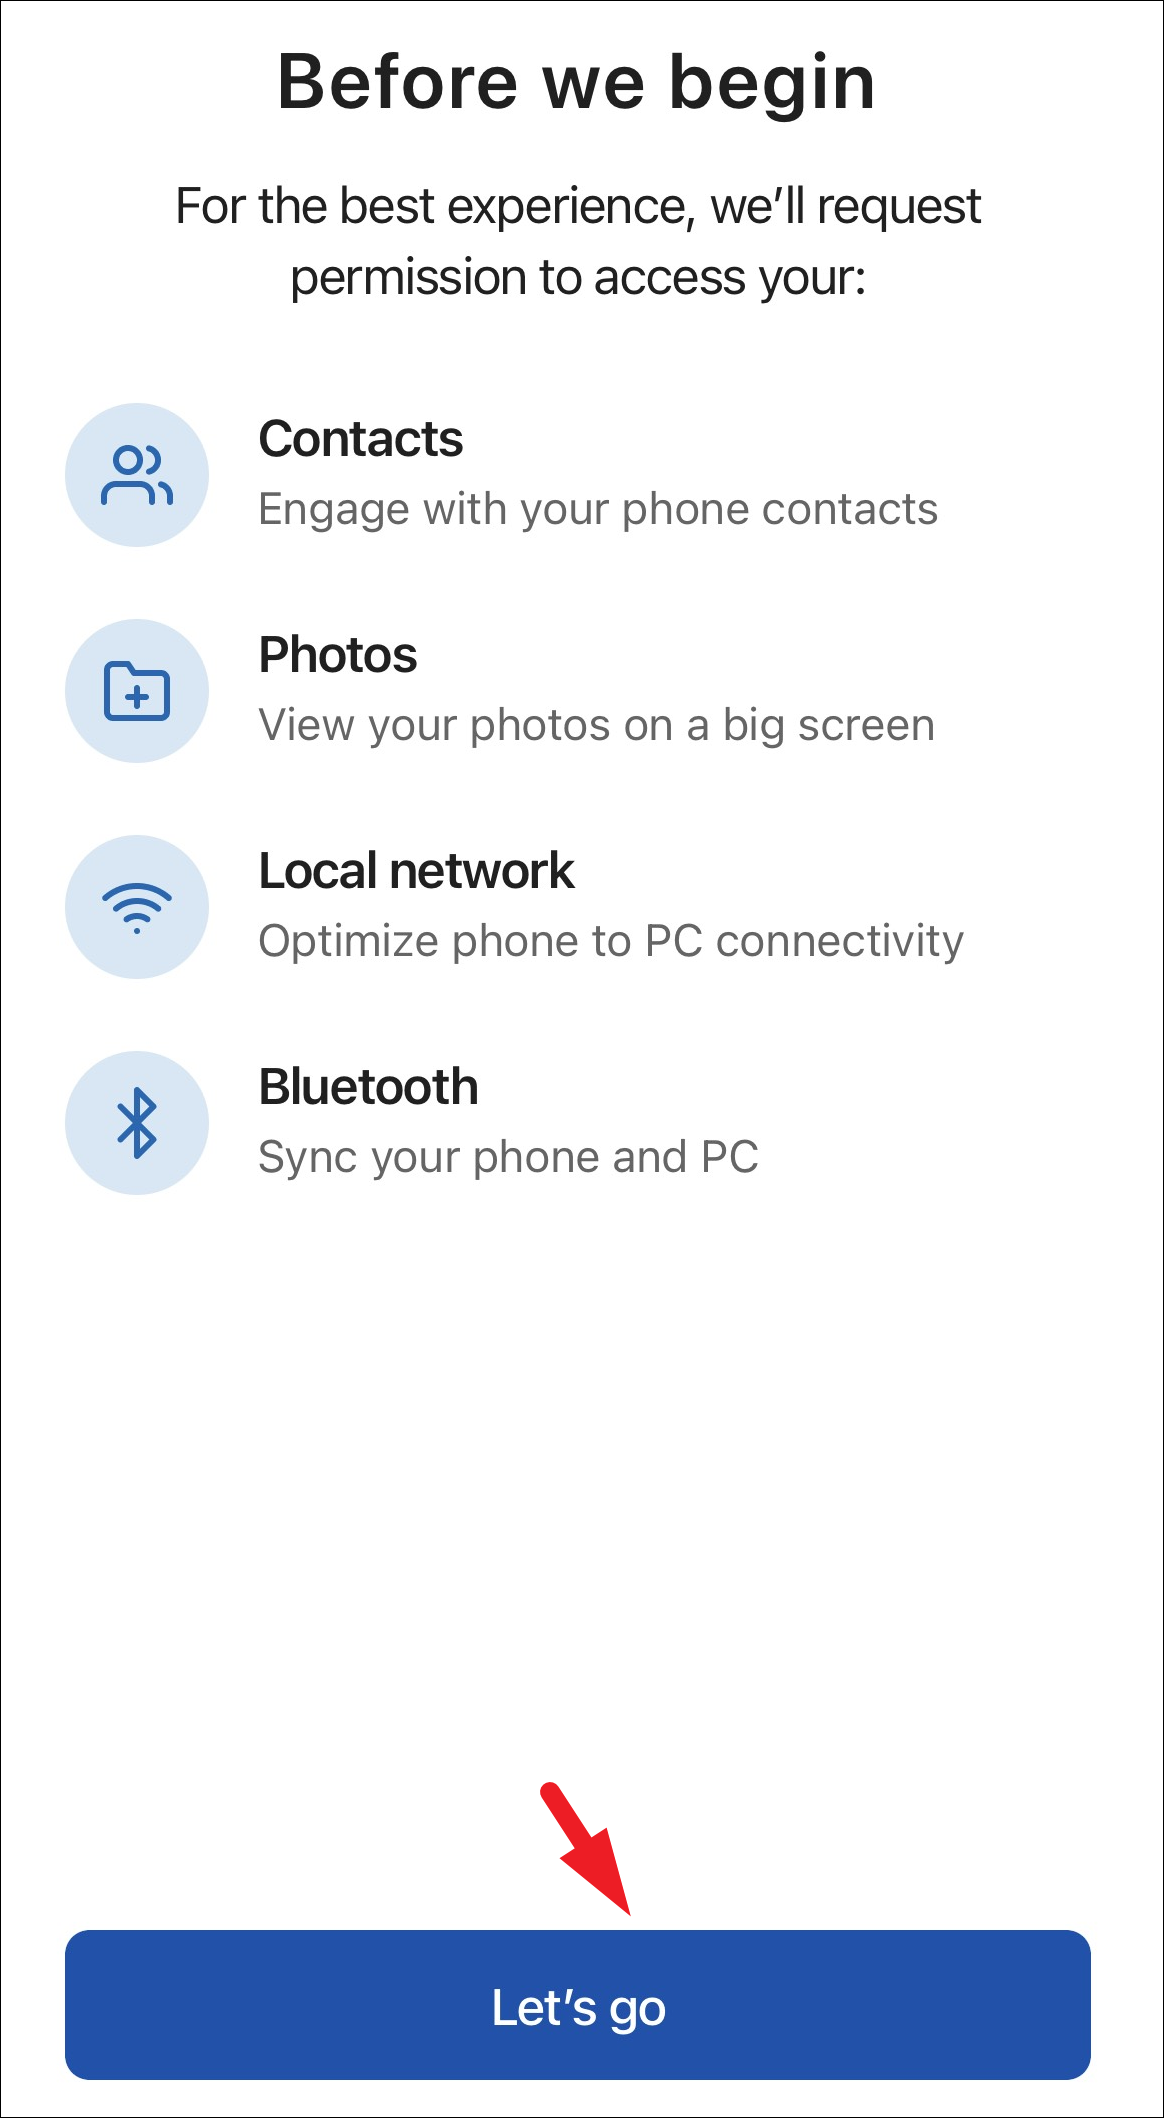
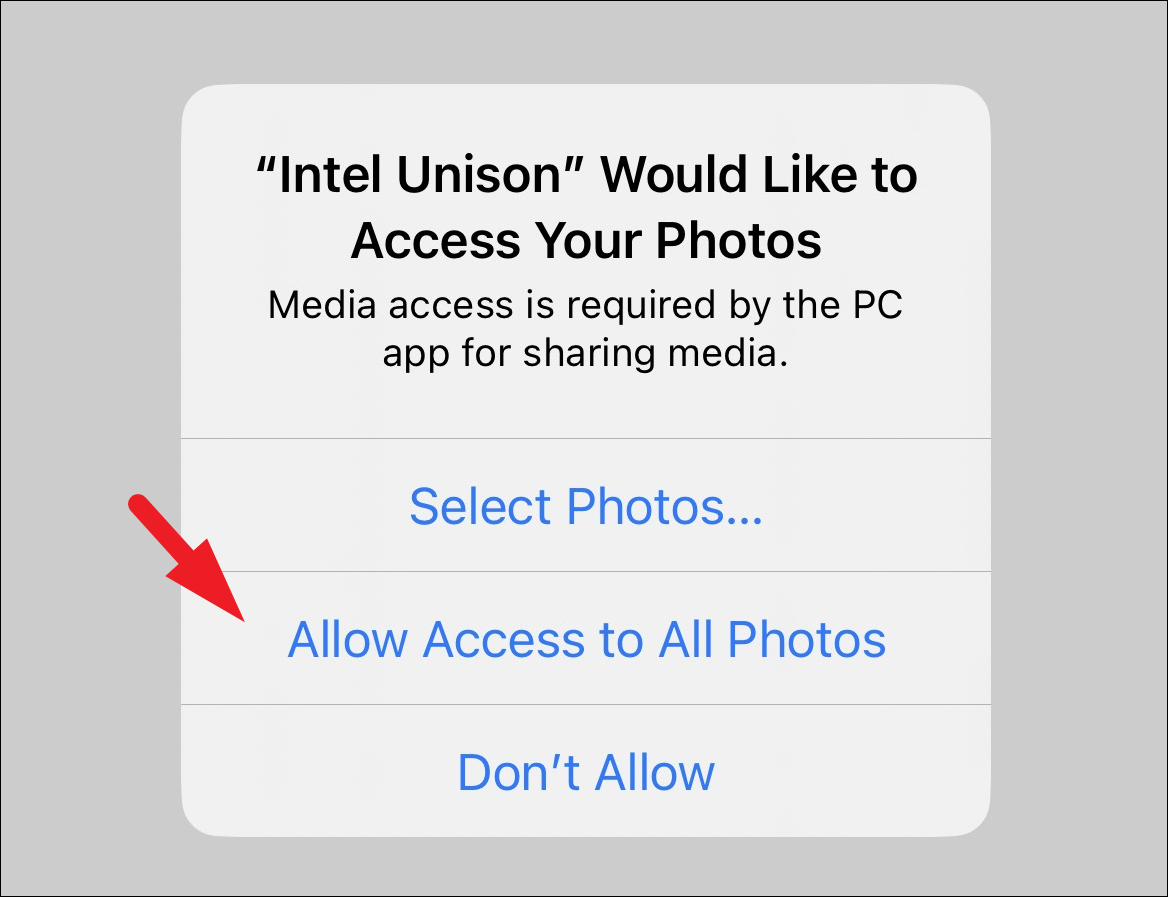
Next, you’ll need to install the Intel Unison companion app on your iPhone.


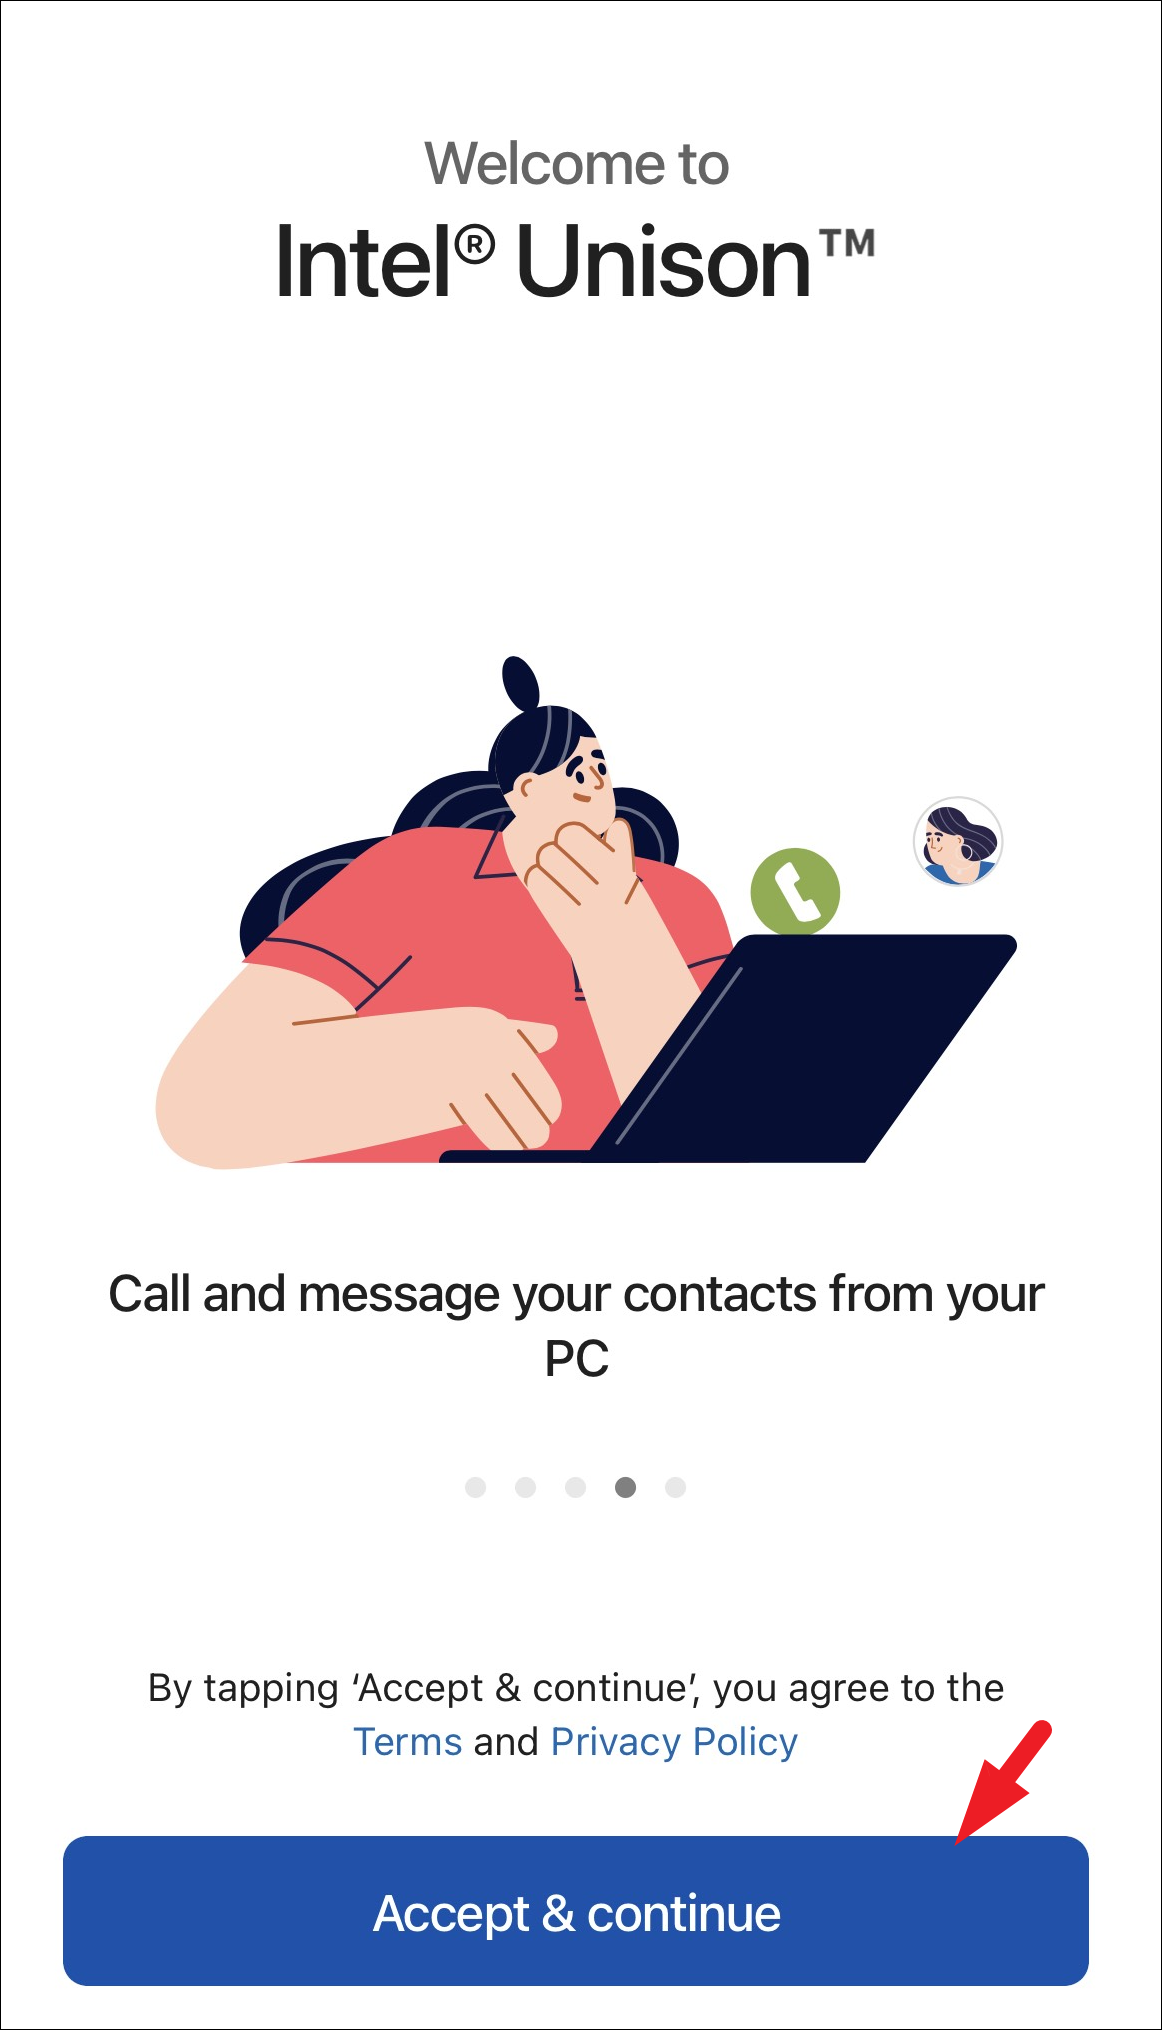

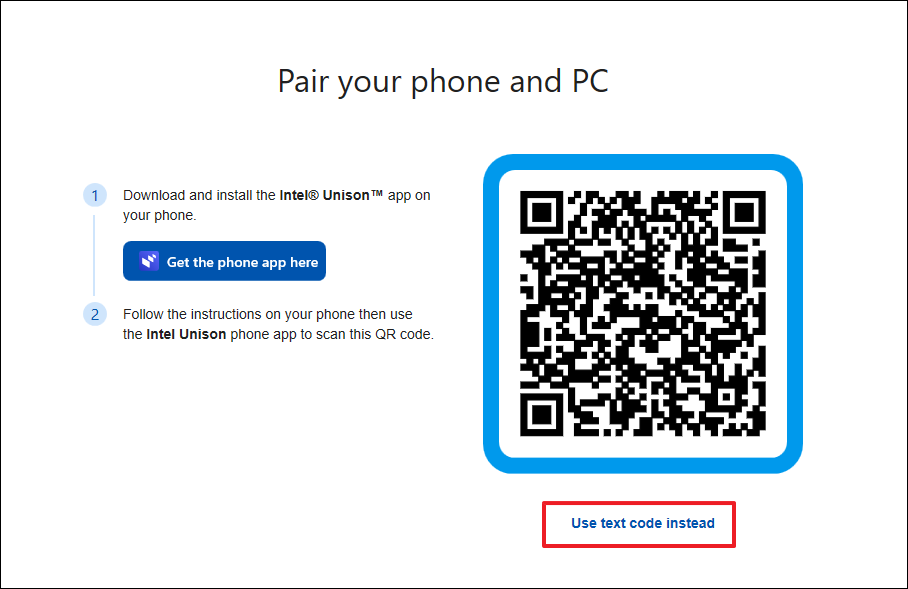
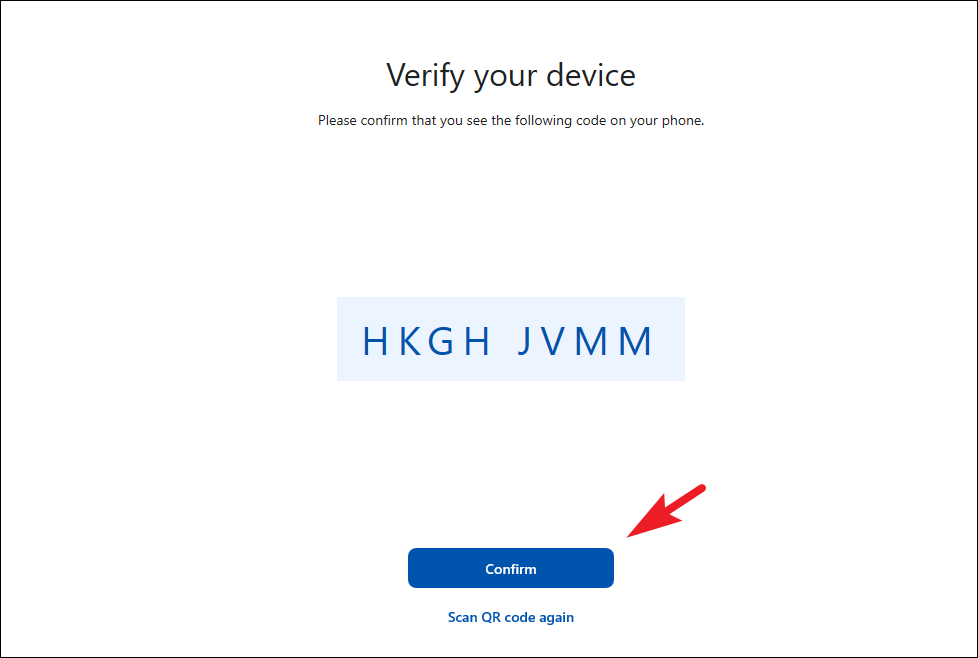
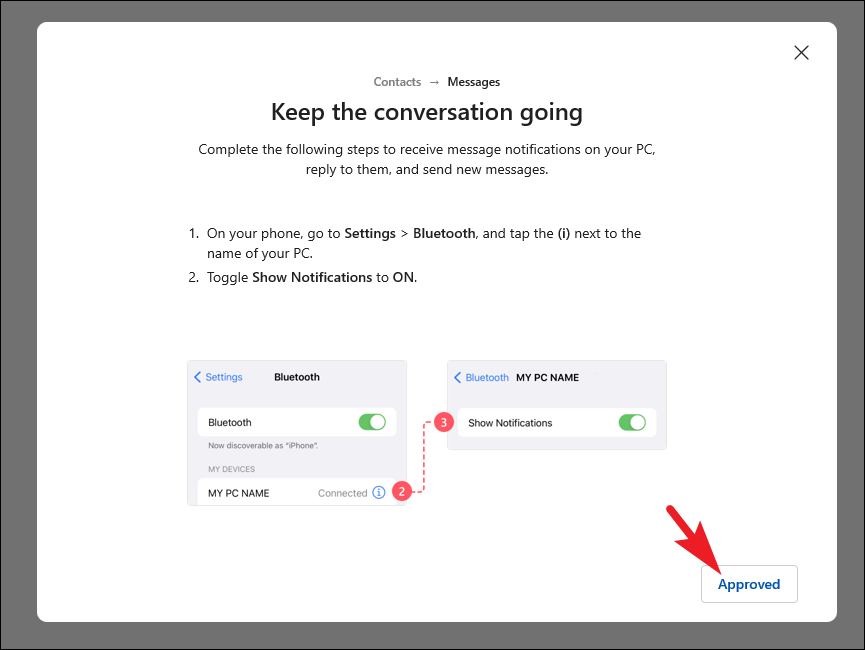
Pair Your iPhone with Your Windows 11 PC
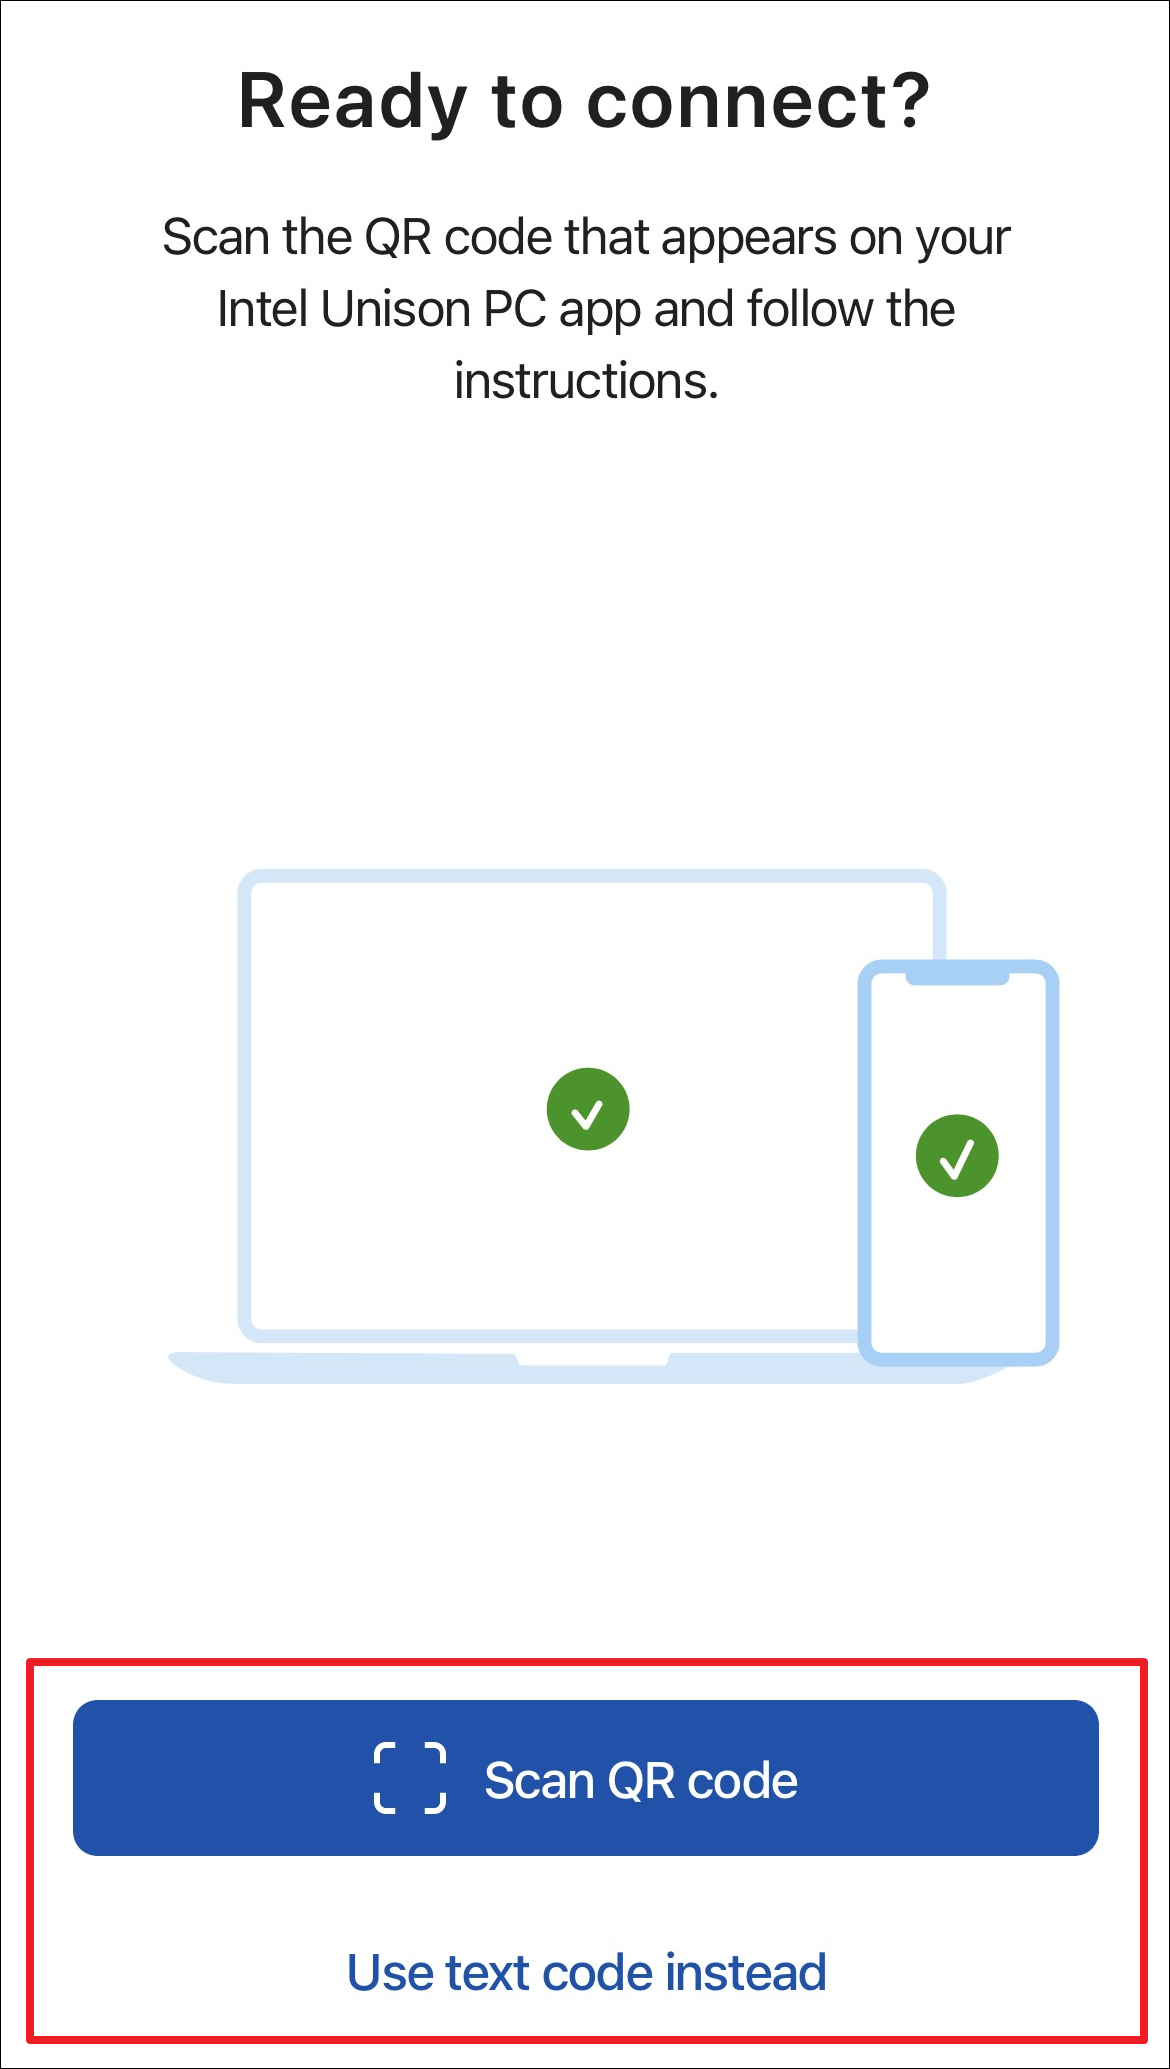
With the apps installed on both devices, it’s time to pair them.
Note: Ensure that Bluetooth is enabled on both your iPhone and Windows PC, and that they are connected to each other before proceeding.

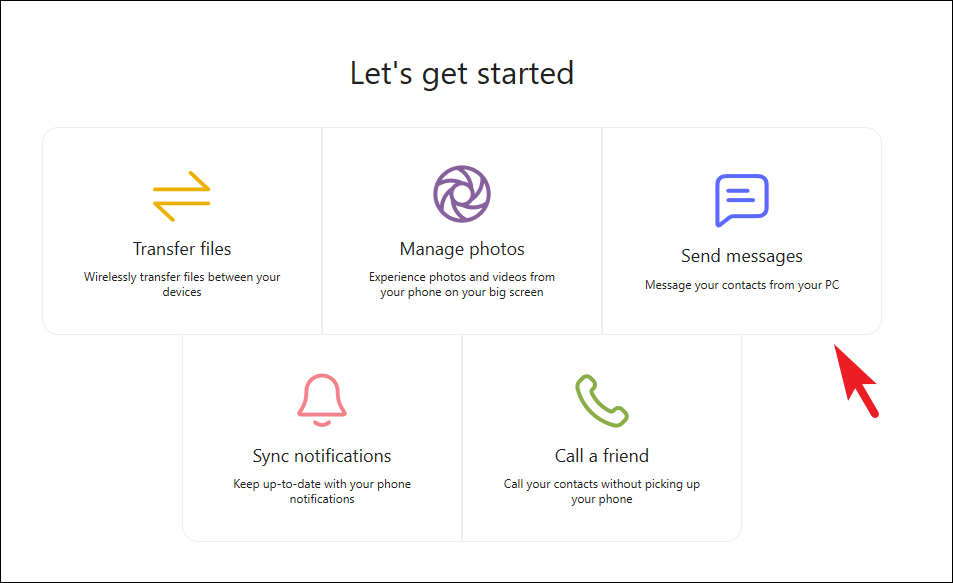
Your iPhone and Windows 11 PC are now paired, and you’re ready to start using iMessage on your computer.
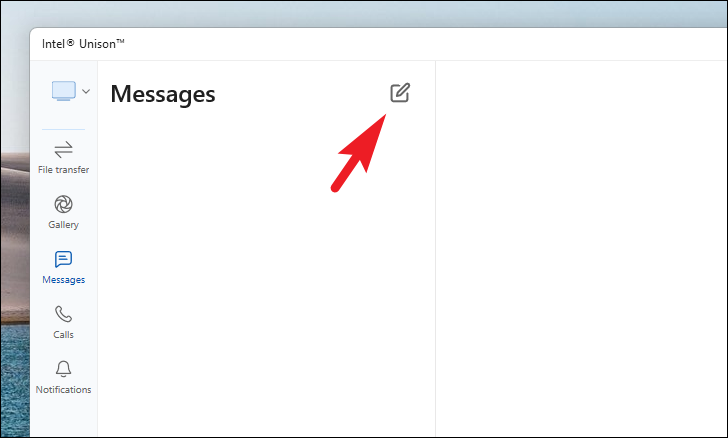
Send iMessage from Your Windows PC
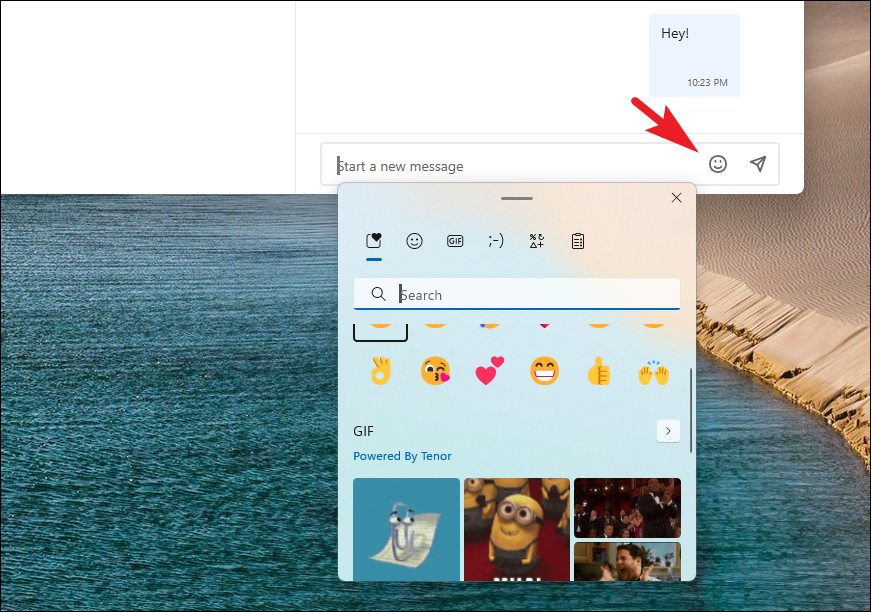
With the setup complete, sending iMessages from your Windows PC is straightforward.
Note: Currently, Intel Unison does not sync your full message history to your PC. You will only see messages that are sent and received while the app is open on your computer. Despite this limitation, being able to send and receive iMessages on your Windows PC is a significant improvement.
Enter on your keyboard.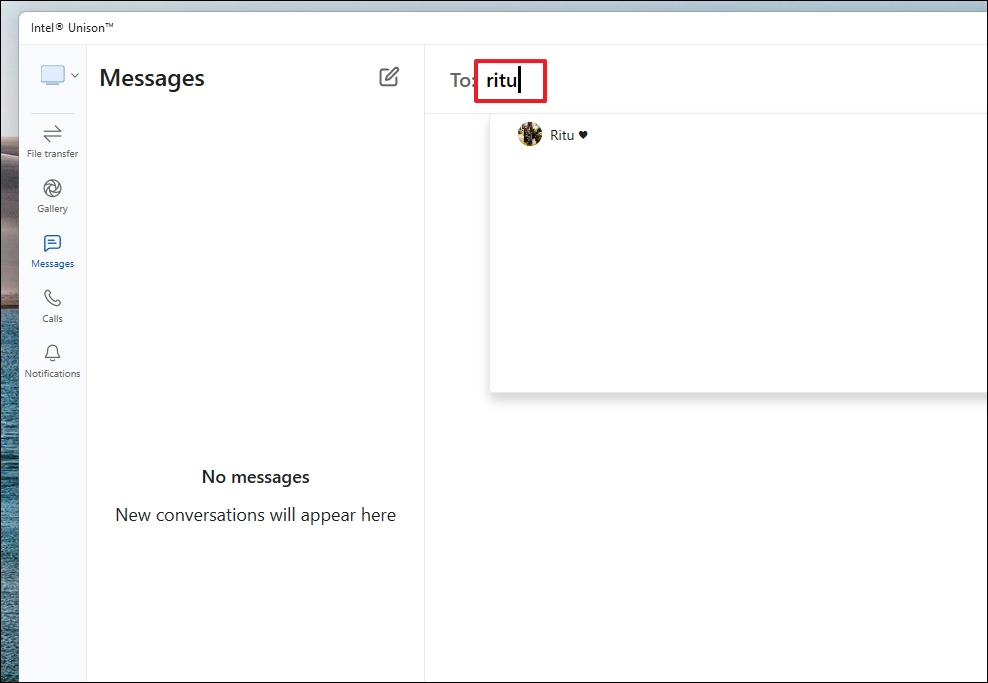
Enter to send your message.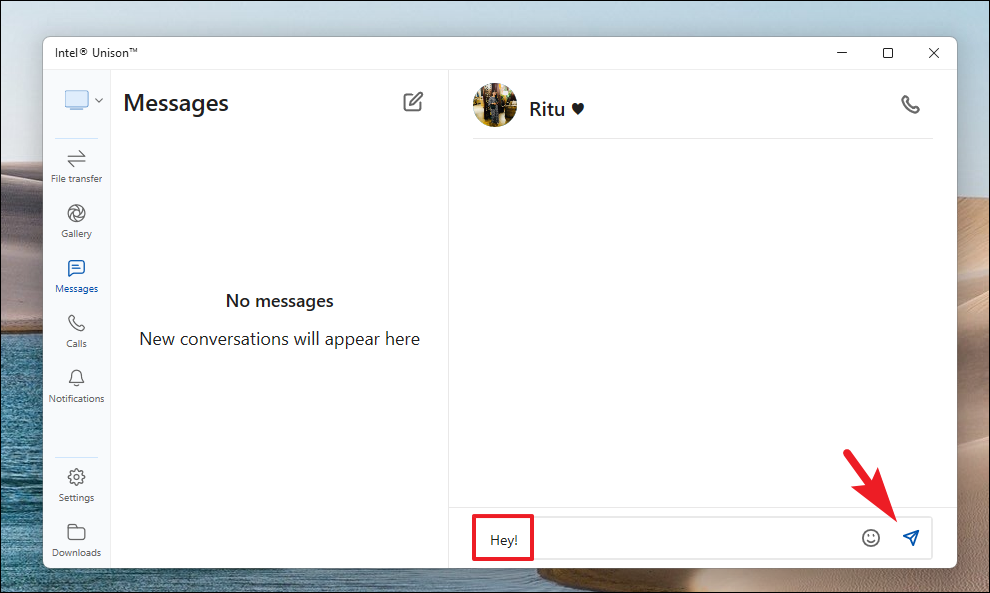
At this time, Intel Unison does not display a distinct indicator to differentiate between iMessages and SMS messages. When attempting to send an SMS, you may receive an alert, but it might not provide detailed information. Future updates may enhance this functionality.
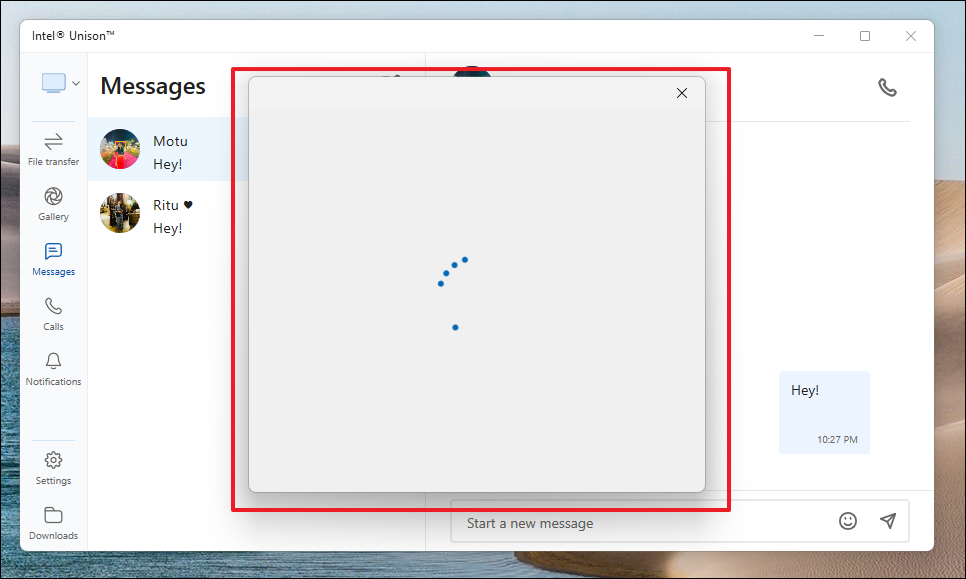
Congratulations! You’ve successfully sent an iMessage from your Windows 11 PC using Intel Unison.
The ability to use iMessage on a Windows PC has been a long-awaited feature for many users. Intel Unison not only bridges the gap between iOS and Windows but does so with a smooth and user-friendly interface. With this setup, you can enjoy a more integrated experience between your devices.