
Using folders is a very effective and simple way to organize notes. However, an even better way is to use ‘Smart Folders’ on your iOS device. Apple introduced Smart Folders with iOS 15 last year. Smart Folders allow you to have a group of relevant collections of notes together based on certain filters. Up until now, the only filter that you could use to define a smart folder was “tags”.
With iOS 16, Smart folders are getting even smarter with new filters. Where previously you could only use tags, now you can create rules for Smart folders based on Date Created, Date Modified, Shared, Mentions, Checklists, Attachments, Folder, Quick Notes, Pinned Notes, and Locked notes. Here’s how to use Smart Folders with the new updates.
What are Smart Folders?
Basically put, Smart Folders function like a filter and sort all the notes together in a single place from across all folders available in your library after applying the selected filter. The smart folder also keeps getting updated automatically with notes that fulfill the conditions of the applied filters. Let’s try to understand this by taking the familiar example of tags. If you use tags to create a smart folder, it automatically keeps including the new notes that are tagged with one of the categories defined for the Smart Folder. The same will happen with all the new filters being introduced in iOS 16 for Smart Folders.
You can use a Smart Folder to quickly refer to notes that are either of the same category or co-dependent categories but are divided due to the rigid boundaries of a regular folder.
If you want to use tags as a filter, you need to make sure that the notes in your library are appropriately tagged to let the Smart Folder feature work flawlessly for you.
Although in iOS 16, tags aren’t necessary to create a smart folder because of the introduction of the other filters, they still remain one of the easiest ways to categorize your notes. Thus, before you head on to learn about Smart Folders, it is imperative that you take a quick refresher for ‘Tags’ as well.
How to Use Tags in Notes
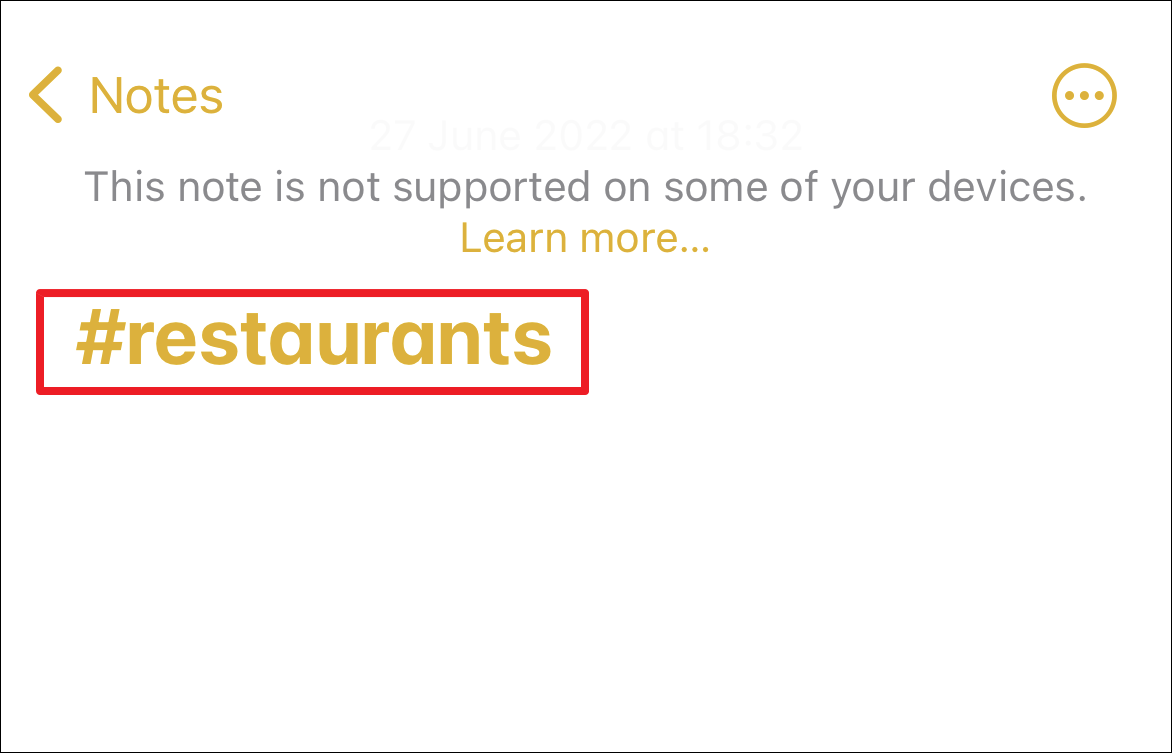
Tags can be used in either the body or even the heading of the notes on your iOS device. Once added, the color of the text will be changed to indicate the ‘Tag’ status of the text.
Typically, tags should be of a single word and cannot include space. However, you can add an underscore “_” or a hyphen “-” to create tags with multiple words, (e.g #birthday-party or #birthday_party).
Moreover, you can add multiple tags to a single note and all the created tags will appear under the ‘Tag’ section in the Notes app.
Just to reiterate the above-explained process, open the note using the Notes app on your iPhone and type # preceding the text of your choice to create a tag.
Create Smart Folder to Efficiently Categorize Notes
Once you have tags present in all of your notes, you can create a Smart Folder to view all notes sorted by the tags defined by you.
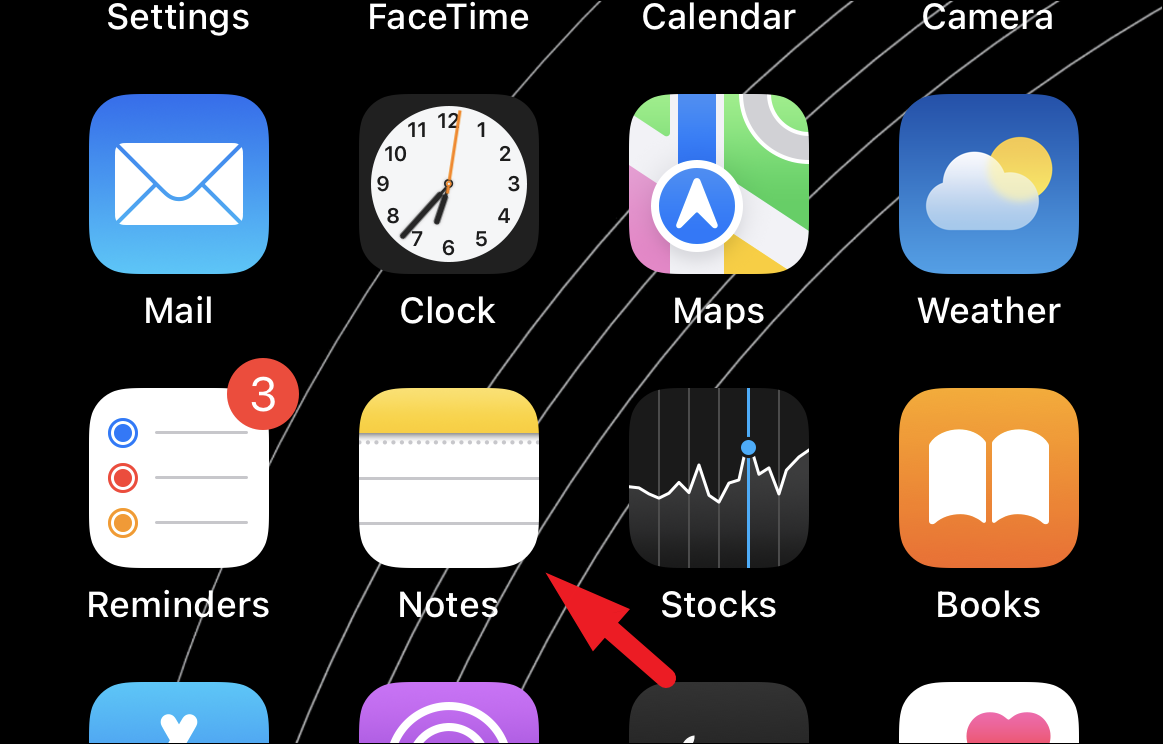
First, head to the Notes app, either from the home screen or the app library of your device.
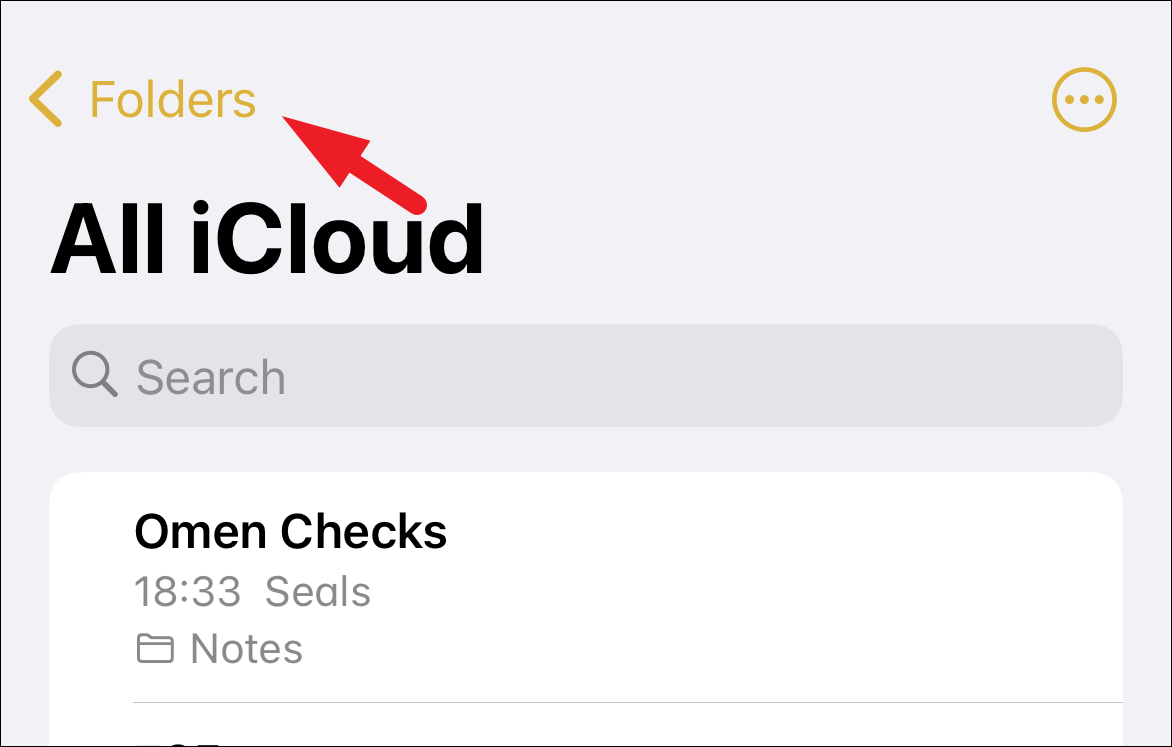
Then, on the Notes app, tap on the ‘Folders’ button to head to the Folder view if not already present there.
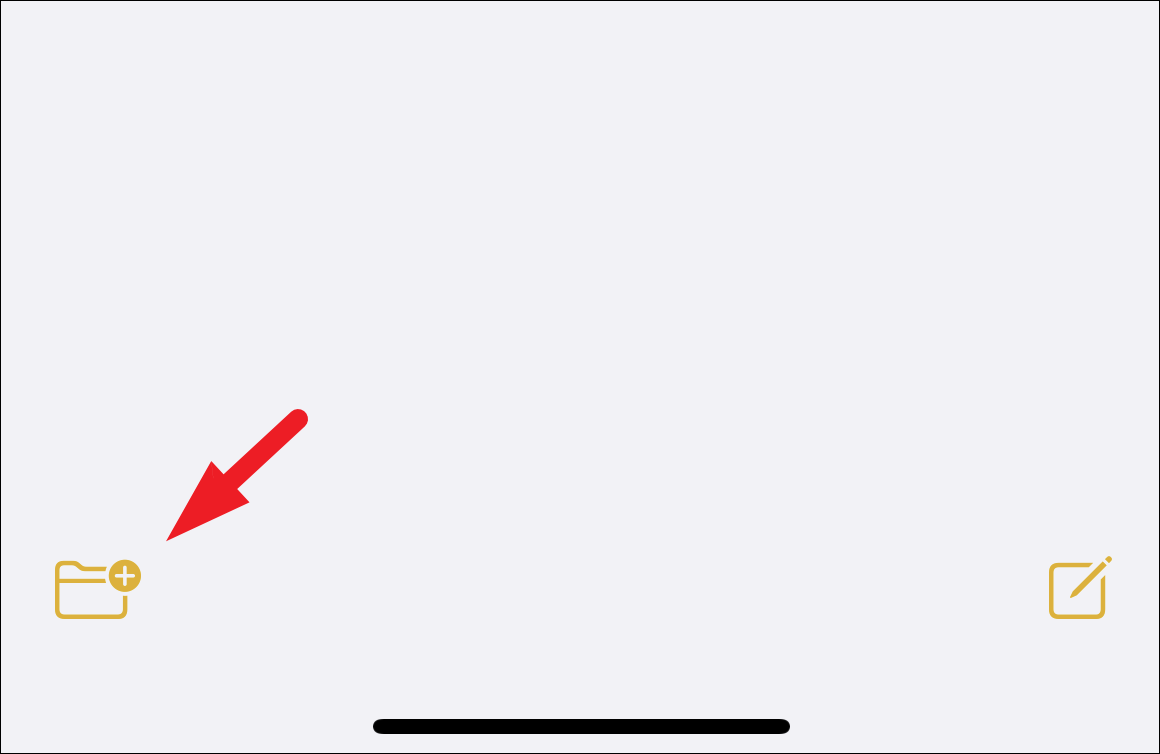
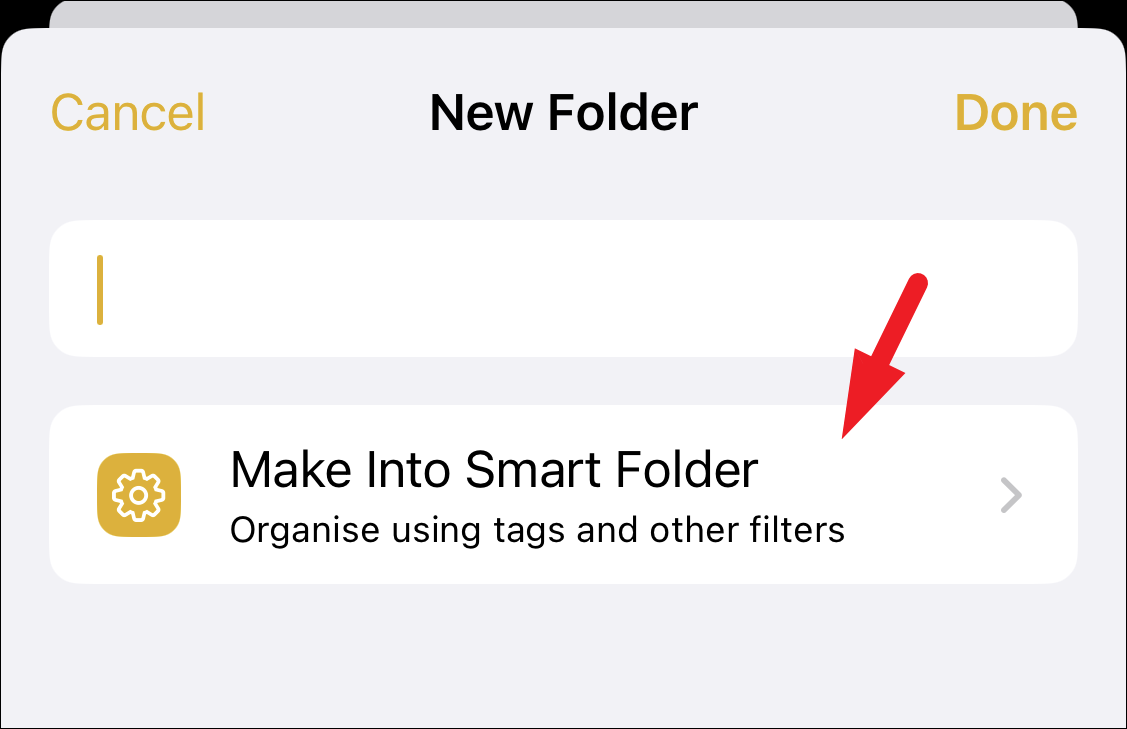
Now, tap on the ‘New Folder’ button at the bottom-left corner of the screen to proceed. This will bring an overlay window to your screen.
Next, tap on the ‘Make Into Smart Folder’ option.
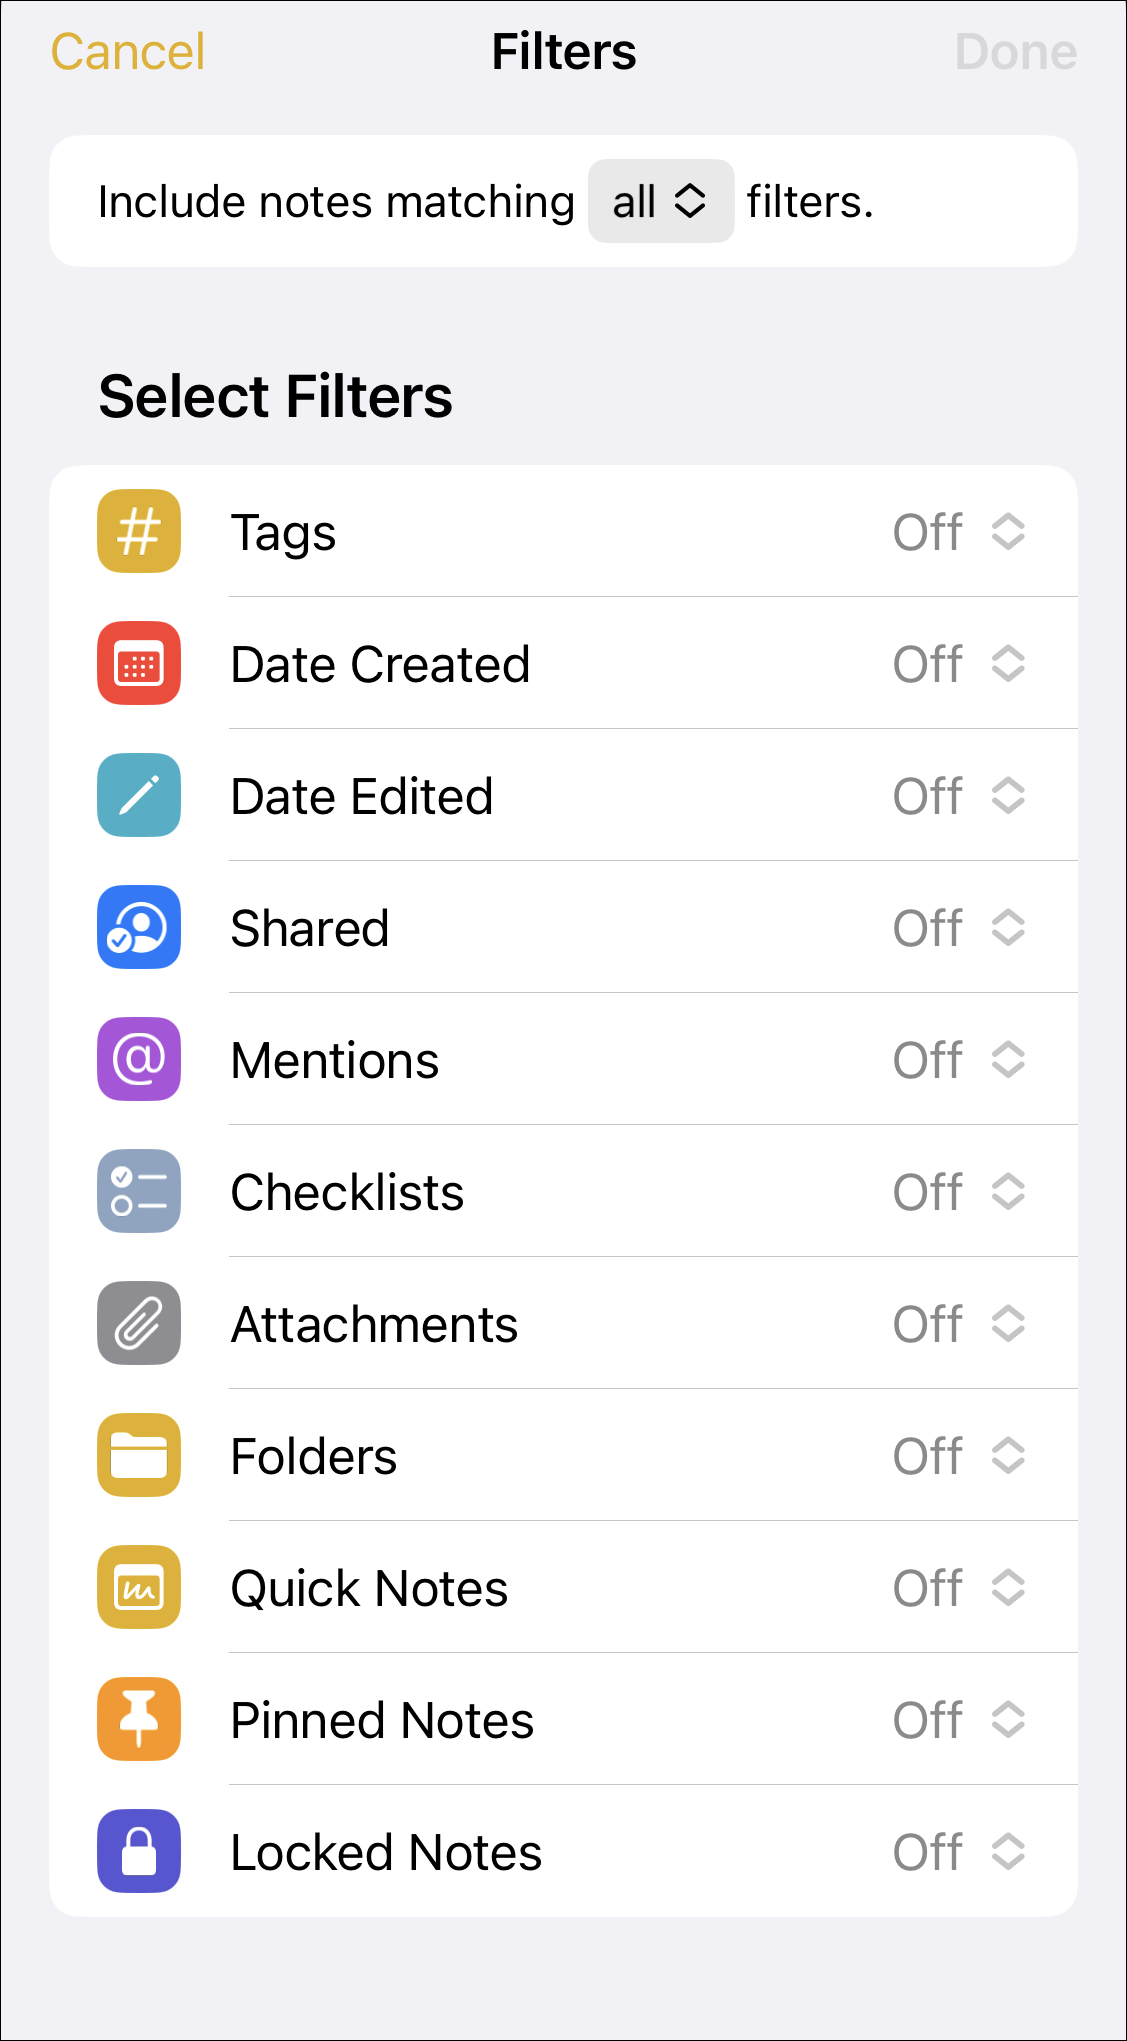
After that, you will be able to see all the filters that can be applied to a ‘Smart Folder’. This screen in iOS 16 is considerably different from iOS 15 since previously, tags were the only filter available to create a smart folder. Now, you can set a blend of filters that will be applied to the Smart Folder.
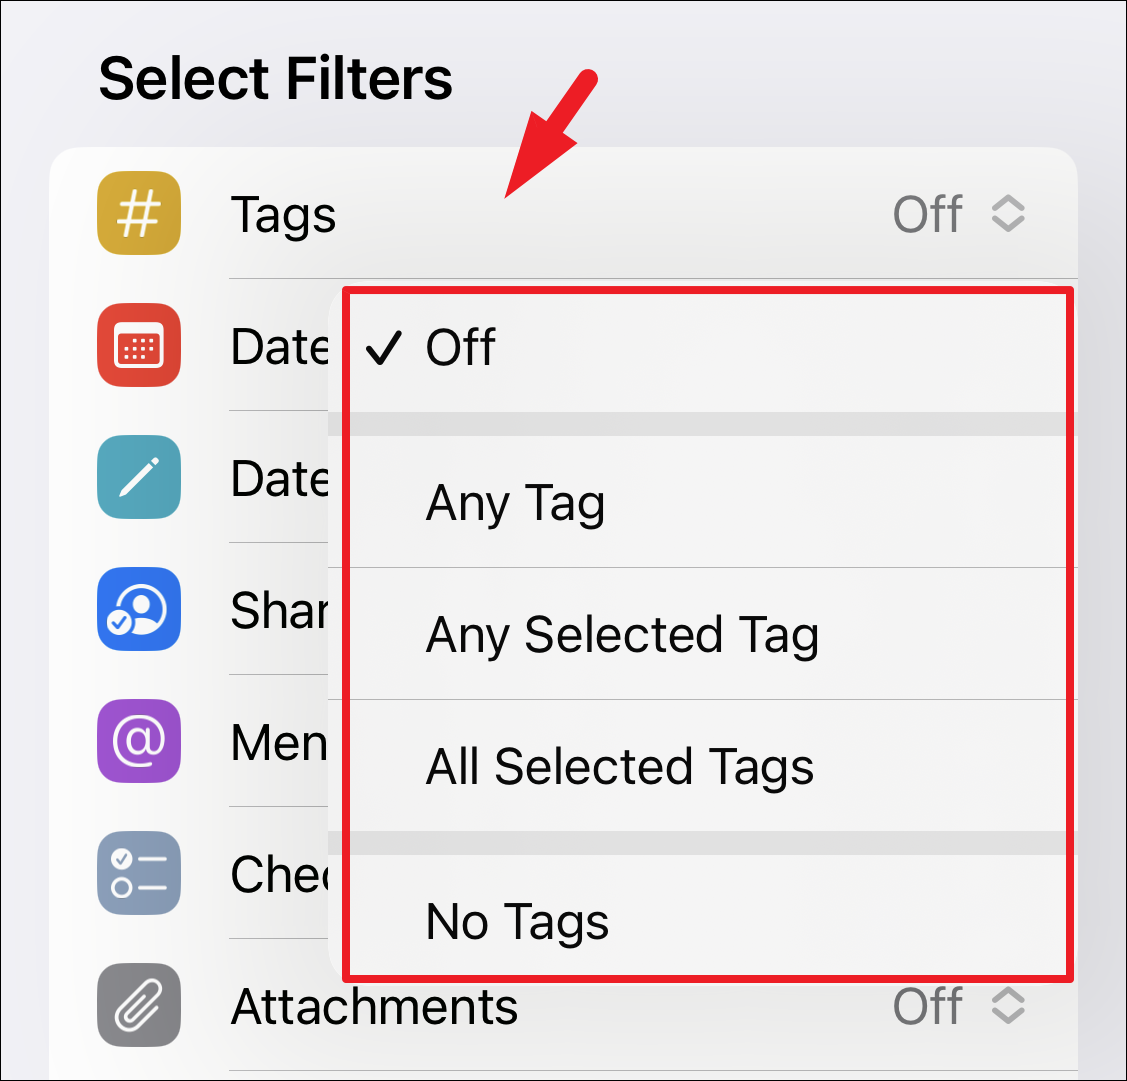
For instance, tap on the ‘Tags’ tab and tap on the relevant option from the context menu. To provide you a gist, ‘Any Tag’ will include notes that have any tag in them. The ‘Any Selected Tag’ feature will include all the notes that have at least one of the tags that will be defined by you in the next step. Similarly, the ‘All Selected Tags’ will include only the notes that have all the defined tags.
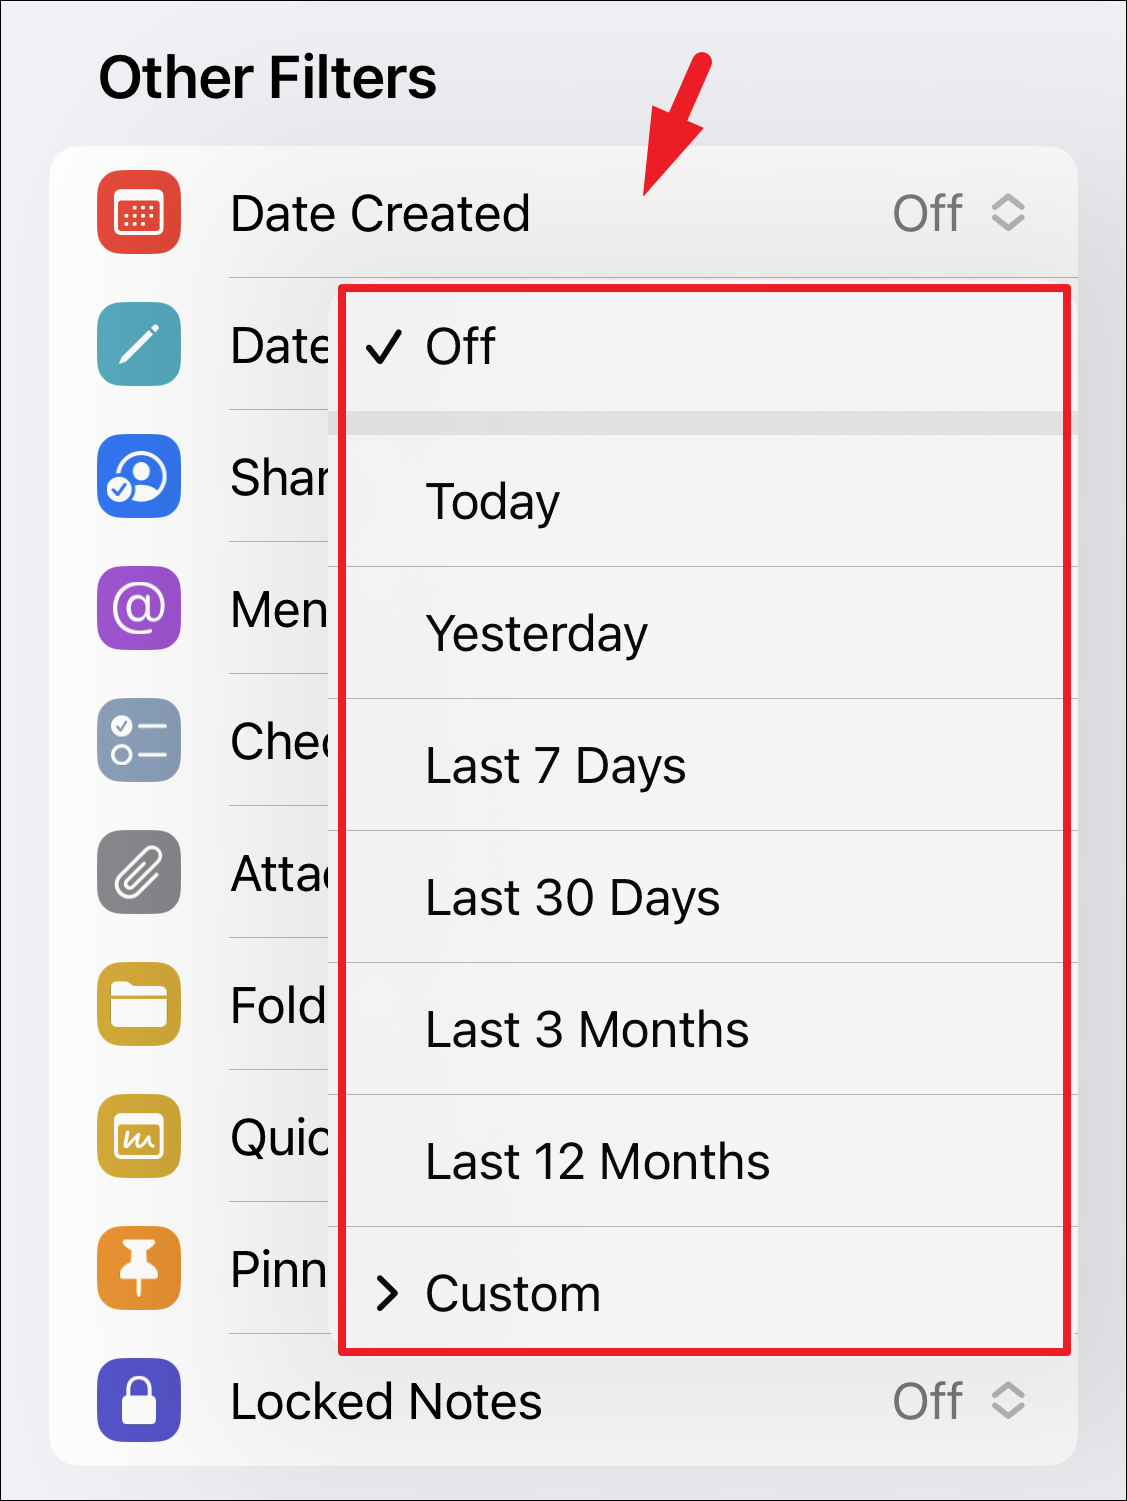
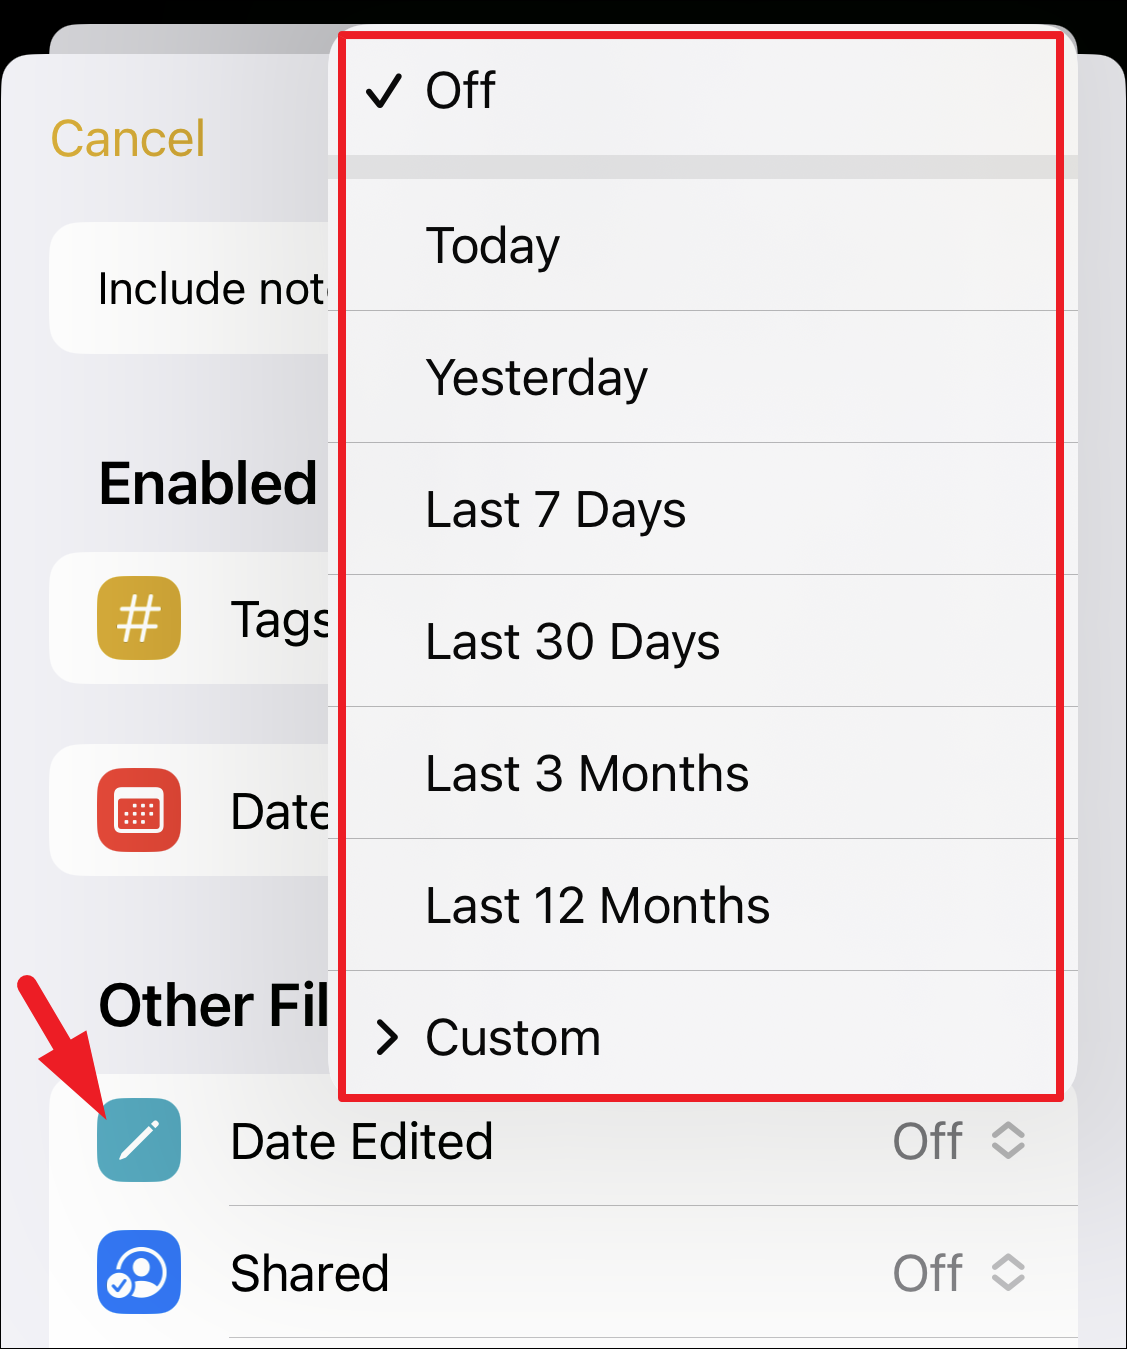
You can also filter notes to include on the basis of the ‘Date Created’. Tap on the option, and either select one of the pre-defined time brackets or define your particular date or range using the ‘Custom’ option.
Similarly, you can also set a filter to include notes edited in a predefined date range or define a particular date/ date range by tapping on the ‘Custom’ option.
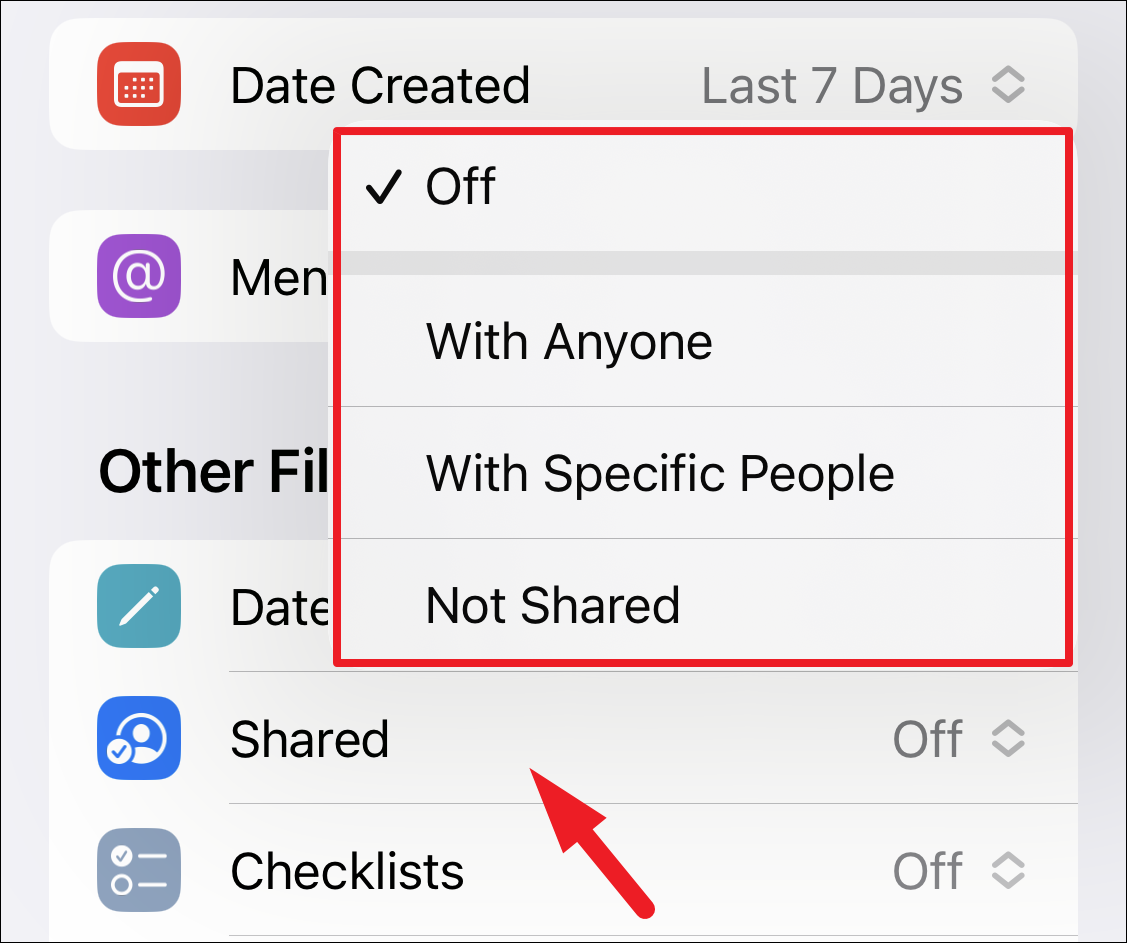
Then if you wish to create a filter based on with whom you have shared the note, tap on the ‘Shared’ tab and then select your preferred option.
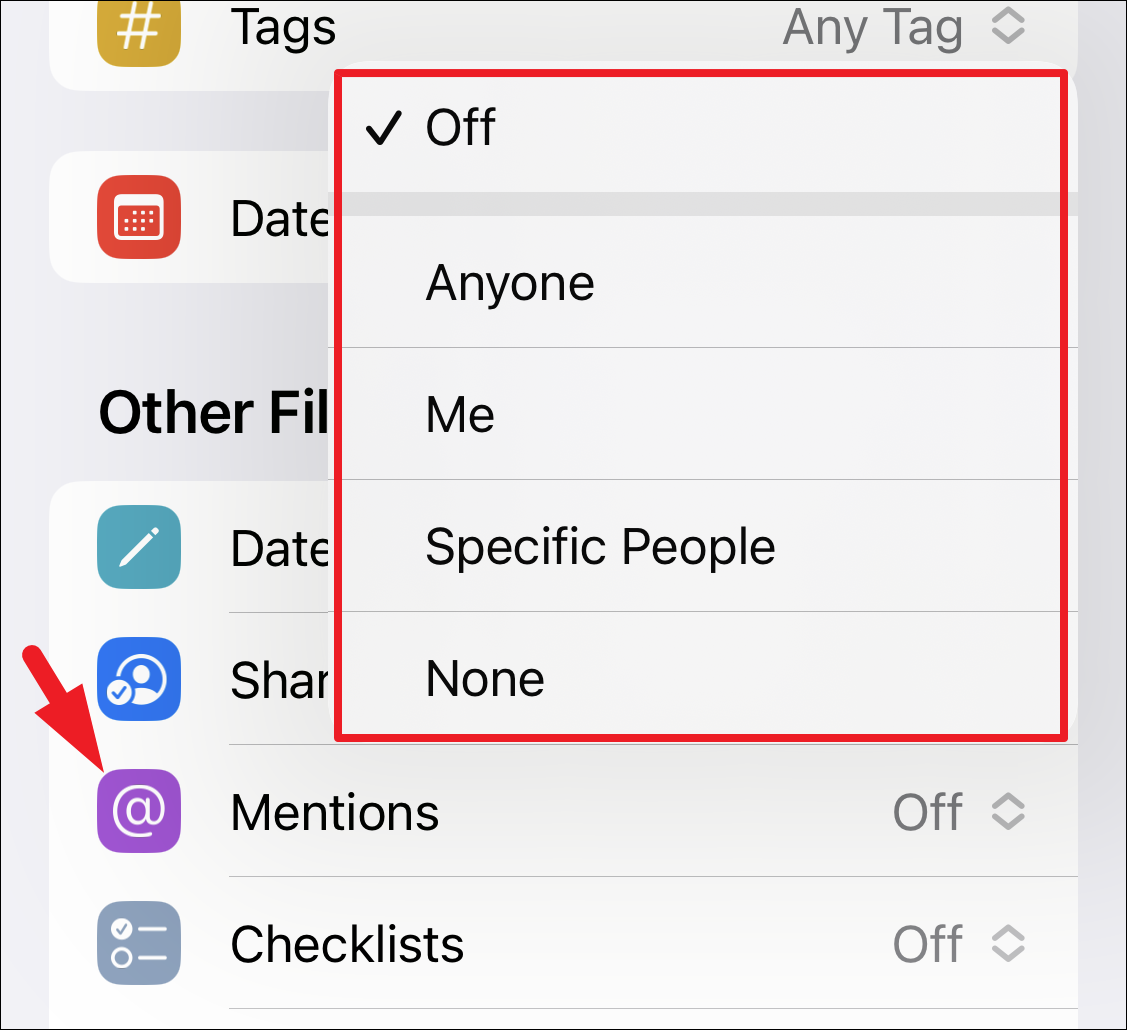
Similar to that, you can also include notes based on the contacts you have mentioned in the notes. To do that, tap on the ‘Mentions’ tab and select the required option. You can either select to include notes that have ‘Anyone’ mentioned, the ones that mention you, or specific people selected by you. Otherwise, you can also filter notes that do not mention anyone.
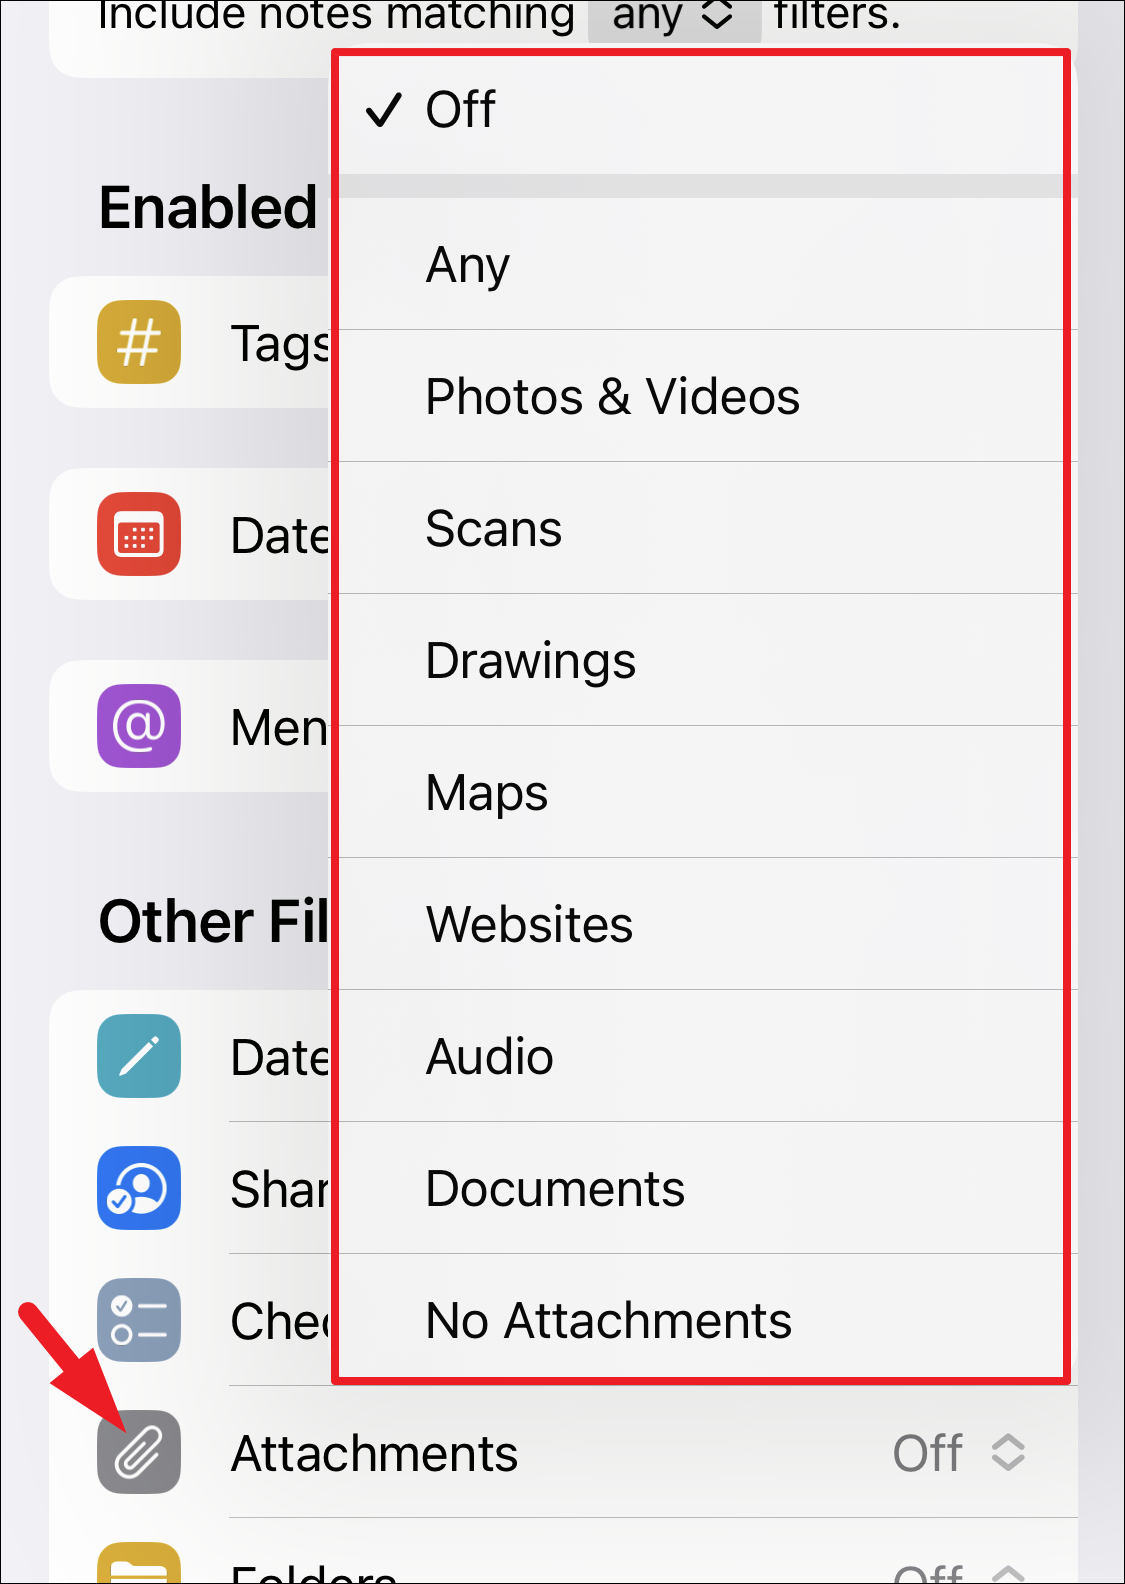
Now, to include notes in the smart folder on the basis of their attachment type, tap on the ‘Attachment’ tab and choose the category you wish to include. Otherwise, tap on the ‘No attachments’ option to include the notes that do not have any attachments.
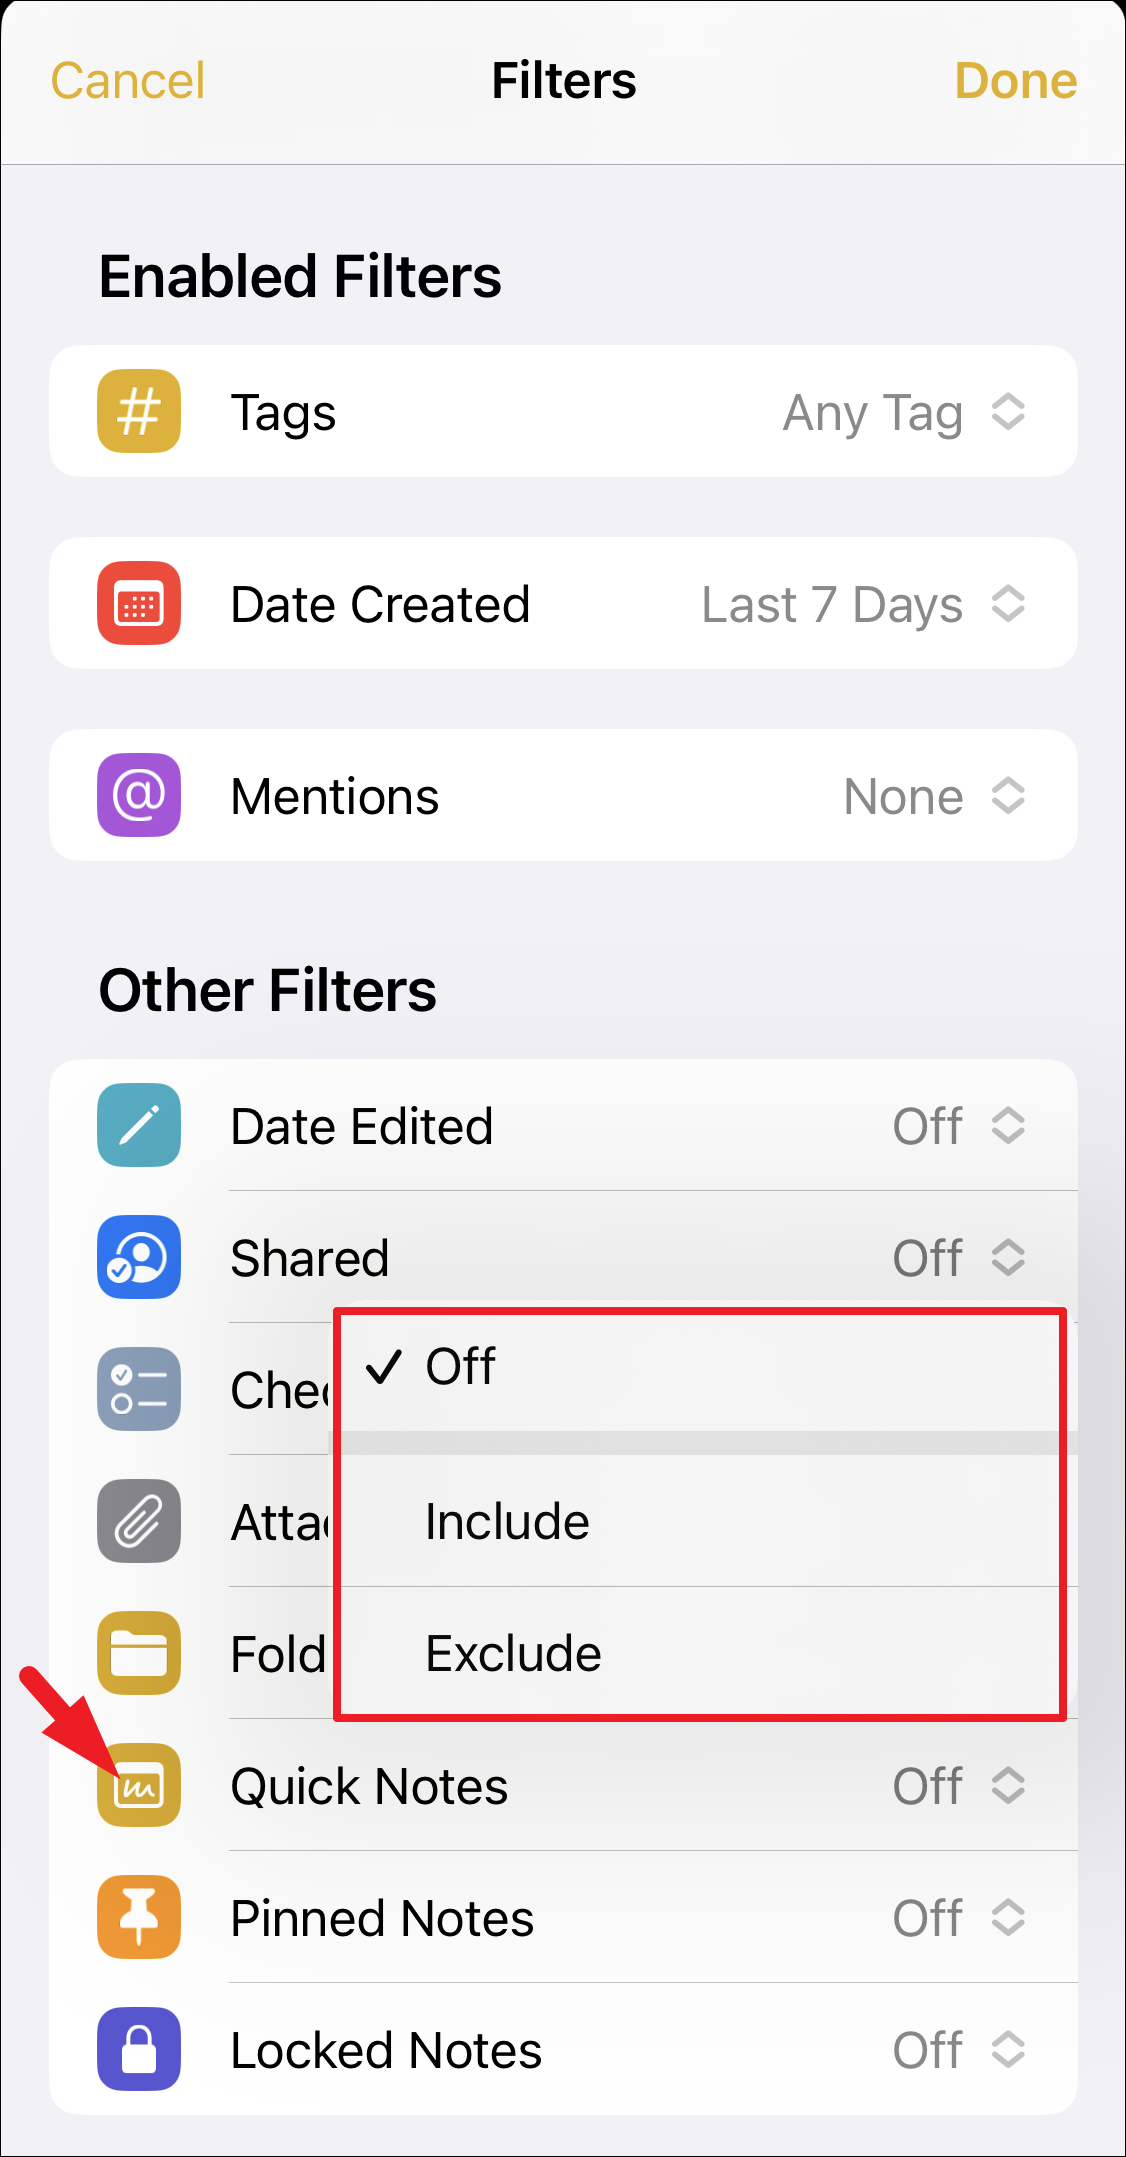
There are other filters as well, that you can configure according to you requirements and preferences such as you can include Pinned Notes, Quick Notes, Locked Notes, etc. Though the options for each filter may vary, the basic principle remains the same that is either to exclude or include a particular set of notes.
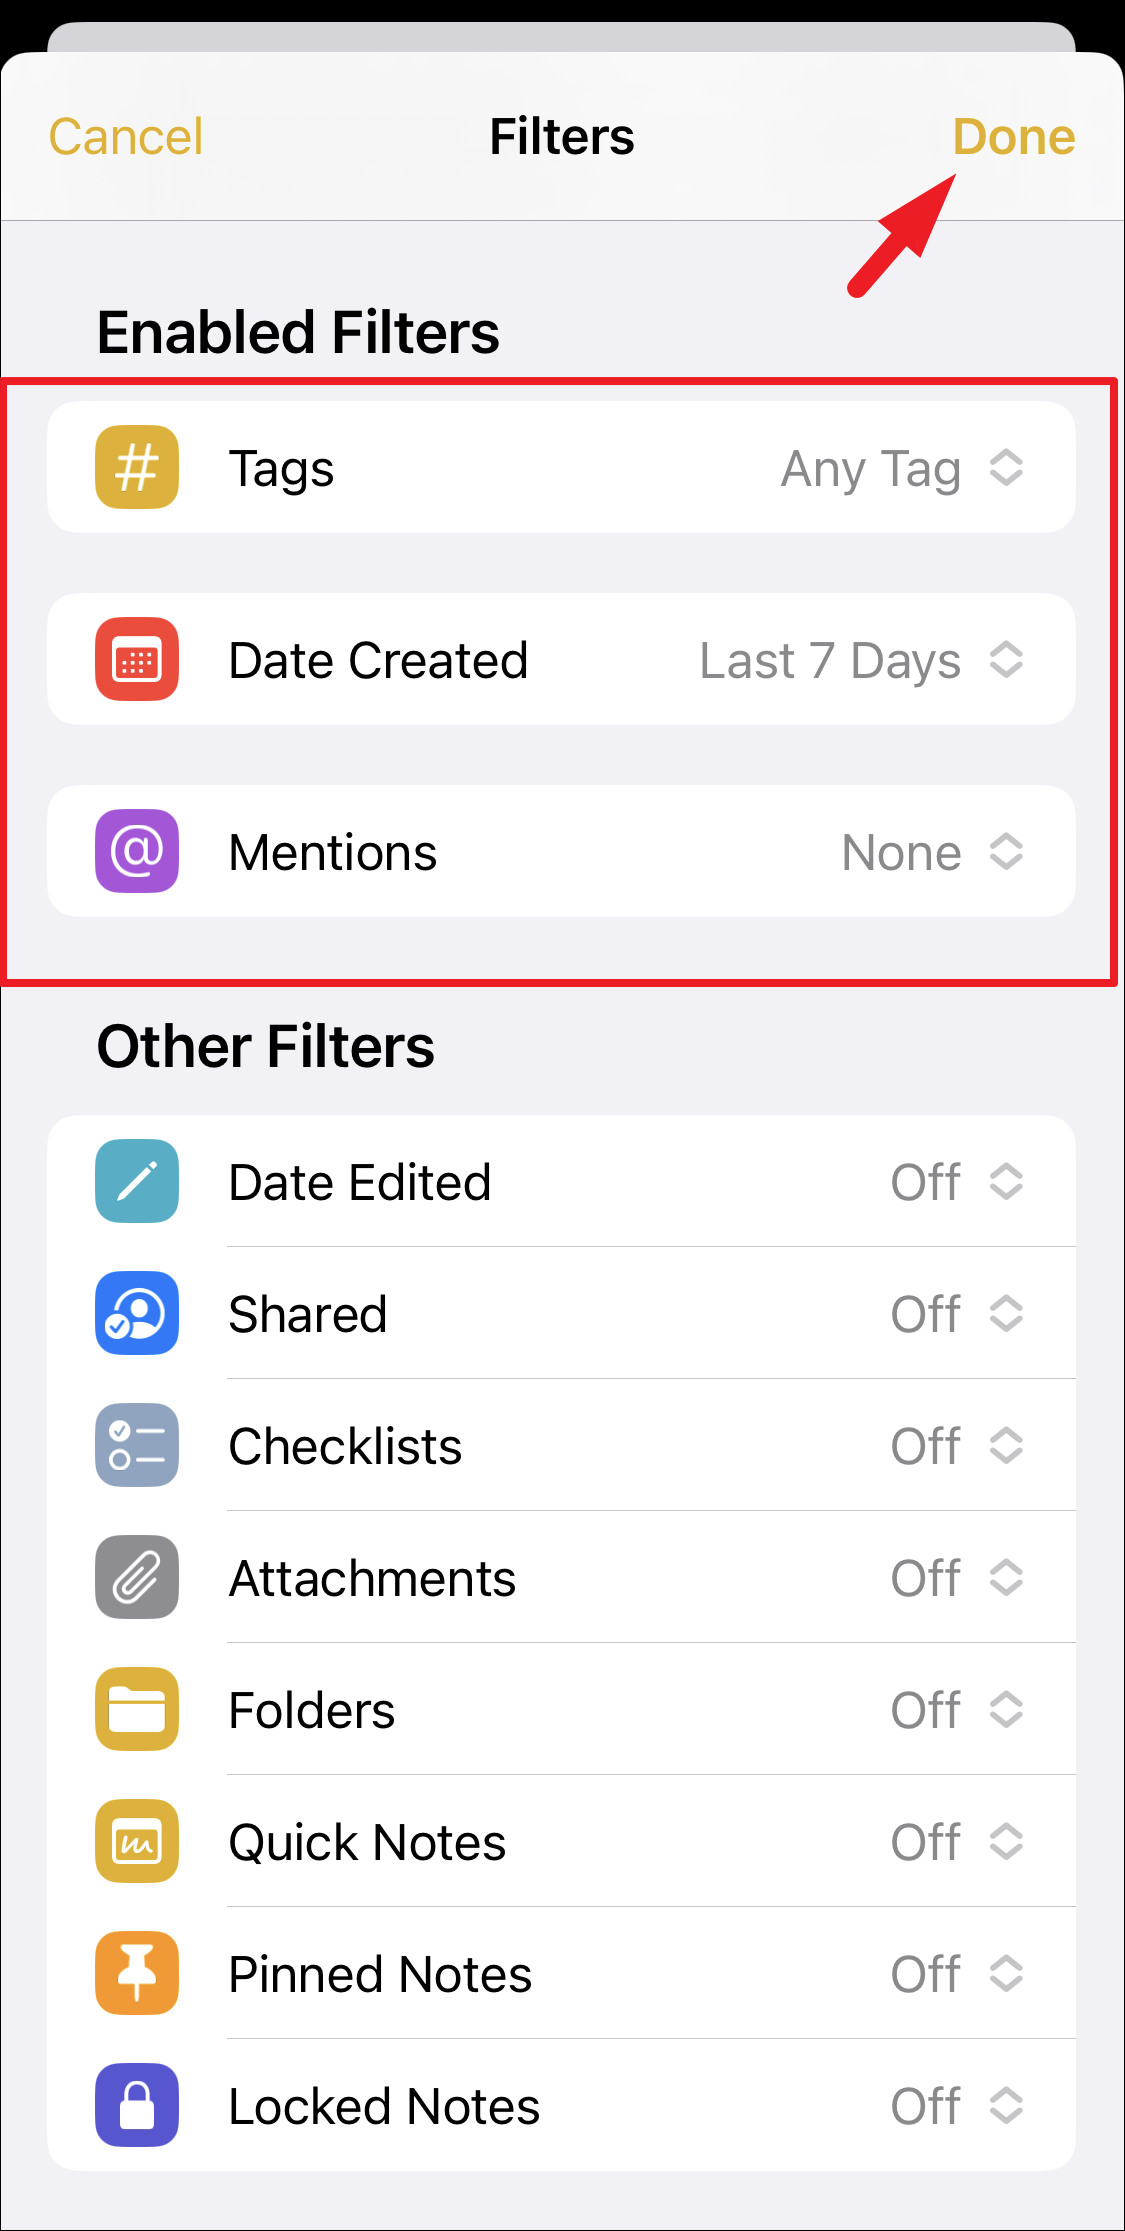
You can use one or more filters in combination to create a folder based on the rules defined by you. All the selected filters will appear under the ‘Enabled Filters’ category for a smart folder. Once configured, tap on the ‘Done’ button to create the smart folder.
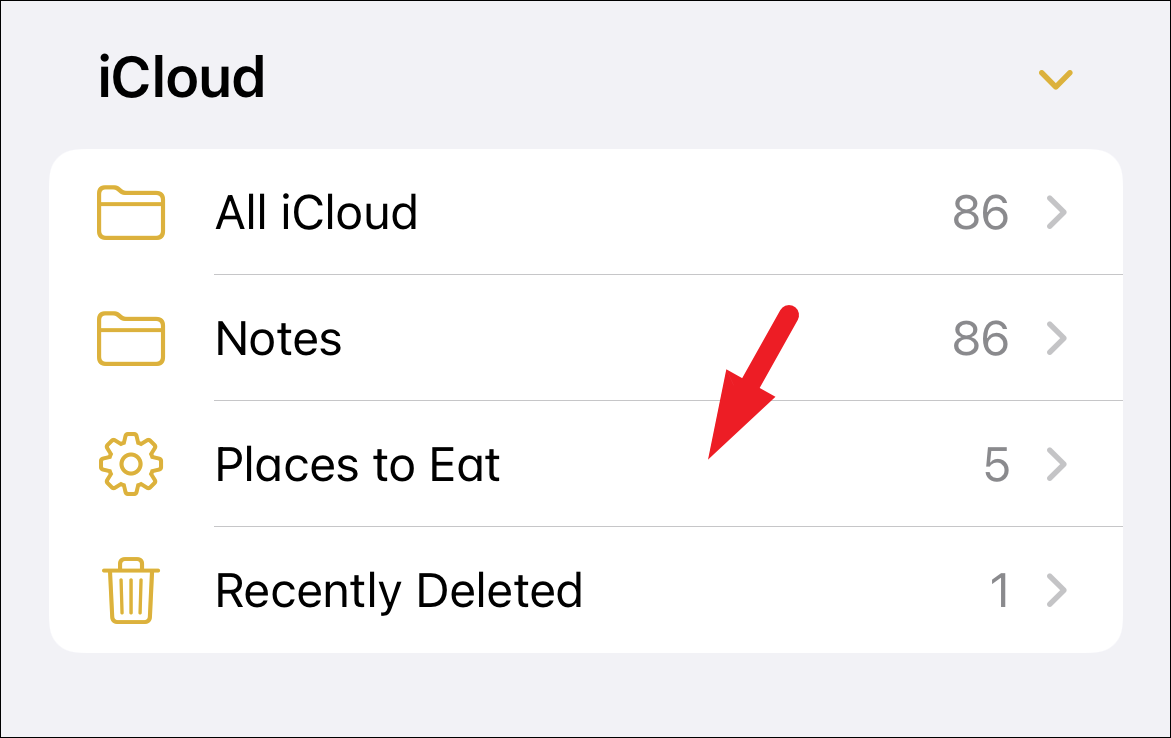
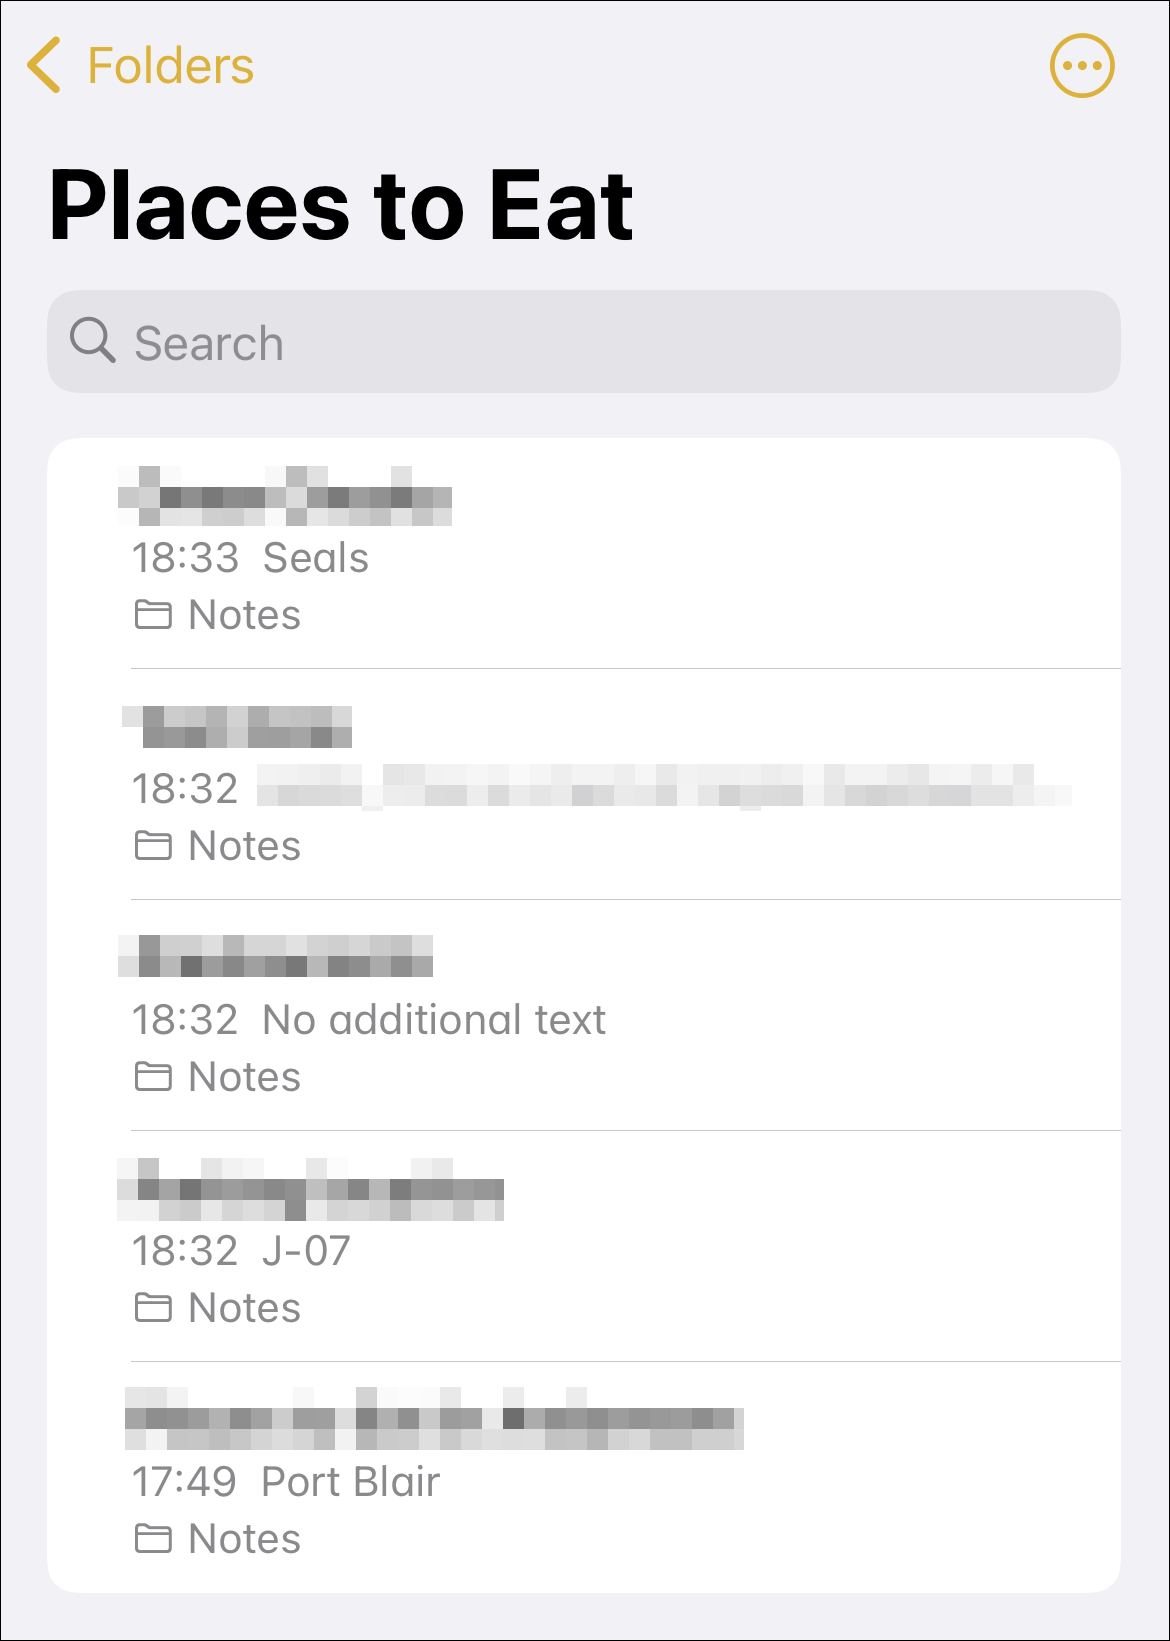
After that, the ‘Smart Folder’ will appear in the ‘Folders’ view in the app. Tap on it to see all the notes with your selected filters in a single place.
All the new notes that follow the rules set up by you while creating the folder will be automatically added to the smart folder without your intervention.
Configure or Edit Preferences for Smart Folder
Once you have created a Smart Folder and added notes to it, you can further tweak settings to view and find the notes more easily.
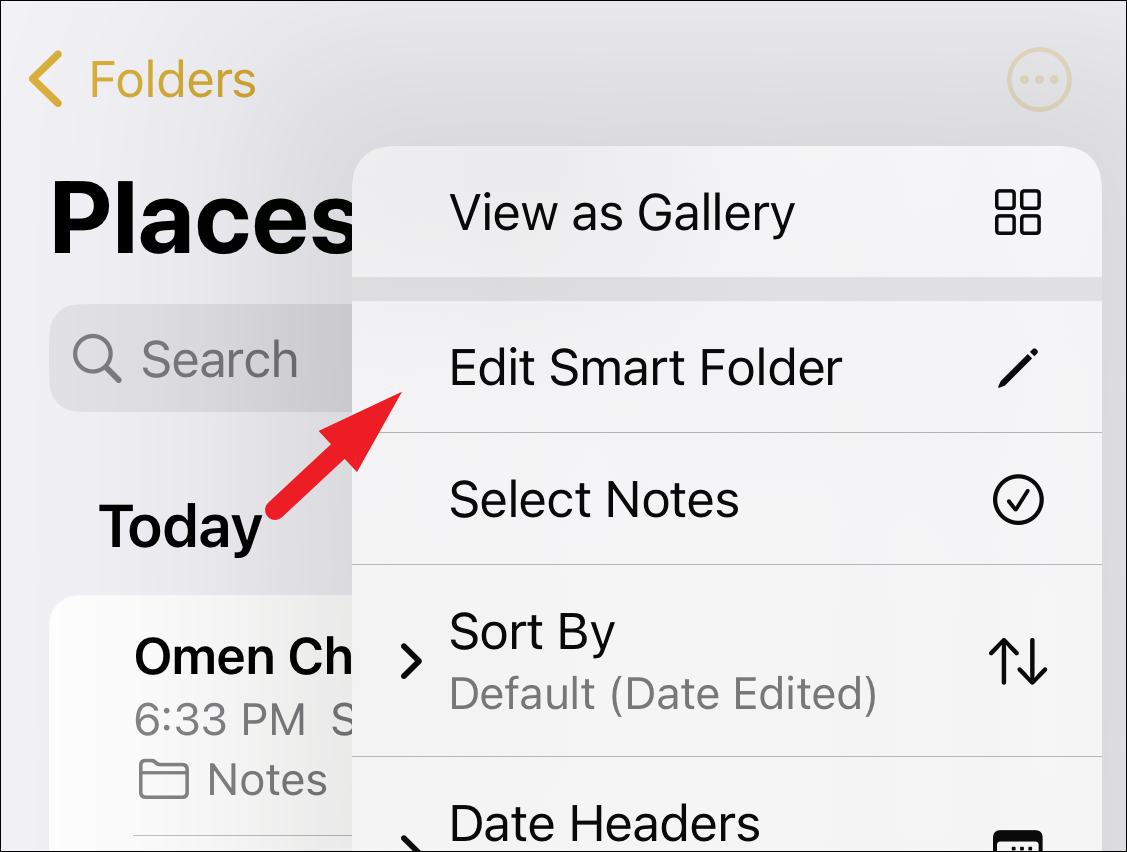
To view the thumbnail of notes instead of a list, tap on the ‘More Options’ button (ellipsis icon) and then tap on the ‘View as Gallery’ option.
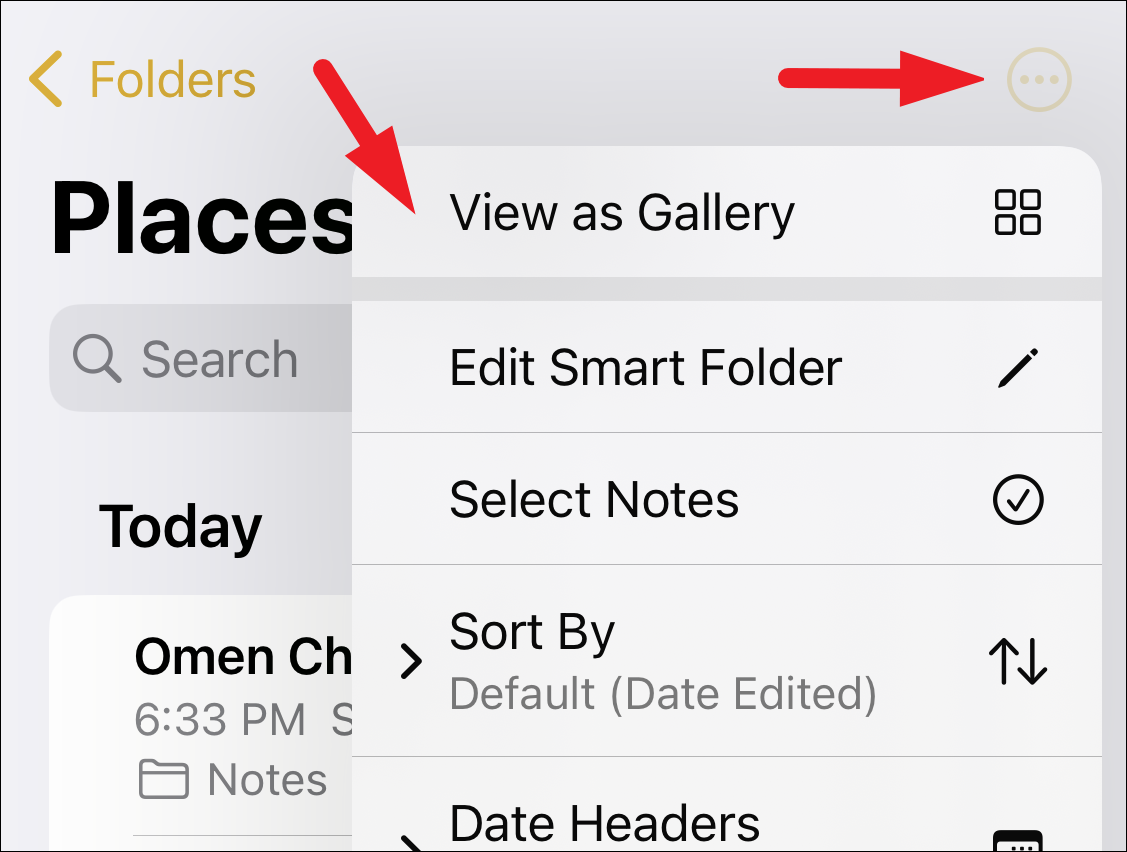
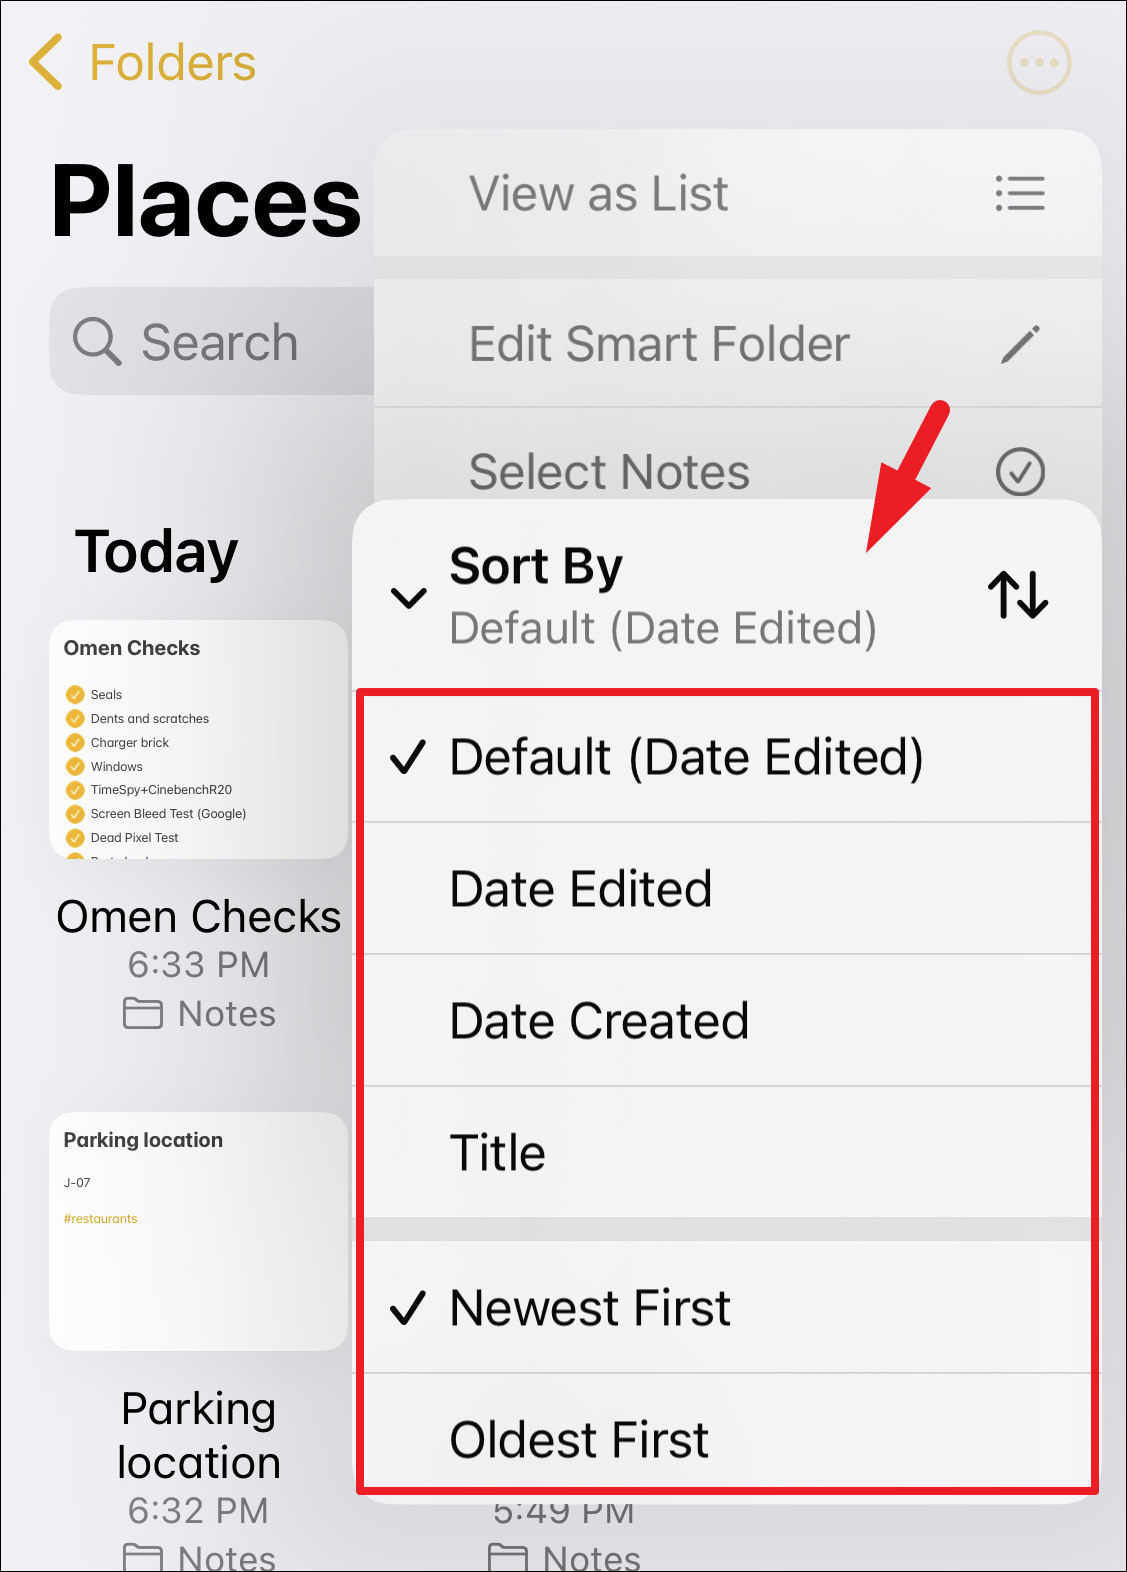
If you want to change the sort order for notes, tap on the ‘Sort By’ option and then select the sort order preferred by you.
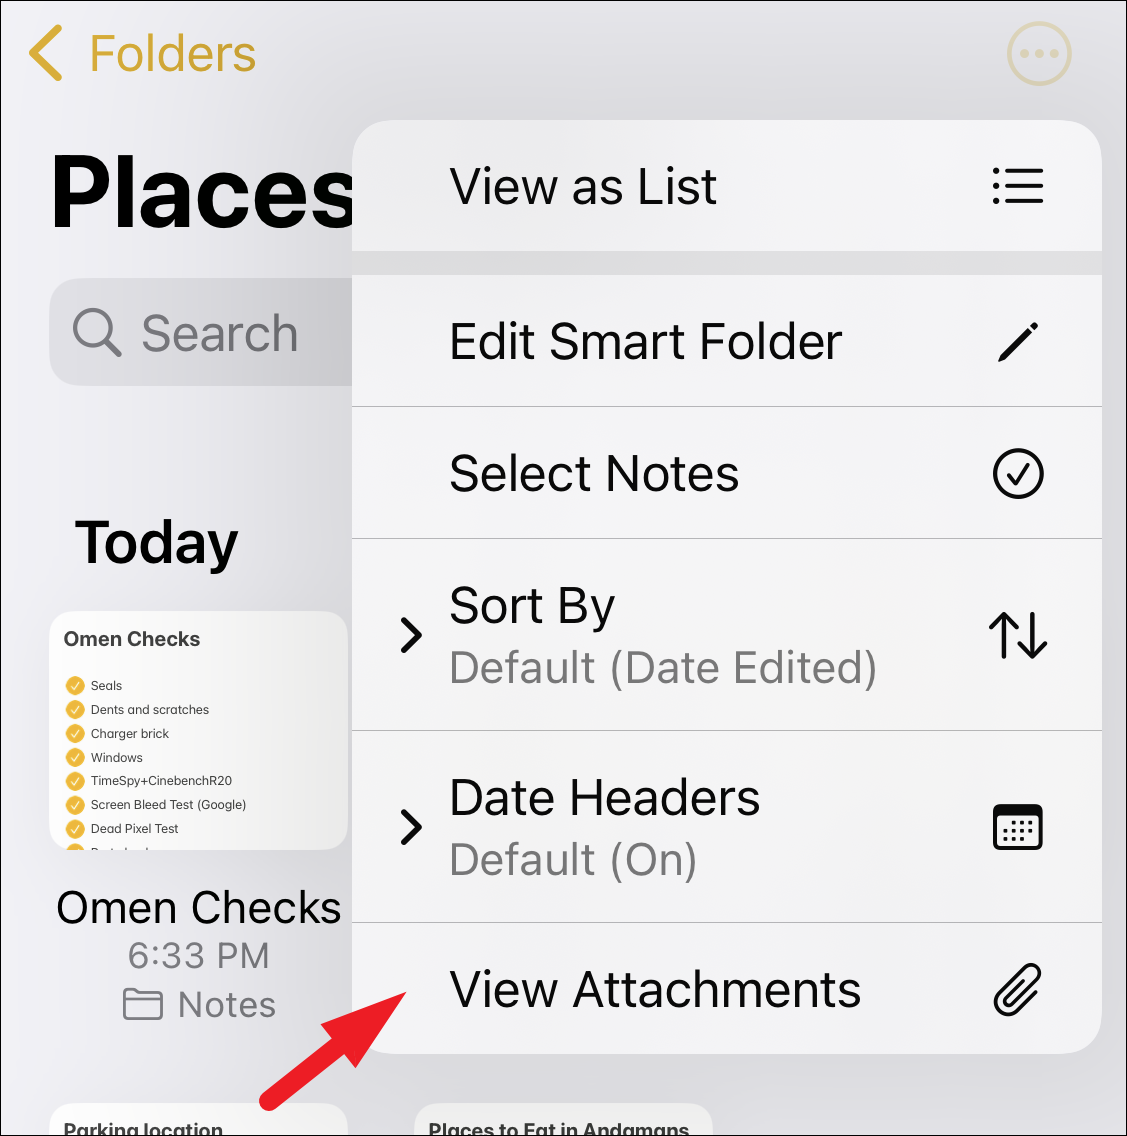
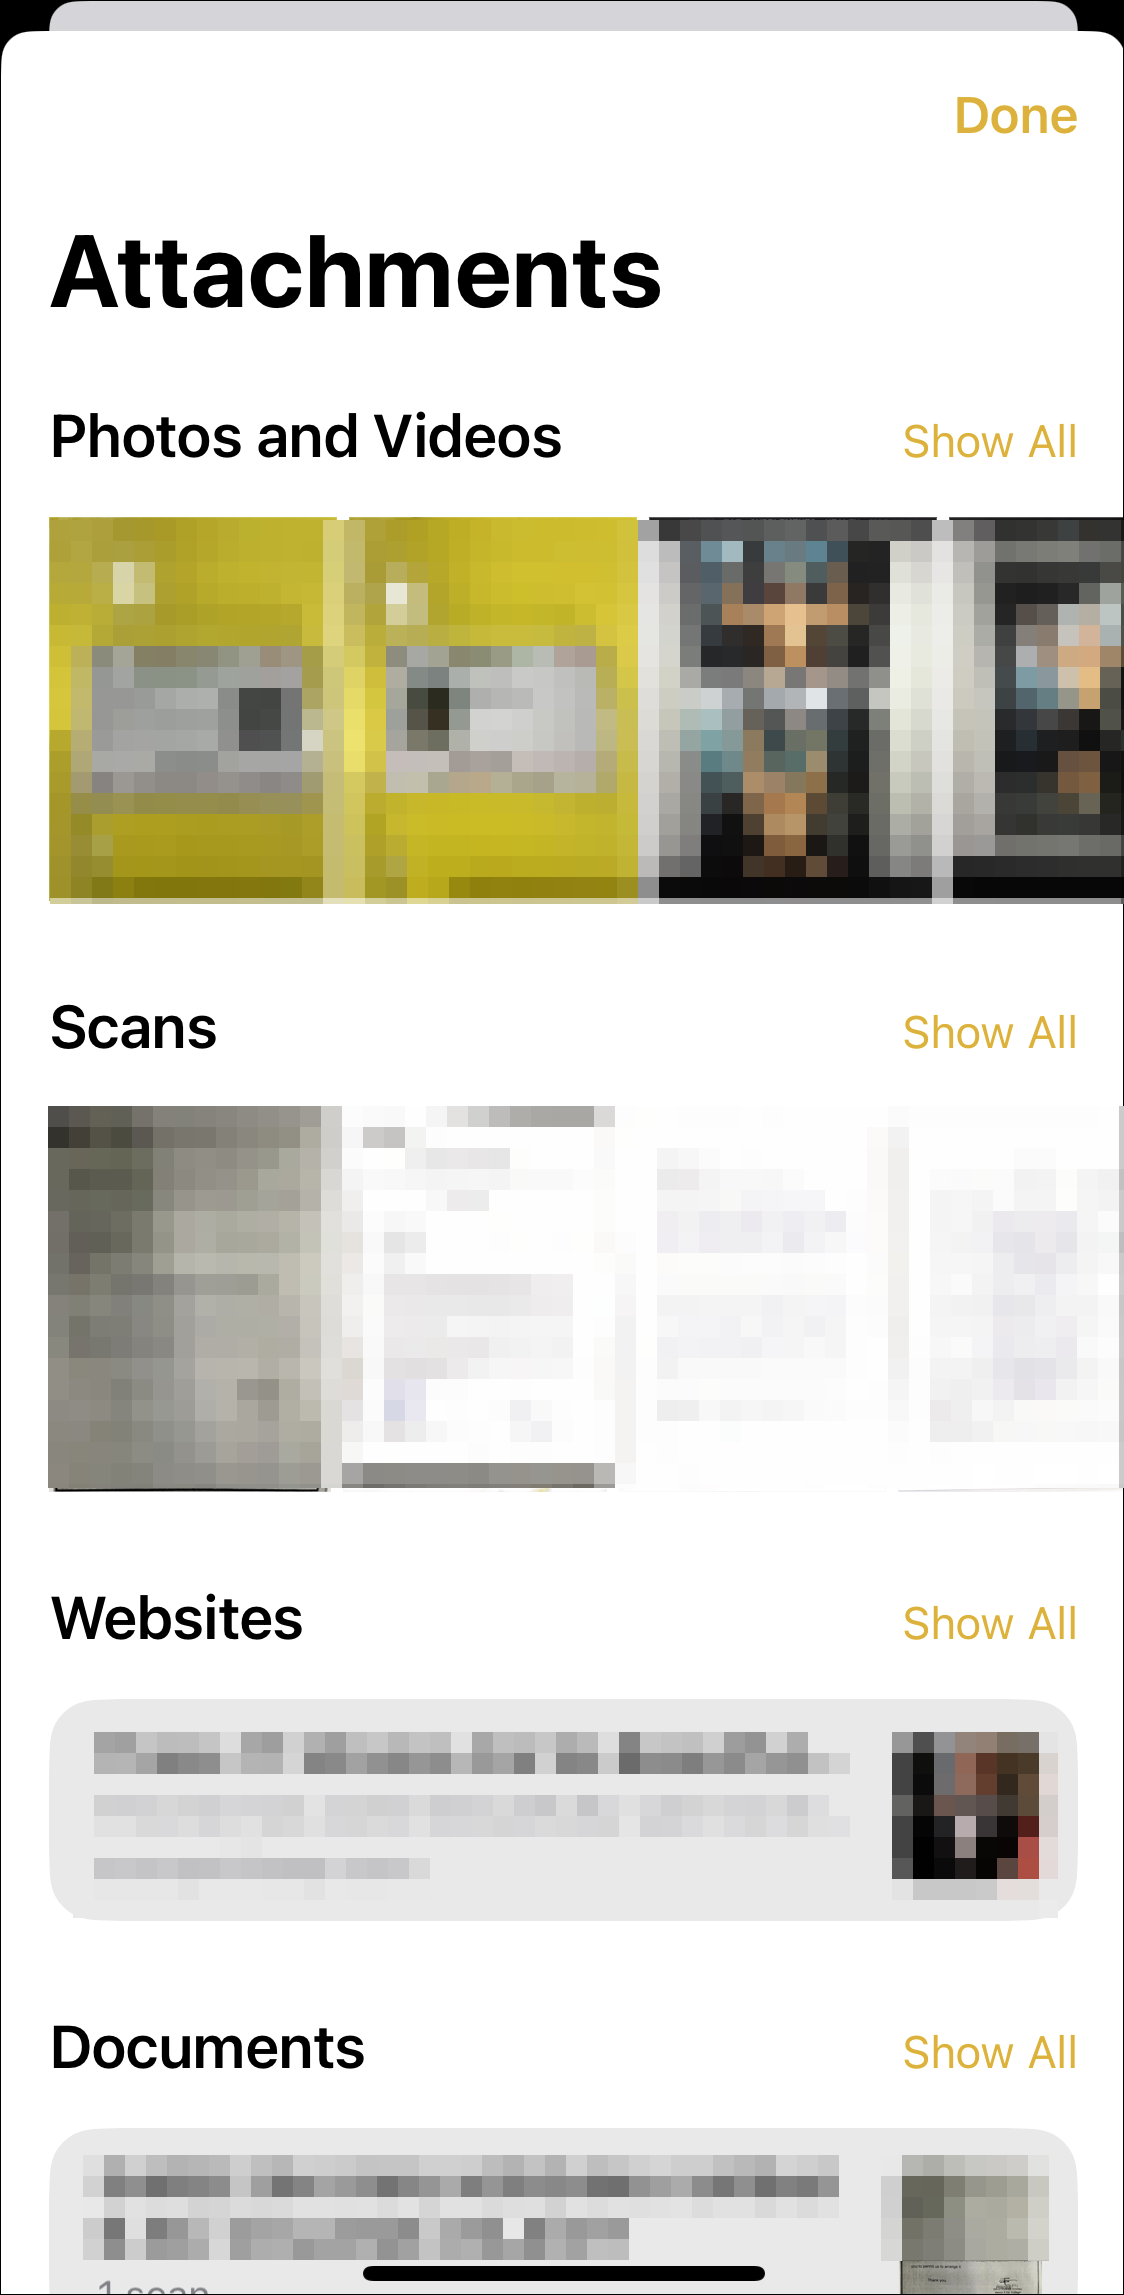
To view all the attachments of all the notes together, tap on the ‘View Attachments’ option from the ‘More Options’ menu. This will bring an overlay window to your screen.
You will be then able to view all the attachments by category.
To edit the filters for the smart folders, tap on the ‘Edit Smart Folder’ option from the menu.
That’s it, folks. Using the Smart Folders, you can quickly refer to notes having the same tags or fulfilling other conditions even if they reside under different folders in iOS 16.


