
Microsoft has completely redesigned the File Explorer in Windows 11. It’s got a sleek and refreshing interface, a Command Bar at the top with the relevant icons, an uncluttered context menu, however, Microsoft has not done away with the legacy context menu and it can still be accessed.
With a plethora of changes, it would take you some time to get acquainted with them all. But once you do, working on Windows would be much simpler and convenient. We did expect some changes in the File Explorer, most are there on Windows 11 while the wait for others continues.
Let’s see what all changes are introduced to the new File Explorer and how to perform various actions and functions on it.
File Explorer Interface
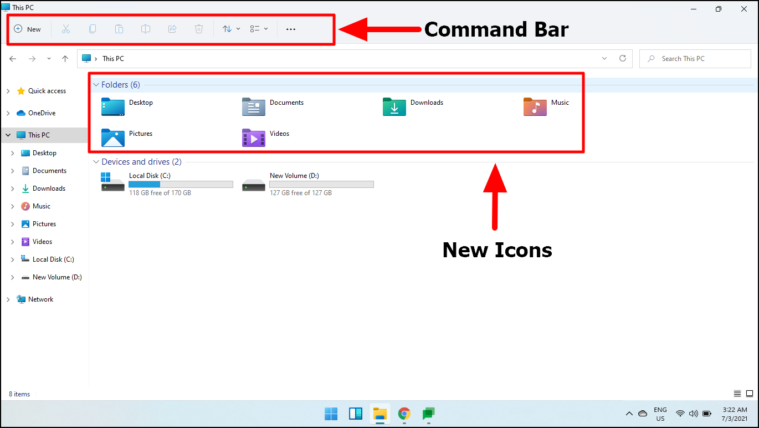
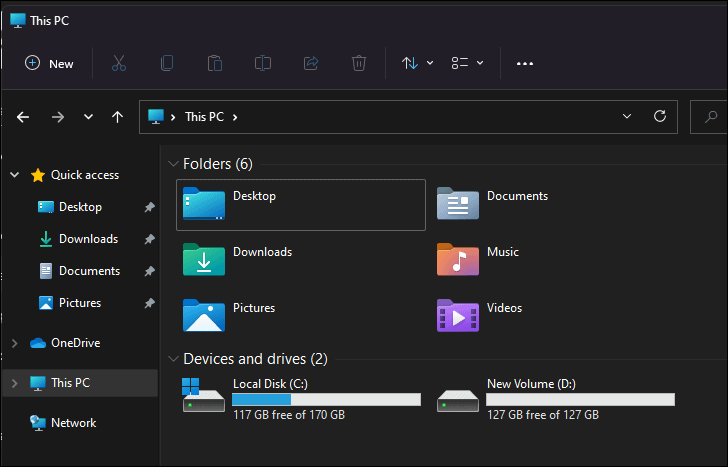
When you first launch File Explorer on Windows 11, it’s a refreshing feeling. With a clean look coupled with a centered Taskbar, Microsoft has no doubt got the interface right.
There’s the new Command Bar at the top, with just the relevant icons. Since the number of options that could be directly accessed are far less, the Command Bar occupies lesser space. Then there are new icons, bright and appealing (these are also present in recent Windows 10 updates as well). We have some addition to the icons as well.
On the first look, it appears to be a complete overhaul of File Explorer. Let’s delve deeper, identify the other changes, and learn how to use the new File Explorer.
Command Bar
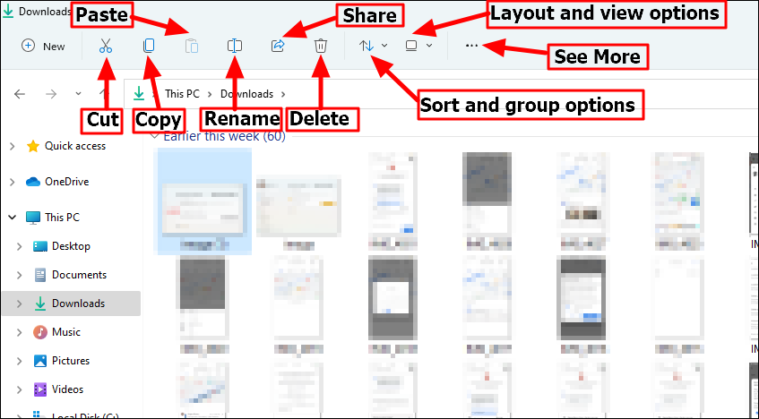
The Command Bar at the top is pretty neat with just the icons to perform relevant tasks. Unlike the previous versions which had options categorized under three tabs, here (in the new command bar) all the options can easily be accessed.
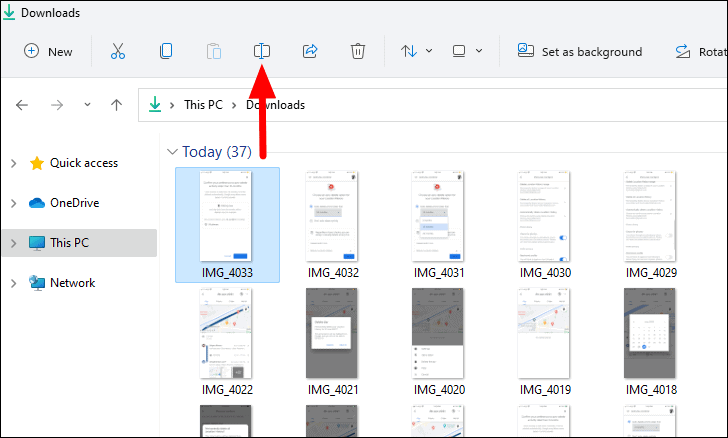
Also, the options in the Command Bar depend on the type of file you have selected. In case it’s an image the option to ‘Set as Background’ and ‘Rotate right’ will be added, while for most of the other file formats and folders, it remains the same as below.
Let’s see how you perform actions with the Command Bar.
Creating a New Folder or Item
To create a new folder or item, click on the ‘New’ option at the extreme left of the Command Bar. In the drop-down menu, you have two options, either to create a folder or add a new item. The first option, i.e. ‘New folder’, is self-explanatory, but if you hover the cursor over ‘New Item’, a new menu with a list of items will appear, although, there is a ‘Folder’ option here as well.

Cut, Copy, or Paste a File or Folder
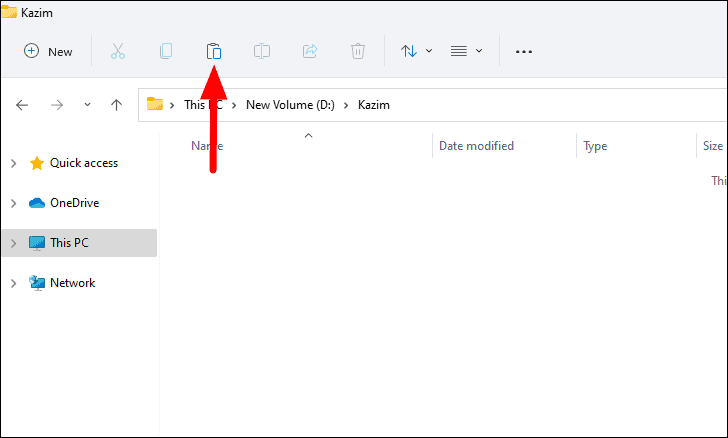
To copy and paste a file or folder, select the file and click on the relevant icon in the Command Bar. Once you have either cut or copied a file, the ‘Paste’ icon won’t be greyed out anymore. Navigate to the location where you want to paste the file and click on the ‘Paste’ icon in the Command Bar.
Rename a File Folder
To rename a file or folder, select the file you want to rename, click on the ‘Rename’ icon from the Command Bar or right-click on the file and click on the Rename icon there. Then, enter a new name for the file, and press ENTER.
Delete a File/Folder
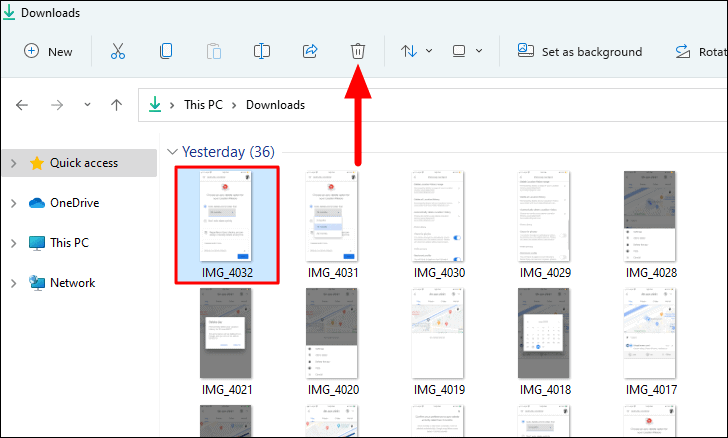
To delete a file on the new File Explorer, select the file(s), and click on the ‘Delete’ icon at the top or right-click on the file and click on the Delete icon in the context menu.
Share Files from the File Explorer
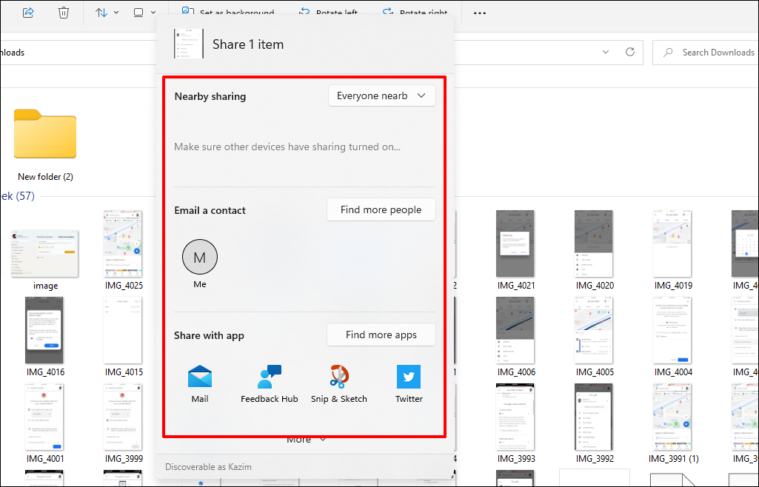
To share files with the new File Explorer, select the file, click on the ‘Share’ icon and three options will appear on the screen.
- Nearby sharing: You can use this feature to share files with other nearby Windows devices. Just enable the feature on both the devices and share files between the two.
- Email a contact: If you have set up the ‘Mail’ app on Windows 11, your contact list will be displayed here and you can share the file over email.
- Share with app: This option helps you share files over apps installed on your computer.
Sort and Group Options
Windows 11 has made sorting and grouping the files and folders a lot simpler and convenient.
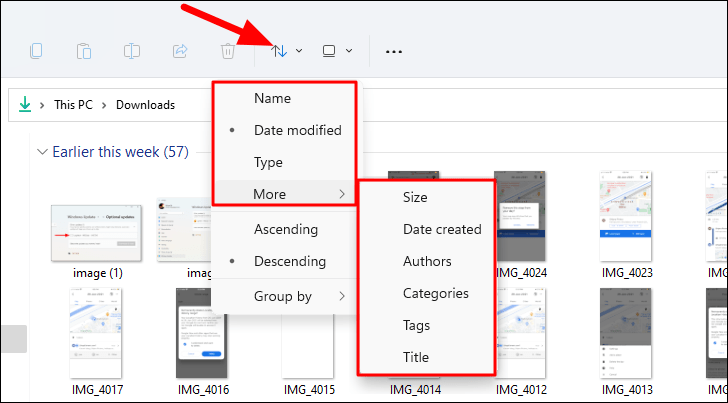
Just click on the ‘Sort and group option’ icon and the first four options would be to sort the files/folder. If you don’t want to sort the files according to the first three, hover the cursor over ‘More’ and select another sorting option. The option that’s currently set has a dot before it.
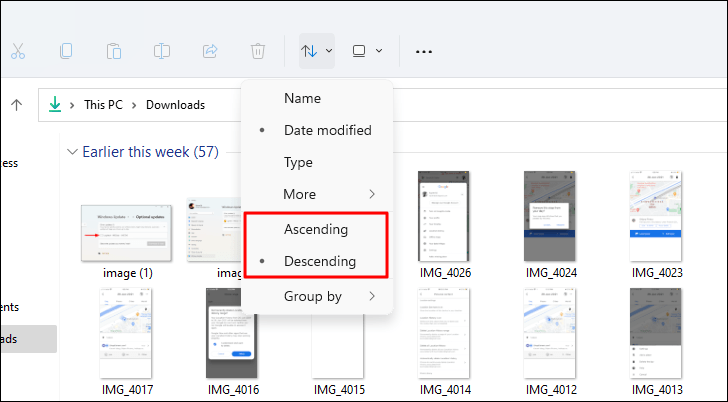
The next two options, ‘Ascending’ and ‘Descending’, decide the sort order.
- Ascending: The files with the lowest value of the sorting parameter are listed at the top.
- Descending: The files with the highest value of the sorting parameter are listed at the top.
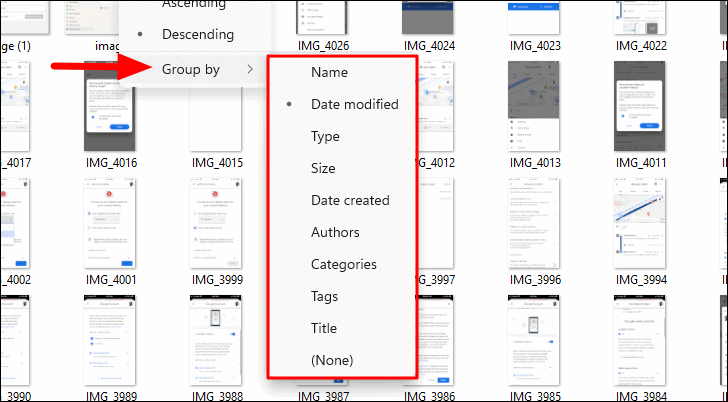
The last option ‘Group by’ help you group the files and folders. Hover the cursor over the option and a new menu with various grouping choices will appear. Select the desired one from the list.
Layout and View Options
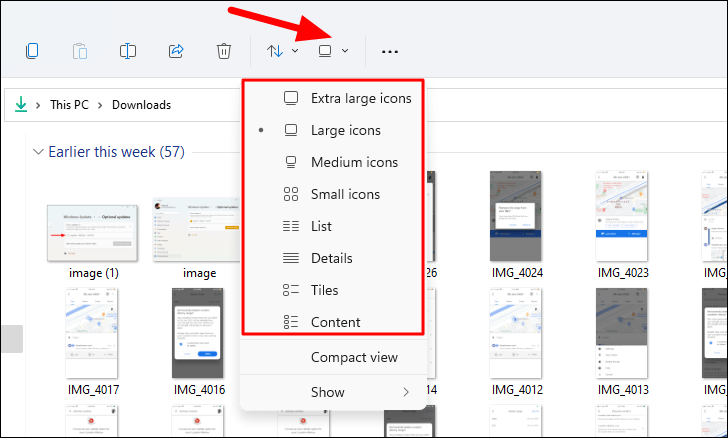
The penultimate option in the Command Bar is the ‘Layout and view options’. It helps you choose the layout for the files and folders and to select which files are to be displayed.
When you click on the ‘Layout a view options’ icon in the Command Bar, it launches a drop-down menu. The first eight options in the drop-down menu decide the layout for the various files/folders for the location that’s currently open.
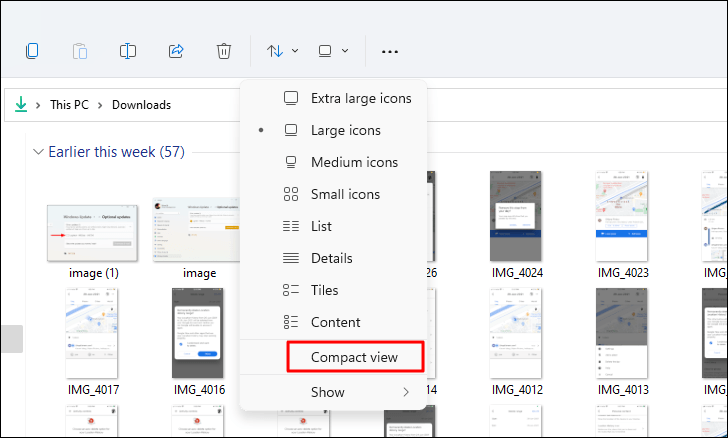
When you select ‘Compact view’, the space between the various items decreases. It applies both to the items listed in the folder and those in the navigation pane.
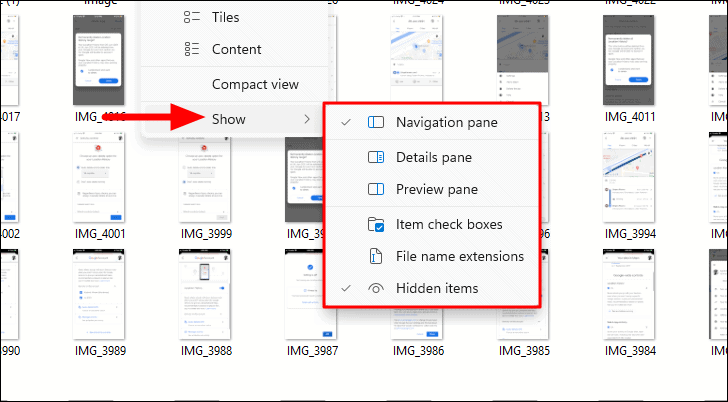
The last option, i.e., Show, lists the various panes, features and items that can easily be enabled or disabled. For instance, if you want to add ‘Checkboxes’ to the files/folders for easy selection, choose the option. Or if you want to view the hidden files, select the ‘Hidden items’ option. The options did exist earlier, they have just been positioned differently on Windows 11.
More Options
The last icon in the Command Bar is the ellipsis which opens a drop-down menu that lists several extra options. The number of options varies depending on whether a file or folder has been selected or if none has been selected. When you select a file, another option ‘Copy path’ with added under ‘More options, and in the case of a folder, the option ‘Compress to ZIP file’ will be added, in addition to ‘Copy path’.
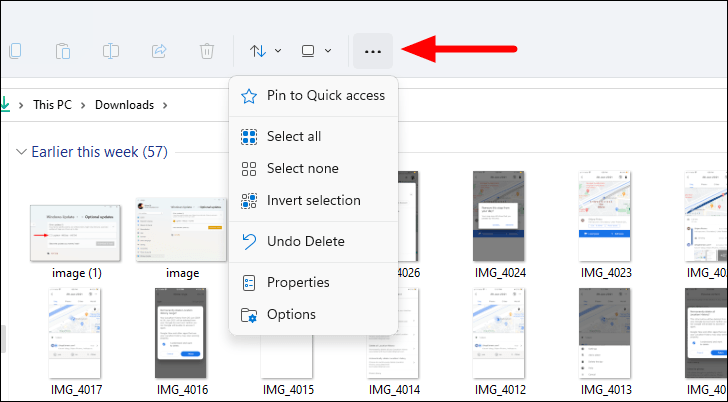
The options here are all self-explanatory and you will get a hang of each within a few moments.
New Context Menu
Gone are the days of a messy context menu where locating an option seemed like a task in itself, let alone performing the action. Windows 11 has introduced a new simplified Context Menu, one where all the icons and options can be distinguished in a single glance. We now have icons for multiple actions in the context menu.
However, for those of you who prefer the legacy Context Menu, it can still be accessed on Windows 11. Microsoft has not removed it from the latest version, however, the new Context Menu is much simpler and easy to work on.
Let’s see the various options in the new context menu.
Note: As was the case with Command Bar, the options in the context menu depends on whether you have selected a file or a folder, and the file format.
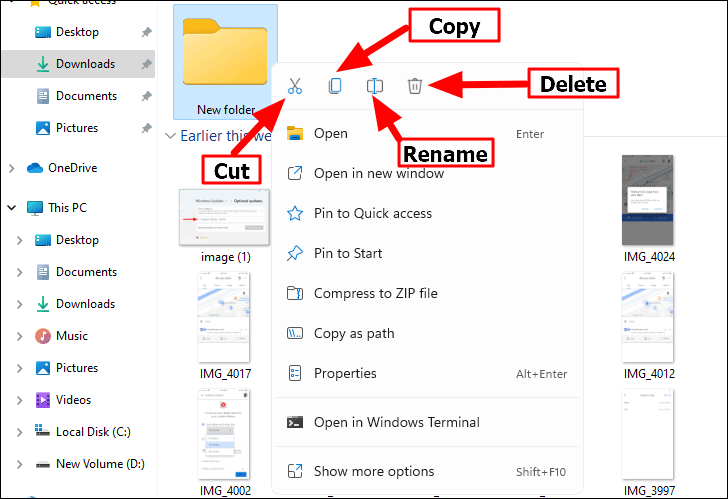
The icons for cut, copy, paste, rename, and delete, that were present in the Command Bar are added to the new context menu as well. These icons can be present either at the top or bottom of the context menu.
Users who still have their hands set on Windows 10 can access the legacy context menu by selecting ‘Show more options’ or press SHIFT + F10.
The other options in the context menu are self-explanatory.
Navigation Pane
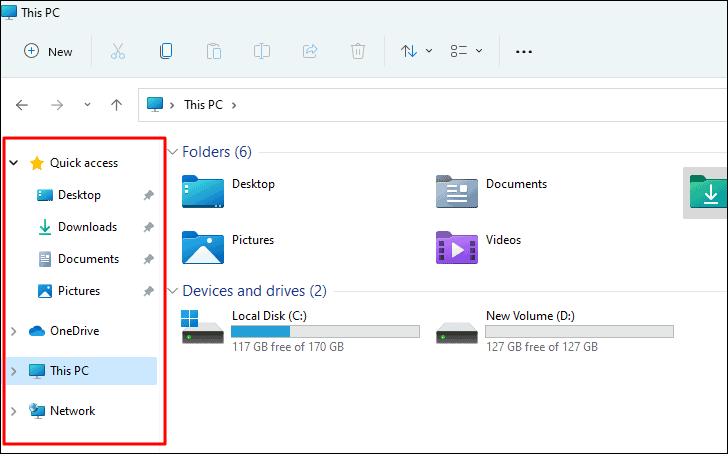
As discussed earlier, there have been no major changes to the Navigation Pane on the left. It works the same way as those in the previous versions, helping you quickly navigate through the various folders on the system. You can pin items to Quick Access to have them accessible with a single click.
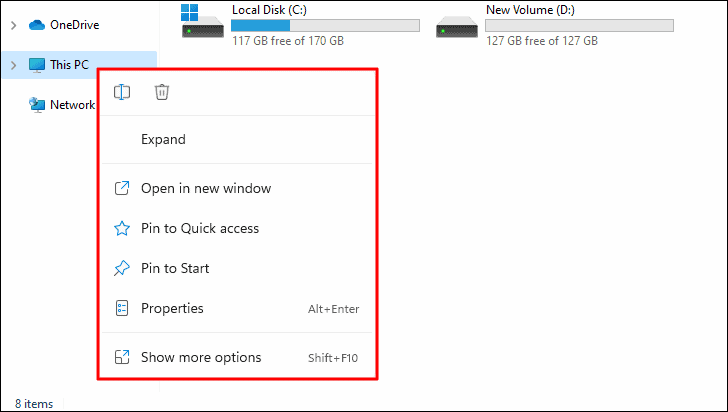
However, when you right-click on any item in the Navigation Pane, it launches the new context menu, the one we saw earlier.
Improved Theme Support in File Explorer
For those of you who like to experiment with themes to enhance the Windows experience, Windows 11 surely has a lot to offer. Check out the various themes in the ‘Personalization’ settings. Like the Dark theme, it’s not new (has been in Windows 10 too), but it’s much better now in Windows 11.
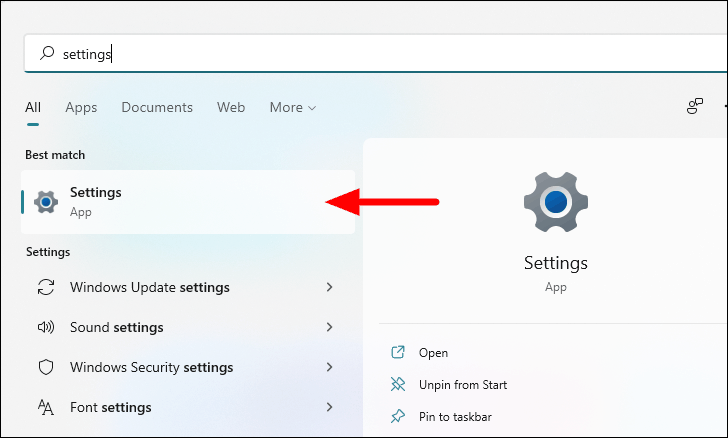
To change themes in Windows 11, press the Windows logo key to launch the ‘Start Menu’, enter ‘Settings’, and then click on the relevant search result to launch the app.
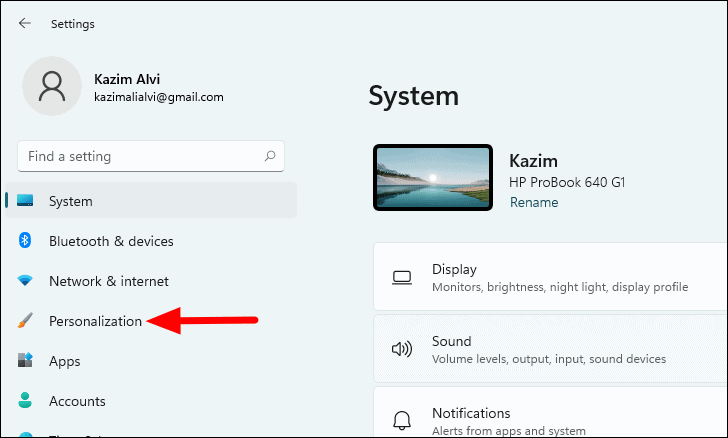
In Settings, click on ‘Personalization’ at the left.
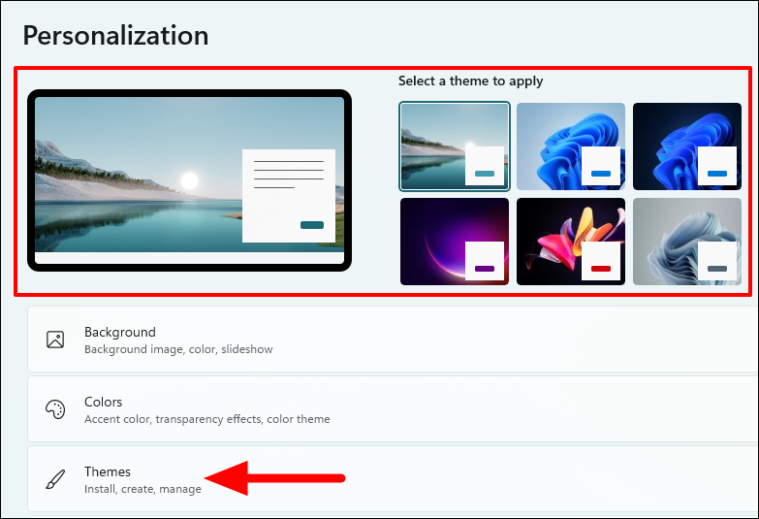
Now, you can either select one of the themes listed at the top or select the ‘Themes’ option to customize the theme or download more from the Store.
We tried the dark theme on Windows 11 and it works like a charm for File Explorer.
Troubleshooting Issues with the New File Explorer
Many users who have switched to Windows 11 reported being unable to access the new File Explorer, instead, it was the old File Explorer that launched. If that’s the case with you, here are some quick and effective fixes.
1. Restart the Computer
Restating the computer helps fix most of the trivial errors. When you restart the computer, the OS is reloaded which fixes any minor glitch that was preventing access to the new File Explorer.
After restarting the computer, check if get access to the new File Explorer. In case it’s the old one that loads, move to the next fix.
2. Change File Eplorer Options
There’s a setting to launch folder windows in a separate process for File Explorer. In case it’s enabled, Windows 11 will launch the old File Explorer. Here’s how you disable it.
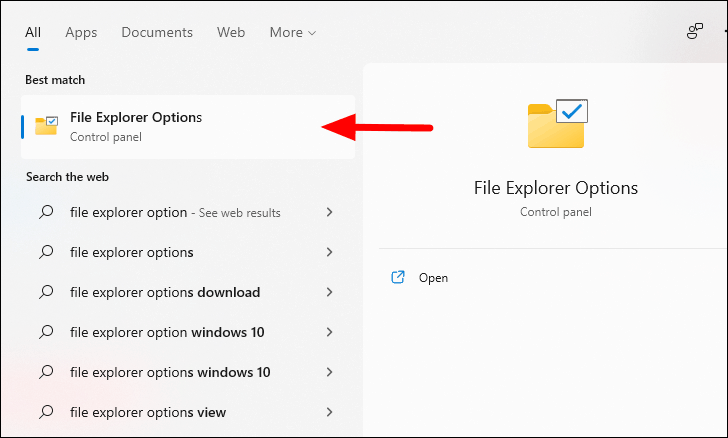
Press the WINDOWS key to launch the ‘Start Menu’, search for ‘File Explorer Options’ and then click on the relevant search result.
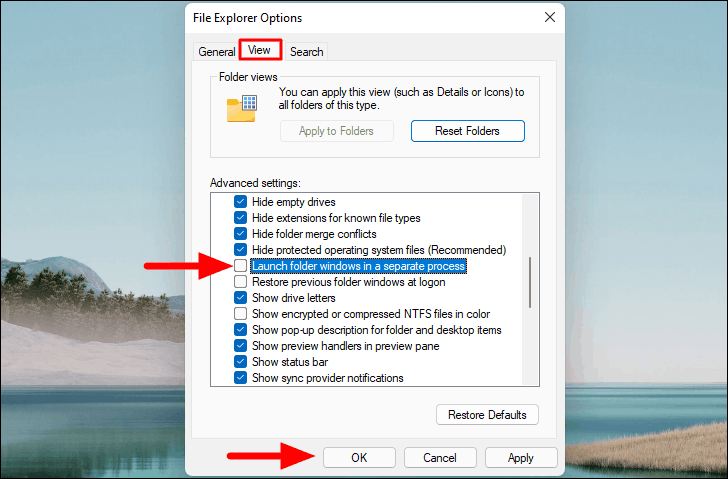
Next, navigate to the ‘View’ tab, locate ‘Launch folder windows in a separate process’, untick the checkbox for it and finally click on ‘OK’ to save the changes.
Now, check if you are able to access the new File Explorer.
3. Uninstall Link Shell Extension
The Link Shell Extension application has been found to cause this issue on Windows 11. If you have it installed on the system, uninstall it and check if the error is fixed.
4. Update Graphics Driver
If none of the above fixes have worked, it’s time you update the Graphis Driver. Running an outdated version of the driver can also lead to errors and affects the performance of the system as well. To update the Graphics Driver, go to ‘How to Update Drivers in Windows 11‘ and check the ‘How to Update Graphics Driver in Windows 11’ section.
After updating the Graphics Driver, check if the error is fixed and you are able to access the new File Explorer.
In all likelihood, the above fixes should resolve the error. But, in case it persists, you have no option but to wait for an update. With each update, Windows try and fix the various bugs. Wait and see if the error is fixed in the subsequent updates.
That’s all there’s to the new File Explorer on Windows 11. Just keep exploring the various options and settings and you will get acquainted with the new interface in no time.


