
Taking screenshots is a fundamental task for Windows 11 users, whether it’s for sharing information, diagnosing an issue, or documenting content. Windows 11 introduces an enhanced Snipping Tool, merging the features of the classic Snipping Tool and Snip & Sketch into one robust application. This guide will show you how to effectively use the new Snipping Tool to capture, edit, save, and share screenshots.
Using the Snipping Tool to Capture Screenshots in Windows 11
The updated Snipping Tool in Windows 11 offers various snipping modes and advanced editing tools, making screenshot capture a seamless experience. Here’s how you can take screenshots using the Snipping Tool.
Using Keyboard Shortcuts to Launch the Snipping Tool
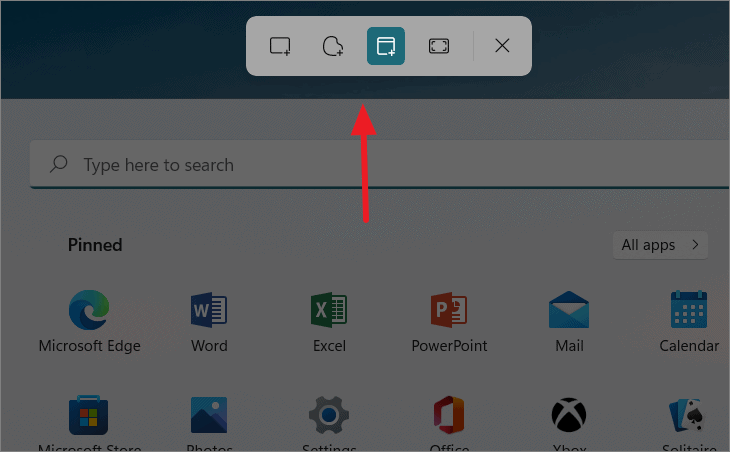
The fastest way to capture a screenshot is by using the keyboard shortcut Windows logo key + Shift + S. Pressing these keys together will bring up a toolbar at the top of the screen with four snipping options.
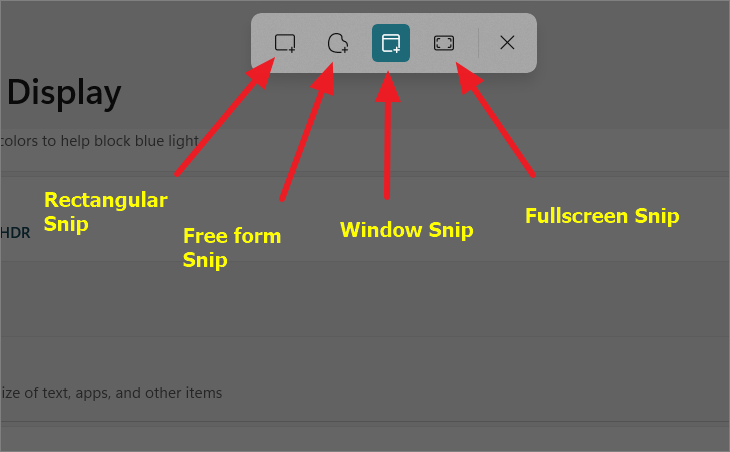
Select one of the following snipping modes:
- Rectangular Snip – Capture a rectangular area. Click and drag the cursor to select the desired area.
- Freeform Snip – Capture a custom-shaped area. Draw freely around the area you wish to snip.
- Window Snip – Capture a specific window. Click on the window you want to capture.
- Fullscreen Snip – Capture the entire screen.
If you choose ‘Rectangular Snip’ or ‘Freeform Snip’, click and drag to select the area. For ‘Window Snip’, click on the window you want to capture. Selecting ‘Fullscreen Snip’ will immediately capture the entire screen.
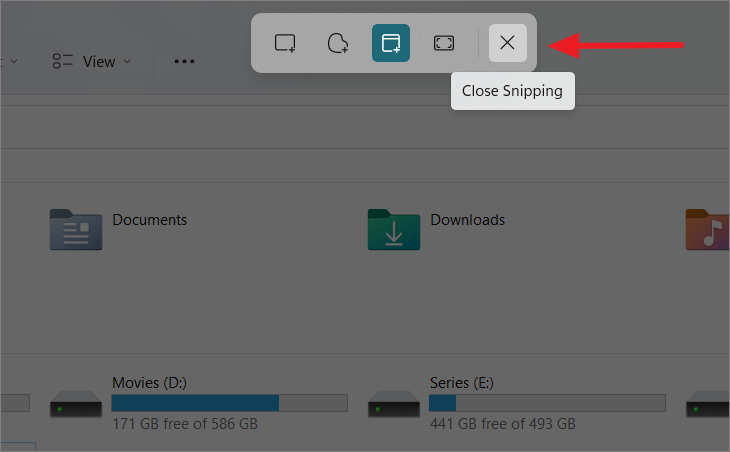
To cancel the snipping process, click the ‘X’ icon on the toolbar or press Esc.
Once you’ve taken a screenshot, a notification will appear in the bottom-right corner. Click on it to open the screenshot in the Snipping Tool window.
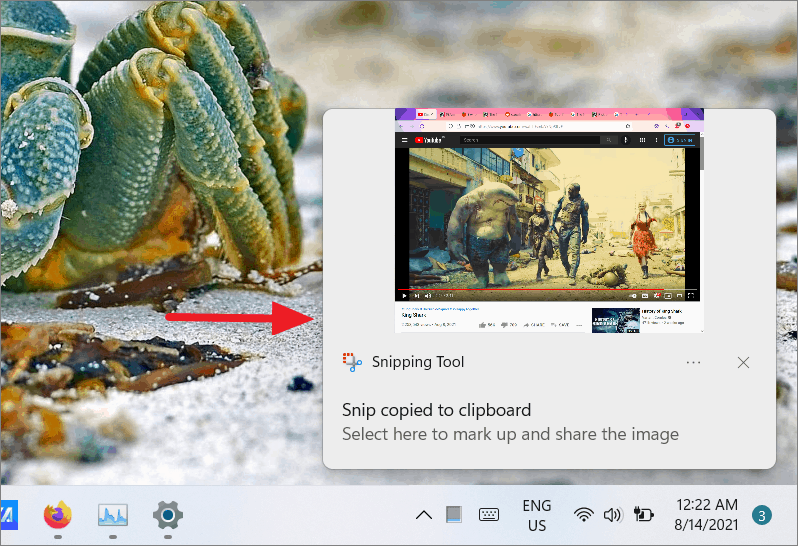
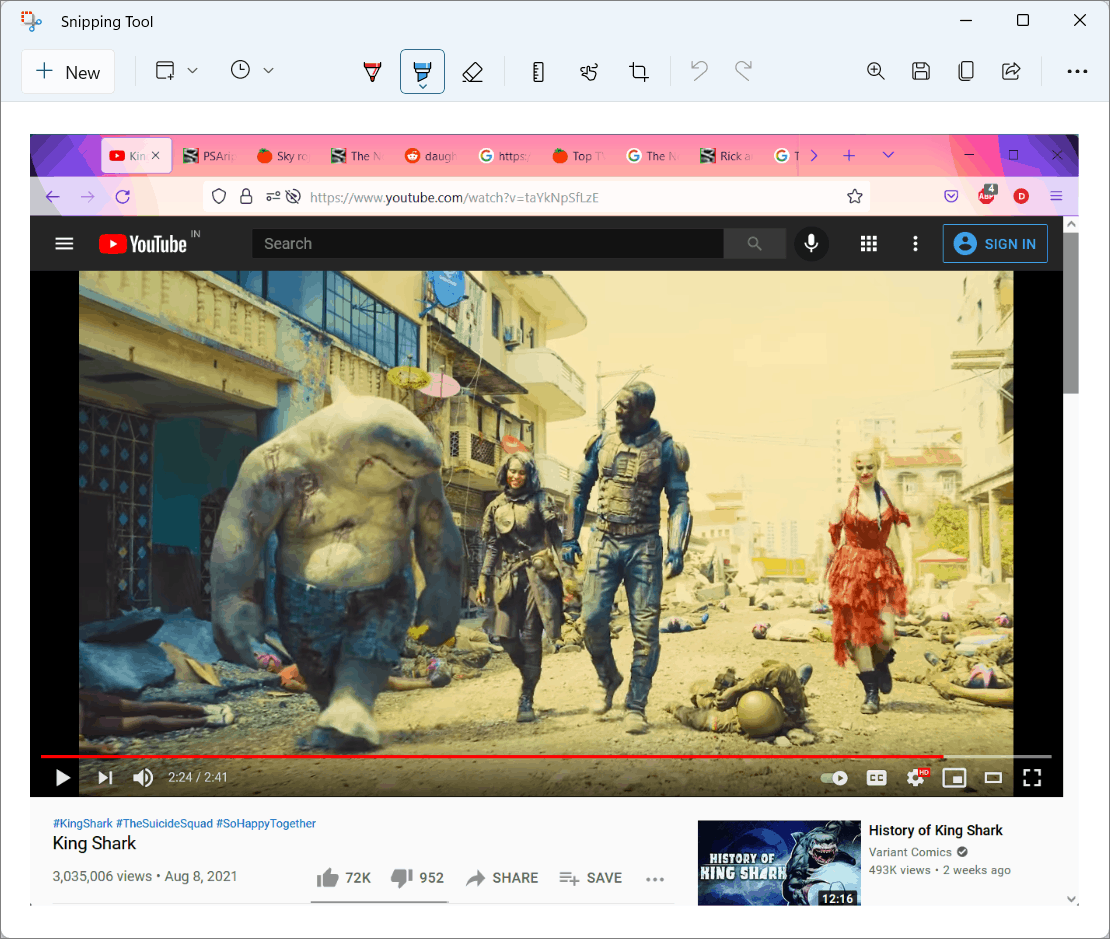
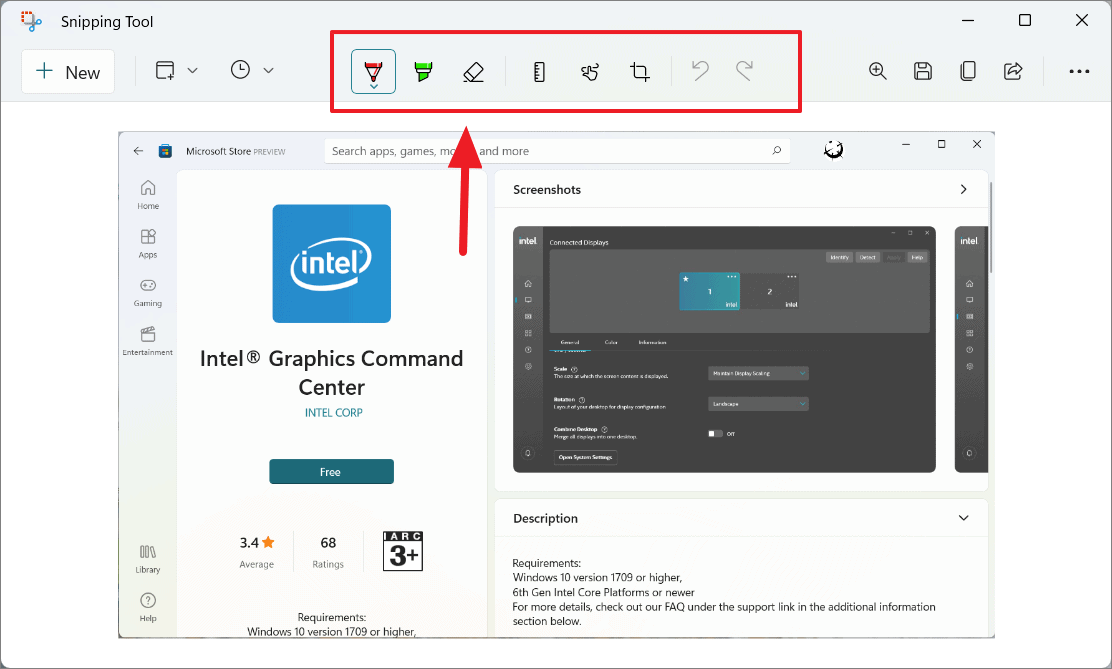
The screenshot is also automatically copied to your clipboard, allowing you to paste it directly into documents, image editors, or other applications. When you open the screenshot in the Snipping Tool, you’ll have access to various tools for editing, annotating, saving, sharing, and printing. Here’s an example of a screenshot of a YouTube video.
Launching the Snipping Tool from the Start Menu
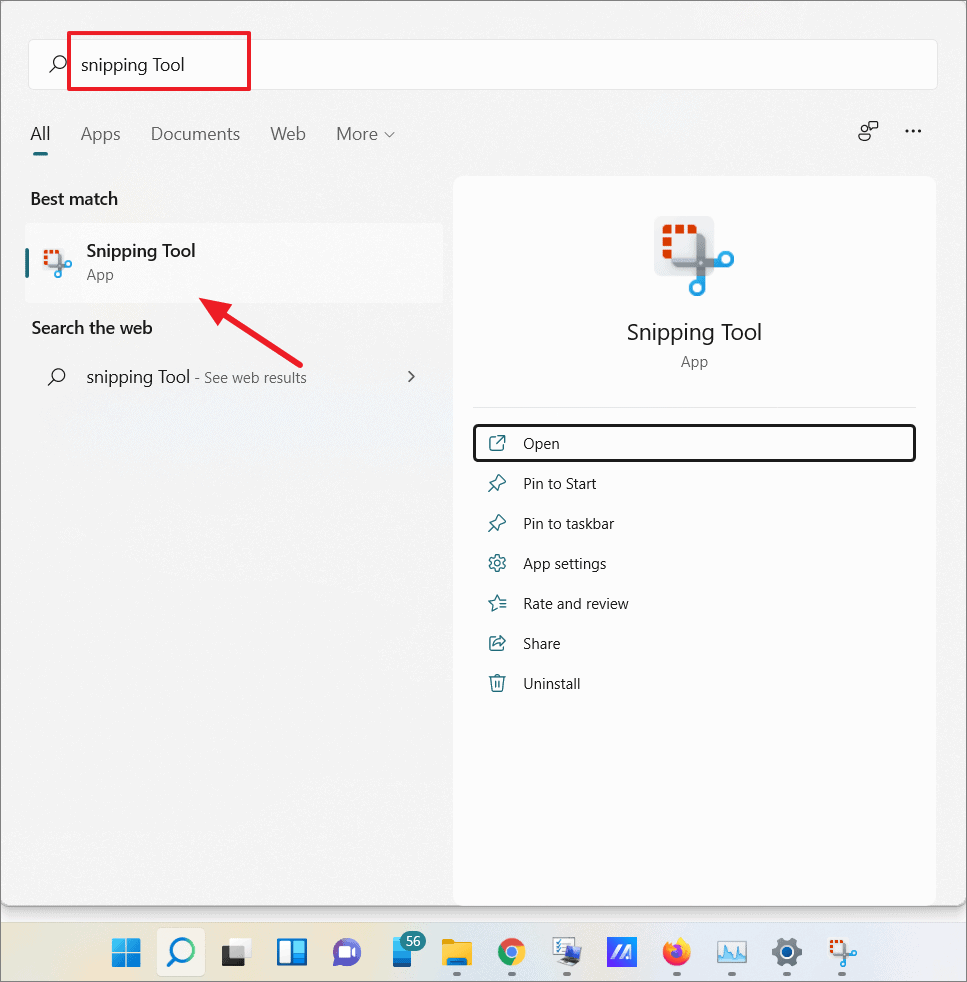
You can also launch the Snipping Tool directly from the Start menu: 1. Open the Start menu and search for ‘Snipping Tool’. 2. Click on the Snipping Tool app to open it.
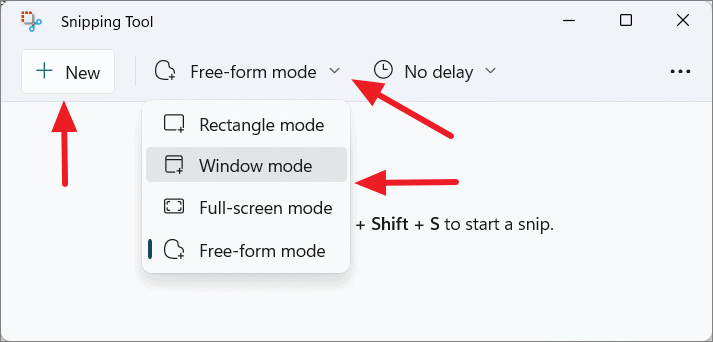
In the Snipping Tool window, select the desired snipping mode from the ‘Mode’ dropdown menu. Then, click ‘New’ to initiate the screenshot.
Delaying the Screenshot Capture
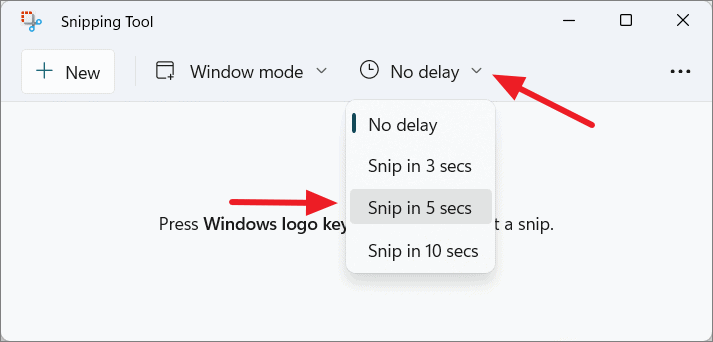
The Snipping Tool allows you to set a delay before the screenshot is taken. This feature is useful for capturing context menus or tooltips. 1. In the Snipping Tool, select your snipping mode. 2. Click on the ‘Delay’ dropdown menu and choose a delay time (3 seconds, 5 seconds, or 10 seconds).
Note that the delay feature is not available for the ‘Fullscreen Snip’ mode.
Saving, Sharing, Copying, and Printing Screenshots
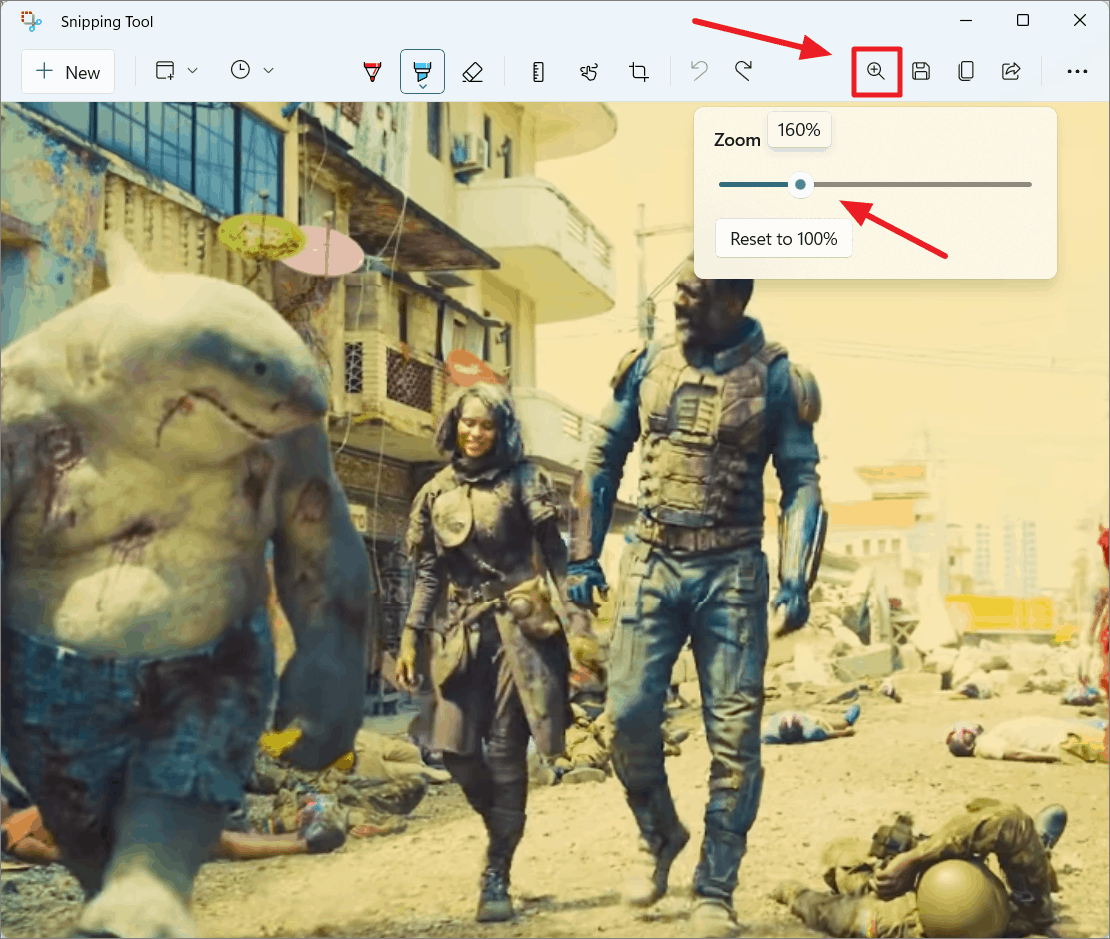
After capturing a screenshot, you can save, copy, share, or print it using the options in the Snipping Tool. Zooming into the Screenshot: Click the ‘Zoom’ icon and use the slider to zoom in or out of the image.
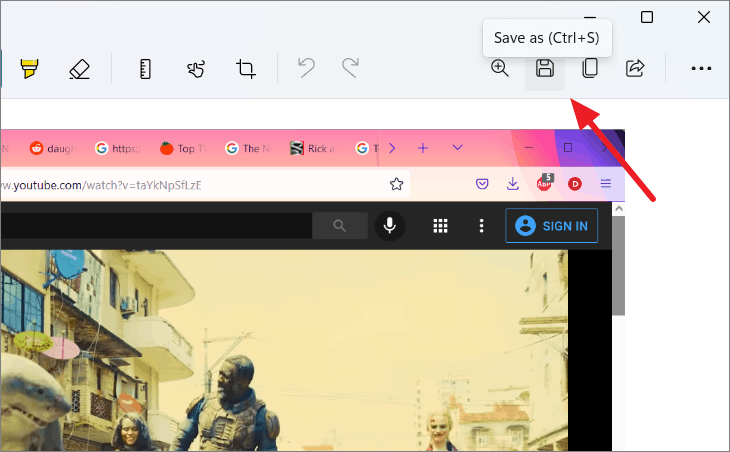
Saving Your Screenshot: Click the ‘Save’ icon or press Ctrl + S to save the screenshot. In the ‘Save As’ dialog, enter a file name, choose a file format (e.g., JPEG, PNG), and select a save location.

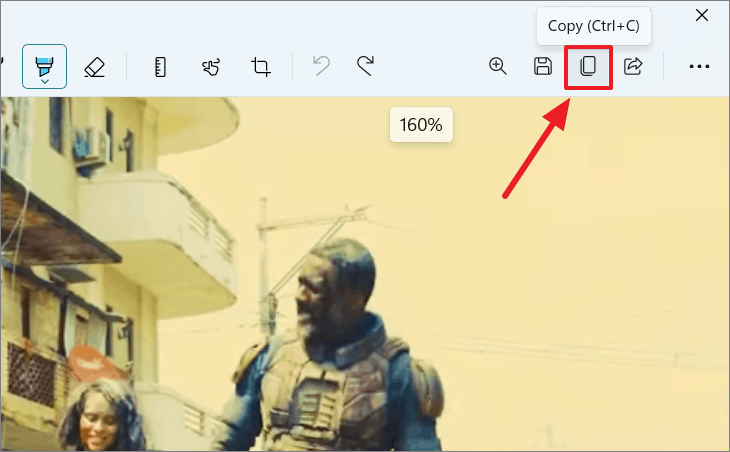
Copying to the Clipboard: To copy the edited screenshot, click the ‘Copy’ icon or press Ctrl + C.
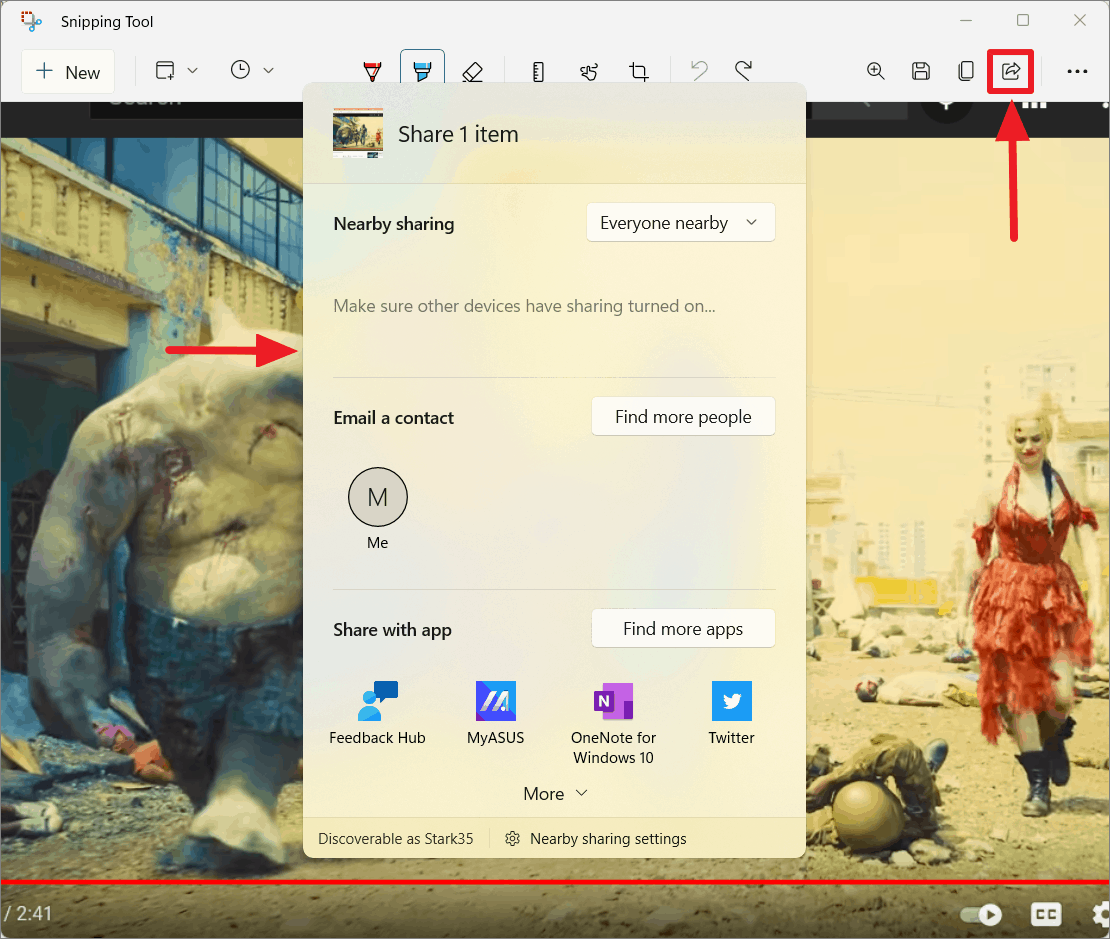
Sharing the Screenshot: Click the ‘Share’ icon to open the Windows 11 share menu. Choose how you’d like to share the image (e.g., via email, Bluetooth).
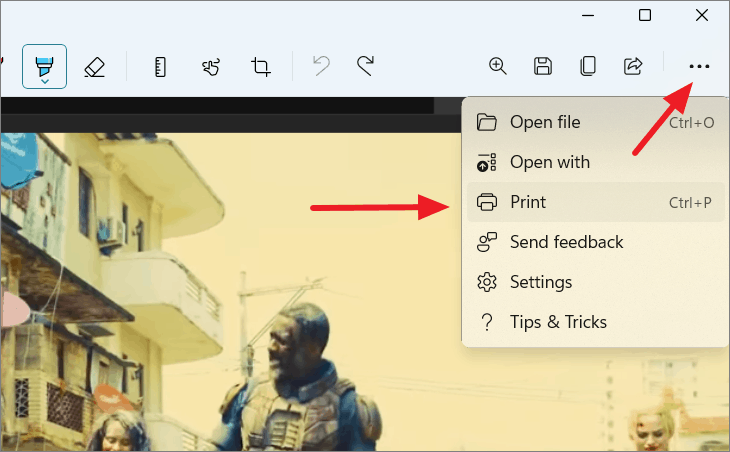
Printing the Screenshot: To print the screenshot, click the three-dot menu and select ‘Print’. Choose your printer and settings in the print dialog.
Editing Screenshots in the Snipping Tool
The Snipping Tool provides various editing tools to annotate and enhance your screenshots, including pens, highlighters, erasers, and more.
Annotating Screenshots
Use the ‘Ballpoint Pen’ or ‘Highlighter’ tools to draw or highlight on your screenshot. – Click the ‘Ballpoint Pen’ or ‘Highlighter’ icon. – Double-click the icon to choose color and size.
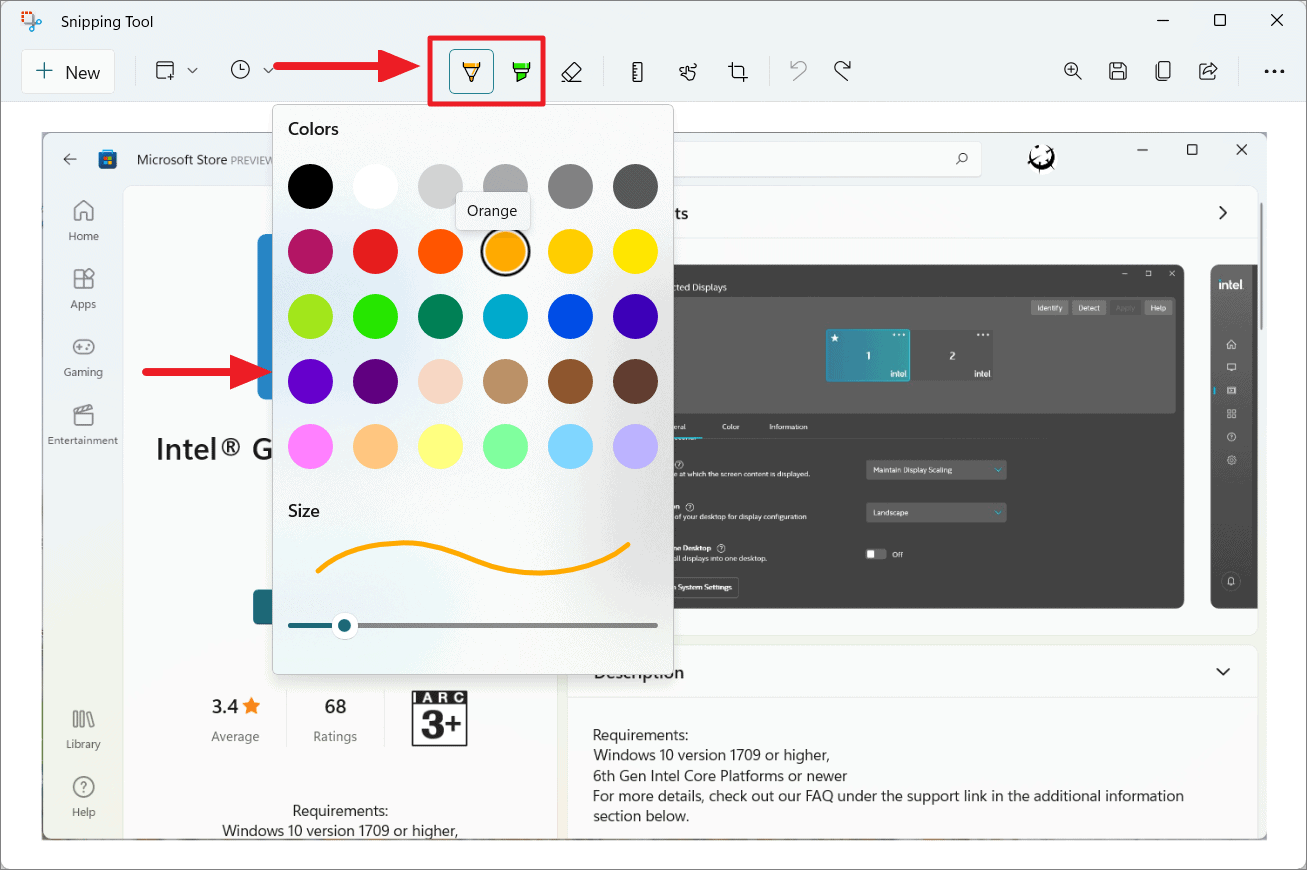
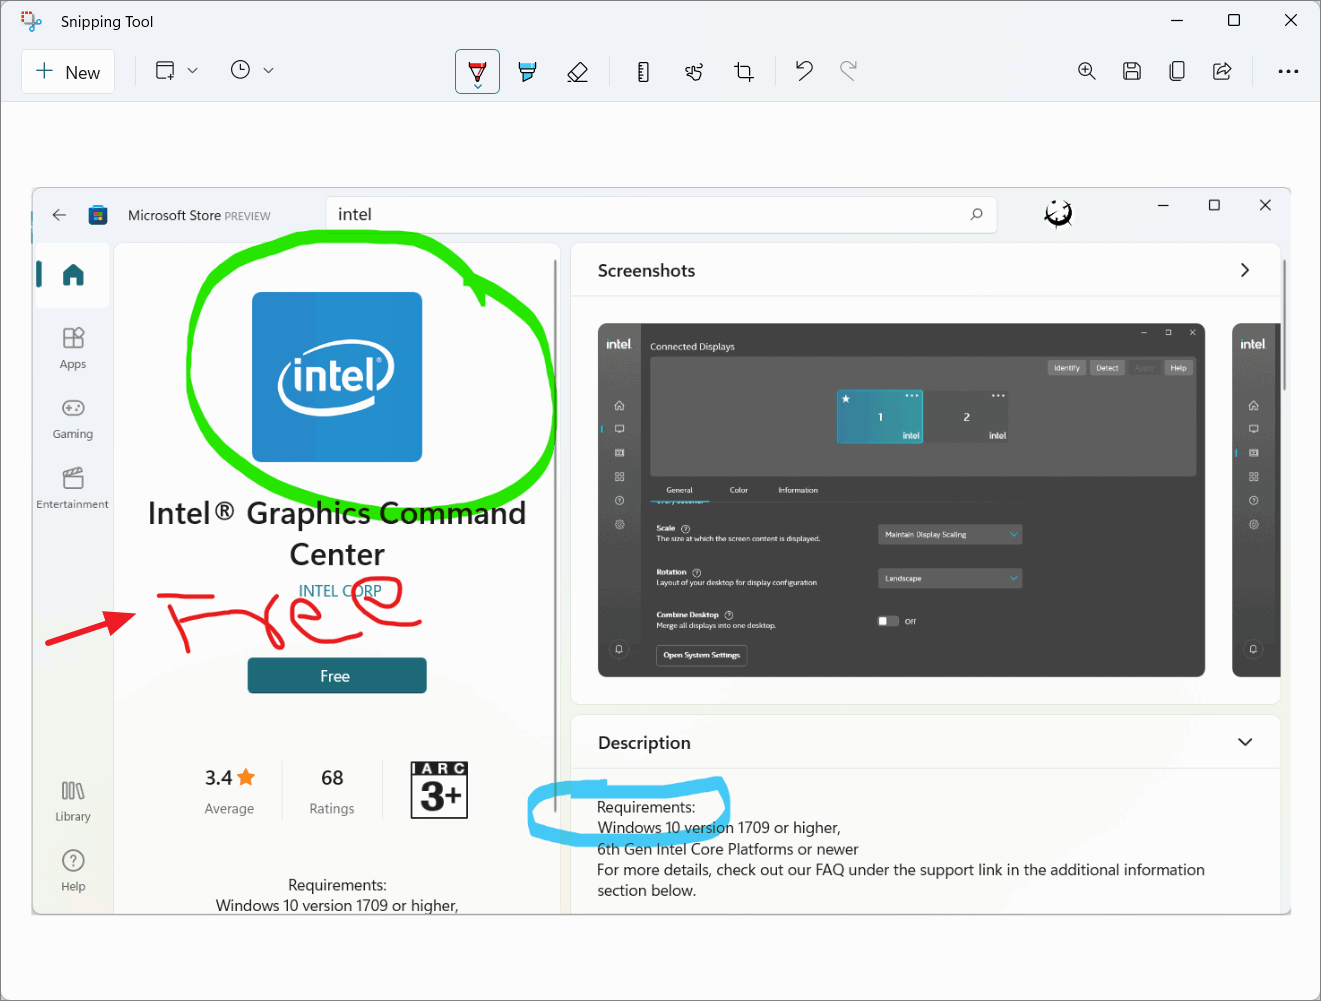
You can then annotate your screenshot as needed.
Keyboard shortcuts: – Alt + B for the Ballpoint Pen. – Alt + H for the Highlighter.
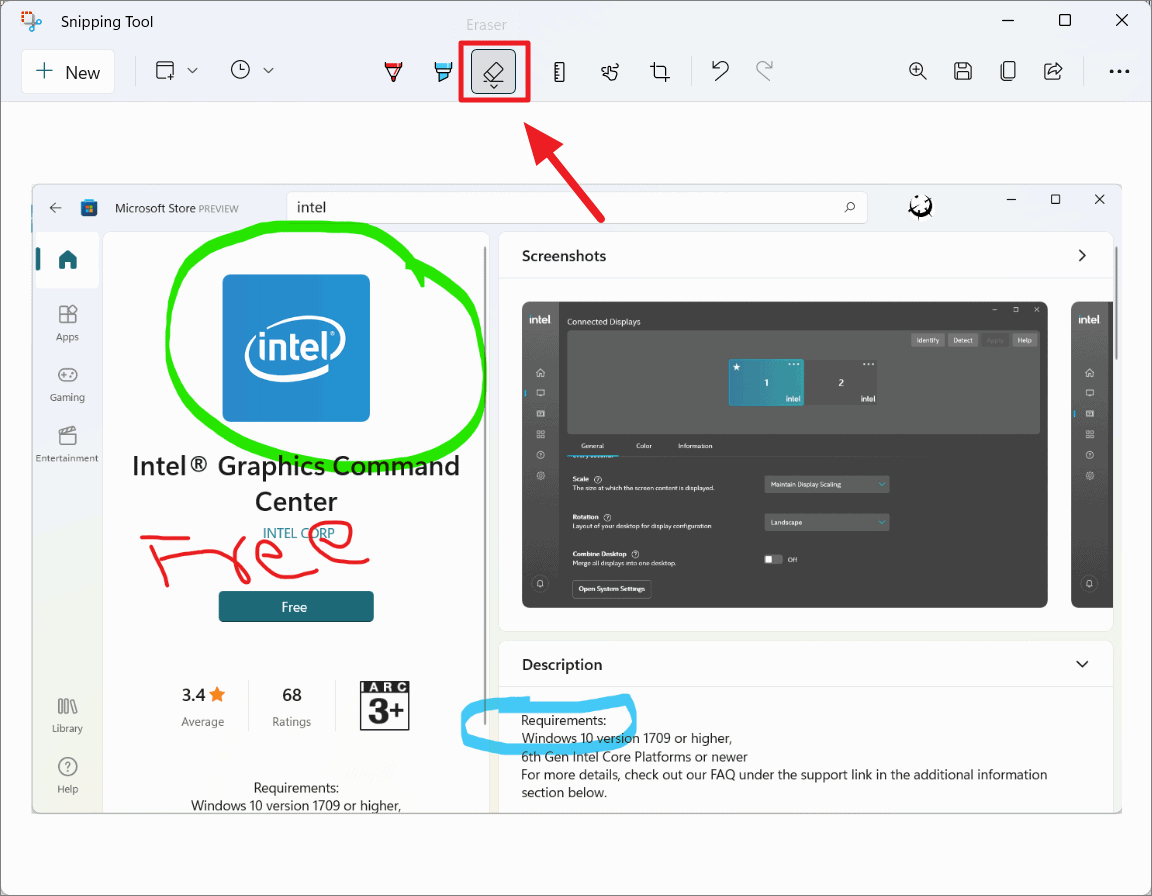
Erasing Annotations
To remove annotations: – Click the ‘Eraser’ icon. – Click on the annotation you wish to erase.
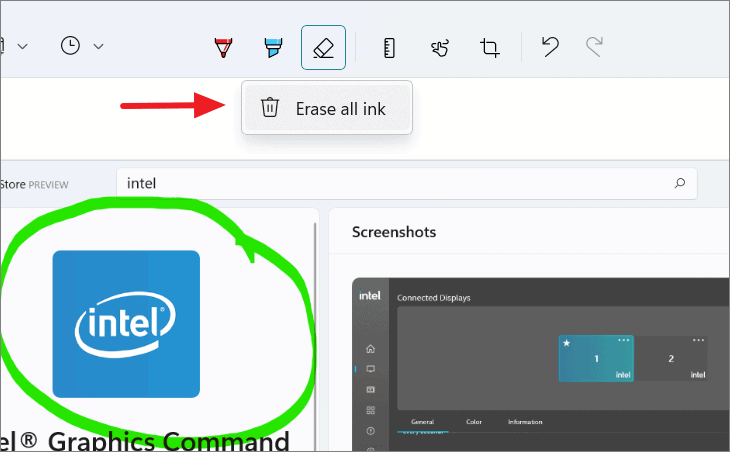
To erase all annotations, double-click the ‘Eraser’ icon and select ‘Erase all ink’.
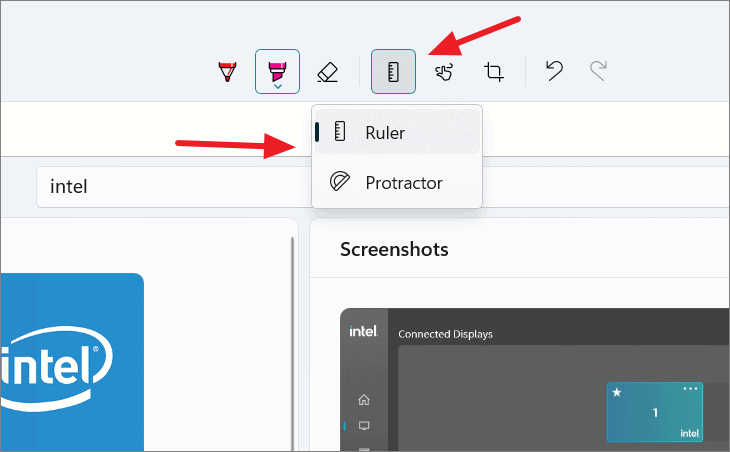
Using the Ruler and Protractor
The Snipping Tool includes virtual ‘Ruler’ and ‘Protractor’ tools to help you draw straight lines or arcs. Using the Ruler: 1. Click the ‘Ruler’ icon and select ‘Ruler’.
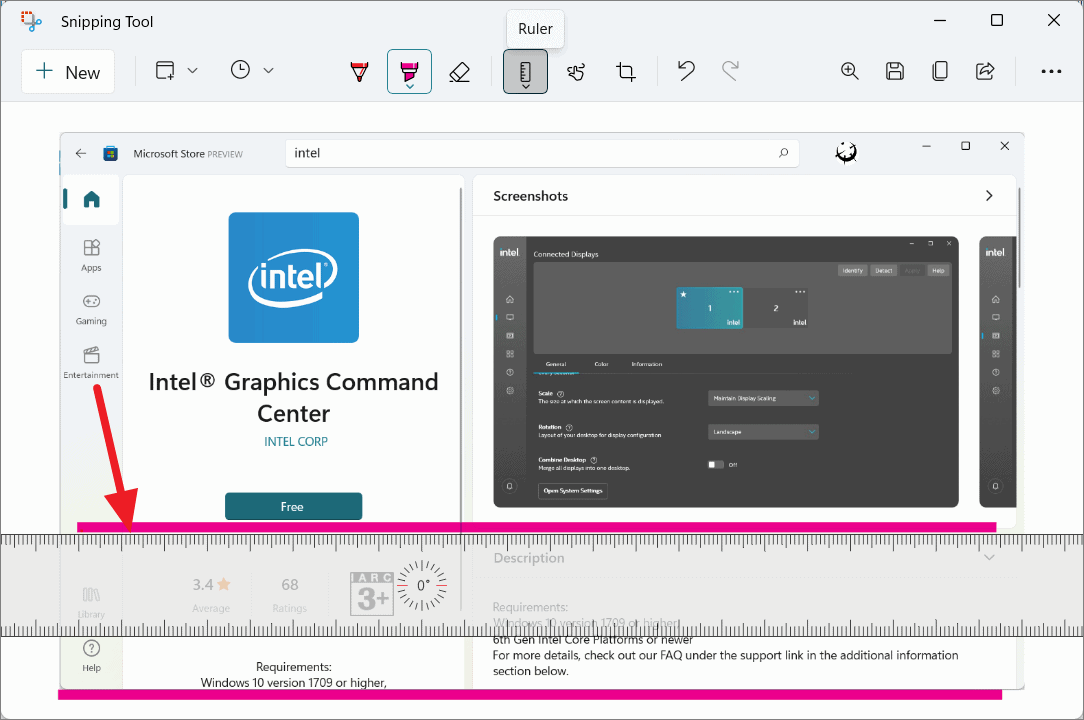
2. The ruler will appear on your screenshot. Drag it to position and use the mouse wheel or two fingers to rotate it.
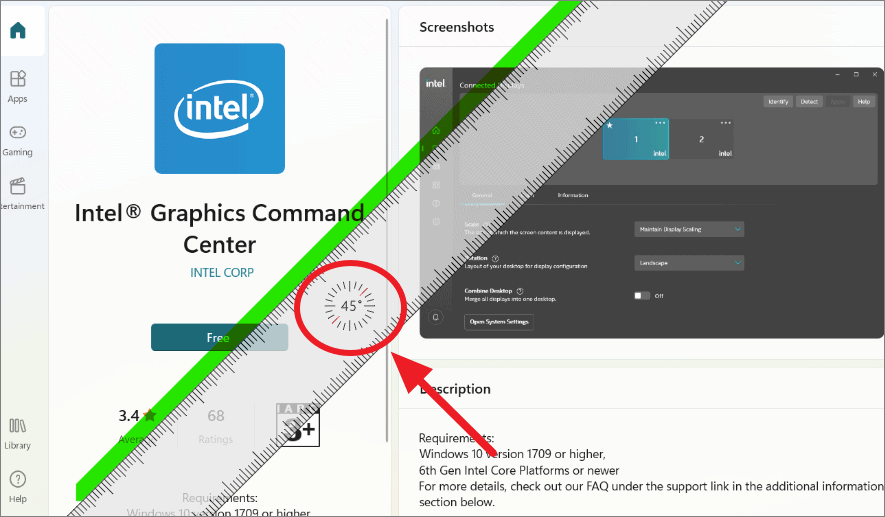
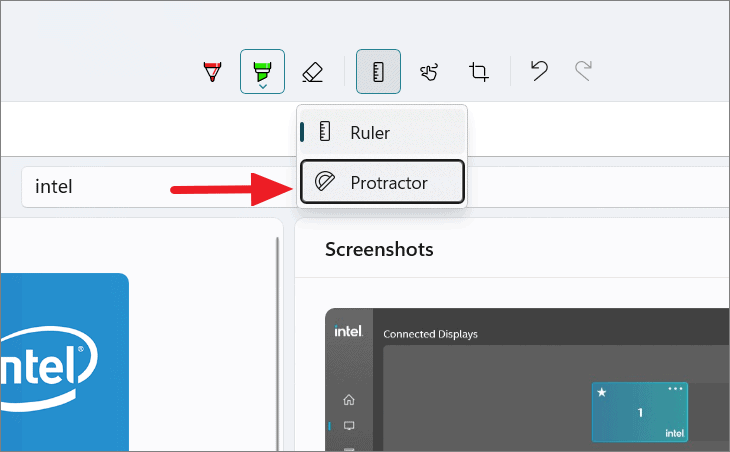
3. To remove the ruler, click the ‘Ruler’ icon and deselect ‘Ruler’. Using the Protractor: 1. Click the ‘Ruler’ icon and select ‘Protractor’.
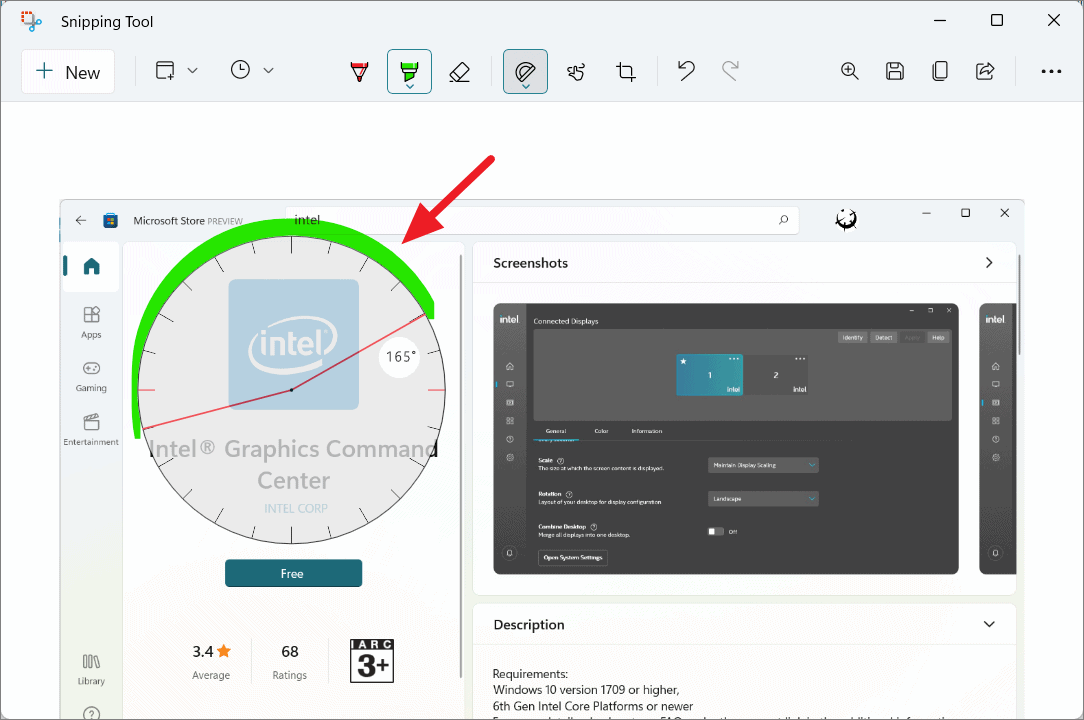
2. Use the protractor to draw arcs or measure angles. Resize it using the mouse wheel or pinch gestures.
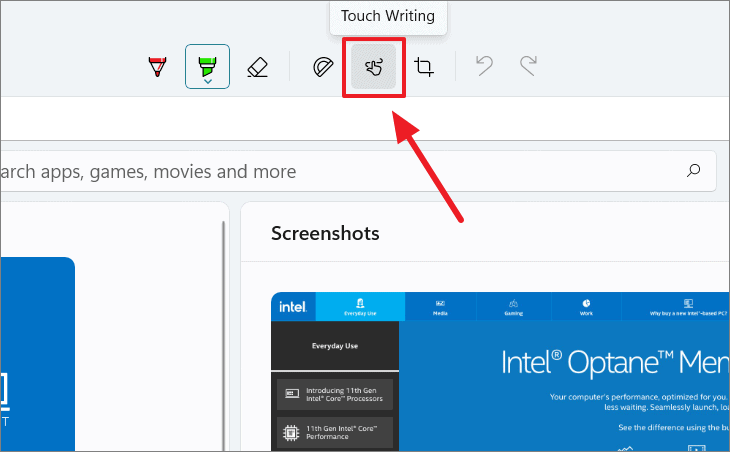
Using Touch Writing
The ‘Touch Writing’ feature allows you to write directly on the screenshot using touch or a stylus. – Click the ‘Touch Writing’ icon to enable it. – Write on the screenshot using your finger, stylus, or mouse.
Cropping Screenshots
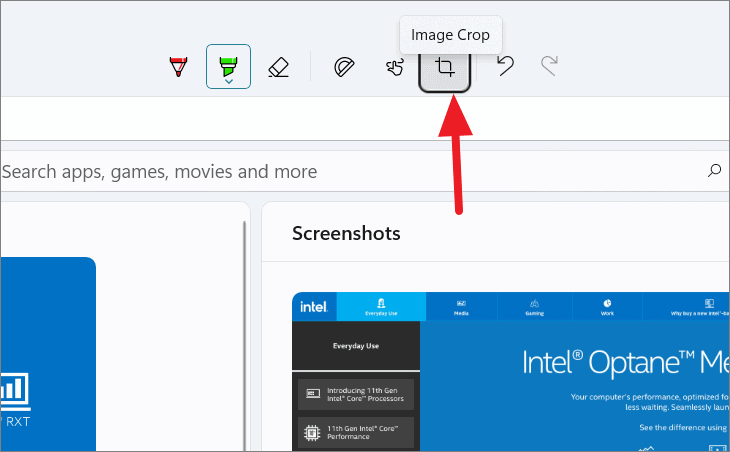
To crop your screenshot: 1. Click the ‘Crop’ icon.
2. Adjust the handles to select the area you want to keep. 3. Click the ‘Apply’ icon (checkmark) or press Enter to confirm.
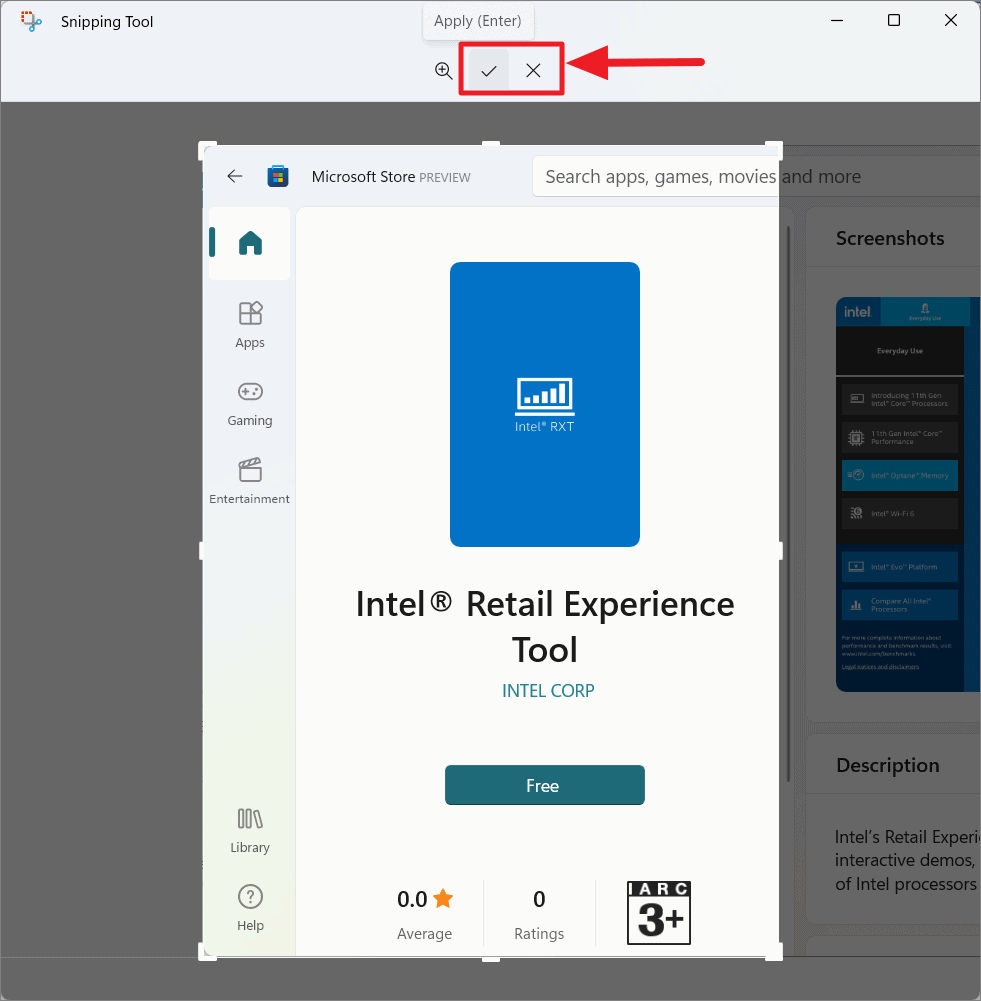
To cancel cropping, click the ‘Cancel’ icon (X) or press Esc.
Undoing and Redoing Edits
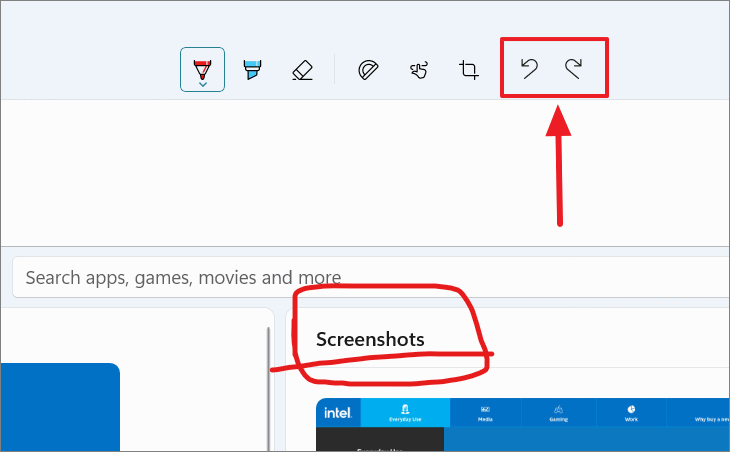
– To undo an edit, click the ‘Undo’ icon or press Ctrl + Z. – To redo an edit, click the ‘Redo’ icon or press Ctrl + Y.
Customizing the Snipping Tool Settings
You can adjust various settings in the Snipping Tool to enhance your experience, such as enabling the Print Screen key to launch it or customizing snip outlines.
Enabling the Print Screen Key to Open the Snipping Tool
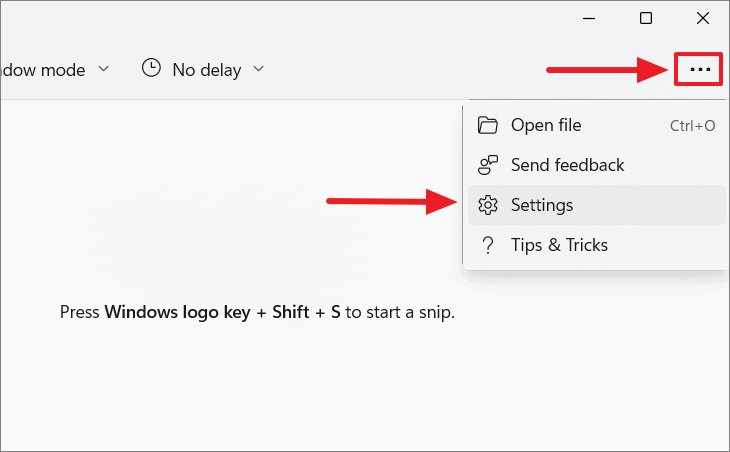
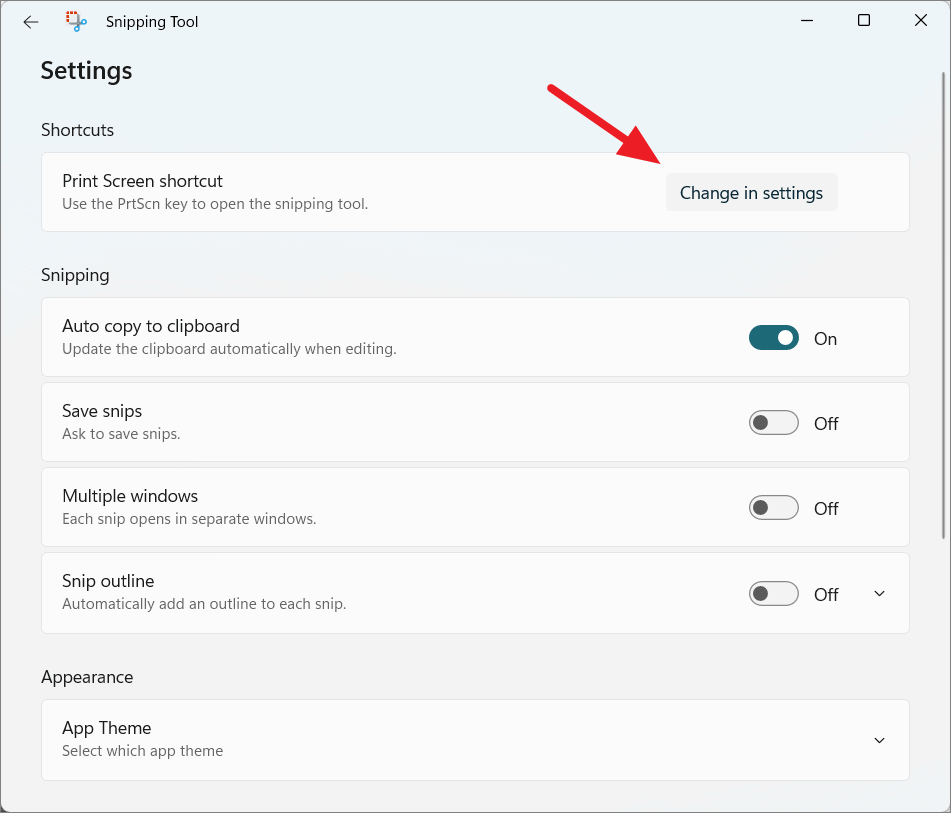
By setting the PrtScn key to open the Snipping Tool, you can quickly access it with a single key press. To enable this feature: 1. Open the Snipping Tool. 2. Click the three-dot menu and select ‘Settings’.
3. Under ‘Shortcuts’, click ‘Change in settings’.
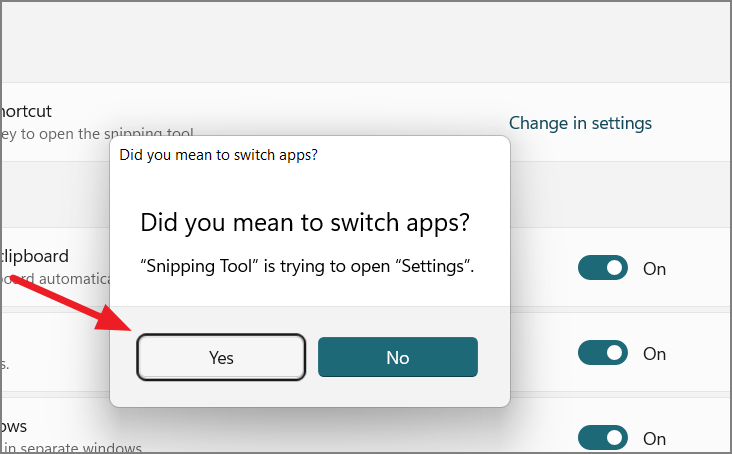
4. Confirm by clicking ‘Yes’ when prompted.
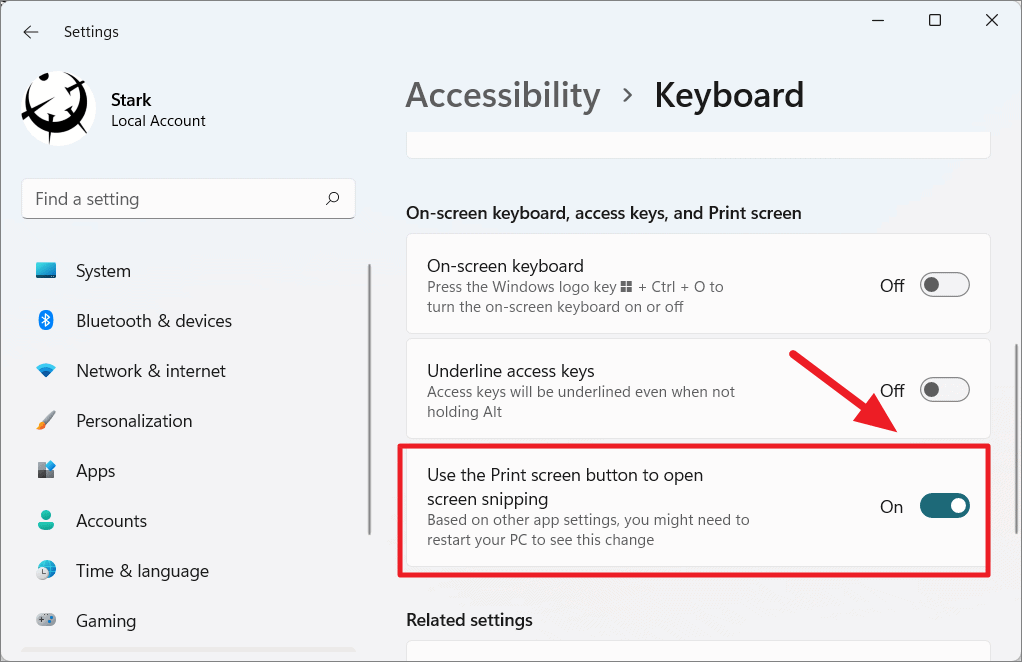
5. In the ‘Keyboard’ settings, scroll to ‘On-screen keyboard, access keys, and Print screen’. 6. Toggle on ‘Use the Print screen button to open screen snipping’.
After restarting your PC, pressing the PrtScn key will open the snipping toolbar.
Adjusting Snipping Tool Settings
The Snipping Tool settings allow you to customize its behavior:
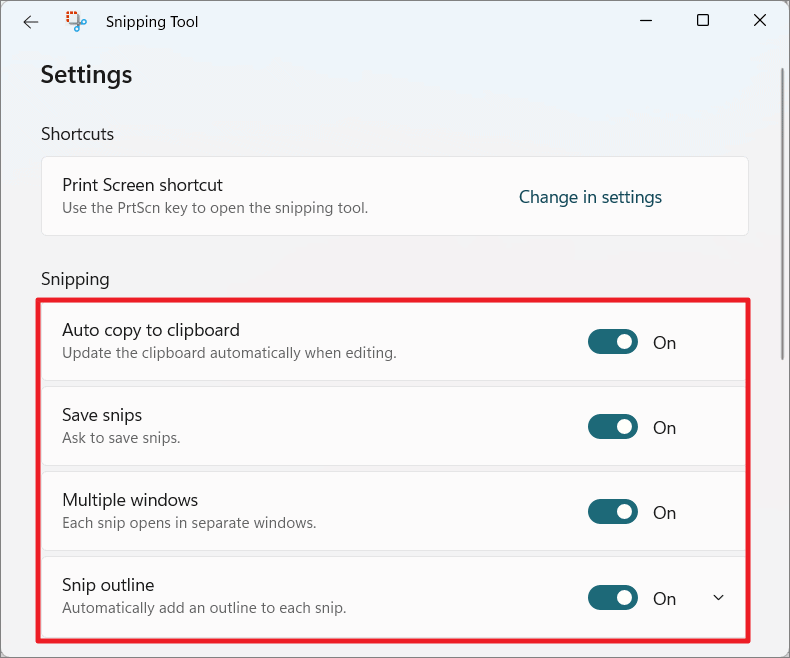
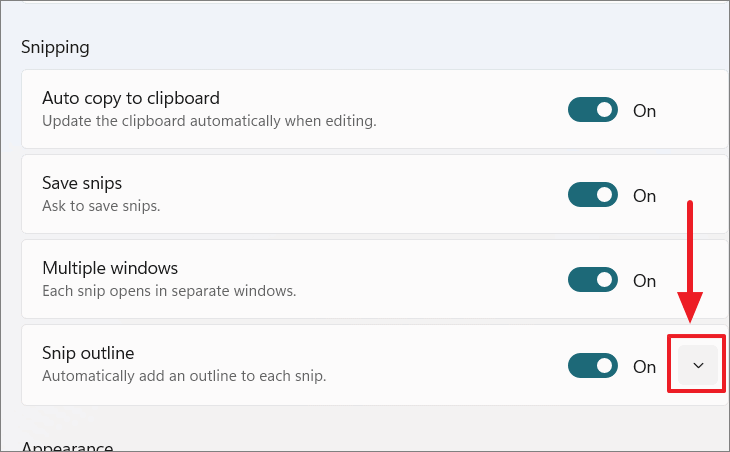
Options include: – Auto copy to clipboard – Automatically copy changes to the clipboard. – Save snips – Prompt to save snips before closing. – Multiple windows – Open each snip in a new window. – Snip outline – Automatically add an outline to snips. Customize color and thickness by clicking the arrow next to the toggle.
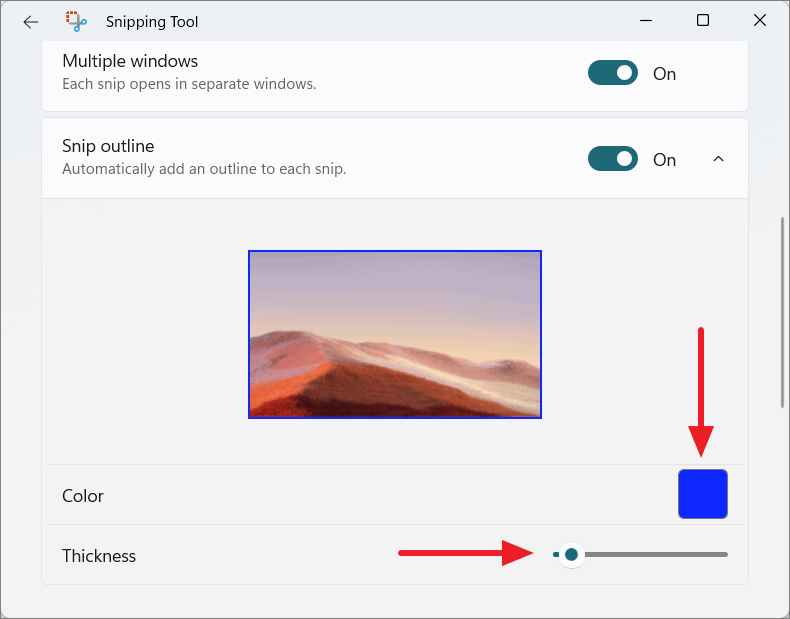
Customize the outline by selecting a color and adjusting the thickness slider.
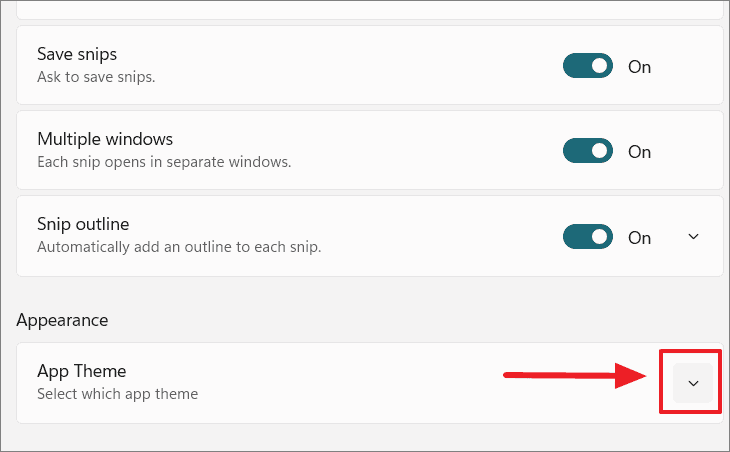
Changing the Snipping Tool Theme
You can set the Snipping Tool to use a light, dark, or system default theme: 1. In the Snipping Tool settings, find ‘App theme’ under ‘Appearance’. 2. Choose ‘Light’, ‘Dark’, or ‘Use system setting’.
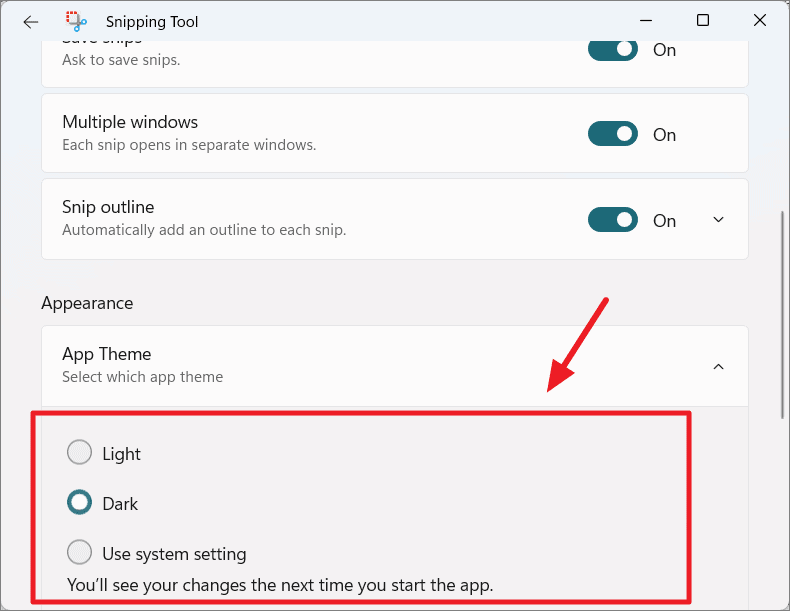
Restart the app to apply the new theme.
With these steps, you can make the most of the revamped Snipping Tool in Windows 11 to capture and enhance your screenshots effortlessly.


