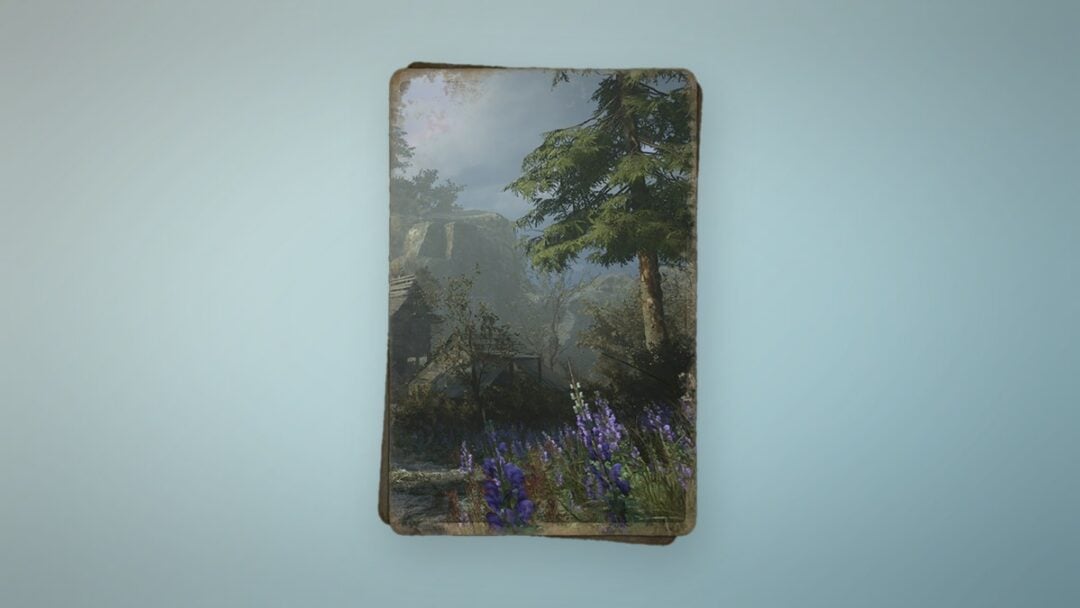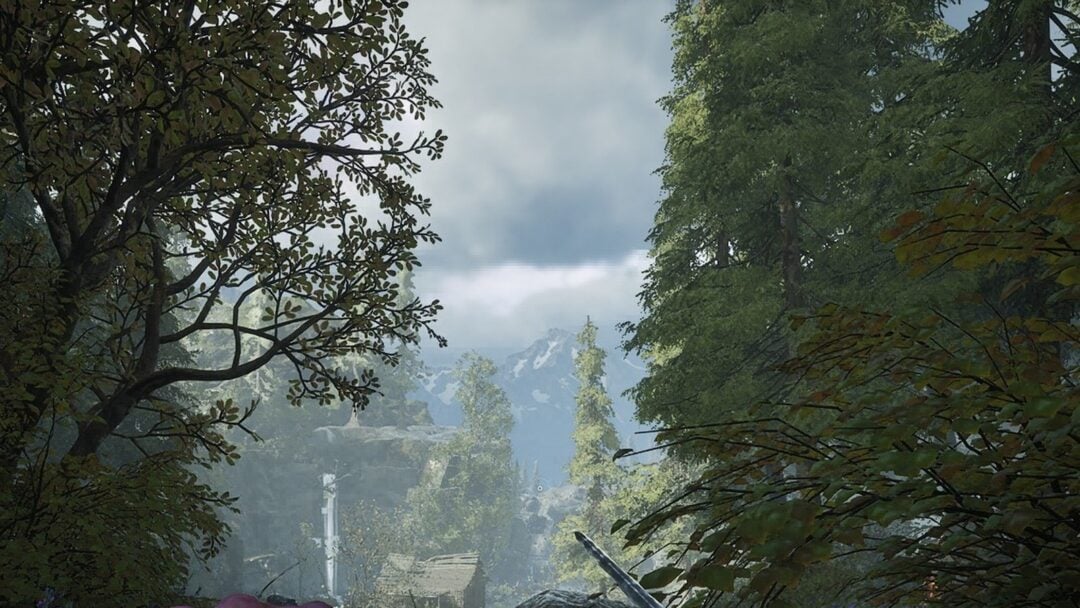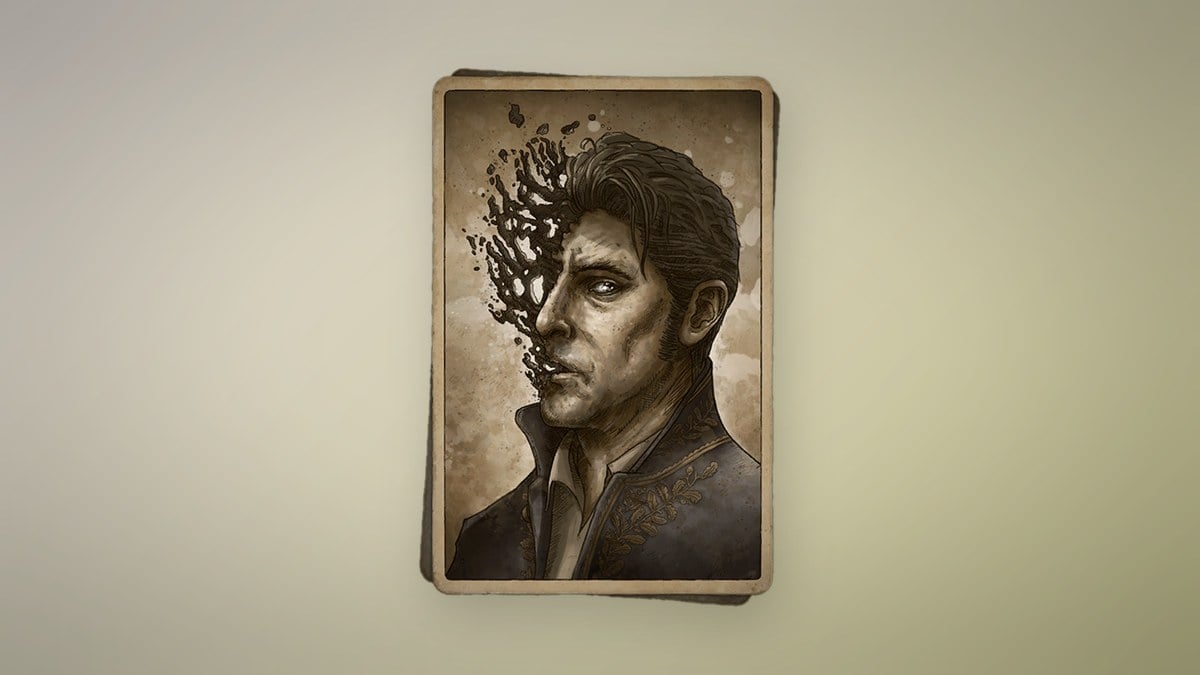
Chapter IX, In Ruins, moves Valor Mortis from the Abandoned Church into the Fortress, a ruined coastal stronghold you climb from its outer courtyards to a tower terrace and a final duel. Your goal is to reach the arena at the top and put down Captain Raphael of the Nephtis Superioris.
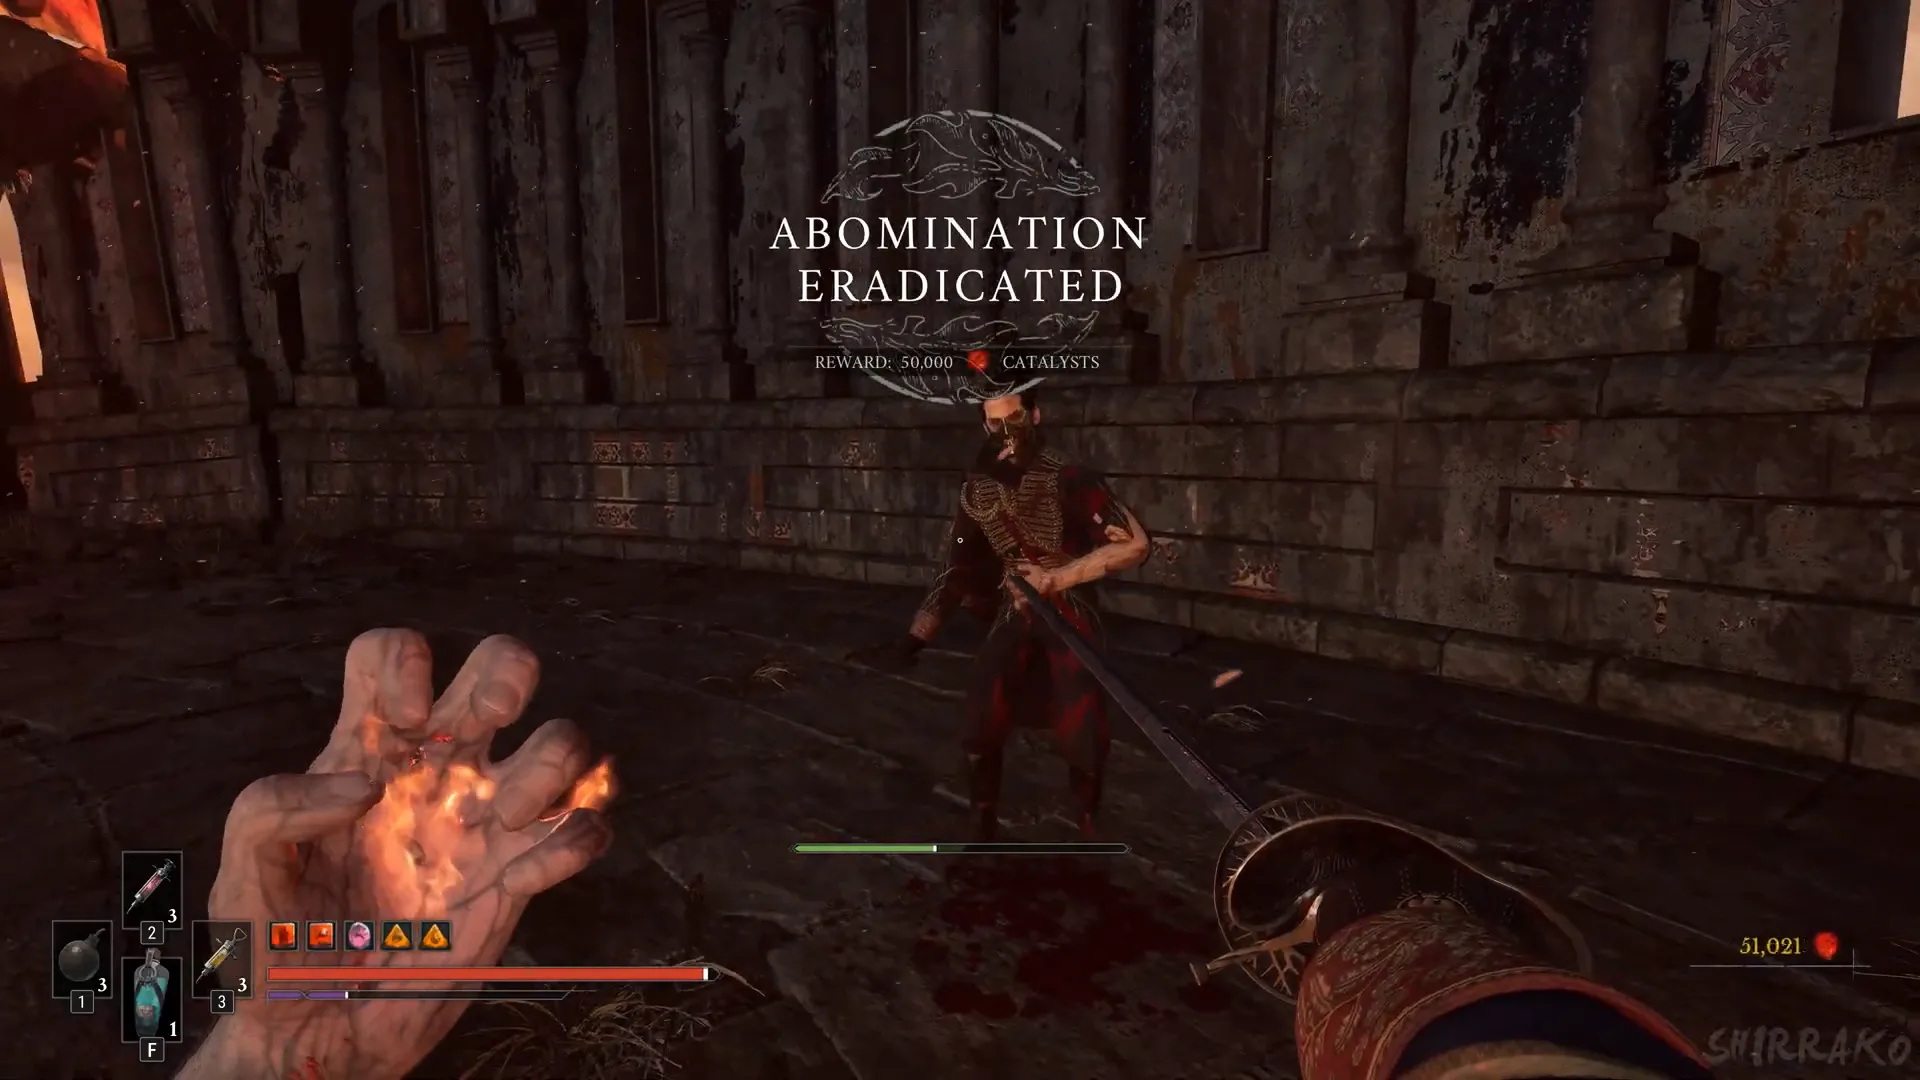
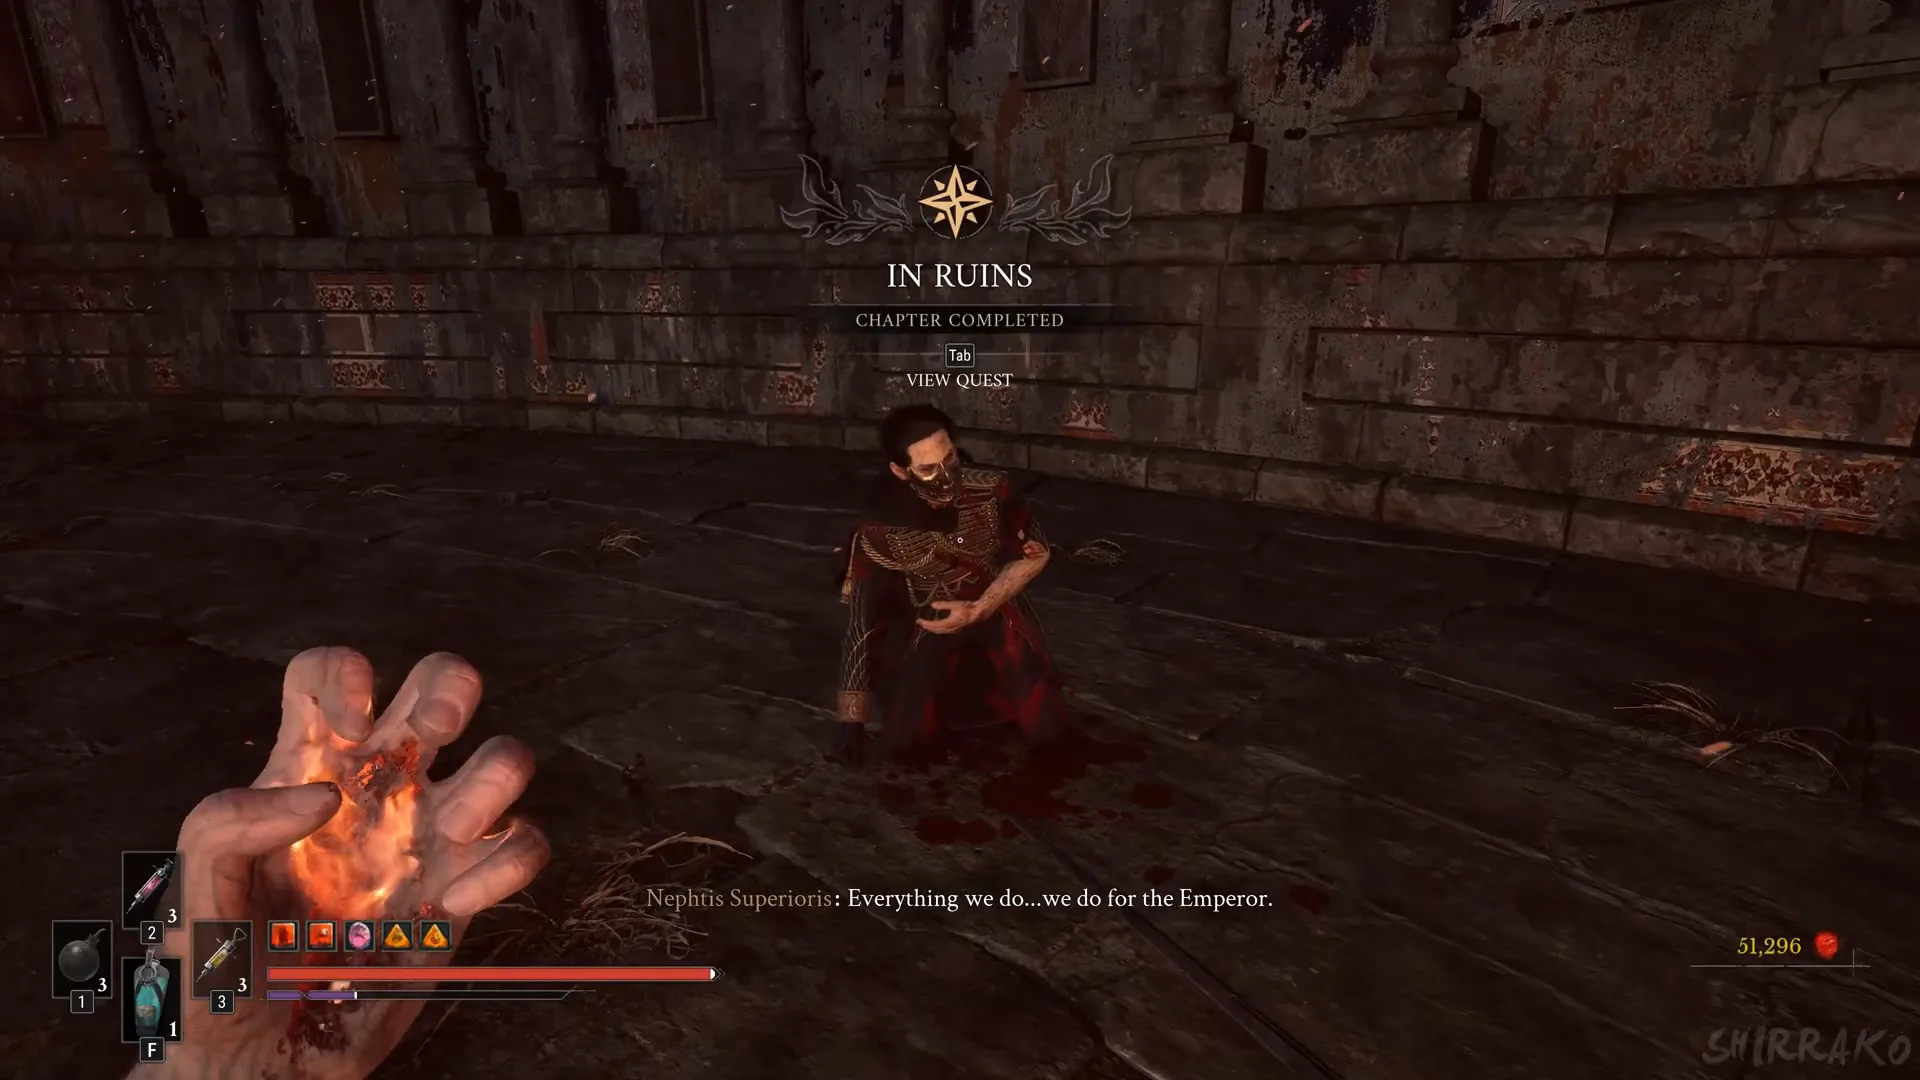
Quick answer: Beat Captain Raphael of the Nephtis Superioris in the arena above the Fortress. When he falls, the banner “IN RUINS / CHAPTER COMPLETED” confirms the chapter is done.
Where Chapter IX begins
Talk to Louis at his table in the Abandoned Church. After the conversation the banner “IN RUINS / NEW MAIN QUEST CHAPTER” appears, and the journal sends you to the castle ruins to recover a relic. Spend any materials you have at James’s Iron Bench and Louis’s Laboratoire before you go.
Head out through the graveyard and descend into the open crypt. The tunnel is filled with toxic gas; sprint through and collect the materials inside. At the iron gate, interact with “[E] UNBOLT” to create a shortcut. Continue along the stone path and exit through the gates; after a loading screen, you’ll arrive at the FORTRESS banner on a rocky approach.
Fighting up through the Fortress
One way that works is to stay aggressive with Fire Transmutation, use the pistol on perched shooters, and fall back behind cover to heal. The route runs upward in order through courtyards, battlements, and tower platforms.
Lighting the two pyres
Scale the ruined tower platforms until you reach a wooden pyre wrapped in yellow webbing, then ignite it with Fire Transmutation. Lighting just one won’t do; these structures serve as beacons.
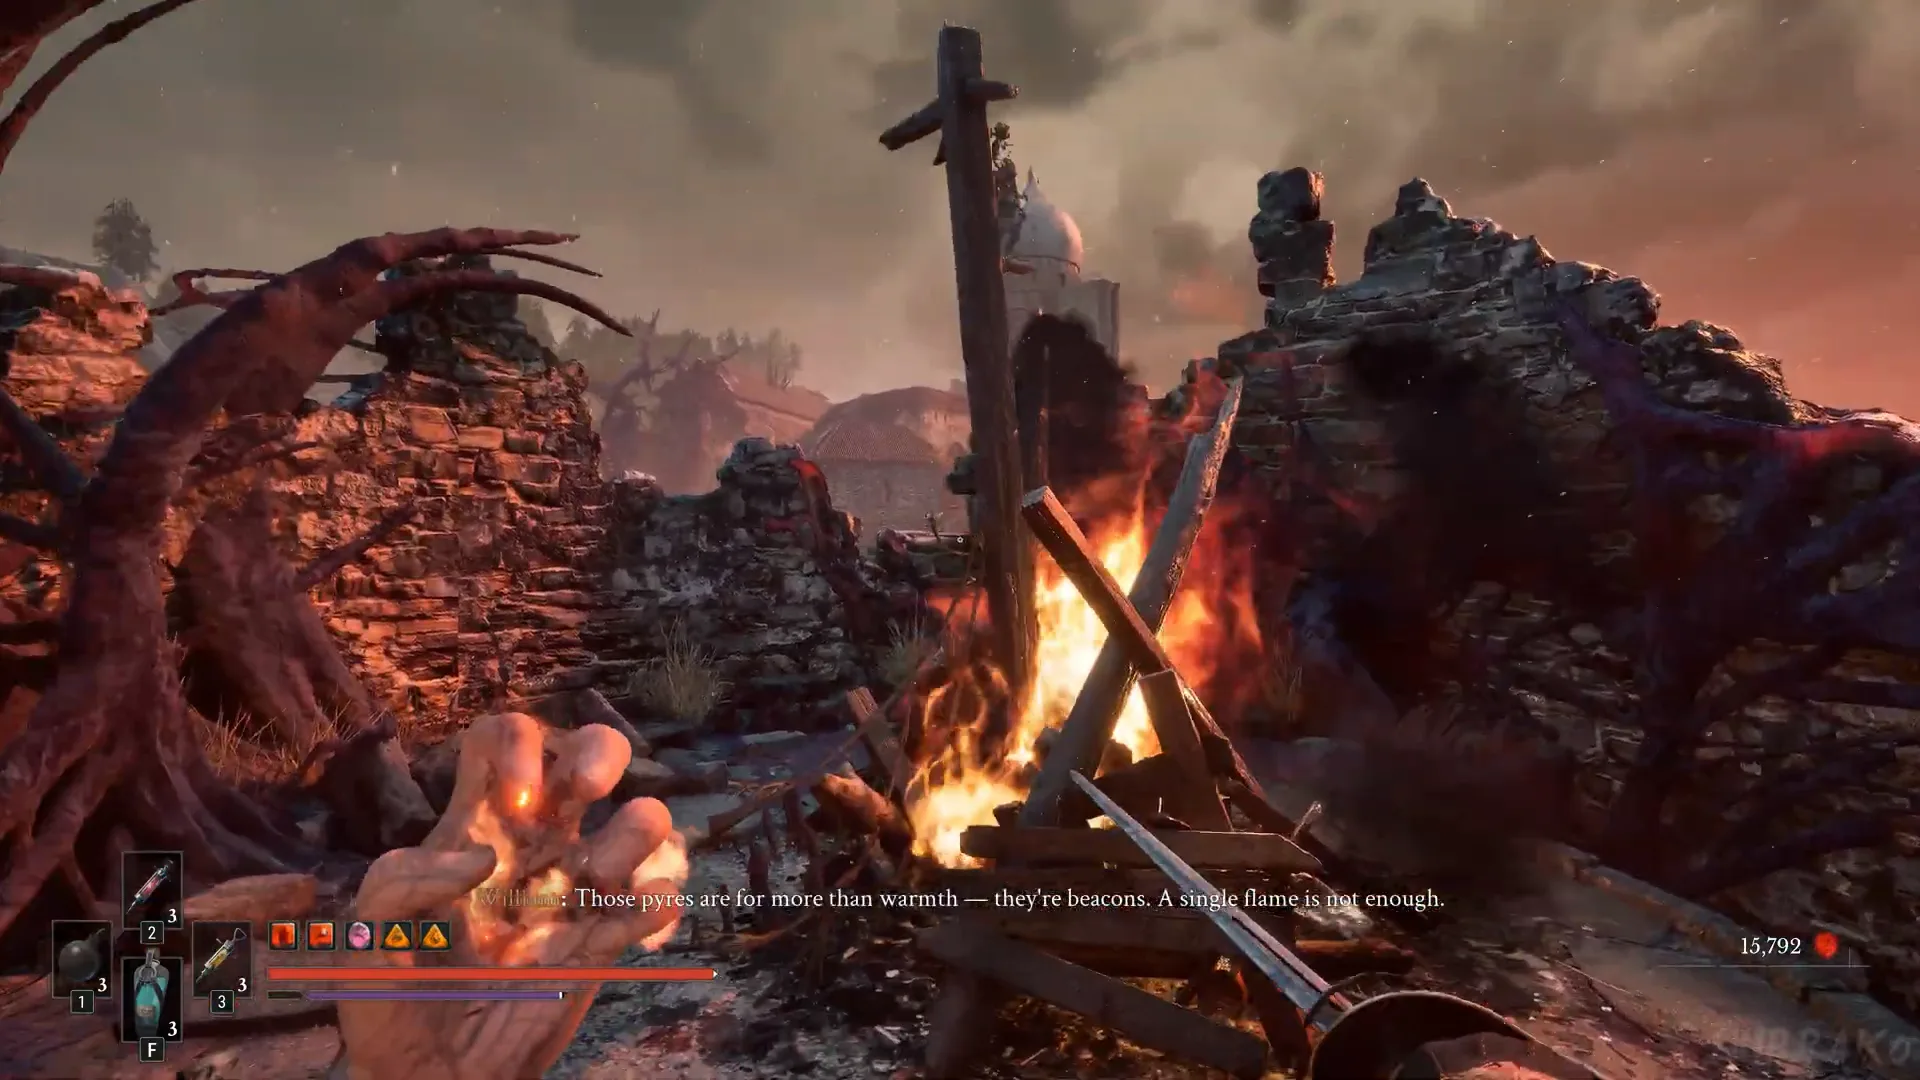
Reach the top of a second tower, shoot the glowing orange bulb blocking the way on the outer wall, chain the “[E] ACTIVATE” points along the outside, and defeat the dual-bladed soldier inside before lighting the second pyre. With both lit, the signals are set, and a skippable cutscene (“[SKIP (HOLD)]”) shows a large gate opening elsewhere in the grounds.
As you continue along the outside path, artillery blasts may kill you without warning. Death sends you back to a Lantern, where you can retrieve the Catalysts you lost at your fall location (“LOST CATALYSTS RETRIEVED”).
Rewards and chests along the route
| Reward | Where to get it |
|---|---|
| 9,000 Catalysts + Fire Breathing amber | Cannon-backed mutant by the archway |
| Indestructible Shell amber | Red ornate chest on the outside path |
| Eternal Catalyst Clot + Quintessential Transmutation Material | Red chest in an arched stone hall |
| 20,000 Catalysts + Glass Soldier amber | Elite officer in the ruined nave |
| Bastien Beaufort’s Emblem + Mysterious Stone Pyramid | Body beneath the nave altar |
The Indestructible Shell amber helps you withstand the artillery stretches by limiting blast damage. Use Fire Transmutation through the gaps in the wooden barricade gate to burn enemies before they can reach you, then make your way down through the cannon outpost and spiral stair to the cliff opening above the sea.
The elite officer in the ruined nave
From the Courtyard Lantern, proceed down the long stone corridor to a cathedral-like nave stained with blood. An officer wearing a tall hat and red cape stands inside; a health bar appears, but no name is displayed. His attacks include extended sword combos and lunging thrusts.
One approach that works is to keep Fire Transmutation on him from range, parry his strikes to wear down his posture, land a heavy counter after a broken parry, and finish with point-blank Blunderbuss shots when he rushes in. Beating him adds 20,000 Catalysts and the Glass Soldier amber.
At the nave’s far end, go to the altar steps and use “[E] INVESTIGATE” on the body beneath the altar. You’ll obtain Bastien Beaufort’s Emblem and a Mysterious Stone Pyramid, and the “QUEST UPDATE / THE OATHBOUND” banner launches that side quest.
Reaching the tower terrace Lantern
Continue past the nave through a crypt room and the ruined upper walkway. Snipe the enemies in the distance and parry the cultist wielding two sickles. Open the red chest for firearm parts, then use the wooden platform mechanism marked “[E] ACTIVATE” to travel over a chasm. Proceed over the broken beams, drop through the planks, and knock down a ladder to open a shortcut back to the courtyard.
Rest at the hourglass Lantern in the fountain courtyard (“[E] REST”), then climb back to the battlements. Use “[E] GRAPPLE” and “[E] ACTIVATE” to swing between wall points and the large corrupted tentacle platforms over the bay, and grapple up through a damaged wall into the upper corridor.
A Commander’s Note on the chamber floor mentions an object concealed farther into the salt mine. Stand on the circular elevator’s pressure plate to ascend to the tower terrace Lantern, triggering “LANTERN REKINDLED”. Rest and restore your health completely, as this is the final Lantern before the fight.
Captain Raphael of the Nephtis Superioris
From the terrace Lantern, ascend the stone steps into the overgrown arena. In a cutscene, a masked captain wearing a red coat draws his sabre; his health bar displays “CAPTAIN RAPHAEL OF THE NEPHTIS SUPERIORIS”. Prepare for a one-on-one sabre duel.
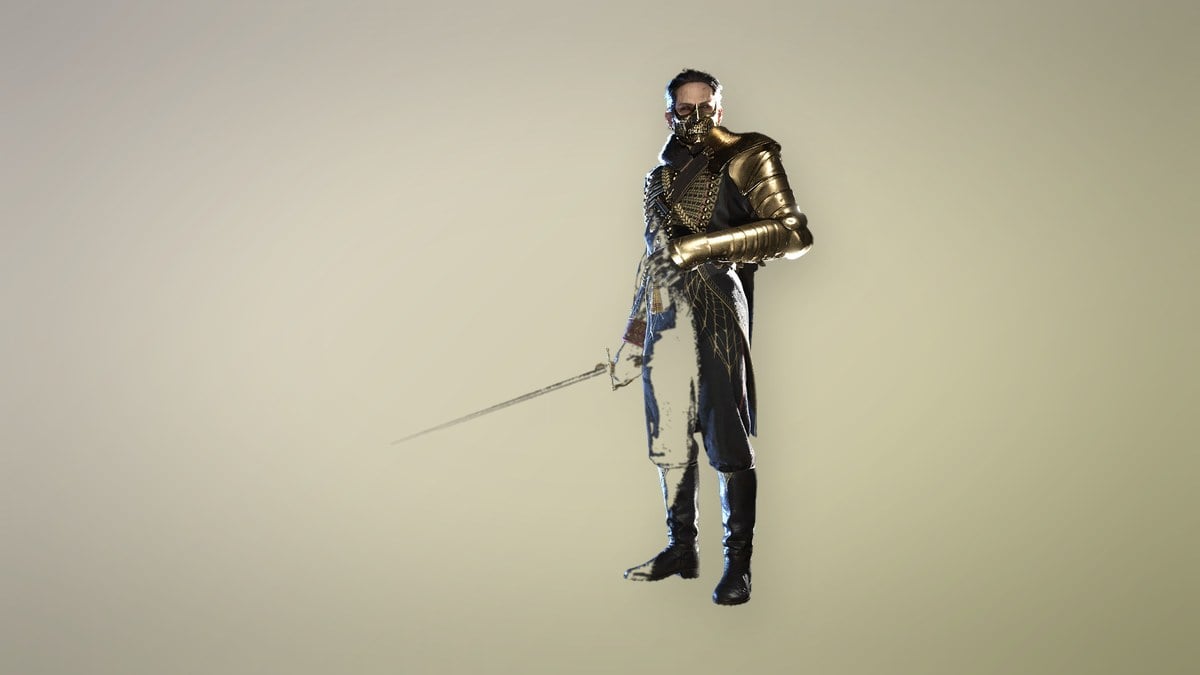
When he falls, the screen shows “ABOMINATION ERADICATED” and “REWARD: 50,000 CATALYSTS”, followed by “IN RUINS / CHAPTER COMPLETED” and “NEW ENTRY ADDED TO THE JOURNAL”. A shattered archway beyond him leads to a stone sarcophagus on an overlook above the sea, where the next chapter picks up.
Fortress Lanterns
The Travel menu names three Lanterns under FORTRESS, in this order:
- MAIN GATE
- TRAVERSE
- COURTYARD
The COURTYARD Lantern is the one you rekindle midway through the chapter. From it, the Travel menu lets you choose “RETURN TO THE ABANDONED CHURCH”, spend materials at Louis’s Laboratoire and James’s Iron Bench, then return directly to that same Lantern. For a gate secured on its far side, circle around and use “[E] UNBOLT” from behind.