

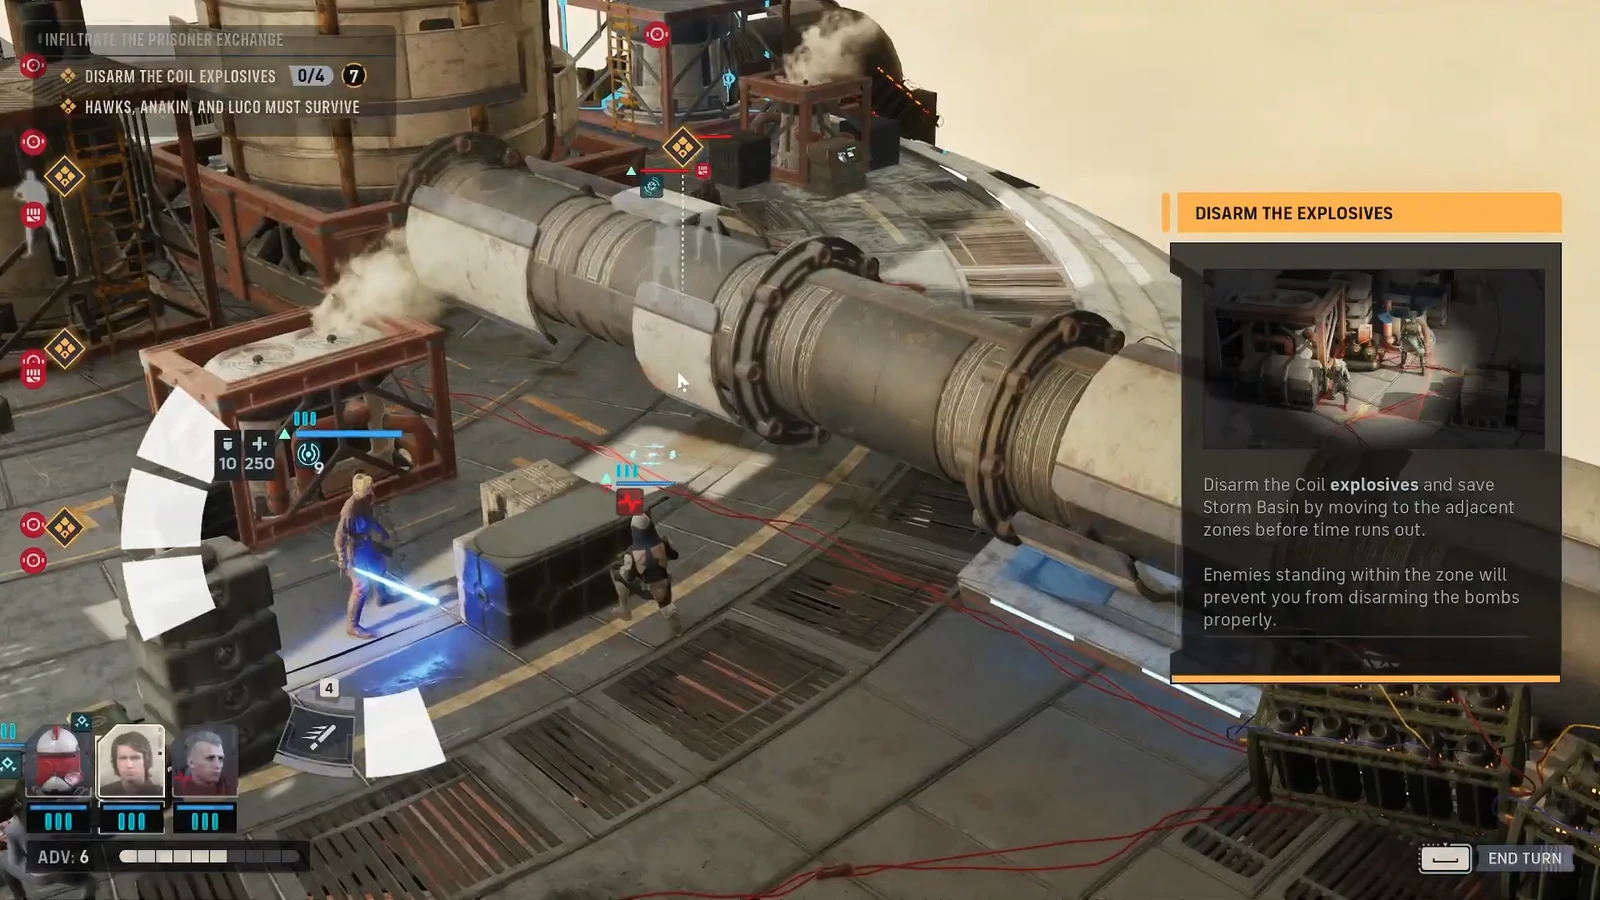
The prisoner exchange on Storm Basin turns into a race the moment the objective flips to “DISARM THE COIL EXPLOSIVES 0/4.” Four charges sit on a circular platform, a timer counts down, and an HMP Droid Gunship starts painting the ground with lethal bombardment markers. Anakin Skywalker, Tesh Hawks, and Luco Bronc all have to walk away from it.
Quick answer: Move an operator into each of the four marked explosive zones and end a full turn standing inside with no enemies in that zone. All four charges must be cleared within the seven-turn limit, and Anakin, Hawks, and Luco must survive.
Disarm rules and fail conditions for the Coil explosives
Disarming is a positioning task, not an ability check. The mission text spells it out plainly: “Disarm the Coil explosives and save Storm Basin by moving to the adjacent zones before Time runs out.” An operator moves into a zone, the turn ends, and the charge is defused.
The catch is the blocker. “Enemies standing within the zone will prevent you from disarming the bombs properly,” so a Coil Striker or Brute parked on a charge cancels the whole play. Kill it or push it out first, then occupy the space.
| Parameter | Detail |
|---|---|
| Objective | Disarm the Coil Explosives 0/4 |
| Time limit | 7 turns |
| Survival requirement | Hawks, Anakin, and Luco must all survive |
| Disarm condition | One operator ends a full turn inside the zone |
| Blocker | Any enemy standing inside that zone |
| Main hazard | HMP Droid Gunship bombardment on marked ground |
| Enemy types | Coil BX Droid Sniper, Coil Enforcer, Coil Brute, Coil Striker |
Which operator abilities carry the objective
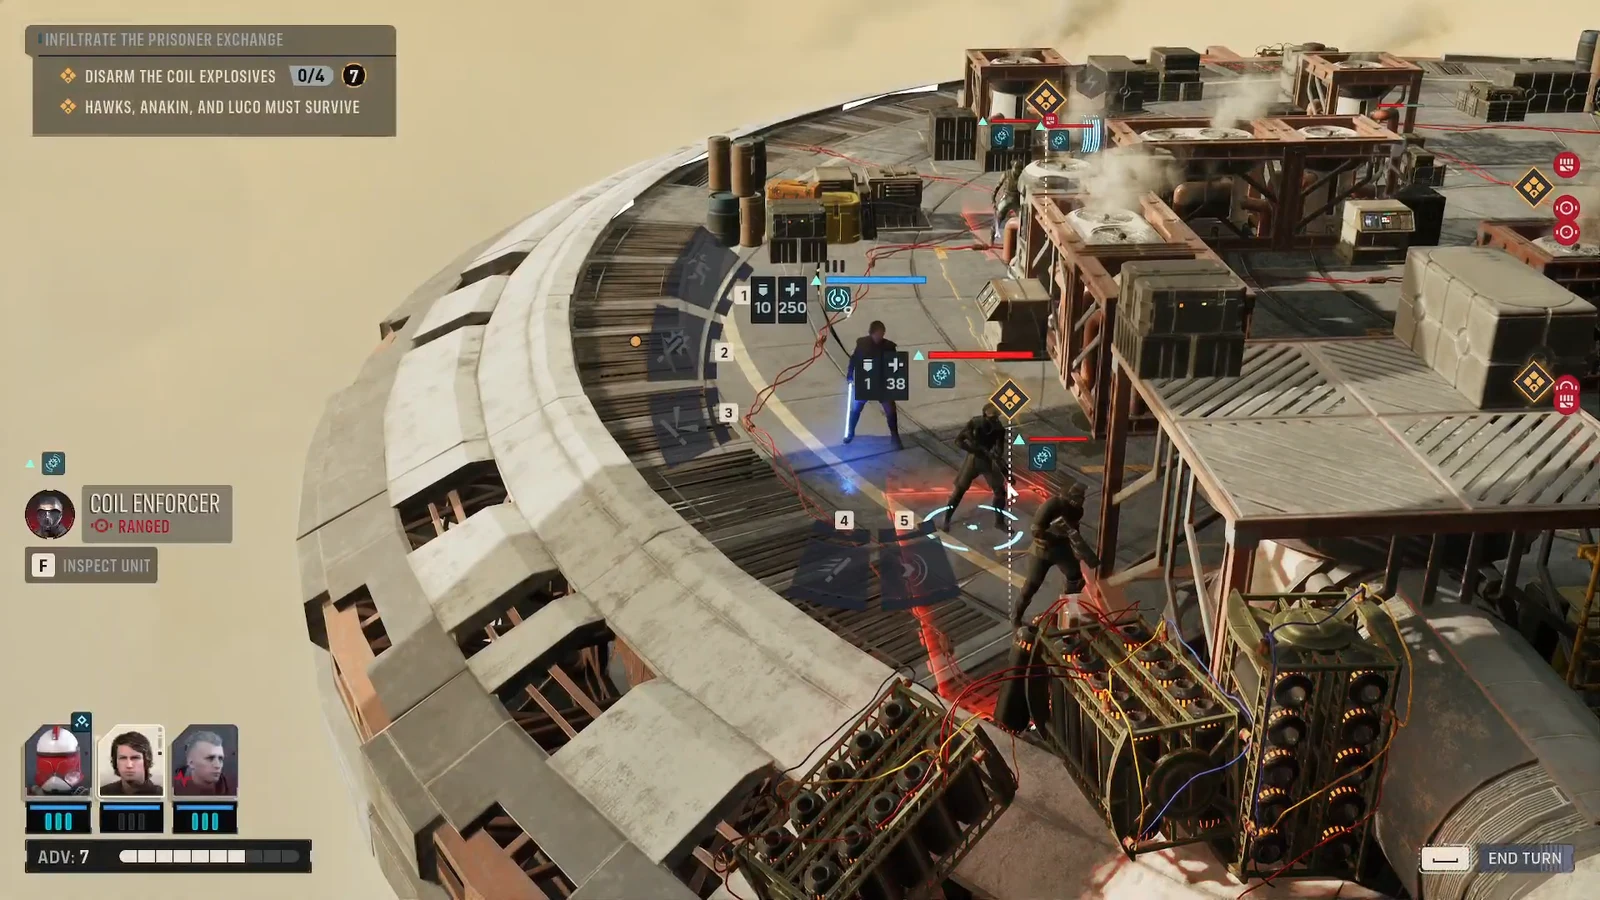
Three operators, four zones, seven turns. That math only works if two of them double up, which means movement economy matters more than damage. Force Push is the standout tool here because the platform has open edges, and an enemy shoved over one is gone instantly instead of soaking up two turns of shooting.
| Operator | What to use it for |
|---|---|
| Anakin Skywalker | Force Push to knock enemies off platform edges and clear an occupied zone in a single action; Ultimate Lightsaber Throw for tougher targets |
| Tesh Hawks | Granting extra action points to allies, which buys the movement needed to reach a distant zone in the same turn |
| Luco Bronc | Overwatch and Combat Gas to hold the approach lanes while the other two sit still on charges |
Turn-by-turn route around the platform
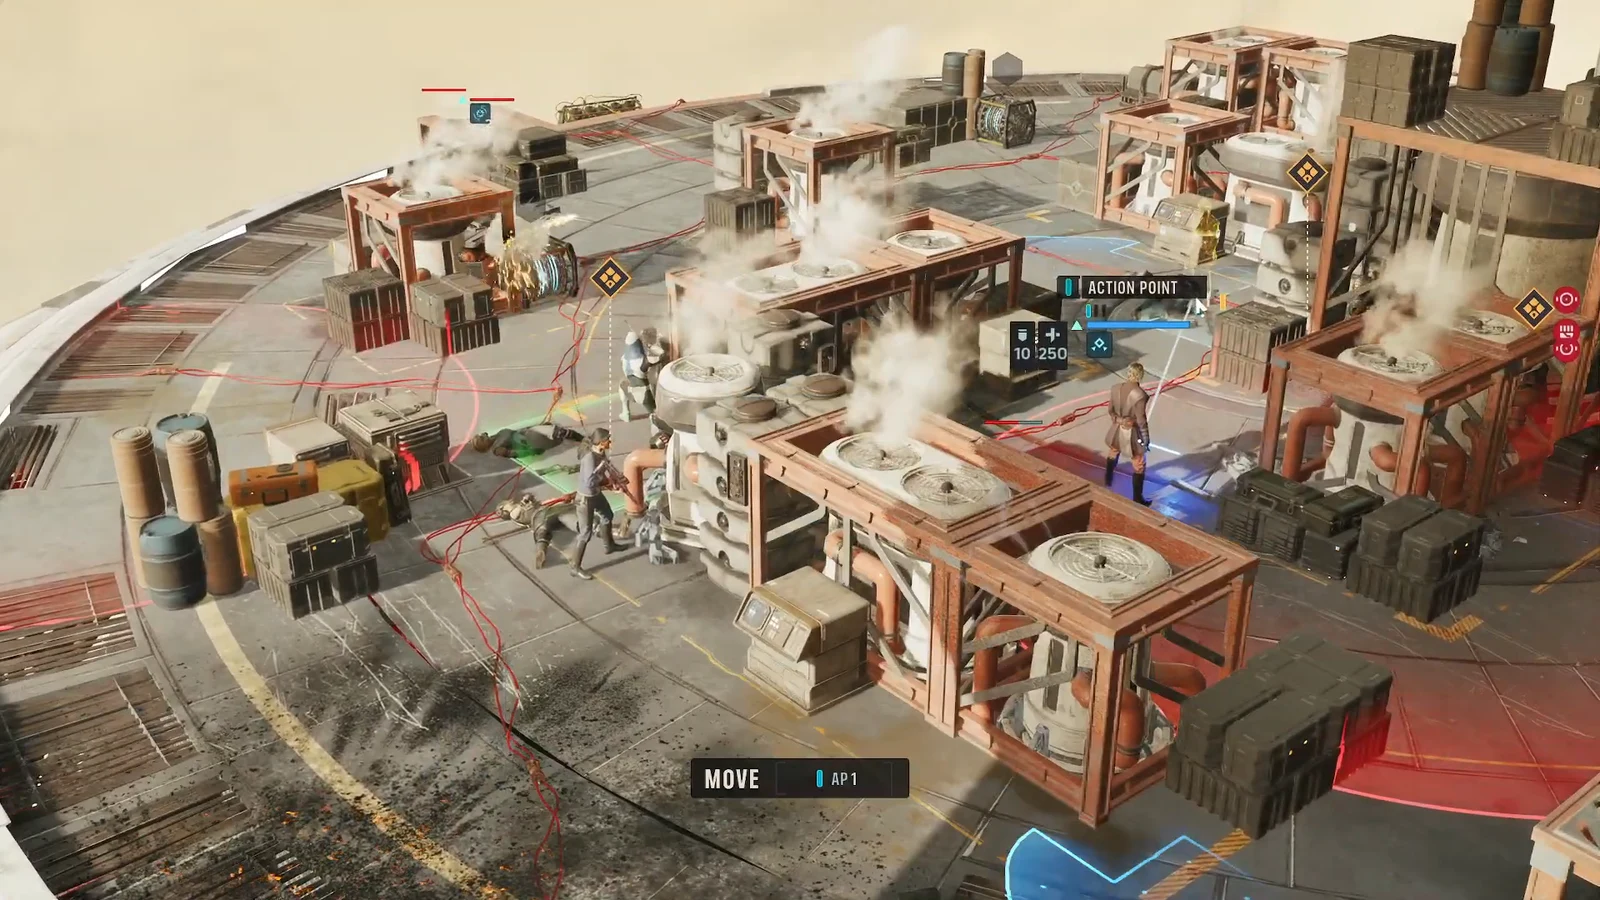
Surviving the HMP Droid Gunship bombardment
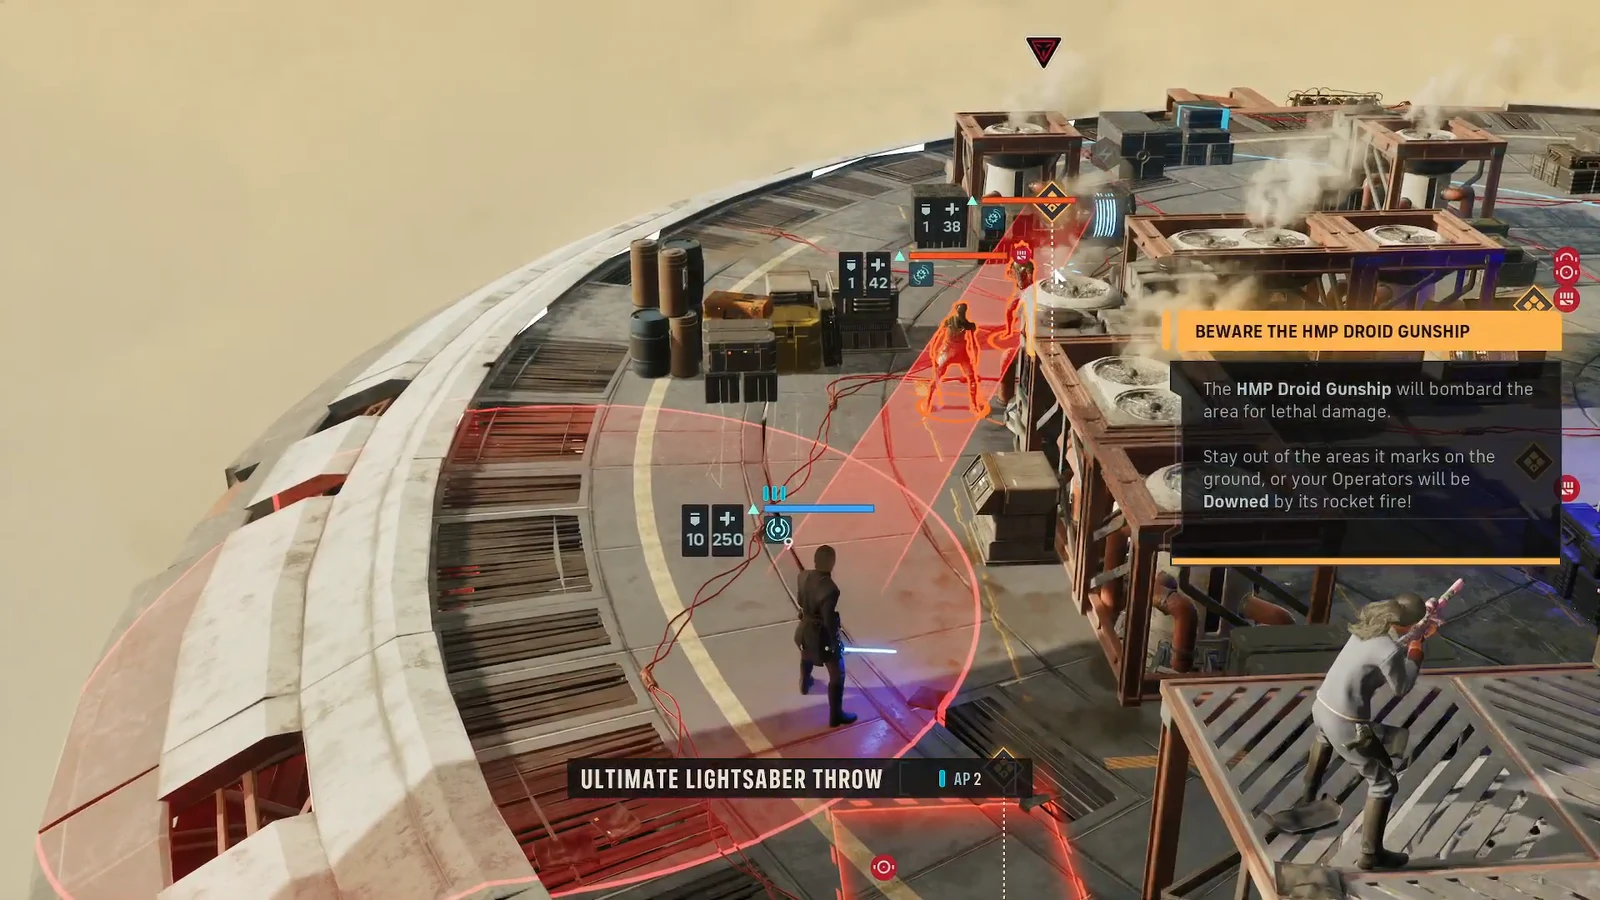
The gunship is the one thing on this map that can end a run instantly. Its warning is explicit: “The HMP Droid Gunship will bombard the area for lethal damage. Stay out of the areas it marks on the ground, or your Operators will be Downed by its rocket fire!”
Treat marked ground as impassable for that turn, including any explosive zone caught underneath it. If a charge is sitting inside a bombardment marker, disarm a different one first and come back once the marker clears. Losing a turn is recoverable; losing an operator is not.
How to confirm a charge is defused
Confirmation appears on the battlefield itself. “Charge defused” pops over the operator standing in the zone, and the objective tracker climbs from 0/4 toward 4/4. If the turn passes and neither of those changes, the disarm did not register.
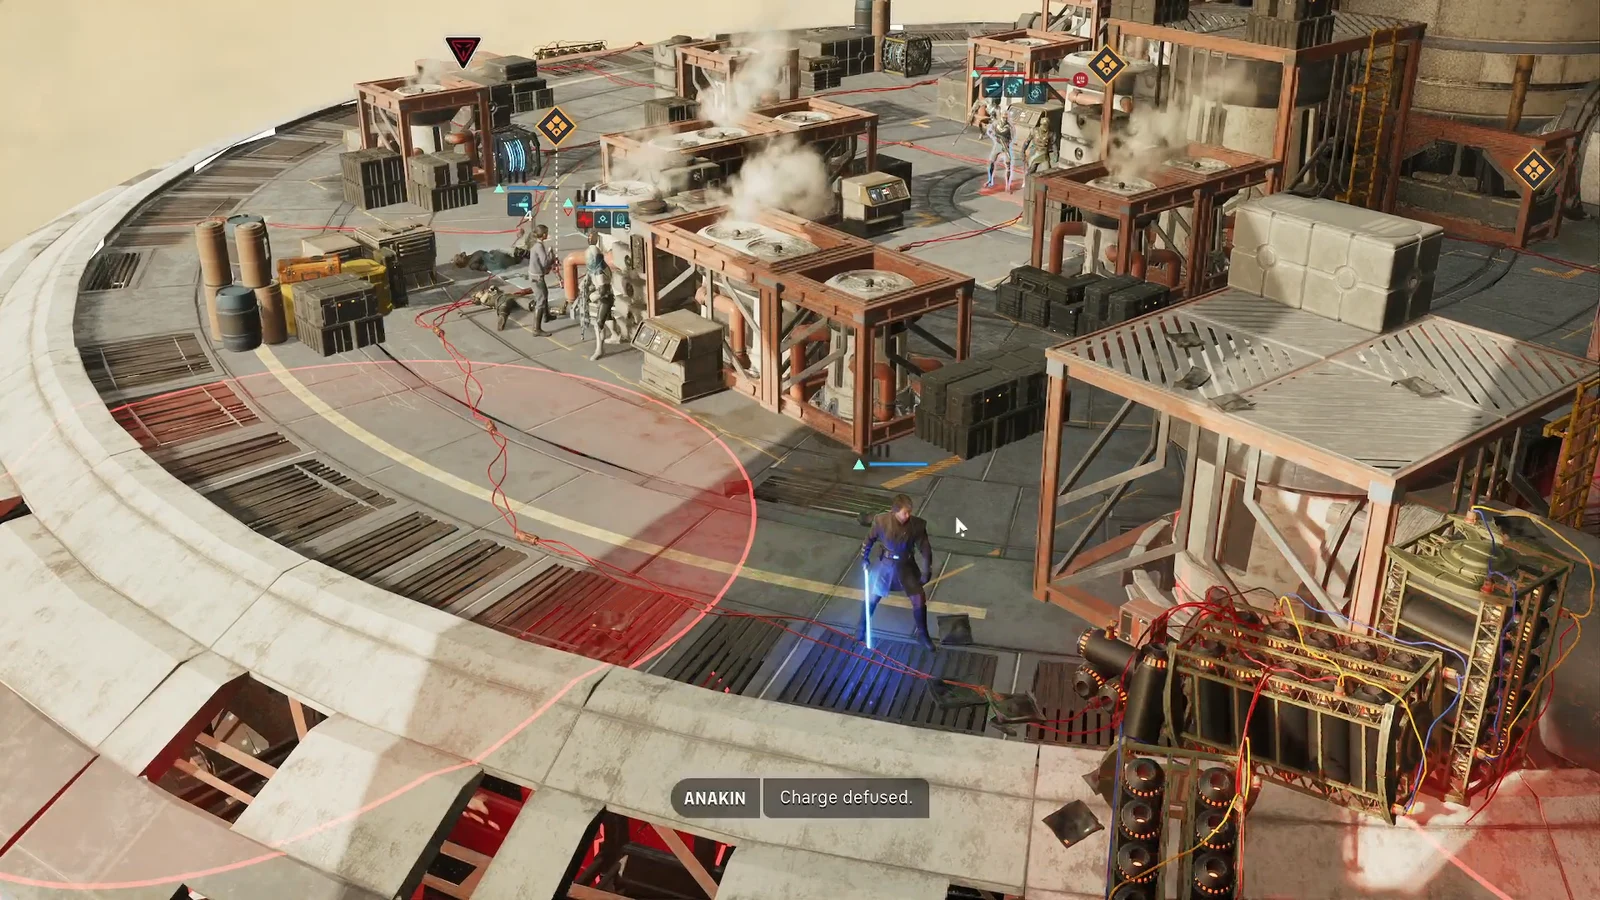
There are only a few reasons the counter refuses to move. An enemy is still standing inside that zone. The operator moved out or was pushed off the tile before the turn ended. Or the operator never fully entered the marked area and is sitting one tile short of it.
Note: reinforcements arriving mid-fight are a distraction, not a second objective. You do not need to clear the platform to finish this one, so shoot only what is blocking a zone or threatening one of the three operators who must survive.
Play it as a movement puzzle with a body count attached and the seven turns are more than enough. Anakin’s pushes open the zones, Hawks chains two charges back to back, and Luco keeps the rest of the Coil from ever reaching the ones you are standing on.





