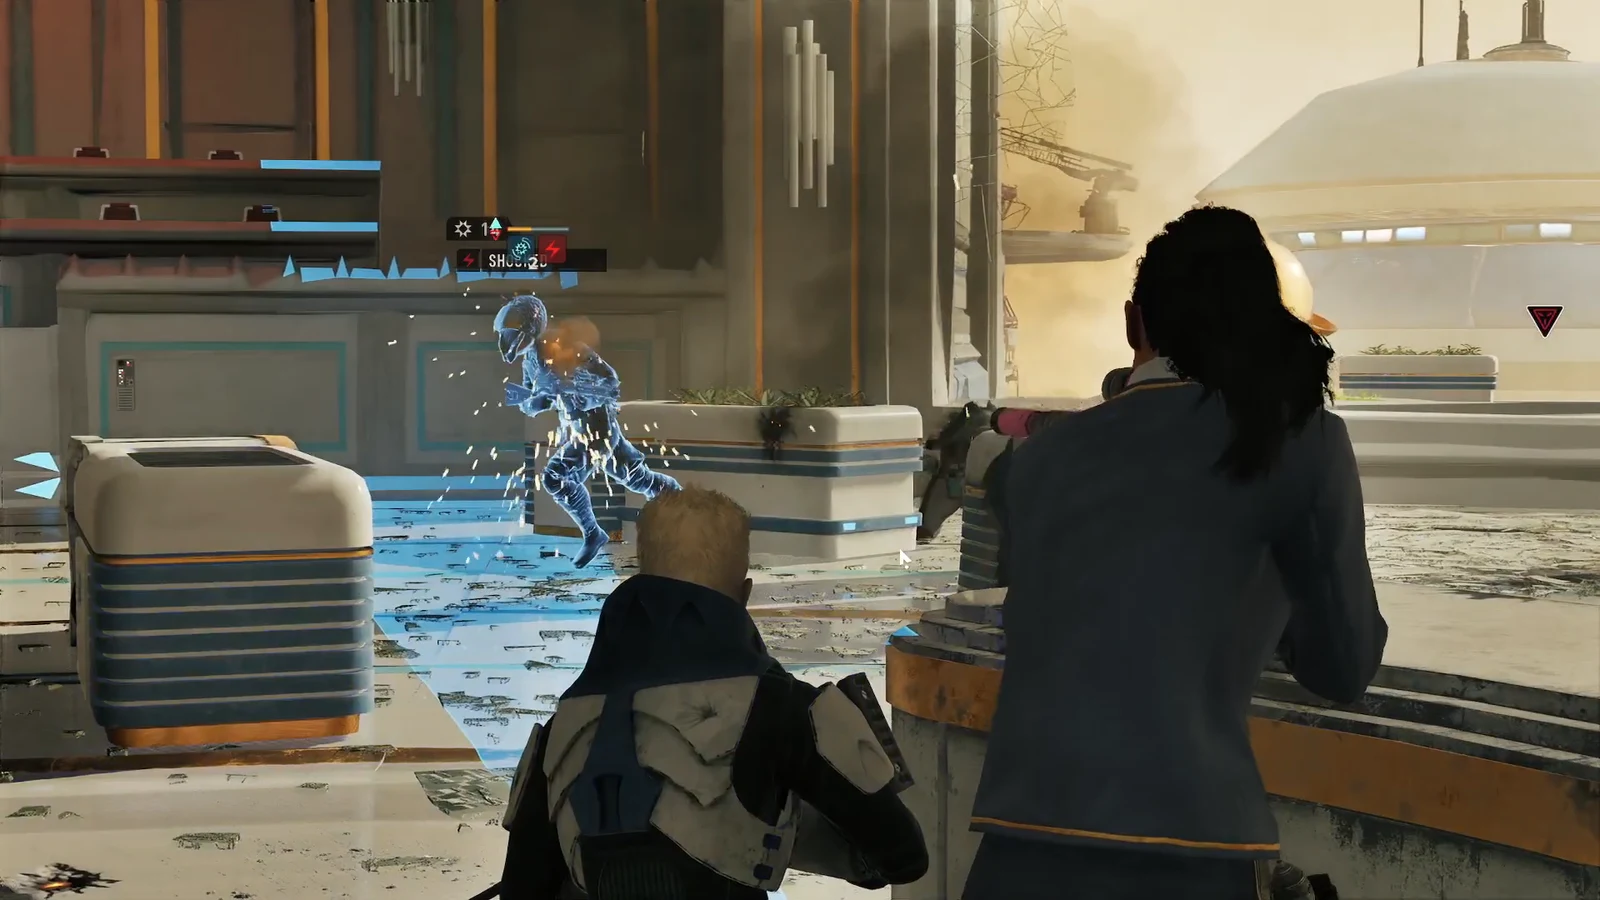
The Coil Intruders that hit the exchange in Star Wars Zero Company arrive in waves rather than all at once, which is what makes the fight feel longer than it is. A squad of Hawks, Luco, and Anakin Skywalker has everything the encounter asks for: sustained ranged damage, a held reaction lane, and Force abilities that delete grouped enemies before they ever reach cover.
Quick answer: Open by moving Hawks into cover and firing the Longarm Blaster at the nearest Coil Enforcer, park Luco on Overwatch covering the approach, then spend Anakin’s Advantage points on Ultimate Strike and Push to break each wave apart. Rally anyone who goes down immediately, and keep going until the last Coil Scourge falls or the objective updates.
Squad roles for the Coil Intruders fight
Three operators cover the encounter cleanly. Hawks handles the opening damage from range, Luco holds ground and punishes enemy movement, and Anakin is the wave-clearing tool you save Advantage points for.
| Operator | Job in this fight |
|---|---|
| Hawks | Opens from cover with the Longarm Blaster and chips down Coil Enforcers before they close in. |
| Luco | Repositions each turn and ends on Overwatch so the incoming wave takes a reaction attack. |
| Anakin Skywalker | Spends Advantage on Ultimate Strike, Ultimate Lightsaber Throw, and Push to remove multiple enemies fast. |
Coil enemy types and what beats them
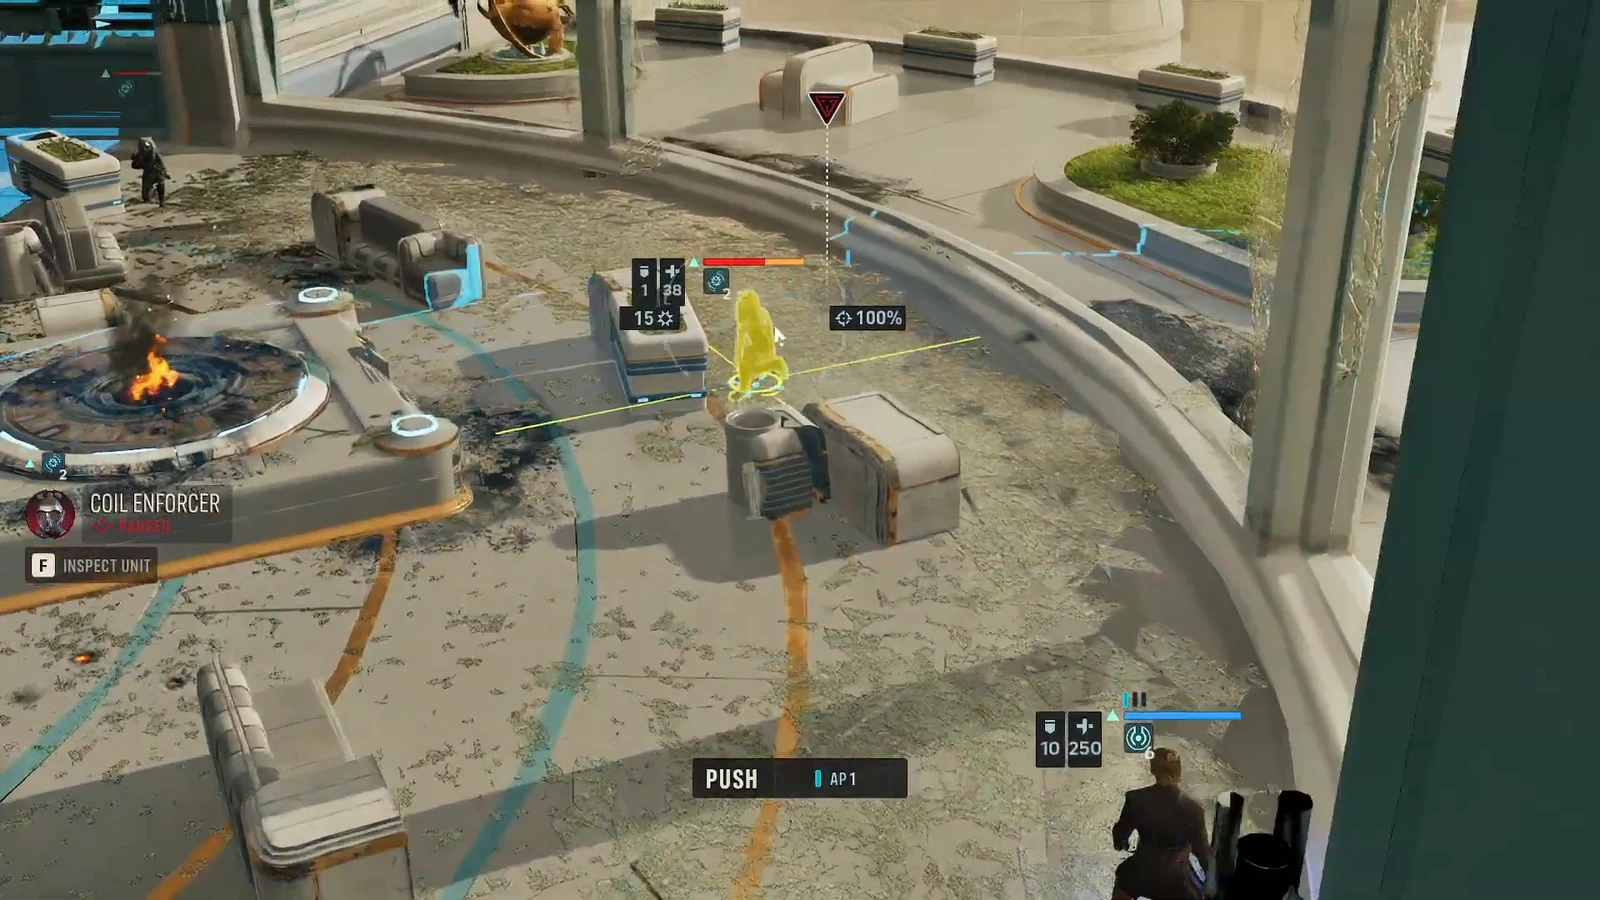
Three enemy types show up across the waves. Coil Enforcers make up the bulk of the pressure, Coil Strikers push forward aggressively, and Coil Scourges turn up as the fight drags on. Before committing an attack, highlight the unit you are about to shoot and use the inspect prompt to read what you are dealing with.
| Enemy | What works |
|---|---|
| Coil Enforcer | Longarm Blaster fire from Hawks, or Push to slam one into a wall — that destroys the cover and deals heavy damage at the same time. |
| Coil Striker | Anakin’s Ultimate Strike, which lands massive damage in a single activation. |
| Coil Scourge | Appears in the later waves; clear it with whatever Advantage you have banked rather than trading shots turn after turn. |
Turn order that clears each wave
Every operator gets three action points per turn, and the fight goes badly when you burn all of them on movement. Keep this sequence for the first round, then repeat the shape of it as each new group arrives.
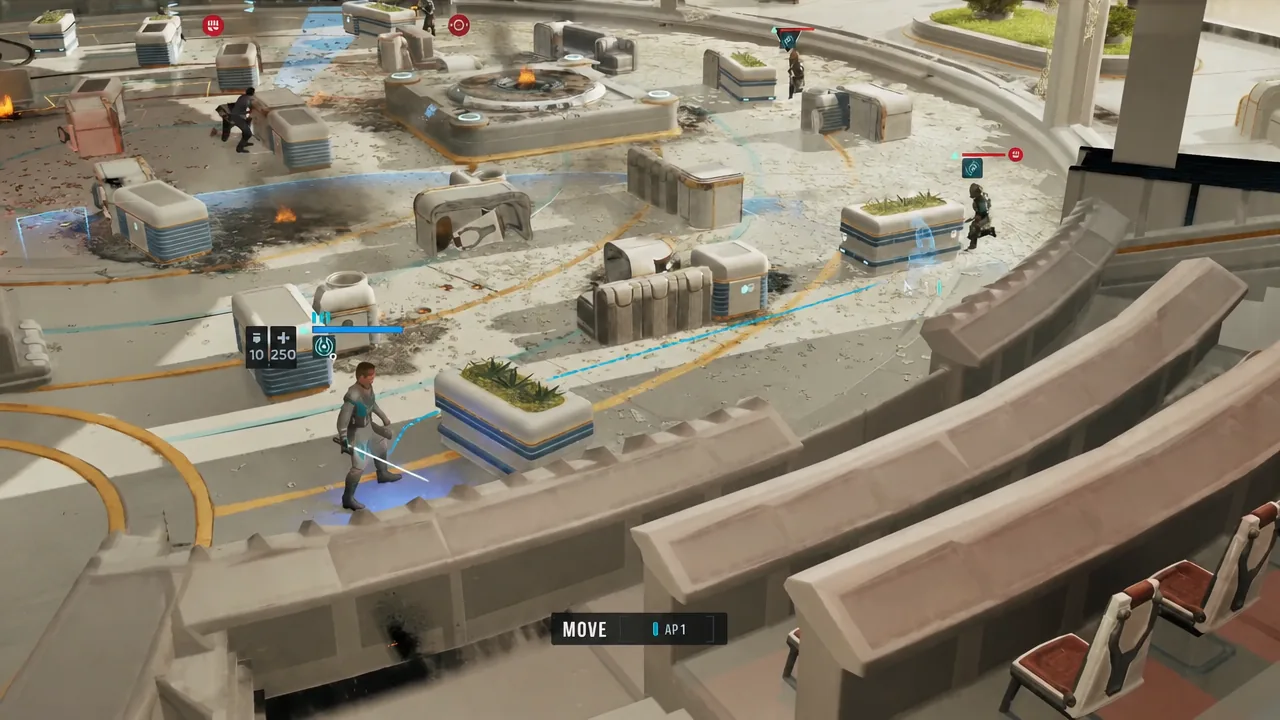
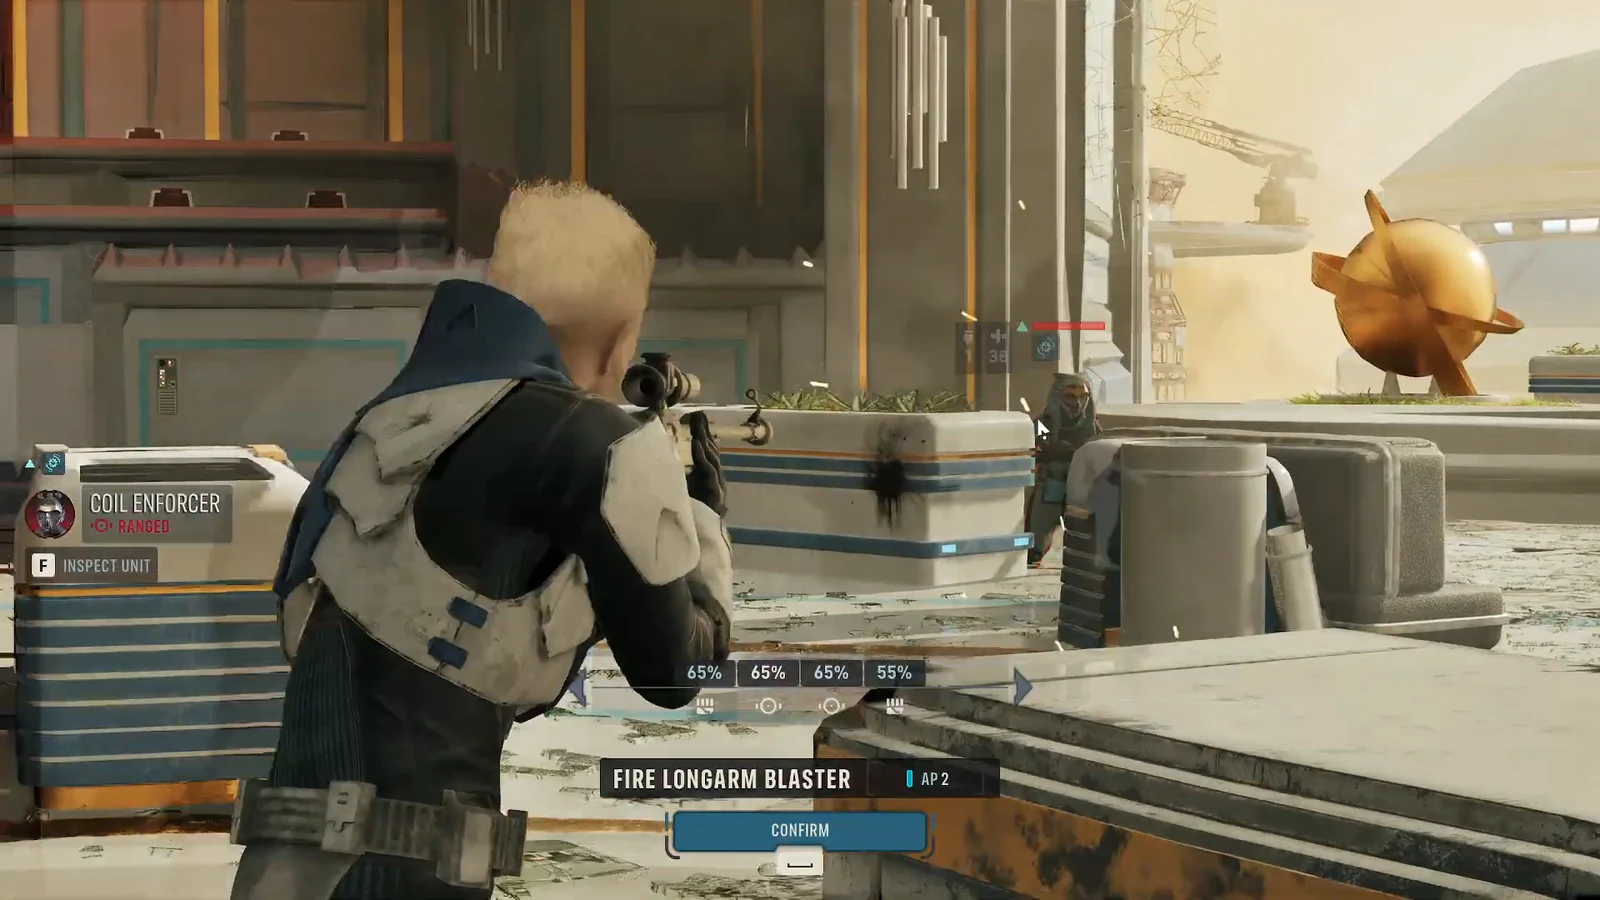
Tip: Special actions run on Advantage points, tracked in the bottom left of the screen, and you build them by dealing damage. Landing ordinary attacks early in a wave is what pays for the big Anakin abilities later in it.
Action point costs and the tools that matter here
| Action | Effect in this encounter |
|---|---|
| Move | Spends AP to relocate and take cover; the reachable tiles and their cost are shown before you commit. |
| Attack | Ranged or melee strike for the listed AP, auto-targeting the enemy with the best hit chance. |
| Call for Backup | A nearby teammate adds their attack to yours for extra damage on the same target. |
| Overwatch | Holds remaining AP for a reaction attack against anything entering the marked area on the enemy turn. |
| Rally | Gets a downed operator such as Luco back on their feet. |
| Special Actions | Costs Advantage points; covers Ultimate Strike, Ultimate Lightsaber Throw, and Push. |
If Luco goes down mid-fight
An operator dropping during the middle waves is recoverable and not a run-ending mistake. Move a teammate adjacent and use Rally to stand them back up, then finish the wave before pushing forward again.
The cost is an injury. Each knockdown adds one, and three injuries kill that operator outright if permadeath is switched on. If you would rather retry the wave cleanly, restarting the mission from the game menu keeps the same operators and lets you rerun the fight with a different plan.
How to confirm the fight is over
Mission objectives sit in the top left of the screen and are marked on the map. The Coil Intruders are handled once every Enforcer, Striker, and Scourge in the final wave is down and that objective either ticks off or is replaced by a new one.
Watch for that replacement. Wiping a room does not always end a mission, and clearing enemies you were never asked to clear is not required unless the objective says so. When the text changes, follow it instead of spending extra turns tidying up the ground you already hold.
Why the encounter goes wrong
- Spending all three action points on movement, which leaves nobody on Overwatch when the next wave walks in.
- Dumping Advantage points on a single weakened Enforcer instead of saving Ultimate Strike for a Striker.
- Leaving a downed operator on the ground for extra turns rather than spending one action to Rally them.
- Deploying operators who are already carrying injuries, which shortens how much punishment the squad can absorb across the waves.
Nothing here is time-pressured once you settle into the rhythm. No damage is applied until you confirm an action, so read the enemy positions each turn, keep one operator holding a reaction lane, and let Anakin’s Force abilities do the heavy lifting on the turns you can afford them. Difficulty can also be adjusted outside combat if the waves are landing harder than you want.