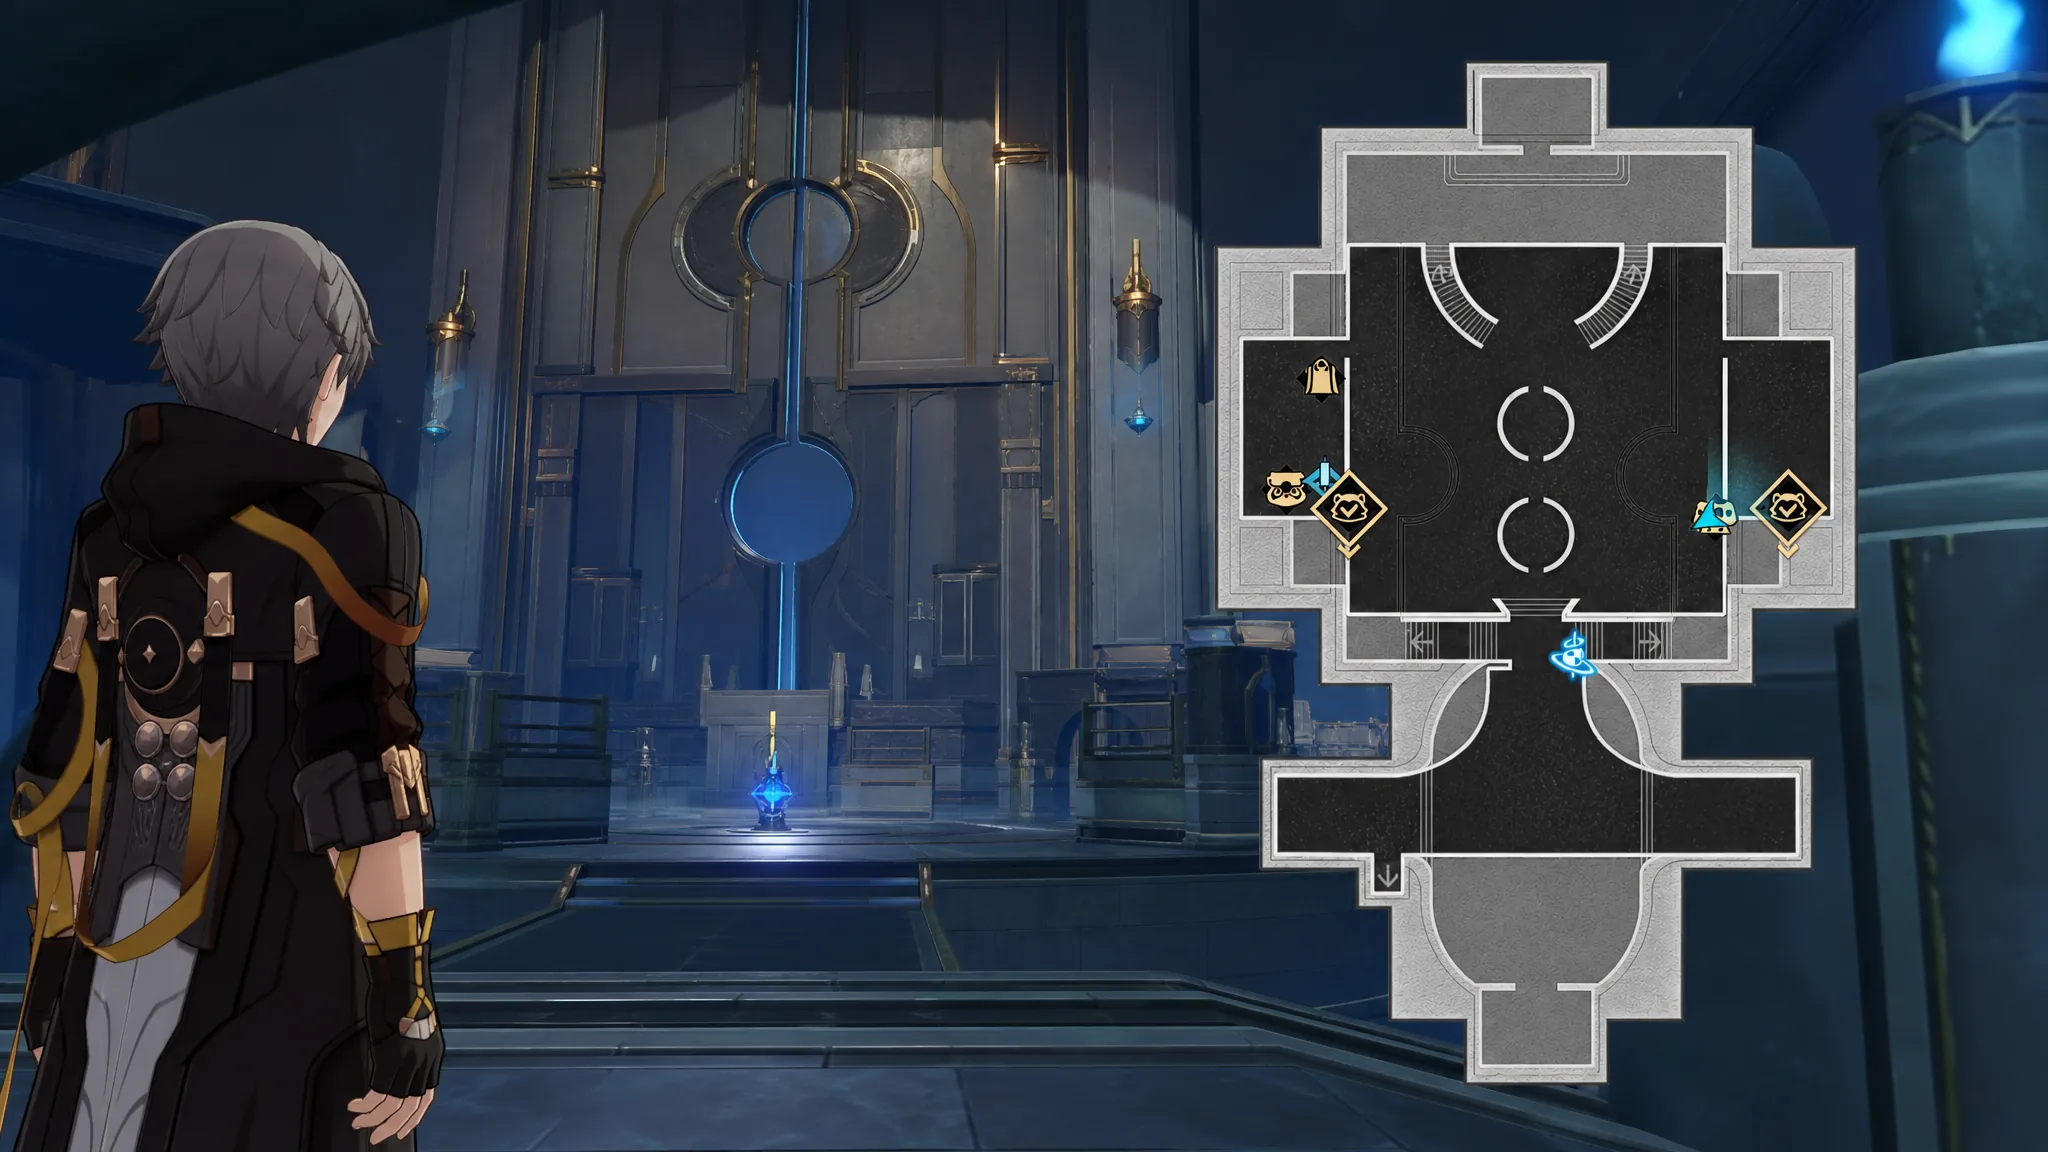
Lodestar Tower sits in the Astropolis region and packs 26 numbered Treasure Chests, three Furbobo Treasures, and a set of Nameless Wispae hidden across its three floors. Most of the rewards are locked behind Interplanar Jump puzzles, Shiftmation challenges, and a few tucked-away corners in the 3D lobby areas.
Quick answer: Unlock Lodestar Tower by progressing the To Roll the Stars in Astropolis mission, then sweep each floor from F1 up to F3, clearing every Interplanar Jump and Shiftmation puzzle you pass. Track your total against the in-game area completion counter to confirm you have all 26 chests and three Furbobo.
How to unlock Lodestar Tower
Access opens as you play through the To Roll the Stars in Astropolis Trailblaze Mission. Once the area is available, you can fast-travel between Space Anchors like the Security Check Area, Reception Hall, and Panorama Hall to reach each floor quickly.
Many chests are guarded by 2D minigames. You control the Trailblazemon in a side-scrolling mode, summon HelpBots, and swap aesthetic windows to reshape the level. Keep an eye out for Gravity Lines, which flip your orientation, and for exit pipes that often sit right next to a chest.
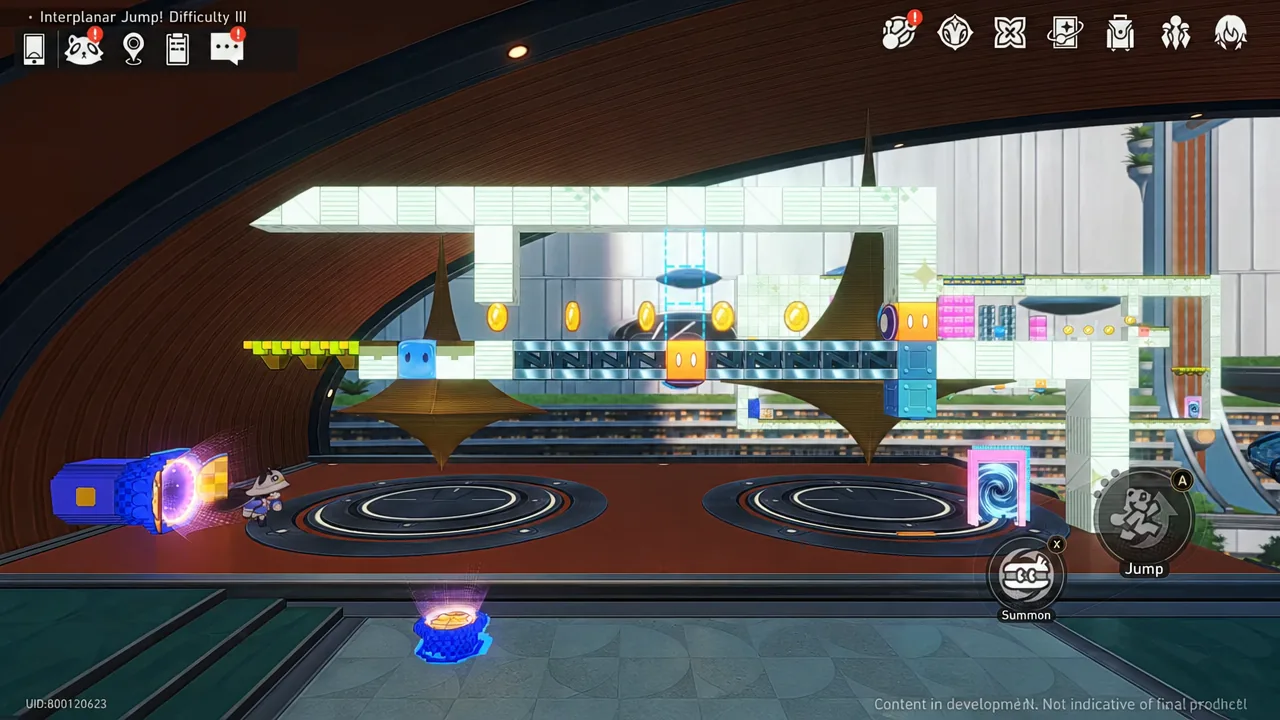
F1 chests: Security Check Area and Reception Desk
The ground floor holds the first four chests. Start from the Security Check Area Space Anchor and clear the two Interplanar Jump puzzles near the reception desk.
Chest 1: From the Security Check Area Space Anchor, walk to the west side of the room. The chest sits near the corner.
Chest 2: Enter the Interplanar Jump Difficulty III puzzle on the east side. On the second level, press the first button once, then pull all the levers so the platforms read green, pink, pink from right to left. The chest blocks the exit.
Chest 3: Head into the room to the north and go to the east sitting area. The chest is in the corner near a potted bench and some chatting Intellitrons.
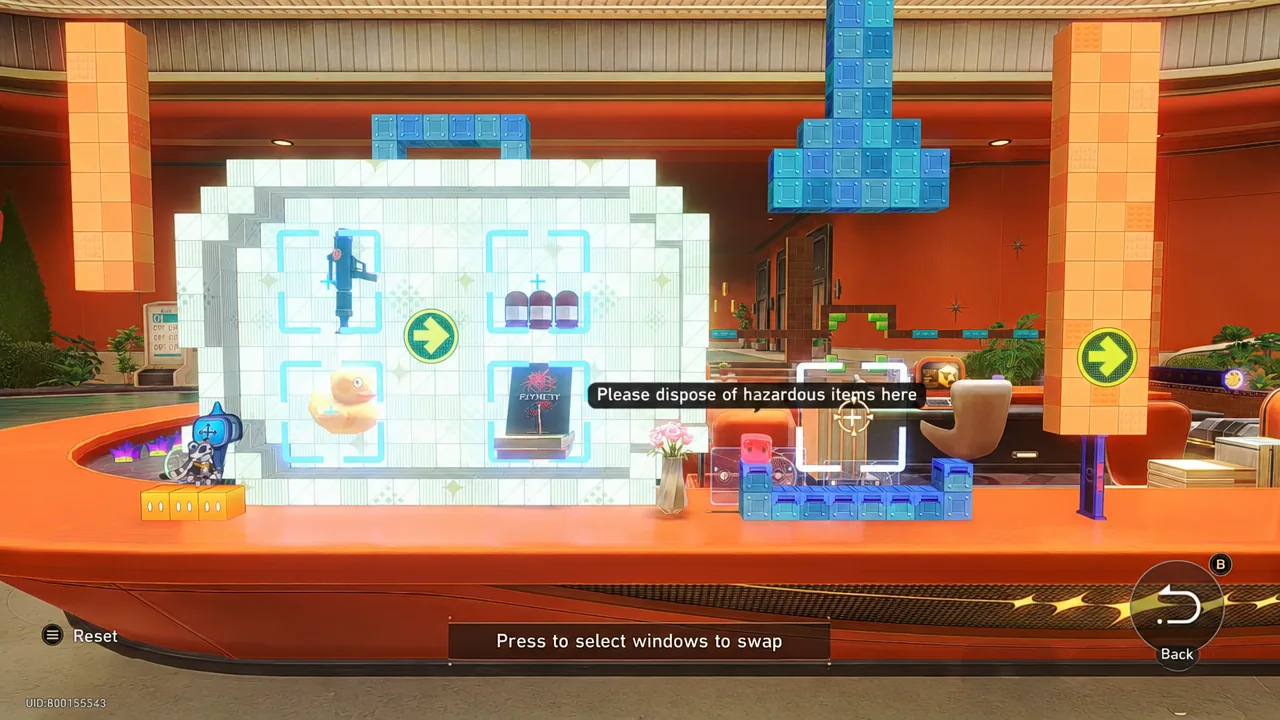
Chest 4: Enter the Interplanar Jump Difficulty II puzzle north of the reception desk. Swap the frames to place the baseball raccoon in the first set, the form with the baseball raccoon in the second set, and the launcher with missiles in the third set. Press the button three times, or until the side beams align with the green cubes, then pull the lever to stamp the document and open the door. The chest waits just before the exit.
F2 chests: Reception Hall and Furbobocom office
Take the elevator up to F2. This floor spans the corridor west of the elevator through the full Reception Hall, and it includes one of the tougher Difficulty V climbs.
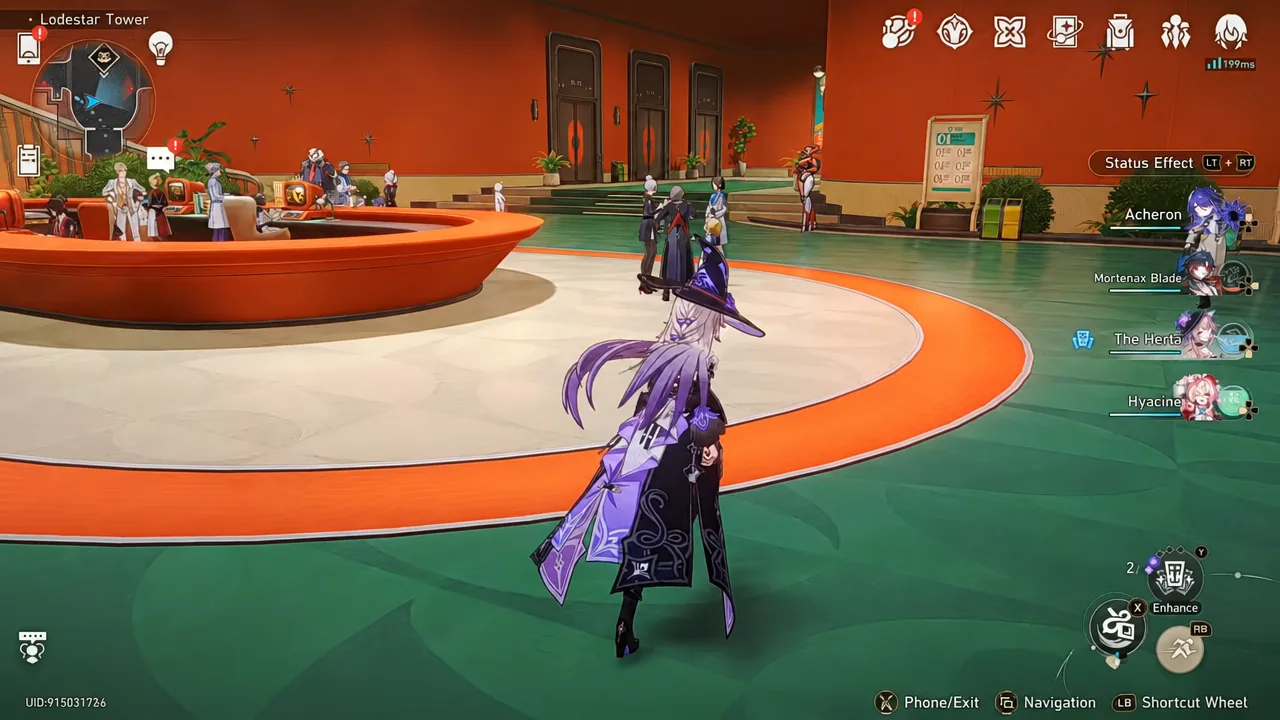
Chest 5: Use the elevator to reach F2 and head west. The chest is in the corner.
Chest 6: Solve the Shiftmation puzzle at the east end of the corridor to claim it.
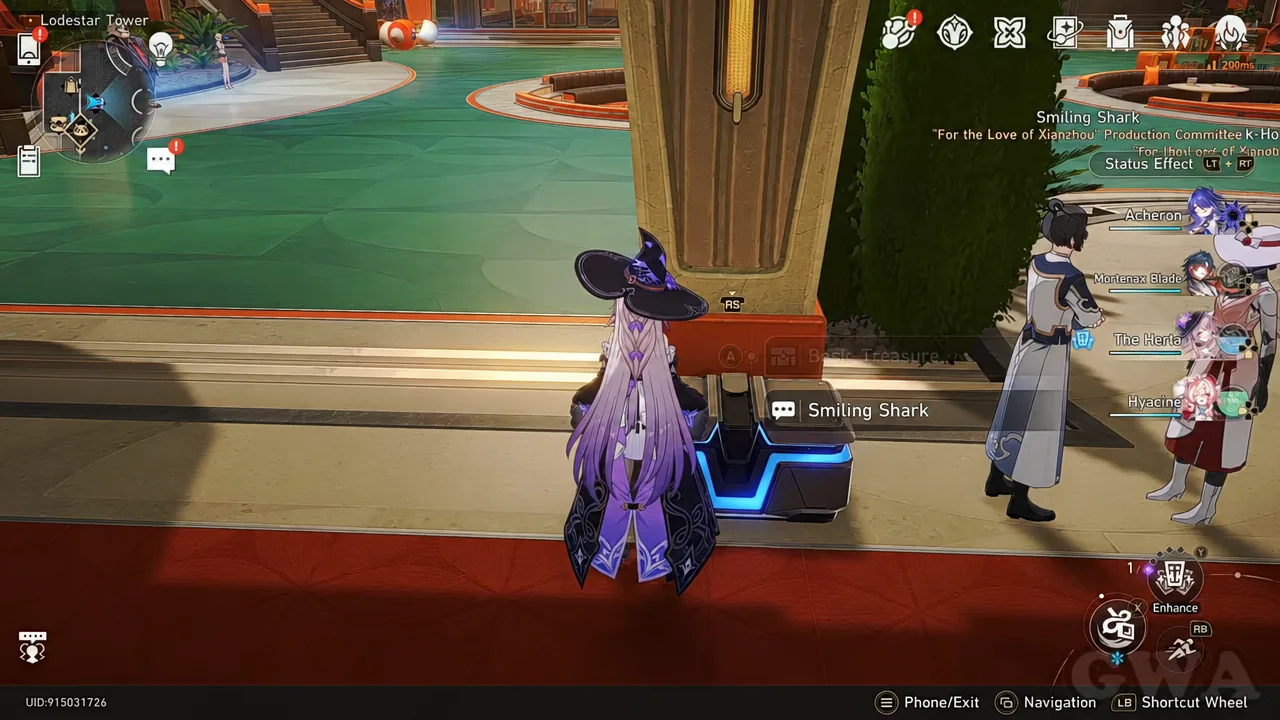
Chest 7: Enter the Reception Hall and go west. The chest hides behind a pillar near Smiling Shark and Dark-Horned Tiger.
Chest 8: Enter the Interplanar Jump Difficulty III puzzle in the Furbobocom office. Use Sprint to blow through the traps. The chest sits near the exit.
Chest 9: Look in the northeast corner of the Reception Hall.
Chest 10: Enter the east room off the Reception Hall. The chest is behind a desk in the middle of the room.
Chest 11: Enter the Interplanar Jump Difficulty V puzzle in that same east room. Swap frames to advance. On the last set, place the first frame into the blank frame and the frame below it into the orb pointing downwards. Use the blank frame to jump around the spikes, then ride the orb down toward the exit where the chest waits.
F3 chests: Reception Hall, Panorama Hall, and the Studio
Head up the stairs to F3, the largest stretch. It runs from the northwest Shiftmation puzzle through the Panorama Hall and into the 3D puzzle rooms of the Studio and Circular Office.
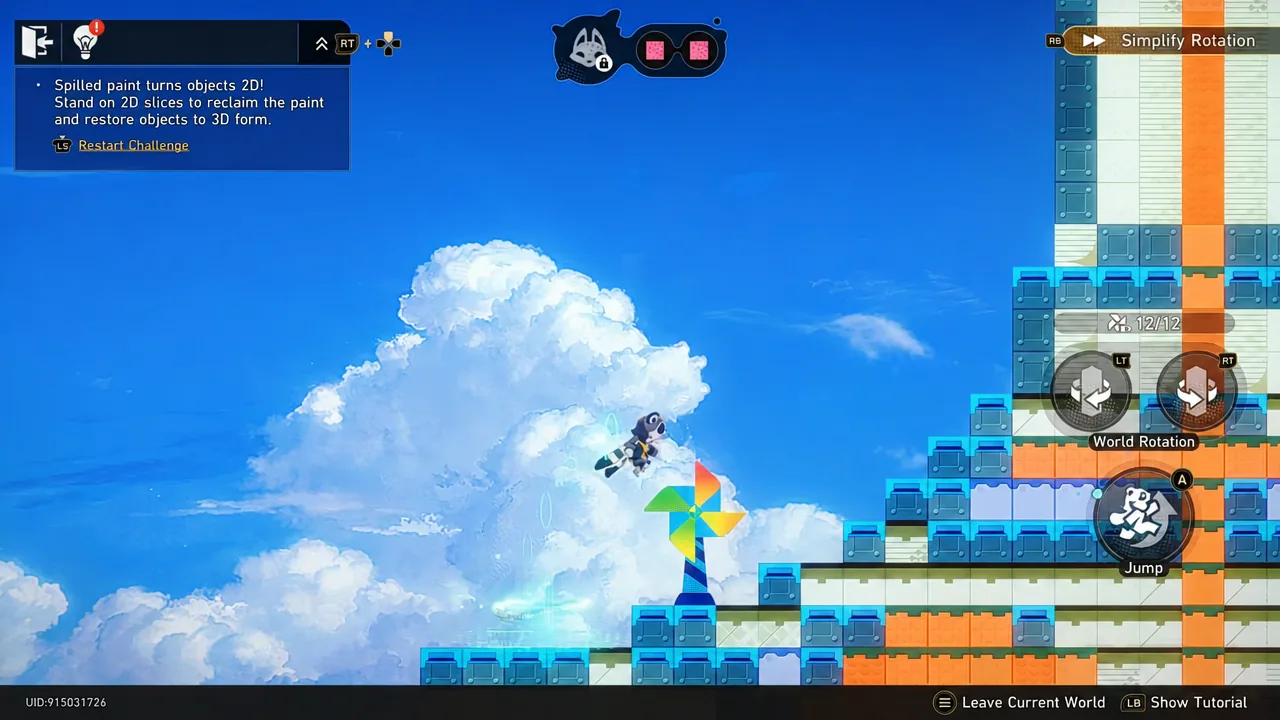
Chest 12: Go up to F3 and solve the Shiftmation puzzle in the northwest corner of the hall.
Chest 13: Look behind a desk on the west side of F3 in the Reception Hall.
Chest 14: Move to the east side. The chest is in the corner of the hall near a posing Mechatron.
Chest 15: Enter the Interplanar Jump Difficulty V puzzle on the east side of the F3 Reception Hall. The chest sits on the platform above the starting area.
Chest 16: Stay in that same puzzle and continue to the gravitational area with buttons on moving platforms. Press the buttons to open the door, then head to the exit. The chest is nearby.
Chest 17: Exit through the northern doors and head east. The chest is near the area line.
Chest 18: Ride the platform to the center, or use the Panorama Hall Space Anchor to reach the central platform. The chest is behind the first row of controls on the northern side.
The Studio: Keeping Up With Star Rail puzzle
Chest 19: Enter the Studio inside the 3D puzzle room on the west. Switch to the Keeping Up With Star Rail studio and start its Interplanar Jump Difficulty II puzzle. Advance to the 4th level, where the chest sits near some speakers.
Chest 20: Stay in the same puzzle and proceed to the 5th level, where you travel a gravitational line to the exit. Jump over the exit and play ⭡, ⭢, ⭣, ⭨, ⭠, ⭦, ⭨, ⭣ on the speakers to trigger a Bizarre Melody score. The notes match the arrows that appear on the side during the gravitational trip. The chest appears right after you are transported to the new area.
Chest 21: From Chest 20’s spot, continue until you find a switch to step on. Press it to move to another area, and the chest is right in front of you.
Chest 22: Return to the Studio 3D puzzle room and climb a level using the Dream Gravitation wall. The chest is between storage racks.
Circular Office and the Difficulty X puzzle
Chest 23: Head to the Circular Office on the east side of the Panorama Hall. Enter the 3D puzzle room and go left to find the chest.
Chest 24: Walk up the Dream Gravitation wall and solve the Shiftmation puzzle on the side of the room.
Chest 25: Use the Dream Gravitation wall to drop back down and enter the Interplanar Jump Difficulty X puzzle opposite Chest 23. Run around the gravitational circle until it transports you, then check the left of the new area.
Chest 26: After leaving the Chest 25 puzzle, run straight to a hallway and follow it to a room of error screens. Move in one direction until you hit an error screen to navigate through. The chest sits in the middle of the room.
All three Furbobo Treasure locations
Furbobo Treasures are shapeshifting furbos. Two are caught inside puzzles, and one hides during the Stand-Up Comedy studio segment. Each one drops its rewards after you catch or defeat it.
| Furbobo | How to reach and catch it |
|---|---|
| Furbobo 1 | In the Interplanar Jump Difficulty V puzzle on the east side of the F3 Reception Hall, go to the exit area. Jump over the exit pipe and continue right to find a shapeshifting furbo. Catch it by opening the wall to its limit and jumping to the side of the furbo. |
| Furbobo 2 | Enter the Studio 3D puzzle room and switch to the Stand-Up Comedy studio. Investigate Kenneth, who is a furbo in disguise. Defeat it in combat to collect its rewards. |
| Furbobo 3 | After exiting the Chest 25 Interplanar Jump puzzle, run straight to the hallway and turn right. Talk to the furbo in the middle of the hallway, which disguises itself as a door. |
Nameless Wispae inside the puzzles
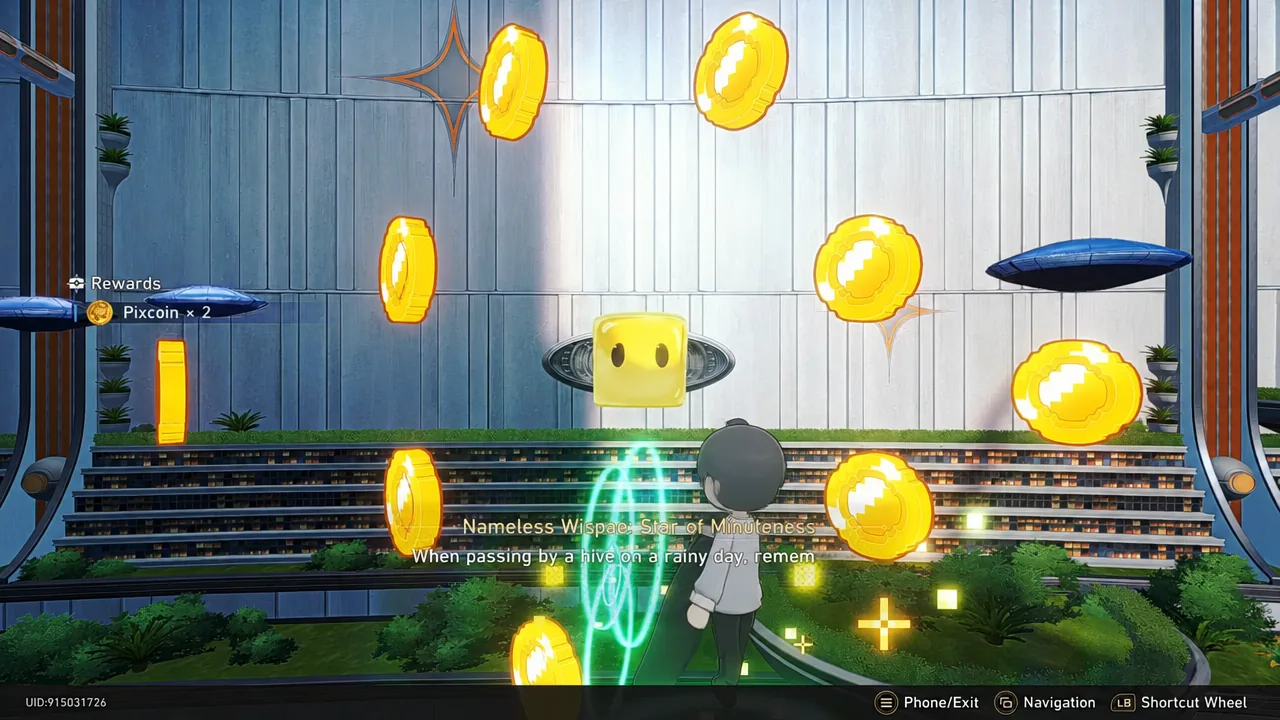
Nameless Wispae are yellow square entities that appear inside the 2D puzzle stages and around the lobby. You claim each one by jumping into it or interacting with the object it is hiding in, which triggers a short line of dialogue and its rewards.
The named Wispae you meet along the F1 and F2 route include Star of Mundaneness inside the first Difficulty III puzzle, Star of Peculiarity from a poster stand in the lobby (use the Remove option to free it), Star of Correctness on the stamped form in the Difficulty II document puzzle, and Star of Vigor reached with the Universe Form sprint through the spiked corridor in the Furbobocom office puzzle.
Confirming full completion
You know Lodestar Tower is cleared when the area’s treasure counter shows all 26 chests collected and all three Furbobo caught. If a chest is missing, it is almost always trapped inside an Interplanar Jump or Shiftmation puzzle you passed without fully finishing, so revisit any puzzle room where you skipped an exit branch or a Bizarre Melody speaker.