The Boost Bracer is the centerpiece of Monster Hunter Wilds Ascendance, and it does not treat all 14 weapons equally. Some pick up entirely new offensive systems, offset counters, and finishers, while others mostly gain a single Boost Driver and a handful of enhanced moves. This ranking sorts every weapon by how much the Ascendance changes reshape the way you actually play it.
Quick answer: The Boost Bracer changes land hardest on Hunting Horn, Hammer, Sword & Shield, Charge Blade, Long Sword, and Light Bowgun; Lance and Insect Glaive change the least.
Ascendance weapon tier list
| Tier | Weapons |
|---|---|
| S | Hunting Horn, Hammer, Sword & Shield, Charge Blade, Long Sword, Light Bowgun |
| A | Great Sword, Dual Blades, Switch Axe, Heavy Bowgun, Gunlance, Bow |
| B | Lance, Insect Glaive |
S-tier weapons gain broad changes across new combos, visuals, and feel. A-tier weapons show strong new flair while keeping their familiar core loop intact. B-tier weapons receive the lightest or most situational updates in the preview.
How the Boost Bracer works on every weapon
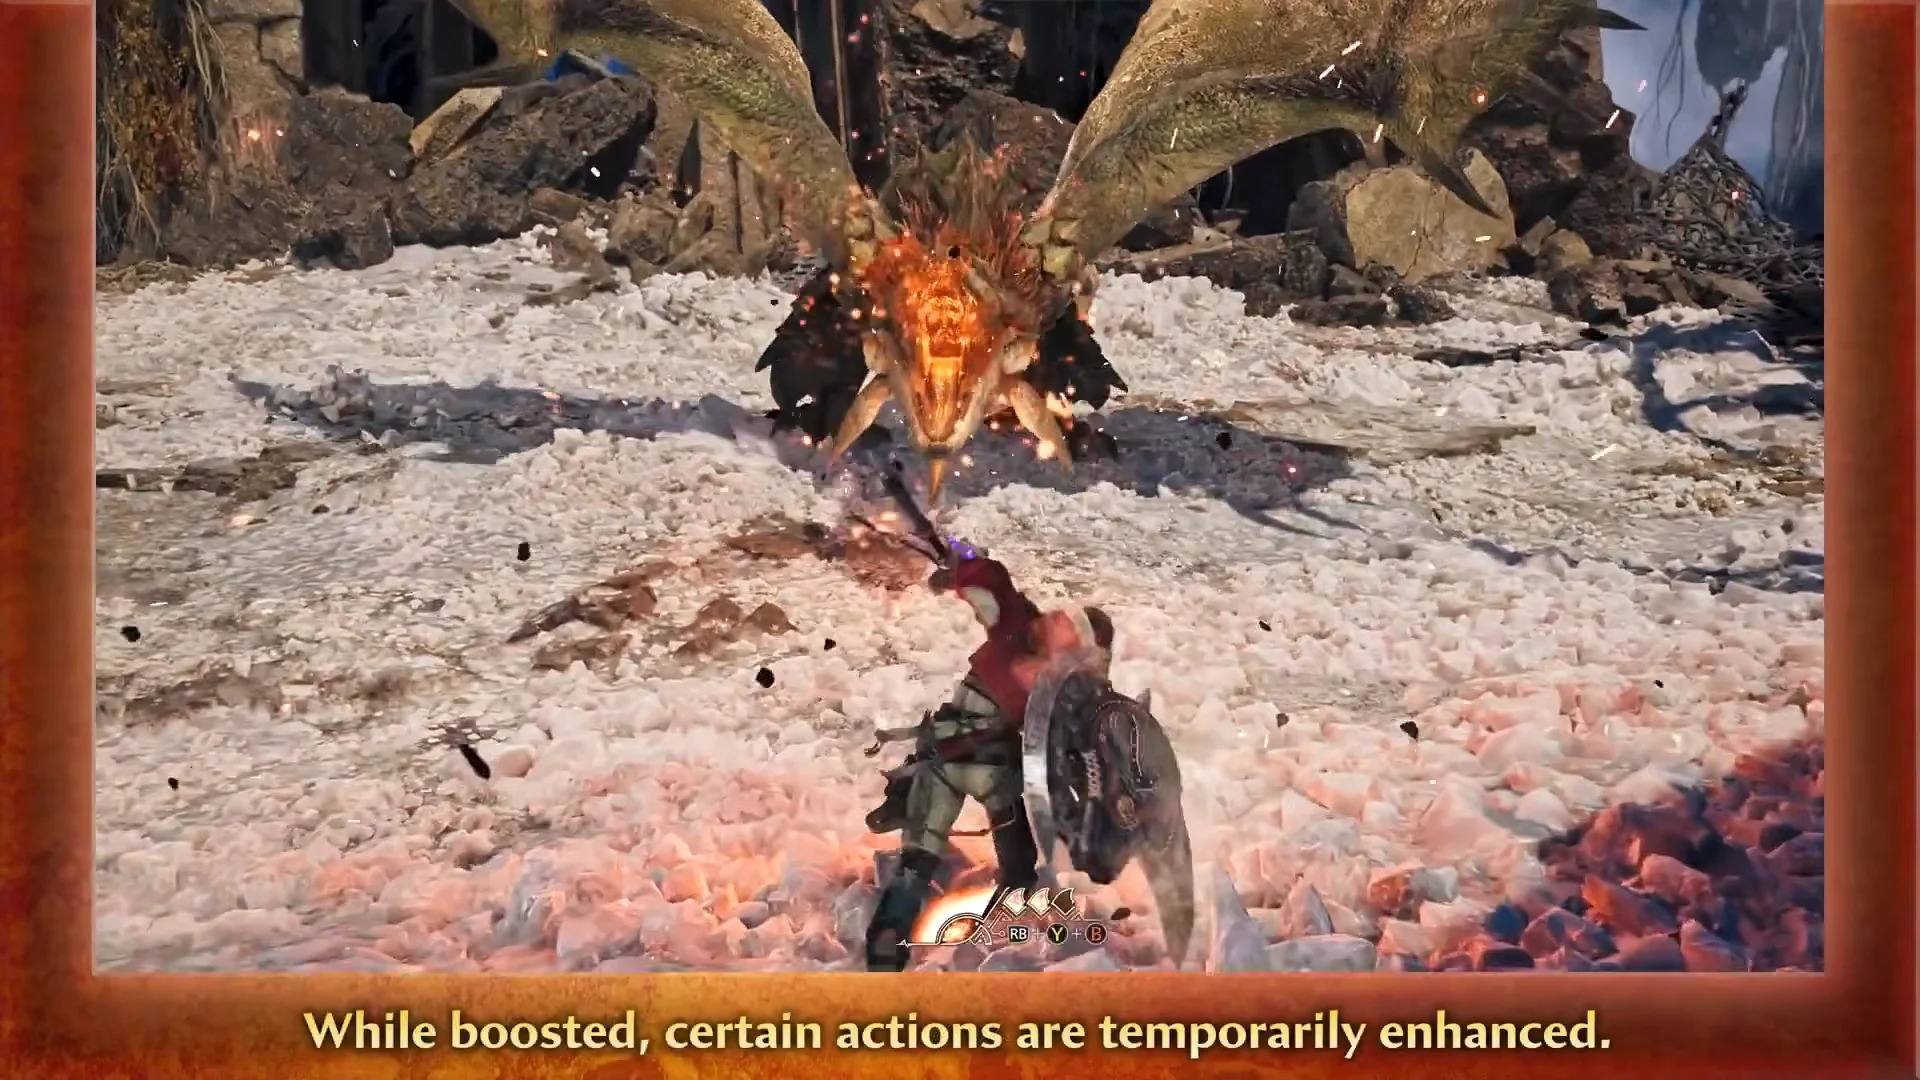
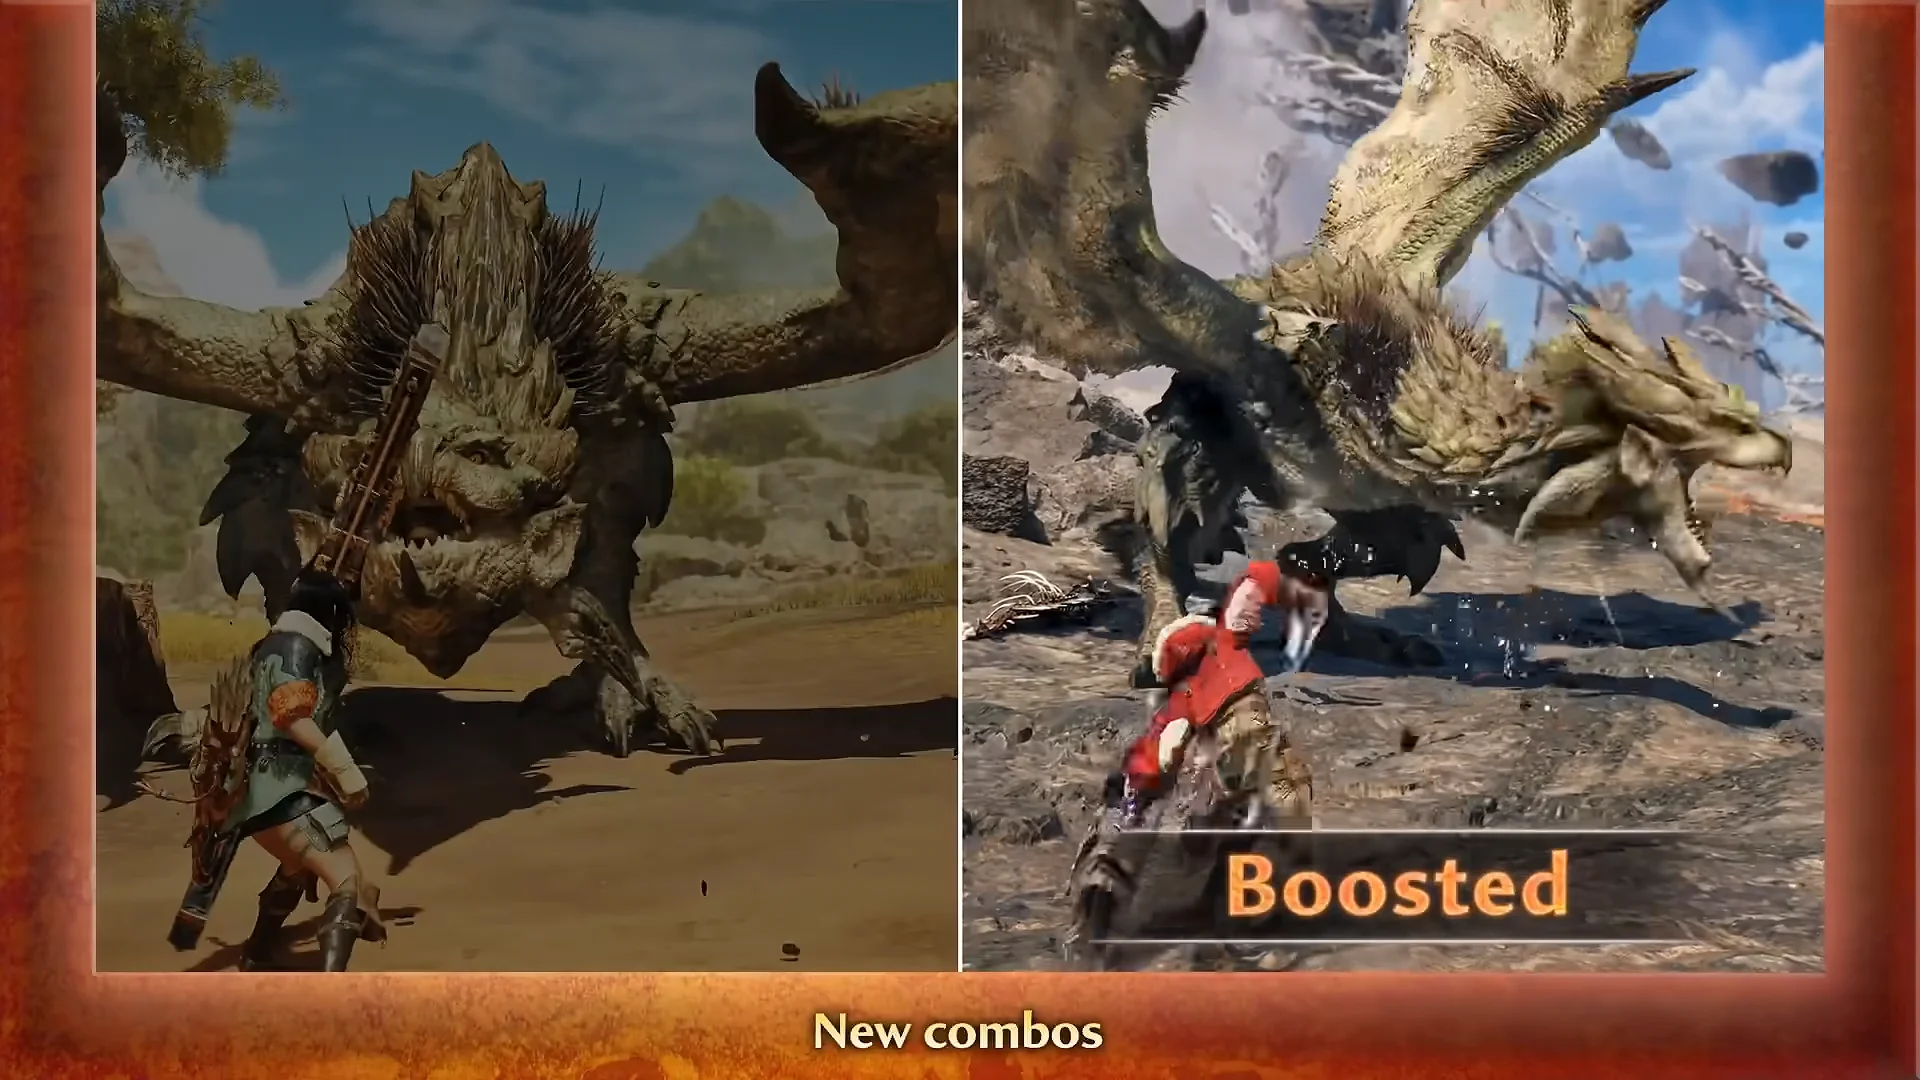
Every weapon shares one new system. Activating Boost Mode gives you roughly 20 seconds of enhanced performance, and while it is active, guarding no longer suffers standard recoil or stagger. Moves that change under Boost are marked in orange in the in-game move list.
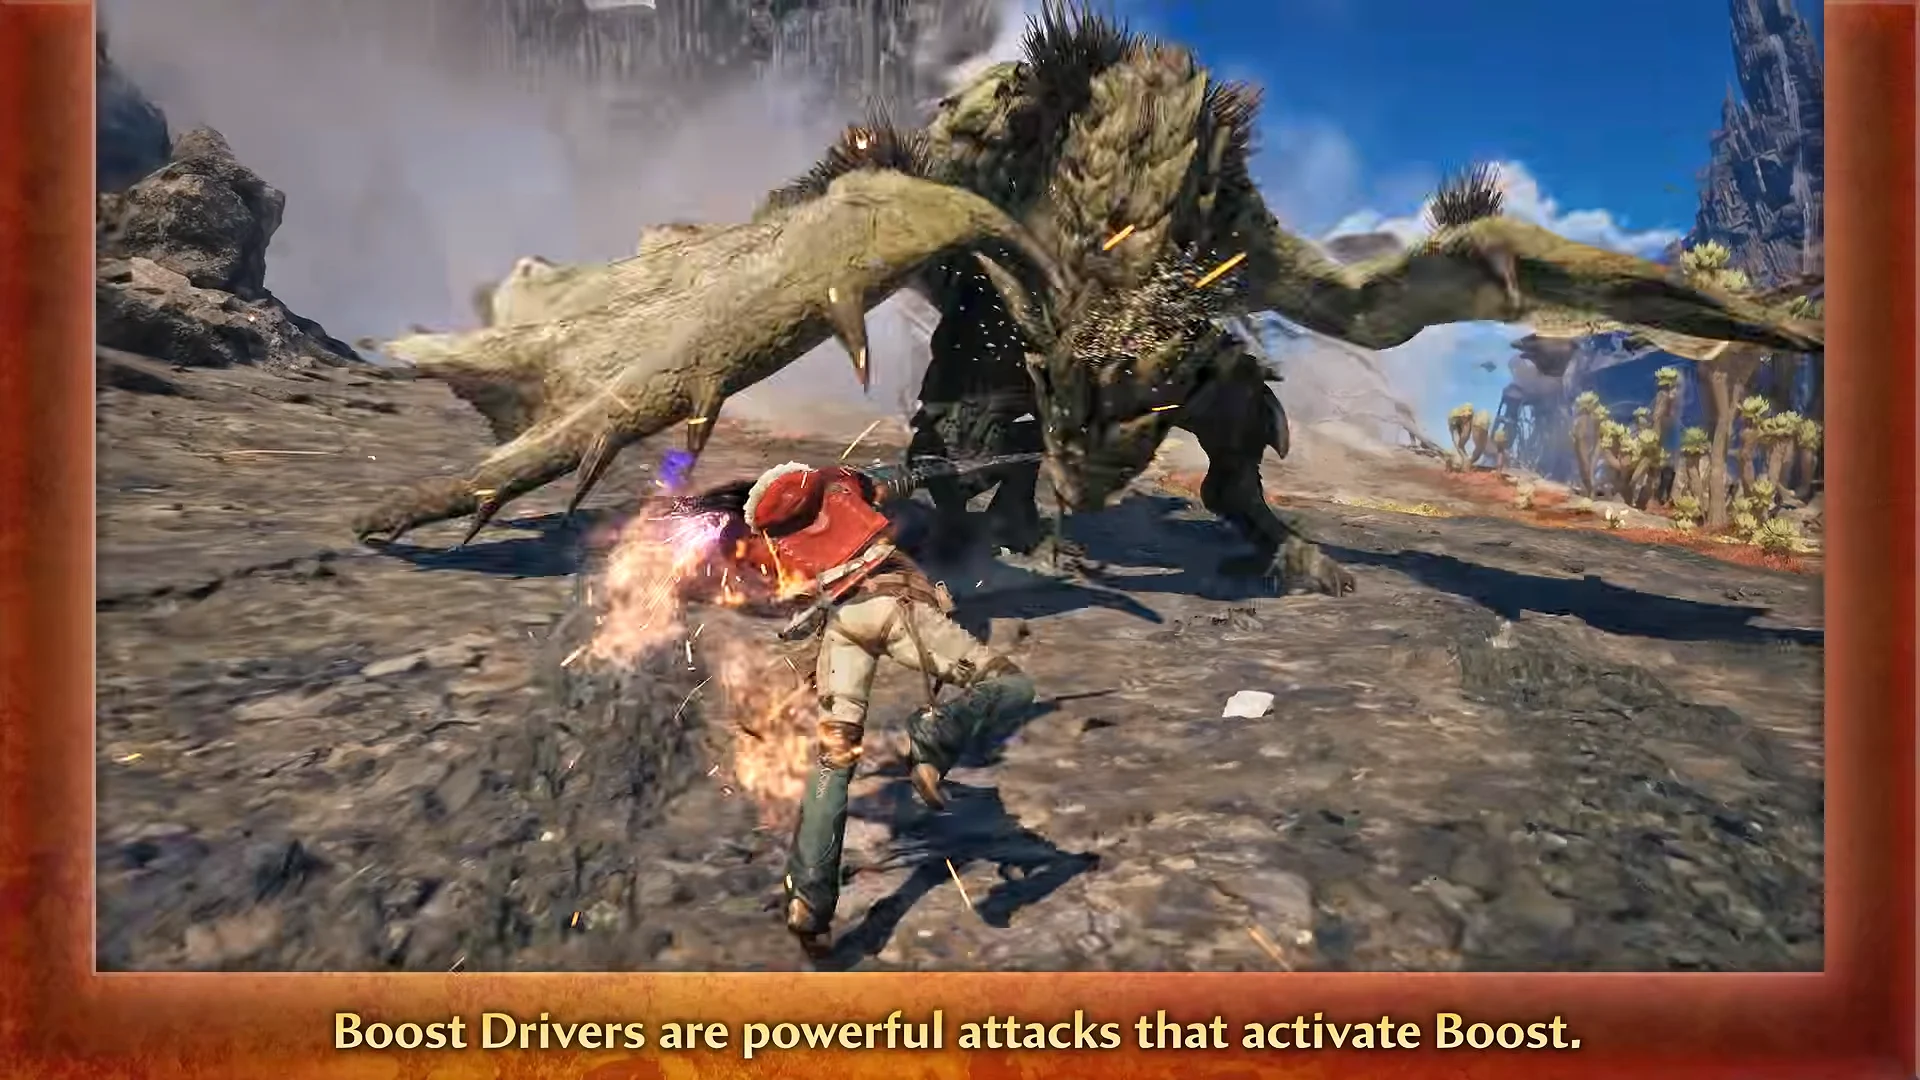
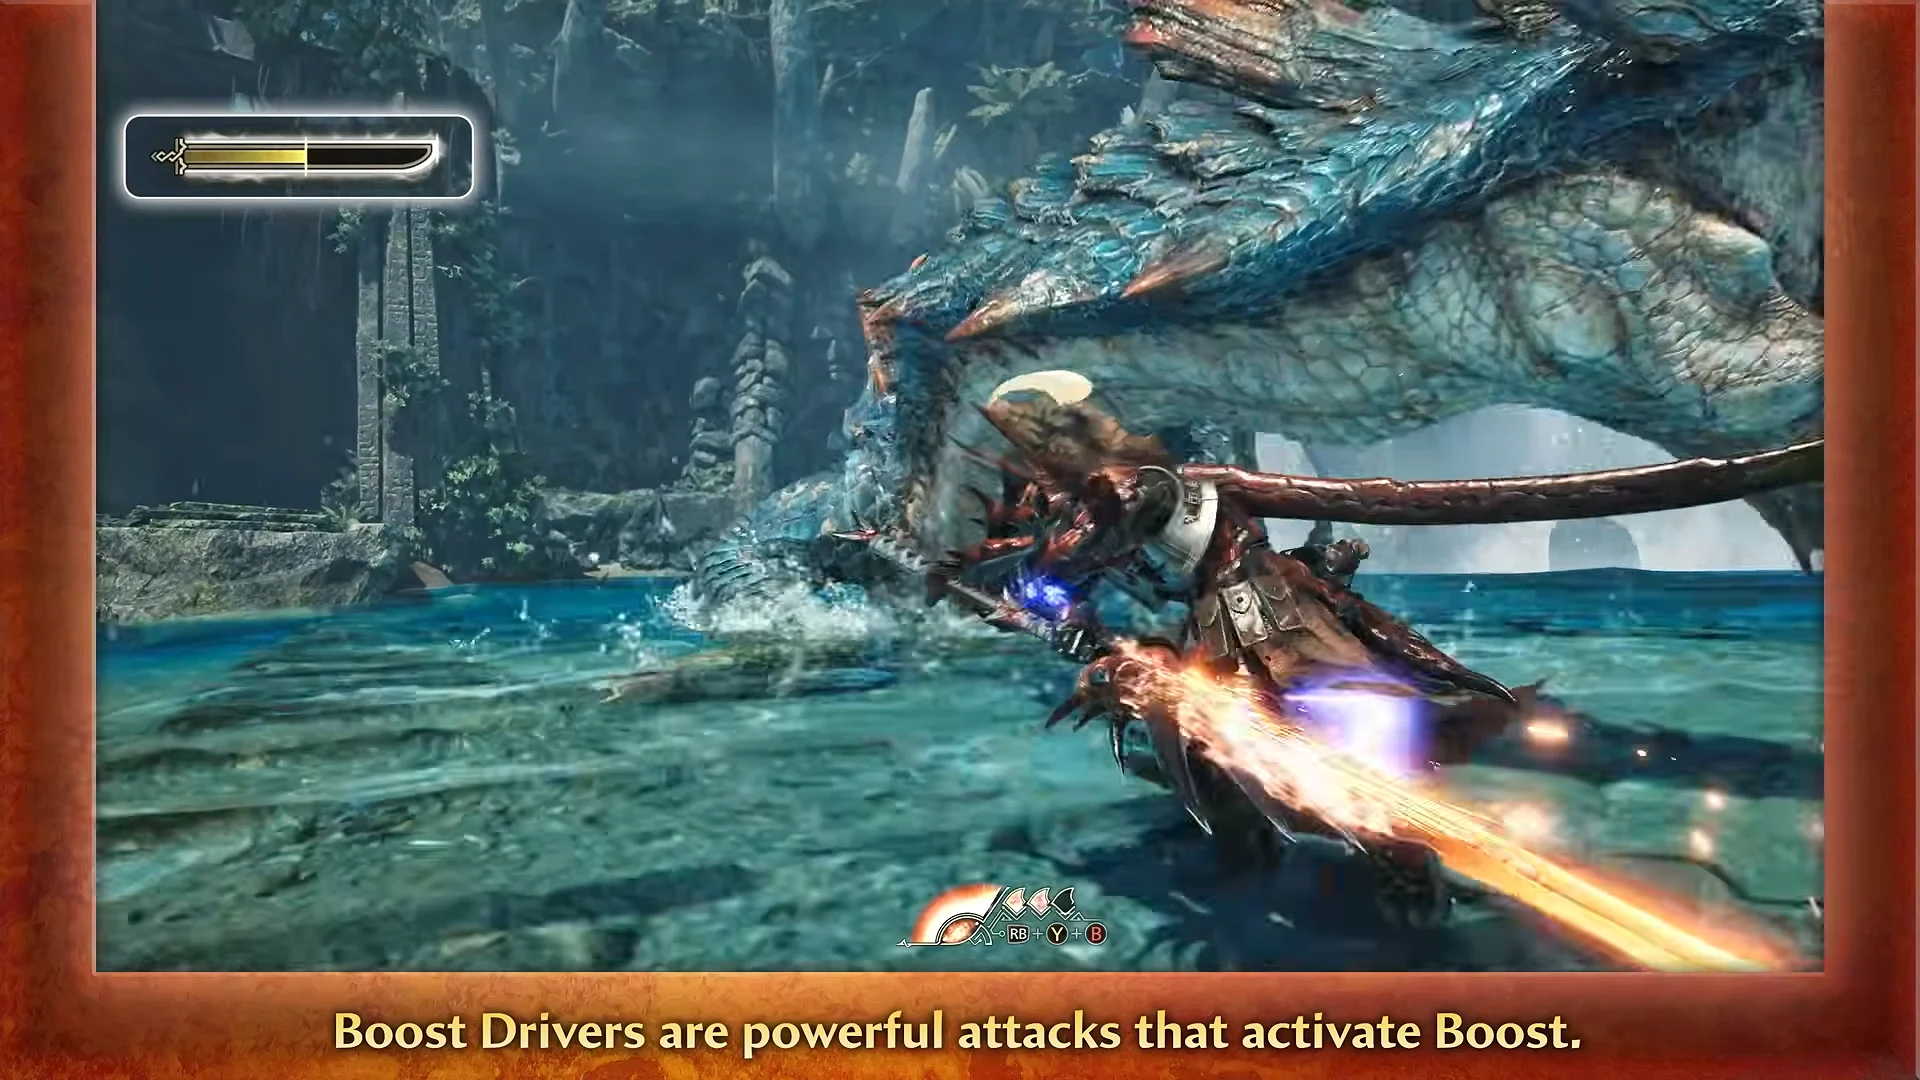
You can enter Boost three ways: a weapon-specific Boost Driver attack, pressing L3 and R3 together while standing or guarding, or pressing R1 during certain combat animations such as a guard. Boost Drivers are strong attacks that flip the state on, so most weapons build their new gameplay around landing one at the right moment.
Director Hiraoka described the intended pace this way, framing Boost as a resource you spend rather than a permanent power state.
Play revolves around building the gauge, tracking your available charges, and choosing the right moment to spend them. Activating Boost gives you a brief window to use it. Rather than turning the player into a relentlessly aggressive demon, it adds another option to their toolkit.
How this ranking was decided
Placement here comes down to three things: the scope of new mechanics a weapon gains, how visually distinct its Boost moves are, and how much the changes shift the overall feel. Weapons that pick up new systems, offset counters, and finishers rank higher than those that mostly gain speed and one new move.
This reflects the Ascendance weapon preview shown at Tokyo Game Show, ahead of the expansion’s 2027 launch. Move names and behavior can still change before release, so treat placements as a read on the reworks as demonstrated.
S-tier: The biggest reworks
Hunting Horn gains the most functional depth. It can now stock two Offset Melodies at once, with successful offsets firing a heavy counter slam. Performances start with invulnerability frames when you dodge left or right, the Boosted Echoing Blow plays every stocked melody instantly and drops an Echo Wave, and Echo Bubbles pick up a high-damage spinning Whirl version.
Hammer becomes more mobile and aggressive. Mighty Charge combos now chain directly out of Charged Big Bang or the end of a standard Big Bang finisher, the Boosted Soaring Hammer launches you airborne into a plunging smash, and Boost speeds up the Big Bang string while unlocking the Big Bang: Pulverize follow-up.
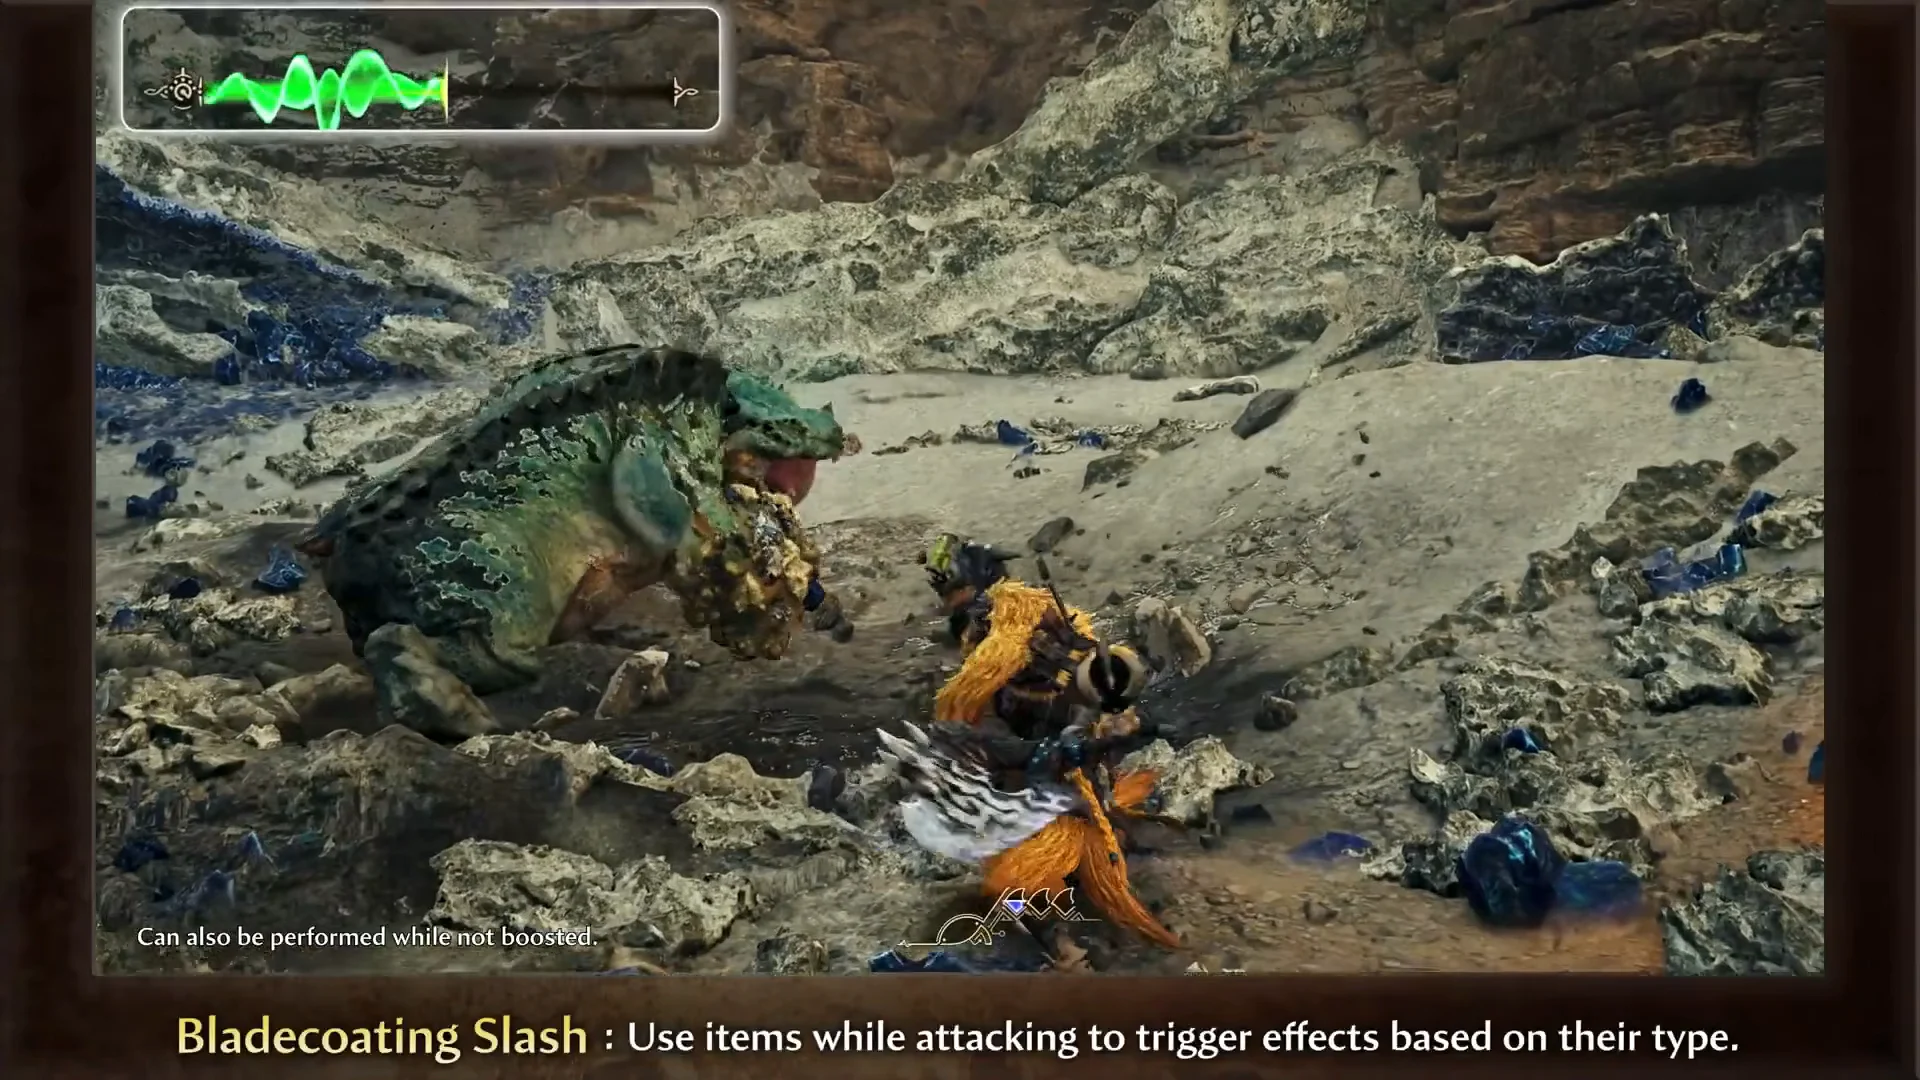
Sword & Shield leans into its item-use identity. Bladecoating Slash lets you use items mid-attack to coat the blade with their effect, so a potion can apply healing over time or a whetstone can sharpen on the fly. The Boosted Lunge branches into Blast Slash or Blast Uppercut, and the Vital Stab focus strike grapples onto wounds before an offset falling bash.
Charge Blade adds meaningful new tools at both ends of its loop. The Amped Element Discharge follow-up gains an offset window, Super Amped Element Discharge can be charged with stored sword energy, and the Boost Drivers cover both a leaping Sword attack that instantly fills phials and an Axe-mode guard point into Savage Axe Slash. Full Release Discharge and Sword: Mega-Condensed Element Slash round it out, the latter boosting phial generation speed.
Long Sword stays counter-heavy and adds flow. Double Slash out of Special Sheathe can return to sheath or feed straight into an instant Iai Spirit Slash, the Boosted Sheathe: Radiance transitions into the Offset Slash: Flash gap-closer that levels the Spirit Gauge, and Boost grants Peerless Multislash, a fast flurry that dashes forward and back before returning to Special Sheathe.
Light Bowgun gains more ways to stay mobile and defend itself. Evading with a slide or step just before an attack activates Perfect Evade and replenishes the rapid-fire gauge. It also gains a dedicated offset shot you can hold, while Boost Driver lets you attack on the move. Boost adds Daring Leap & Trick Shot and Blink Chaser Shots.
A-tier: Strong flair, familiar core
Great Sword keeps its heavy-hitting identity while opening up its offsets. Offset Rising Slash comes straight out of a sheathed draw, chaining charged hits speeds up later charges, and the Boosted Leaping Slash serves as the Boost Driver. Boost unlocks a fourth charge tier and chained multi-offsets, while True Charged Slash becomes True Charged Slash: Destruction, an offset that leads into an overhead leap-slam.
Dual Blades stay relentless and gain reach. Demon Fangs combos can be steered while moving in Demon or Archdemon Mode, the Boosted Offset Spiral Blade grants immediate offset frames and activates Demon Boost Mode, and that mode adds the airborne Galeforce Evade. Blade Dance I–III also upgrade to wider, higher-damage Cleave versions.
Switch Axe tightens its morph play. Axe: Offset Rising Slash can be held to time the counter, Double Side Slash follows overhead chops, and Boost Drivers perform morph follow-ups in either form. Boost’s Element Discharge Dash closes onto wounds for Zero Sum Discharge, with Ambush Aerial Slash recovering you directly onto the monster.
Heavy Bowgun trades toward raw firepower. Overcharge loads compressed rounds with higher damage and recoil, Wyvern Rail Ignition charges up to three tiers, and the Boosted Compression Cannon fires a continuous channeling laser that ends in a dodge dash. Accelerated Reload lets you reload every round, compressed shots included, on the move.
Gunlance gains reach and reload speed. Wyrmstake Rapid Burst and a point-blank Wyvern’s Fire attach join the kit, Loading Slash reloads while slicing after a Wyrmstake, and the Boosted Assault Dash covers ground while guarding projectiles before branching into Assault Offset Burst Fire or Assault Drake Auger. Mobile Assault Reload and an enhanced Double Wide Sweep round it out.
Bow keeps its ranged pressure with new mobility. Flying Swallow Shot leaps after a charging side-step and auto-applies coatings on landing, Fuse Arrow acts as a tracer from the trick arrow gauge, and the Boosted Offset Evade Shot grants dodge invulnerability during a backward blast flip. Flash Thousand Dragons and the Power Phoenix Shot finisher add to the set.
B-tier: The lightest touch-ups
Lance receives a targeted set of upgrades. A successful Power Guard grants a temporary offensive buff, with its strength determined by the attack you absorb. The chargeable Boosted Offset Crushing Blow delivers an overhead slam and applies that same buff. Boost grants immediate access to a full-speed Super Dash Attack and Counter Overdrive Thrust, while the core guard-and-poke rhythm remains largely unchanged.
Insect Glaive lands at the bottom largely because its showing skewed toward ground combat. Kinsect Powder sticks to monsters and detonates from overhead strikes or Tornado Slashes, Rising Leaping Strike launches you upward after a Descending Slash by consuming red extract, and Kinsect Harvest Extract pierces targets to gather multiple extracts and deposit powder. Inverted Tornado Slash and the Boosted Offset Spiral & Kinsect Slash combo are useful, but the aerial identity that defines the weapon was underrepresented in the preview.
None of these placements mean a weapon is weak. They measure how far the Boost Bracer moves each one from its current identity, and that gap is what will decide which weapons feel brand new when Ascendance arrives in 2027.