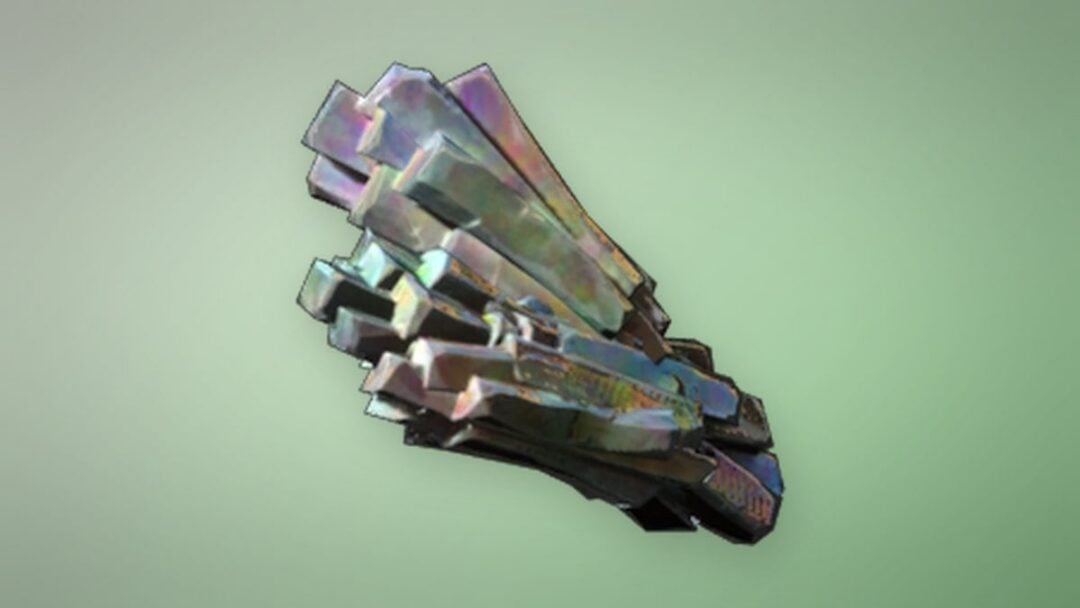
The Alchemist’s Workshop is a hidden dungeon tucked into the exterior mines that link Castigator’s Keep to the Lonesome Spire in Mortal Shell 2. Its entrance is sealed until you either blast it open with a siege weapon or break the illusory wall covering it, and the run ends with a serpent boss guarding the Clockwork Shardstone.
Quick answer: Grab the Makeshift Projectile from the southern cliff edge in the Outskirts of Mammon, load it into the catapult southeast of the Outskirts of Mammon beacon, and fire it. The shot punches open the cave entrance on the wooden platforms below Castigator’s Keep, which loads the “ALCHEMIST’S WORKSHOP” location banner when you walk in.
Two ways to open the Alchemist’s Workshop entrance
The dungeon door is a rock face on the cliffside path southwest of Castigator’s Keep. Both methods lead to the same opening, and neither locks the other out.
| Method | What it takes |
|---|---|
| Catapult puzzle | Collect the Makeshift Projectile in the Outskirts of Mammon, load the catapult, and fire it at the distant cliff wall. |
| Illusory wall | Walk the wooden platforms below Castigator’s Keep and strike the false wall covering the entrance directly. |
The catapult route is the intended one and is easier to spot on the map. If you have already wandered the mines and hit the wall, the entrance stays open and the projectile becomes optional.
Makeshift Projectile location and how to fire the catapult

The shot travels across the canyon and tears a hole in the distant rock face. That hole is the dungeon entrance, and it stays open permanently.
How to reach the dungeon from Castigator’s Keep

Alchemist’s Workshop walkthrough: Library, illusory wall, and greenhouse
The opening chamber throws a Crescent Knight and a group of Miners at you, and Woodmen join partway through the fight. Pull them toward the entrance rather than fighting in the middle of the room.

The next room holds a Viletongue. A side room on the left contains a Dorsalite, and the stairs beyond it lead past a Galvanic Shard. A small alcove before the study stocks a Common Moonshine.
The study is full of scrolls, anatomical wall drawings, and notes from the alchemists. One records the completion of the Stellarium and claims “the ovum appears to be responding,” which explains the starry cavern waiting at the bottom of the dungeon.

Cell block, Sheephead Totem, and the Alchemical Elixir path

Note: the elixir path is the only way through. There is no alternate route into the lever room, so if the passage has not appeared, you have not drunk the elixir yet.
Serpent boss fight and the Clockwork Shardstone
Backtrack through the raised gate and step onto the lift. It breaks partway down, dropping you into the lower tunnels where Curseblood Funghouls wait. Clear them before pushing into the open cavern.
The final chamber is the starry cavern lit like a night sky, and it holds a large serpent-like boss. Its grab attack is the dangerous one — being caught kills your shell outright, so keep moving laterally and punish after its lunges rather than trading hits head-on.
Once it is down, open the ornate stone chest at the back of the room for the Clockwork Shardstone, a Tarstone you can inspect and equip from the Tarstones menu. Before you leave, hit the glowing blue tree-like nodes around the chamber for extra Glimpse, then use the rift to return to the workshop entrance.
Alchemist’s Workshop full item list
| Item | Where to find it |
|---|---|
| Dorsalite | Small side room left of the Viletongue chamber |
| Galvanic Shard | On the stairs leading down from that room |
| Common Moonshine | Alcove just before the study |
| Bloodseed | Center of the greenhouse room |
| Sheephead Totem | Middle cell, opened by shooting the button above it |
| Glimpse x4 | Altar at the end of the elixir passage |
| Synaptic Vessel | Same altar, beside the Glimpses |
| Clockwork Shardstone | Chest behind the serpent boss in the starry cavern |
The dungeon is rated medium in size and contains four lootable chests, 21 enemies, eight traps, five readable notes, and nine gates and hidden walls in total, so sweeping every corridor is worth the detour if you are chasing full clears.
Why the entrance or the secret room won’t open
- The catapult gives no prompt. You do not have the Makeshift Projectile. It only spawns on the southern cliff edge in the Outskirts of Mammon, past Vlas under the stone bridge.
- The wall behind the bookshelf won’t break. Interact with the book first so the shelf moves, then strike the exposed wall with a weapon attack.
- No passage next to the table. The route only appears after you drink the Alchemical Elixir; the distorted camera is the effect working as intended.
- The gate at the end of the cell block is still shut. The lever sits past the elixir bridge, next to the Glimpses. Look for the “A gate has lifted” message to confirm it triggered.
Everything in the workshop can be done in a single trip once the entrance is open, and the Clockwork Shardstone is the run’s payoff. If you would rather skip the siege puzzle entirely, walk the platforms below Castigator’s Keep and break the illusory wall — the dungeon and its loot are identical either way.