

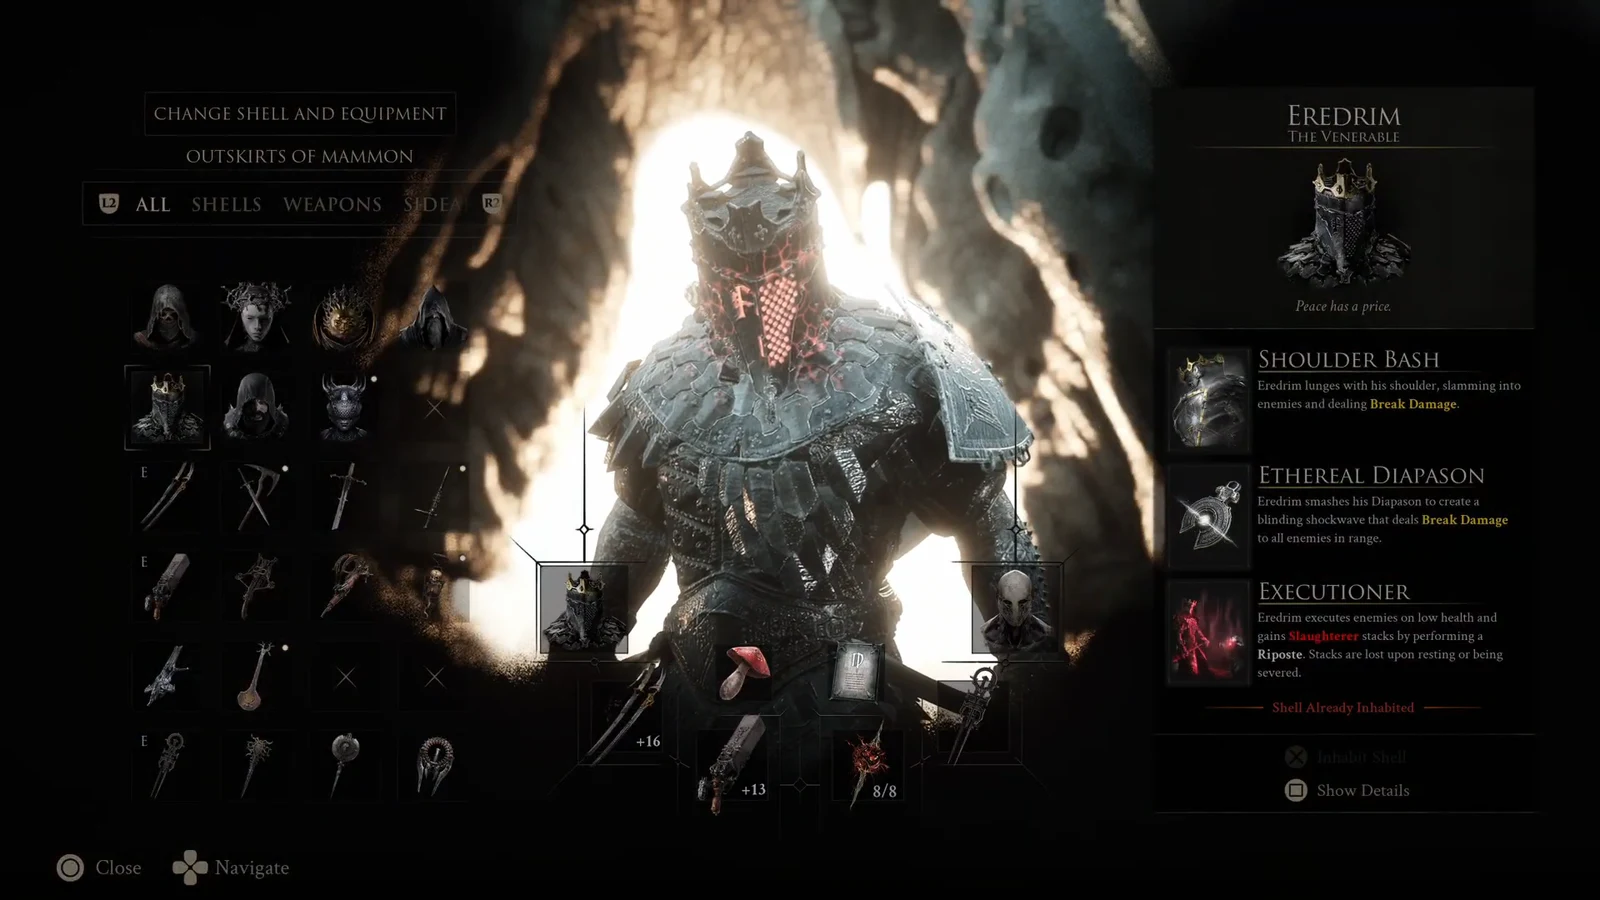
Eredrim the Venerable rewards aggression. The more you break enemies, land reposts, and execute low-health targets, the harder he hits and the harder he is to kill. This break-and-slaughter setup leans into that loop with the Axatana, a focused skill tree, and a handful of Tarstones that double your damage output and freeze enemies in place.
Quick answer: Play Eredrim with the Axatana and Naylshotte, max Massacre and Radiance, take Seal Affinity for parry and repost damage, and pair the Duality Stone (double light-attack hits) with the Torpor Stone (permanent stasis) to freeze and delete enemies.
How the Slaughter loop works
Eredrim’s core passive is Executioner. Every time you repost an enemy or execute a low-health target, you build Slaughter stacks, up to a cap of 100. Those stacks raise the health threshold at which enemies can be executed, so the longer a fight runs, the sooner you can finish enemies outright.
Slaughter also feeds your defense. With the Tank skill, each stack converts into damage reduction, which turns a long fight into a snowball where you get tankier and deadlier at the same time. The two abilities that drive the loop are Shoulder Bash (a charging break attack against single targets) and Ethereal Diapason (a 360-degree shockwave that breaks groups).
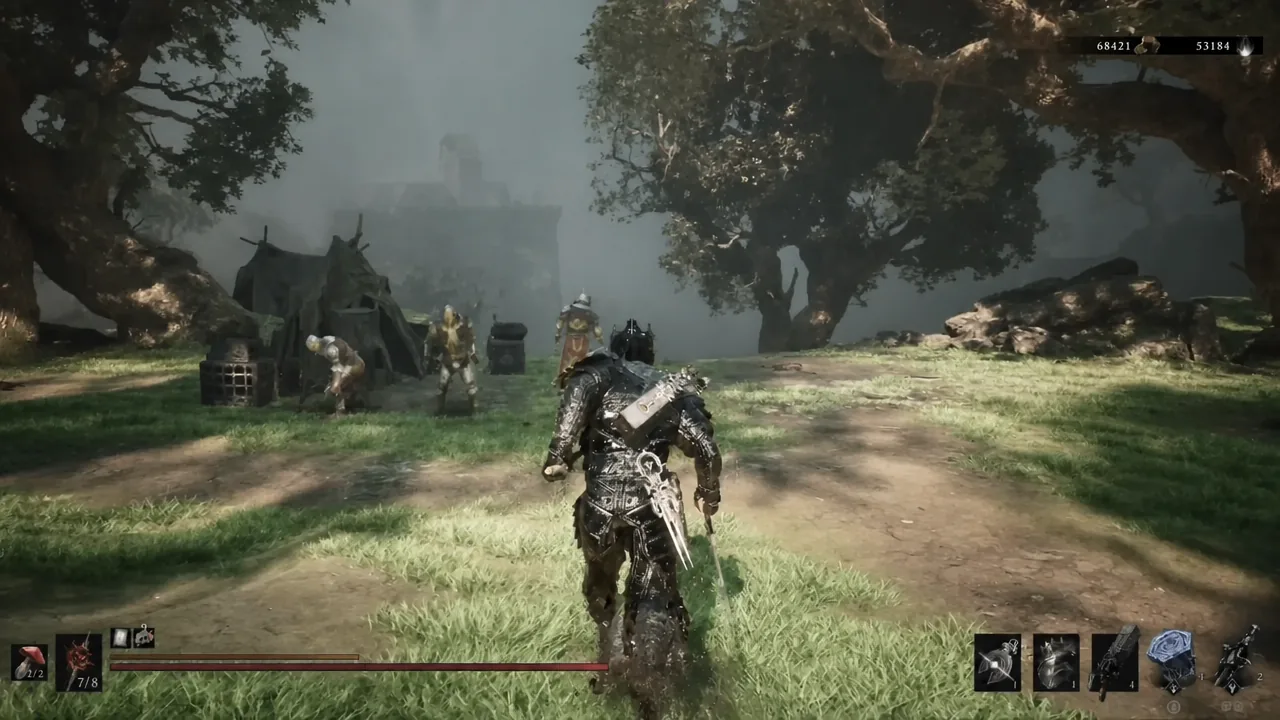
The basic rhythm is simple. Open with Shoulder Bash to weaken and break a target, perfect-guard the next attack to open a repost window, land the repost for a burst of damage and Slaughter stacks, then execute anything low enough. Against crowds, lead with Ethereal Diapason to break several enemies at once.
Skill tree allocation
Spend your Shell Points on Shoulder Bash power, repost damage, and Slaughter generation. The table below covers the priority nodes across all four tiers.
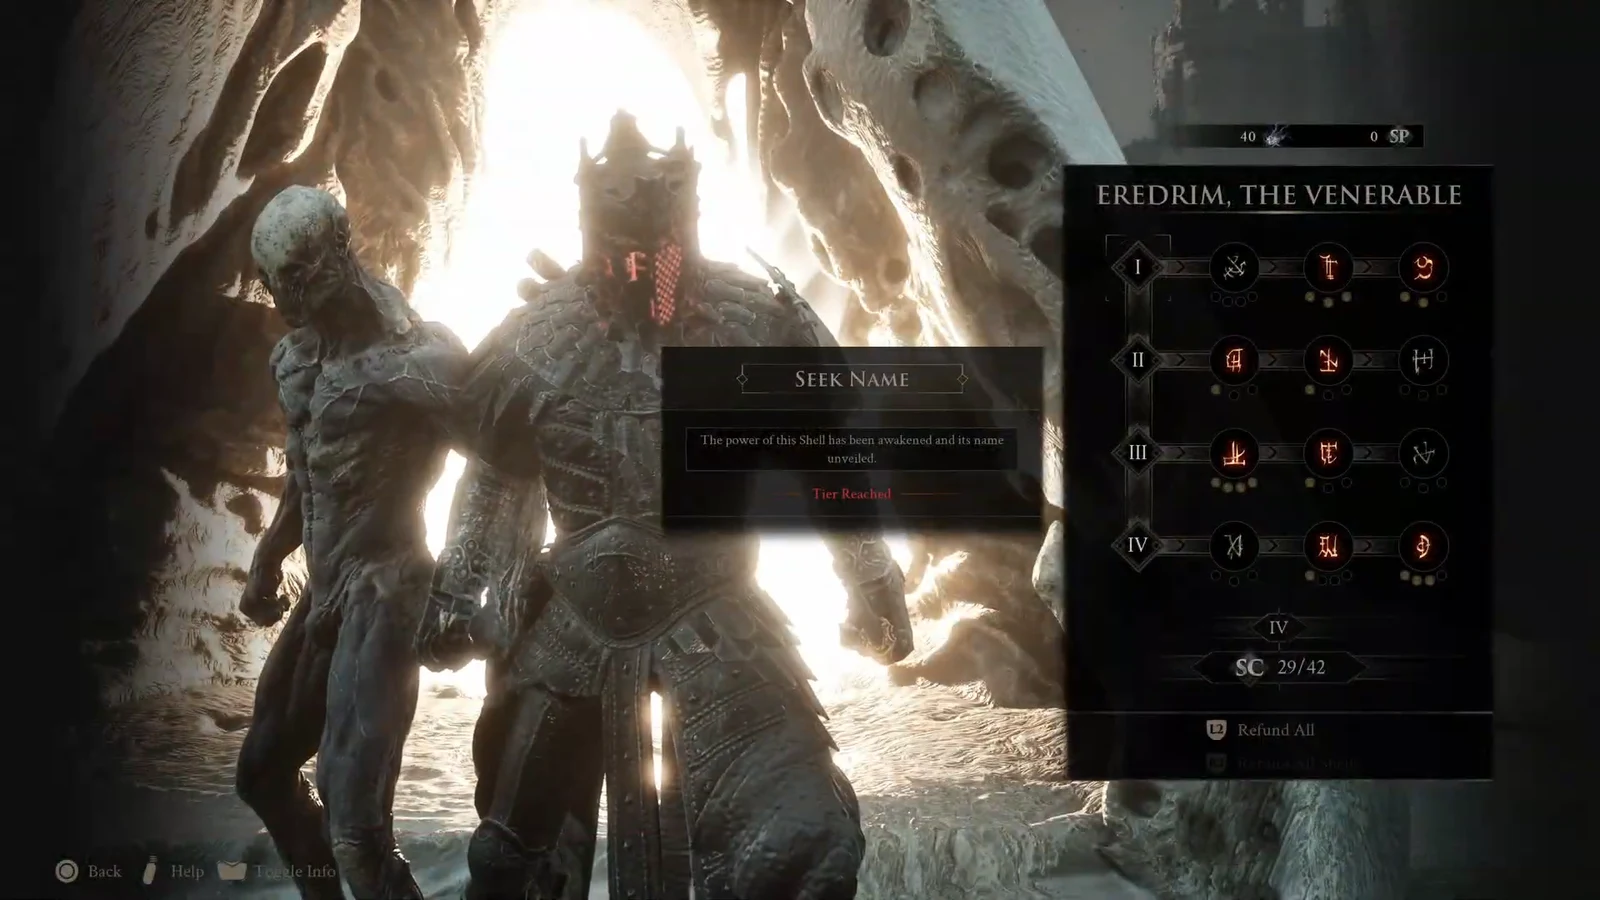
| Skill | Tier | Points | Effect |
|---|---|---|---|
| Massacre | 1 | 3 | Grants 10 Slaughter stacks per repost kill |
| Alacrity | 1 | 2 | Faster Shoulder Bash charge, lower Resolve cost |
| Apathy | 1 | 2 | Optional, used to bypass gates |
| Anguish | 2 | 1 | Increases Shoulder Bash damage by 150% |
| Tank | 2 | 1 | Damage reduction per Slaughter stack |
| Radiance | 3 | 4 | Buffs Ethereal Diapason damage, break, range, and fragile stacks |
| Carnage | 3 | 1 | Executed enemies explode for splash damage |
| Persistence | 4 | 1 | Retains 50% of Slaughter stacks when resting |
| Seal Affinity | 4 | 3 | Wider parry window, +35% repost damage |
Note: Alacrity and Apathy are interchangeable early picks. Take Alacrity if you want Shoulder Bash back faster; take Apathy if you need it to open gated paths during exploration.
Weapon and sidearm
The Axatana is the primary weapon for this build. Its speed and multi-swipe running attacks let you land more hits per opening, which matters a lot once you stack effects that trigger per swing. If you want alternatives, the Black Needle and Martyr’s Blade both work, but the Axatana keeps the pace high.

For the sidearm, take the Naylshotte over the Forgotten Crossbow. It gives you a reliable ranged option to apply pressure before you close the distance.
Tarstones and where to find them
The two stones that define this build are the Duality Stone and the Torpor Stone. Duality causes light attacks to strike twice, effectively doubling your damage, and Torpor infuses your weapon with permanent stasis at max level so it freezes and slows enemies. The rest of the stones cover critical chance, survivability, and repost damage.
| Tarstone | Effect | Location |
|---|---|---|
| Auspicious Stone | +18% melee critical chance at max level | Chest in Mushroom Village, after lighting three nearby candles |
| Berserker’s Stone | Up to +165% melee damage below 50% health | Chest near the Heart of Vatur (where Gragu is), after lighting three candles |
| Bulwark Stone | 70% damage reduction for 4 seconds after a kill | Chest at the end of the Citadel bridge |
| Retribution Stone | Up to +20% repost damage | Complete the trial at Widow’s Overlook |
| Duality Stone | Light attacks strike twice, doubling damage | Ravaged Tomb, near the Nochtean Gate |
| Torpor Stone | Permanent stasis infusion to freeze and slow enemies | Freezes enemies in combat at max level |
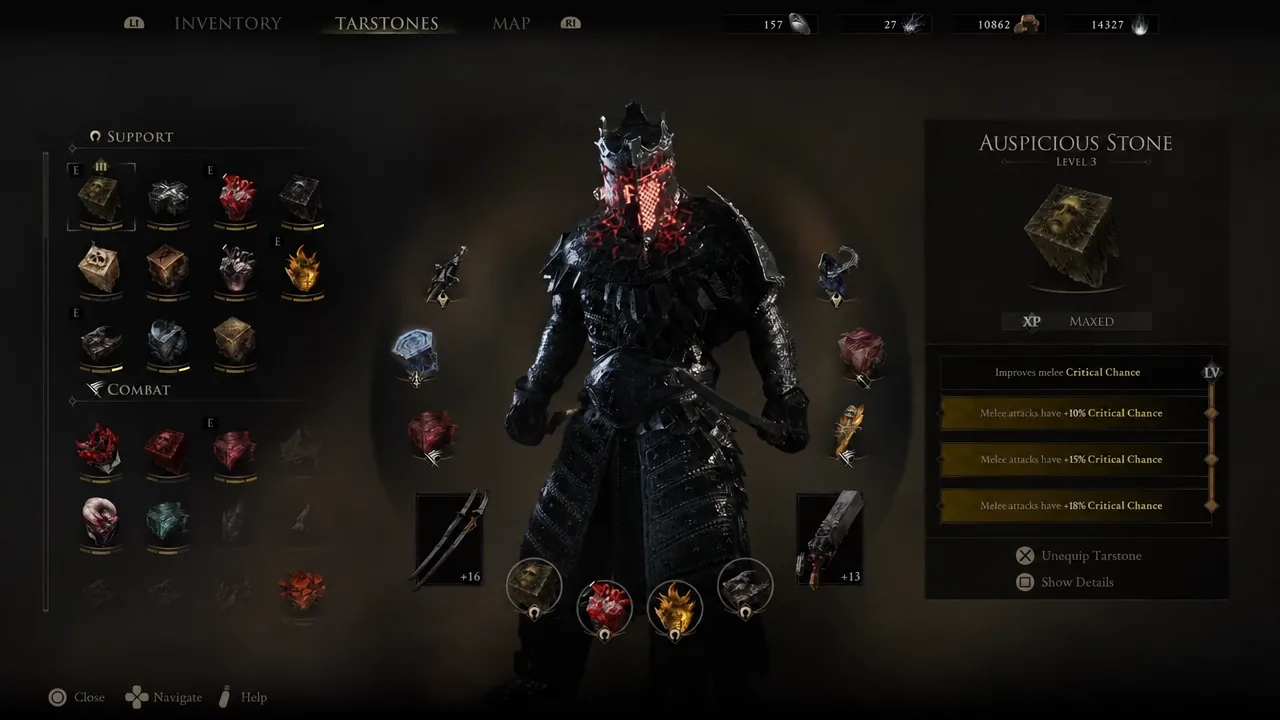
Tip: Level the Torpor Stone to its permanent infusion so you don’t have to spend Resolve re-applying stasis mid-fight. A frozen enemy stops moving and takes far more punishment while it’s locked in place.
Freeze, break, and execute
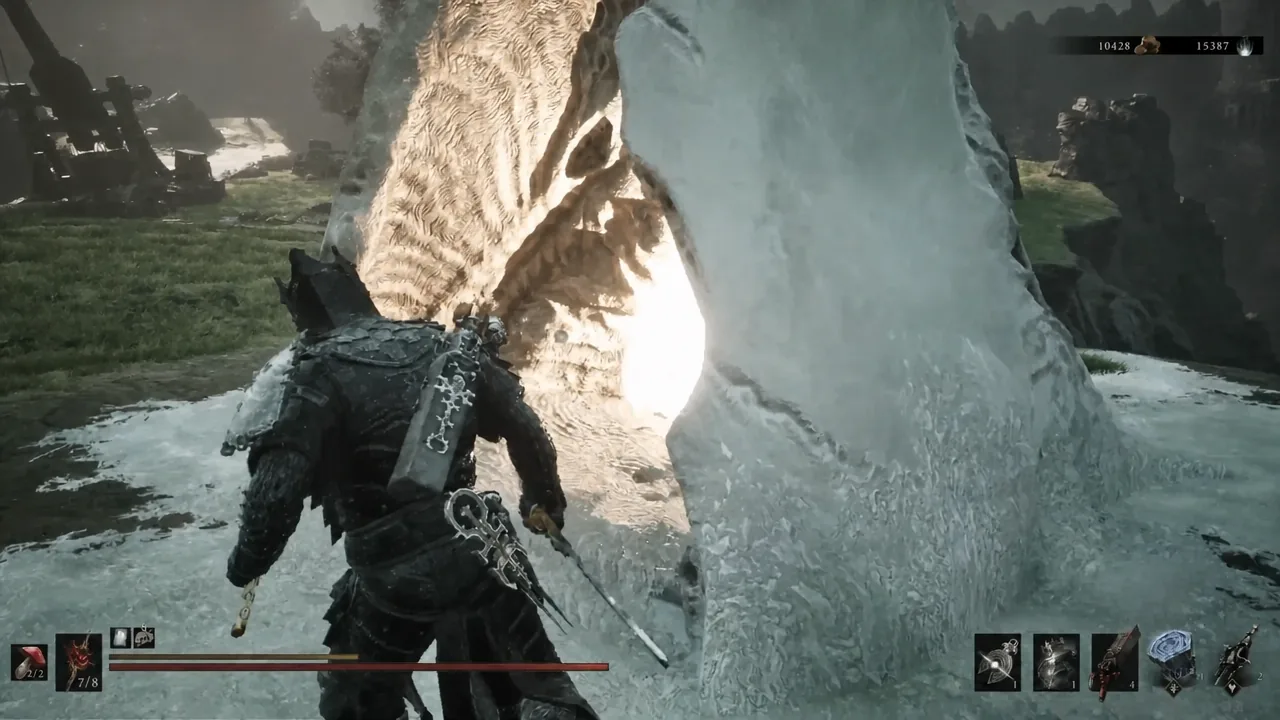
With the stones equipped, the combat pattern tightens up. Freeze a target with the Torpor infusion, then let the Duality Stone double every light attack while the enemy can’t respond. Break their posture with Shoulder Bash or Ethereal Diapason, land a repost, and execute once Slaughter has raised your kill threshold high enough.
One thing to watch: Slaughter stacks reset when you rest or get severed from your shell. Persistence keeps 50% of them through a rest, which softens the loss, but avoid resting when you’ve built a large stack you want to keep for damage reduction and easier executions.
Once these pieces come together, Eredrim turns aggression into momentum. Freeze what’s in front of you, double up your hits, break posture, and finish with a repost or execution. Keep the loop rolling and the same enemies that shrugged off your first hit will start dropping before they get a swing in.





