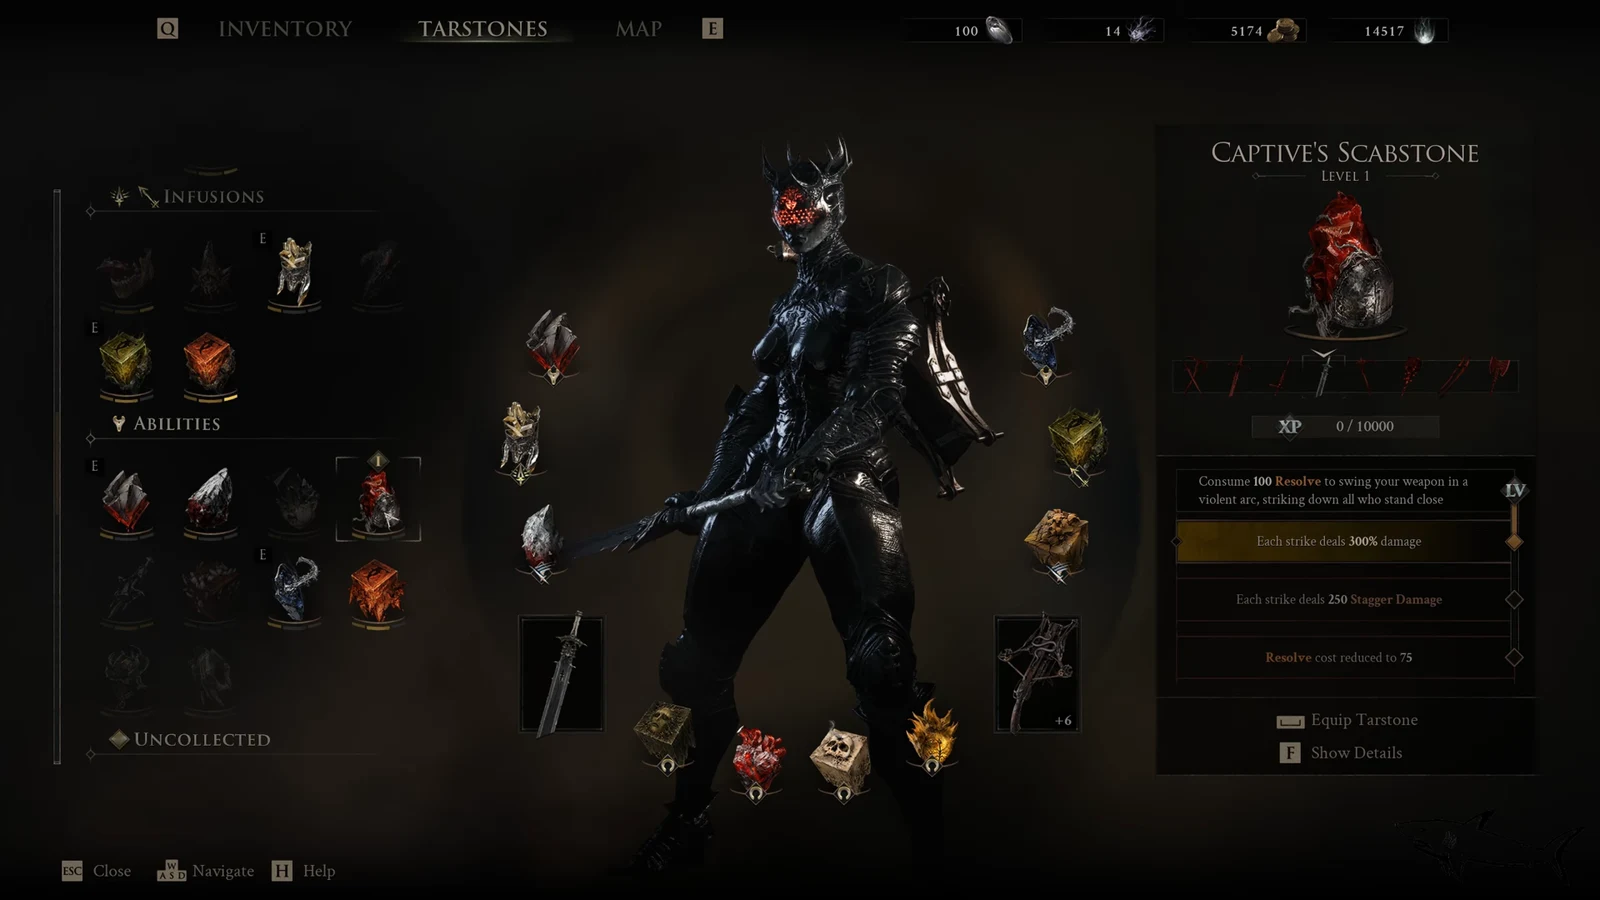
The Captive’s Scabstone is one of the more dramatic Ability Tarstones in Mortal Shell 2. Slot it into the Great Martyr’s Blade and you can burn Resolve to sweep the weapon in a wide arc that flattens everything standing next to you. There is no chest to hunt for it and no puzzle to solve. It is a guaranteed boss drop, so the only real work is getting to the fight.
Quick answer: Kill The Nameless Captive at the bottom of the pit in Prisoner’s Domain, reached through the Corrupted Gate from the Nochtean Gate beacon. The Captive’s Scabstone drops automatically with a “NEW TARSTONE ACQUIRED” prompt.
Captive’s Scabstone effects and weapon compatibility
The Scabstone is an Ability Tarstone, meaning it adds a new attack rather than a passive stat. Once equipped, press L2 + R2 to spend 100 Resolve and swing your weapon in a violent arc, striking down everything close to you. The hit lands with heavy stagger, so it doubles as a crowd reset when three or four enemies close in at once.
Compatibility is the catch. The Scabstone bonds to one weapon only, and trying to slot it anywhere else returns a flat “Tarstone Incompatible” message.
| Property | Detail |
|---|---|
| Tarstone type | Ability |
| Compatible weapon | Great Martyr’s Blade only |
| Trigger | L2 + R2 |
| Base cost | 100 Resolve |
| Upgrade tiers | 300% damage per strike, 250 Stagger Damage, Resolve cost cut to 75 |
| Source | The Nameless Captive, Prisoner’s Domain |
Route to Prisoner’s Domain from the Nochtean Gate
Prisoner’s Domain sits behind the Corrupted Gate, and that gate only opens once the Nochtean Gate beacon has been cleansed. If your beacon is still corrupted, deal with that first, then work your way down. Rest at every beacon you find along the way, because the run back after a death is long.
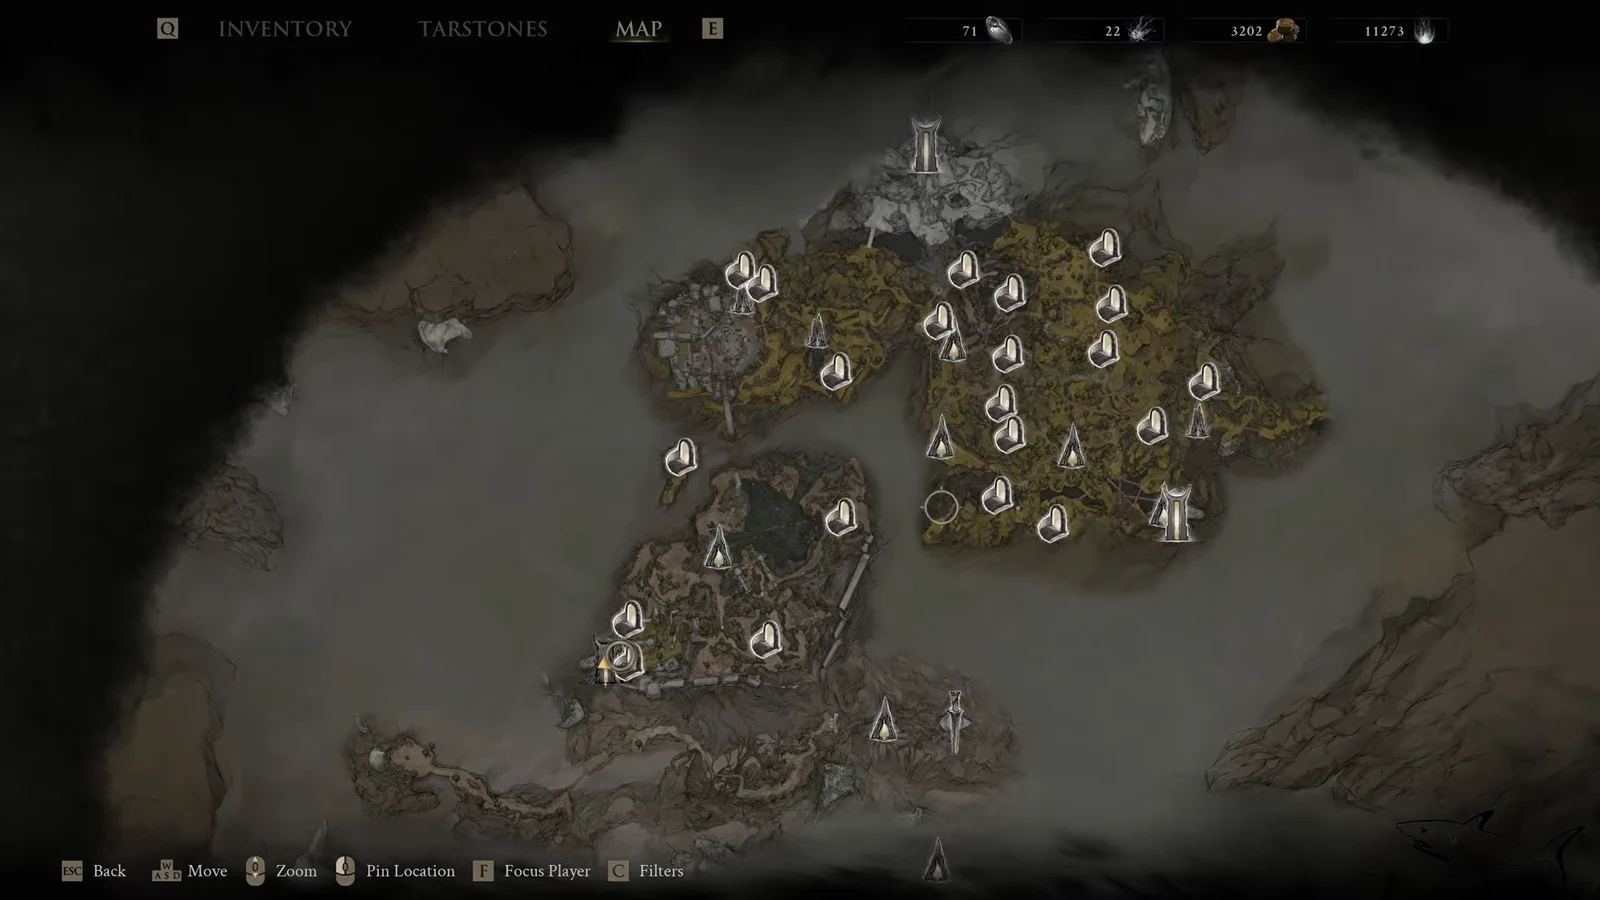
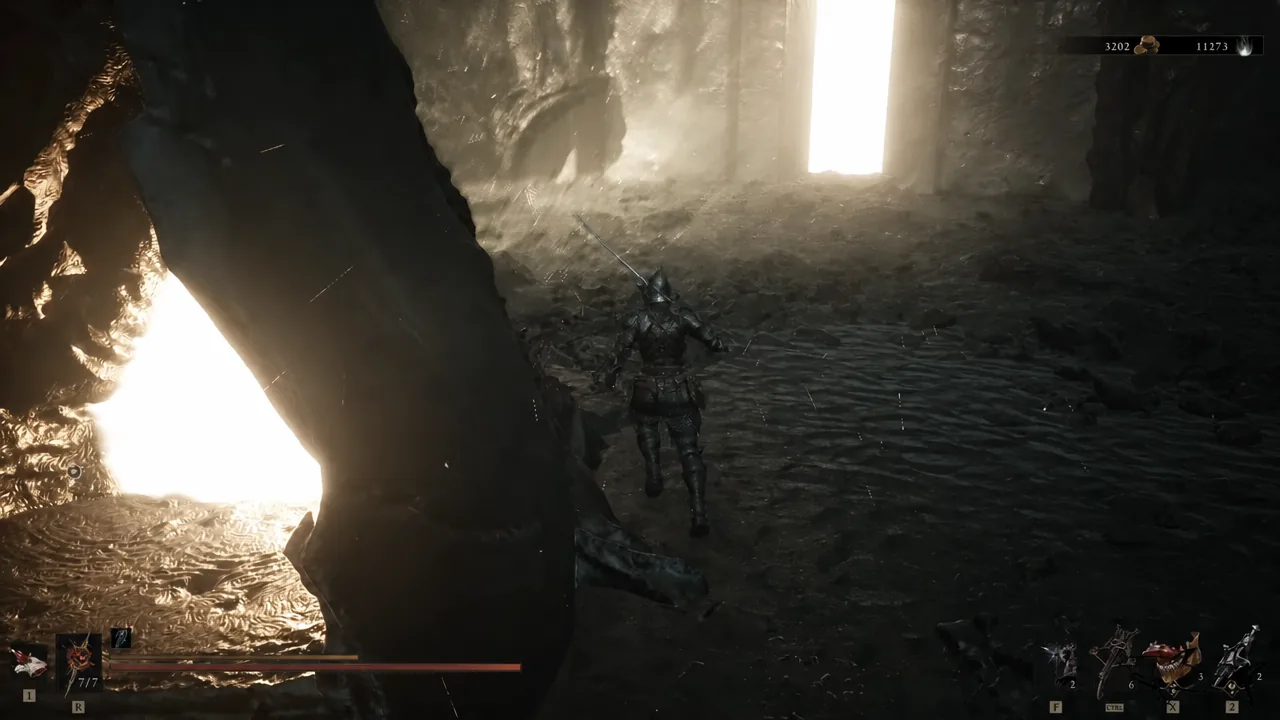
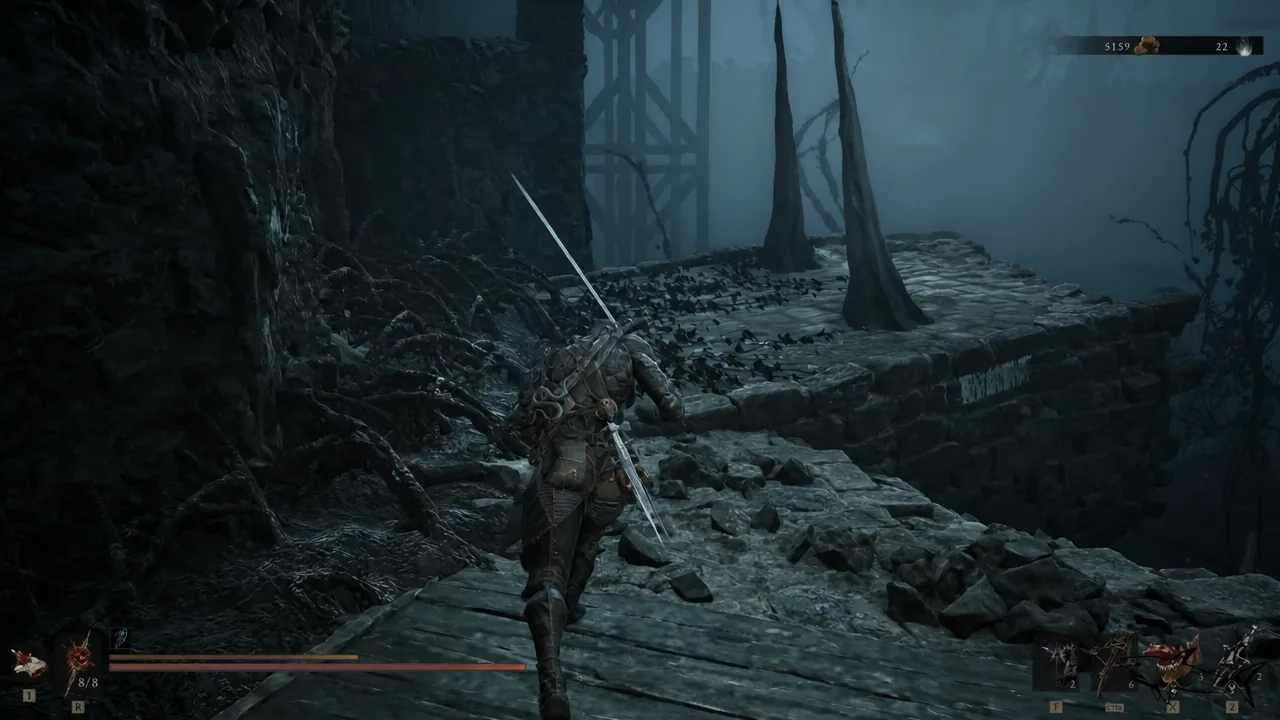
Note: once the Captive’s End area is registered, it appears in the fast travel list under Prisoner’s Domain, so you never have to walk the full route twice.
How to beat The Nameless Captive
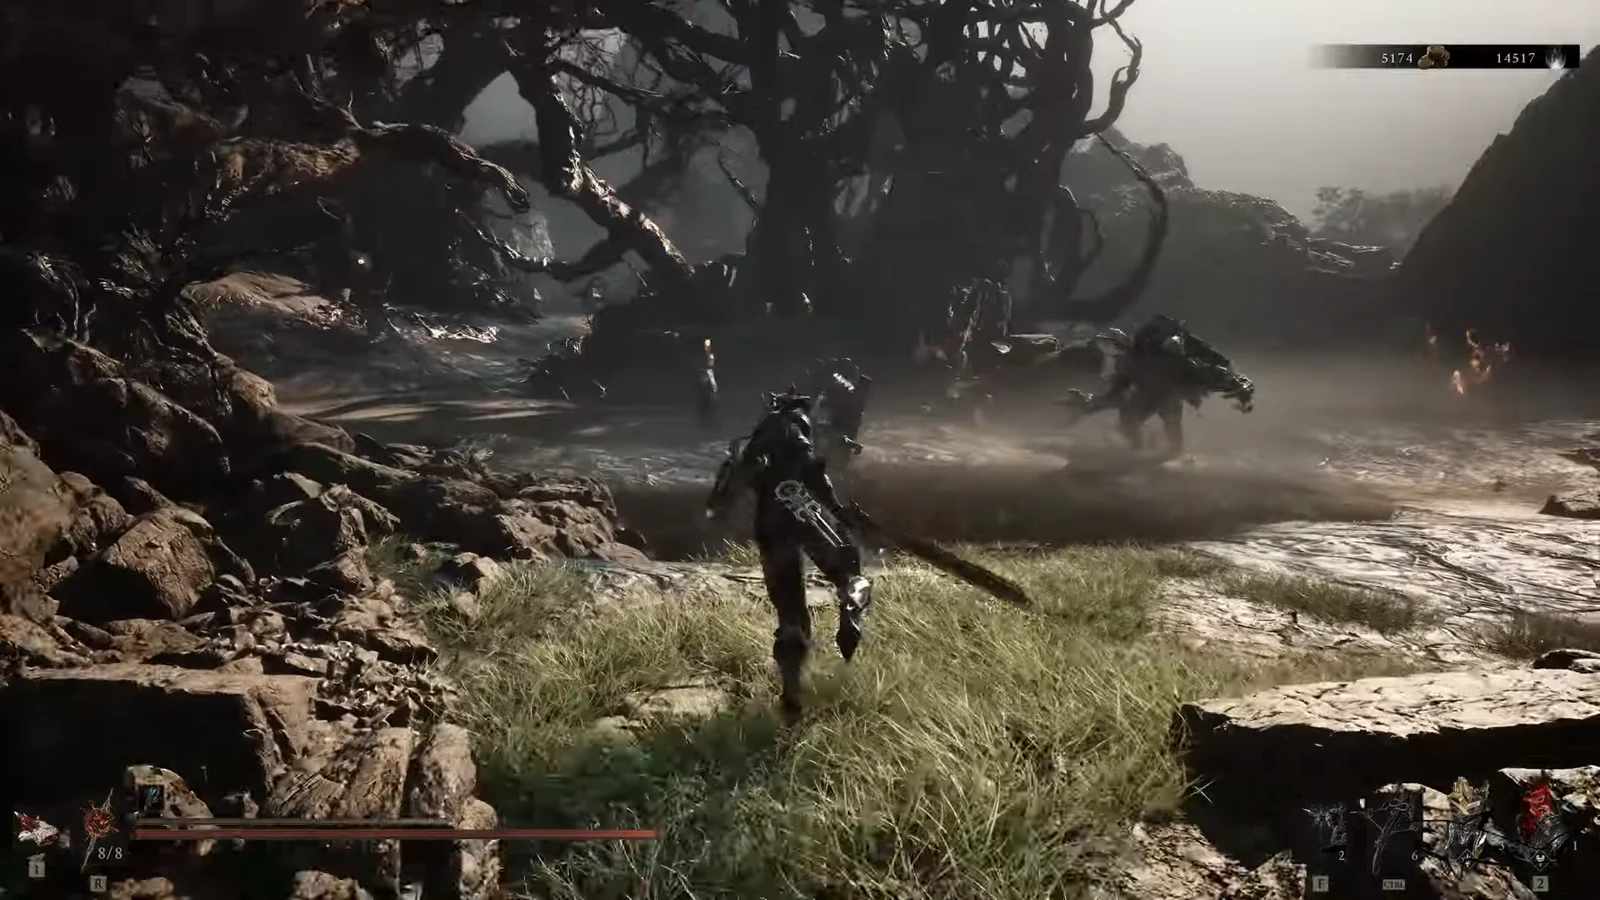
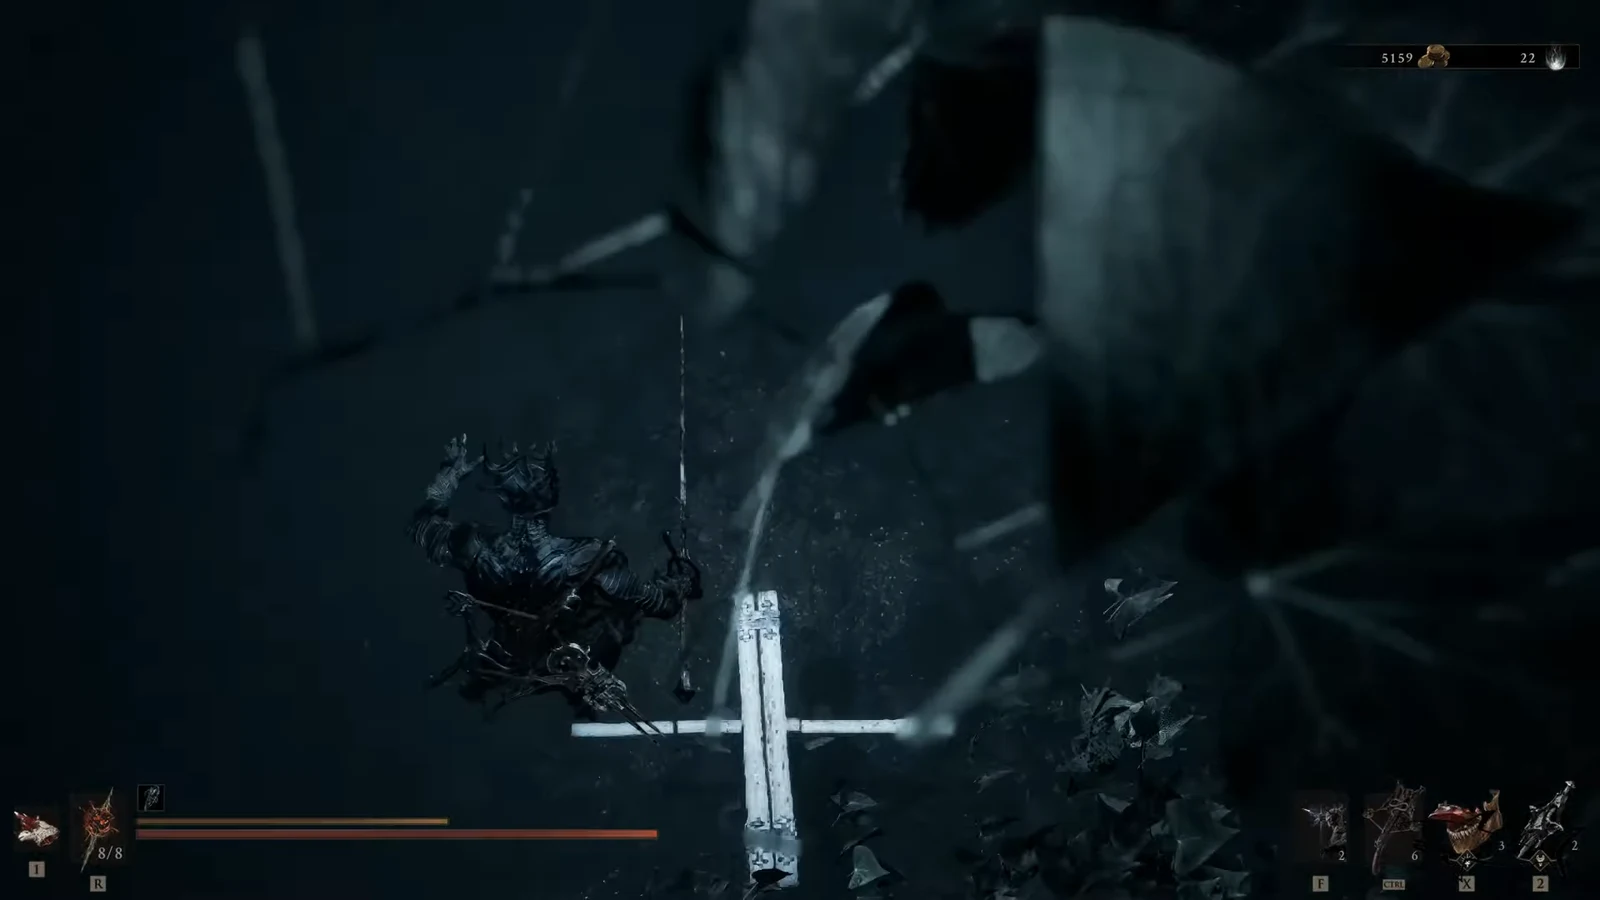
The Captive is a prisoner that tore its own arms off to escape its chains, and the sword cleaved through its skull is now held in place by grown flesh. That sword is its weapon, so almost every attack is a headbutt with a blade attached. Most of them are parryable, which makes patience the cheapest strategy here.
| Attack | How to handle it |
|---|---|
| Chained slashes (up to four or five) | Parry the sequence; most swings in the chain can be caught |
| Overhead stab | Long windup, so parry or dodge. The sword also hits as it drags back out of the ground |
| Chained stabs | Faster than single stabs with less reaction time; dodge if unsure of the parry |
| Rapid spinning sword | Do not try to trade. Back away until it ends, since repeated hits stack fast |
| Jumping slam | Dodge sideways at the peak of its jump |
| Kicks (usually twice in a row) | Expect a second kick before you commit to a punish |
Hardening through the tail end of a combo and answering with ranged shots covers the gaps where parrying is risky. Alongside the Scabstone, the kill also pays out Gloom.
Equipping the Scabstone and confirming it worked
The drop is automatic. When the boss falls you get a “NEW TARSTONE ACQUIRED” banner naming the Captive’s Scabstone, and it appears in the Tarstones section of your inventory at Level 1 with an XP bar reading 0 / 10000.
Open the Tarstones menu, select the Scabstone, and choose Equip Tarstone with the Great Martyr’s Blade as your primary weapon. If the option refuses and shows “Tarstone Incompatible,” you have a different weapon equipped. That is the only reason it fails to slot. Once it is attached, the weapon’s ability entry lists the L2 + R2 prompt, and using it in combat should visibly drain 100 Resolve from your bar.
Upgrading the Captive’s Scabstone at the Tarforge
Upgrades run through Franz at the Marrow Keep, but he cannot touch a tarstone until you hand him the Etching Needle. That quest item expands the Tarforge’s options and sits in a bone chest just before the Magdalena, the Lady of the Woods fight. When you spot Ruk past the bridge, drop through the opening and turn right before the tunnel to find the small alcove holding it.
After that, the Scabstone levels through use. Keep it equipped while you kill enemies to fill the XP bar, then return to Franz and pay Coin for each rank. The upgrades raise strike damage to 300%, add 250 Stagger Damage per hit, and finally cut the Resolve cost from 100 down to 75, which is the tier that makes the arc cheap enough to throw out regularly.
Nothing about this tarstone is missable, so if you skipped Prisoner’s Domain on your first pass you can still fast travel back and clear the fight later. The Rupturing Stone chest on the ledge above the pit is easy to run past in the rush toward the boss, though, so it is worth the ten-second detour while you are already there.