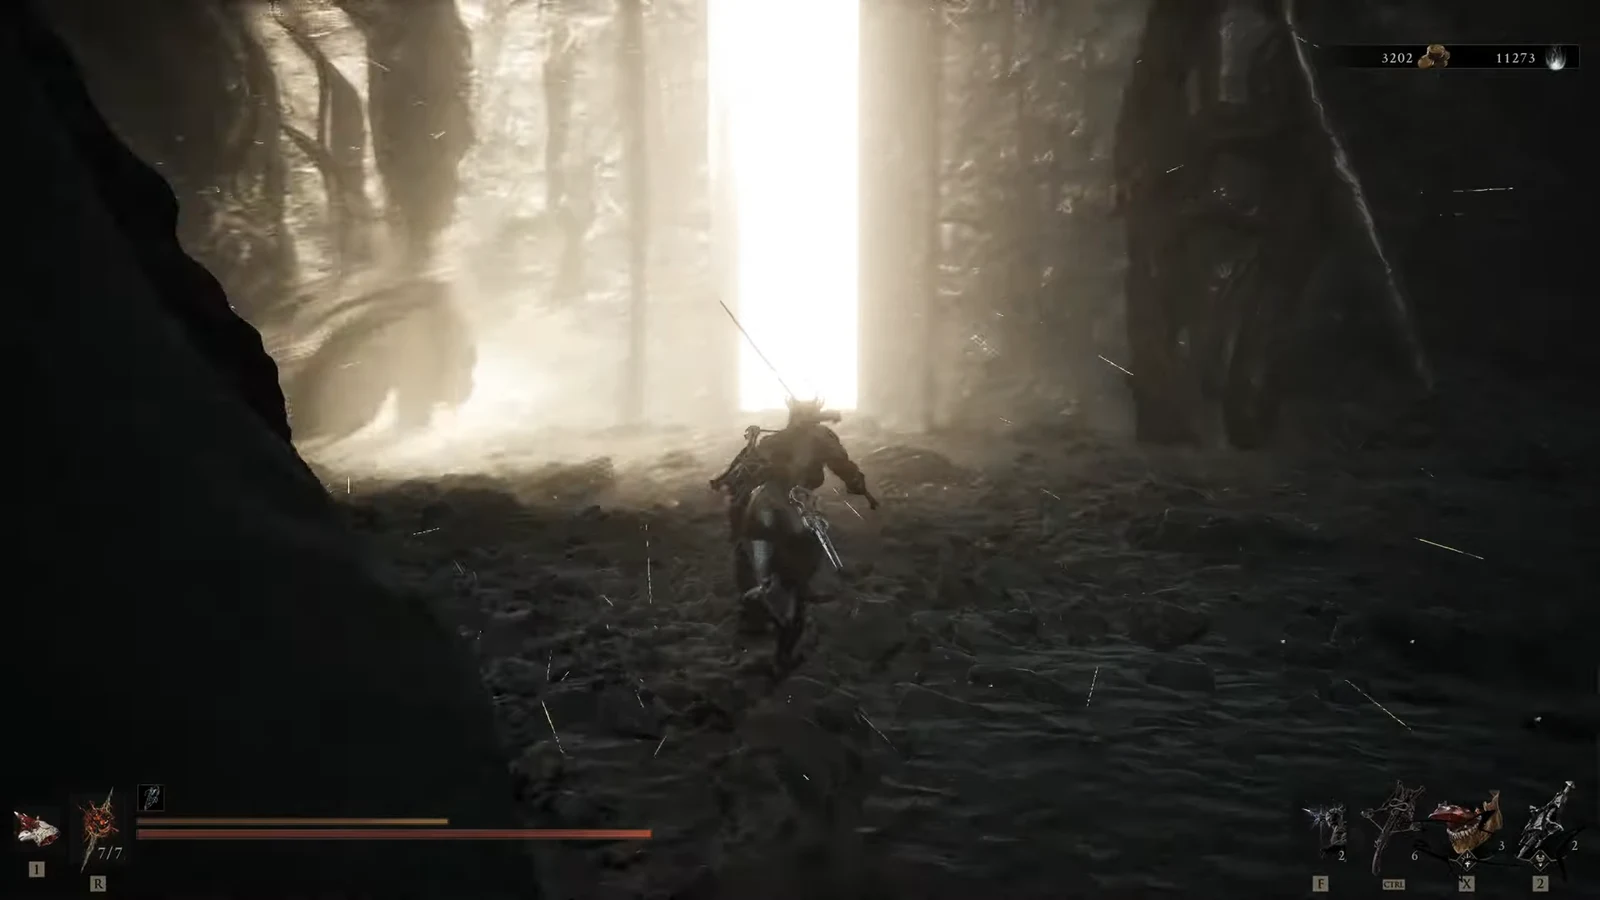
The Executioner’s Pulpit is one of four beacons tucked inside Prisoners’ Domain, and it is the one players tend to walk straight past. It sits high above the pulpit area itself, at the end of a long stretch of scaffolding, and cleansing it drops you into a mini-dungeon called the Central Sewers rather than a quick prompt at the campfire.
Quick answer: Reach the beacon by following the wooden bridges up from Hangman’s Scaffold, select Cleanse Beacon to enter the Central Sewers, clear the two gated chambers using the plate and the lever, loot the Squall Stone from the chest, then press the plate behind that chest and cleanse the corruption to claim the Ovum.
Executioner’s Pulpit Beacon location in Prisoners’ Domain
Prisoners’ Domain sits behind the Corrupted Gate at the Nochtean Gate, in the northwest of Fainweald. You cannot fast travel directly to the Executioner’s Pulpit before finding it, because beacons inside Gates do not appear on the world map at all. The route is strictly sequential, so you pass Slumwater Drain and Hangman’s Scaffold on the way.
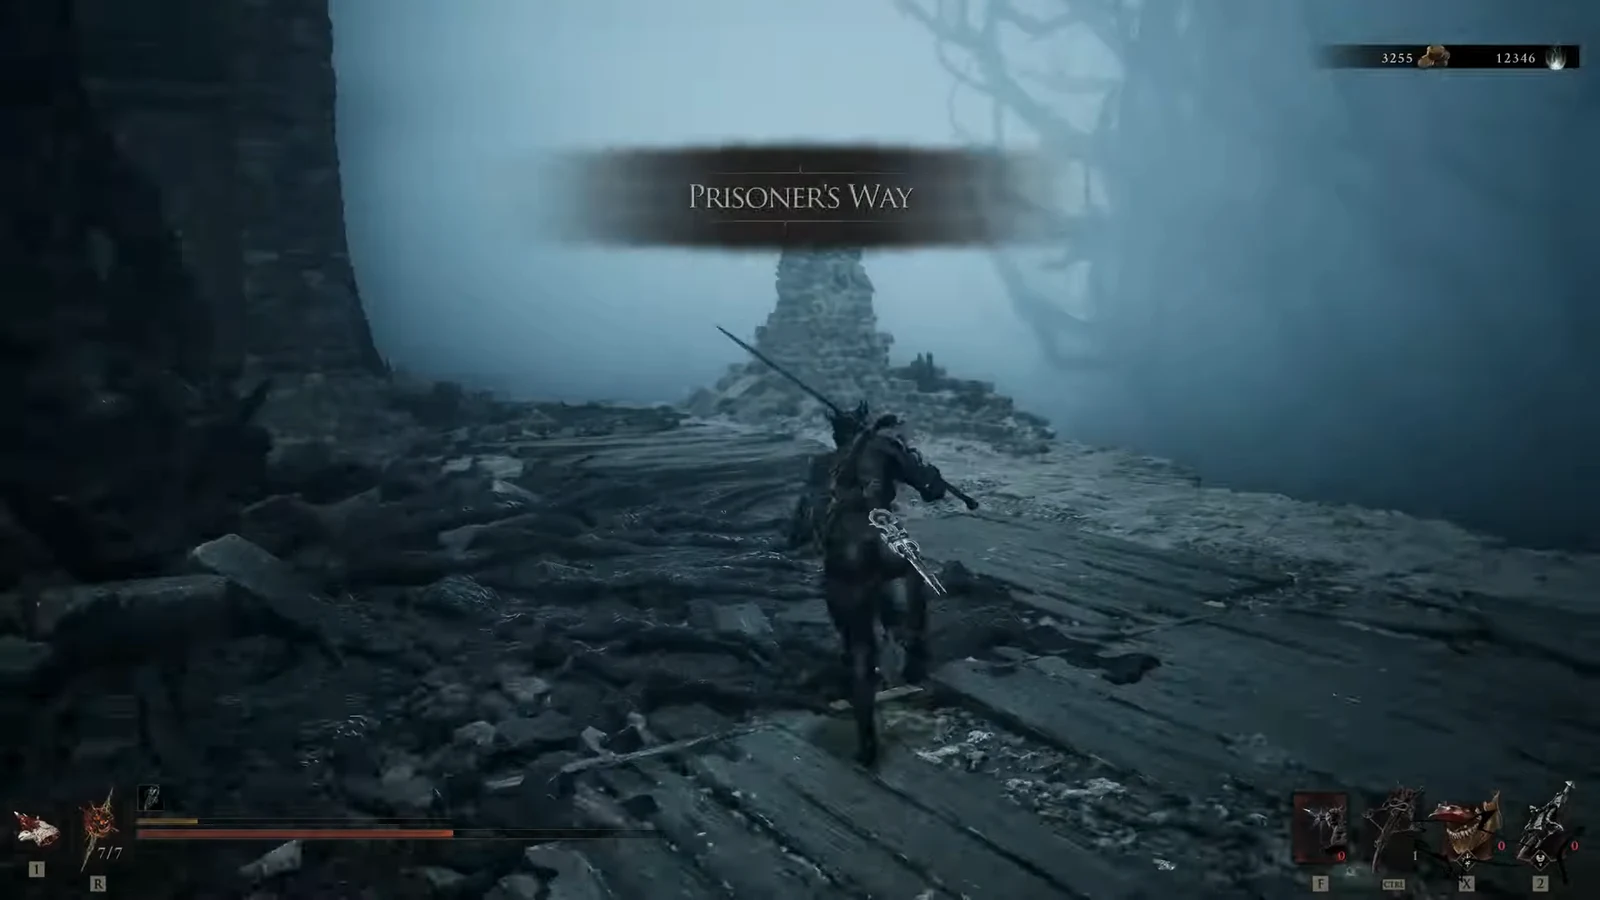
From the Nochtean Gate, drop into the stone dungeon and push through Prisoners’ Way, clearing the corridors and stairwells as you go. The Slumwater Drain beacon is hidden in a sewer grate in the first room of that area, tucked to the right of the entrance beside a torch.
Past that, the path opens into the central courtyard. Shoot the gas pots behind the large statue to topple it, then use the fallen statue as a ramp onto the upper wall. The stairs and archway at the top lead to the Hangman’s Scaffold beacon.
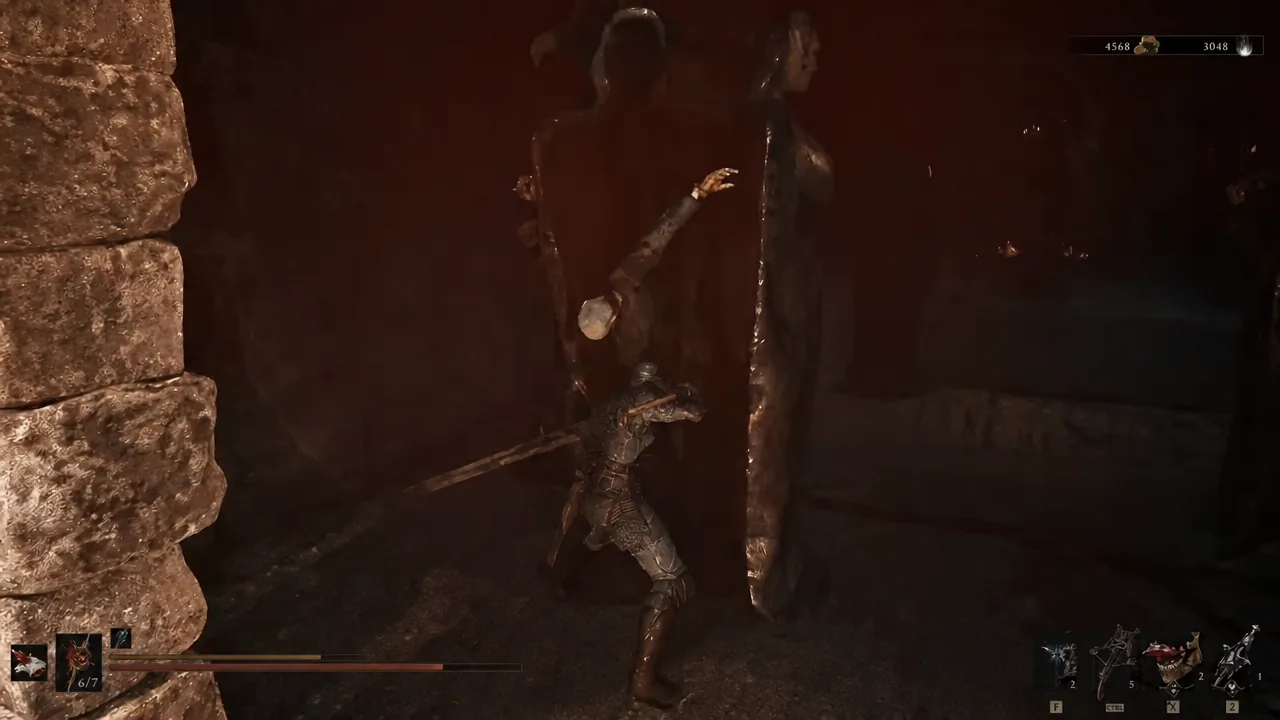
Note: the chamber lined with iron maidens on this stretch holds a Revered Gland, which is easy to run past. Offer it at any beacon to permanently increase your healing capacity.
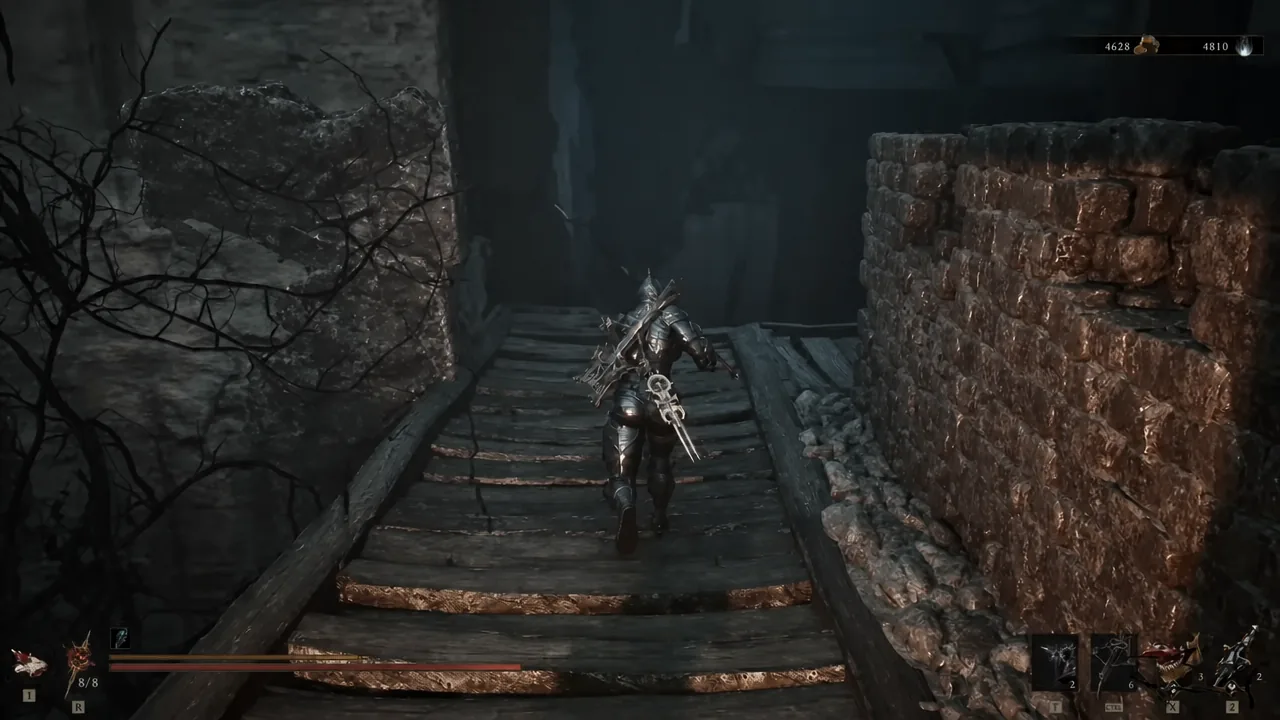
From Hangman’s Scaffold, take the wooden stairs up and follow the walkways across the bridges and up the stone steps, fighting off spectral and armored enemies along the way. There is a lever you need to shoot to swing a small wooden bridge into place, and an elevator further along. Continue past the Resolve Stalk, and drop down at the very end of the path to land at the Executioner’s Pulpit beacon.
| Landmark | What to do there |
|---|---|
| Nochtean Gate | Entry point into Prisoners’ Domain |
| Prisoners’ Way | Fight through the corridors and stairs |
| Slumwater Drain | Beacon hidden in a grate beside a torch |
| Iron maiden room | Grab the Revered Gland |
| Hangman’s Scaffold | Topple the statue, climb the wall, activate the beacon |
| Executioner’s Pulpit | Cross the bridges, ride the elevator, drop down at the end |
Central Sewers trial: How to cleanse the Executioner’s Pulpit Beacon
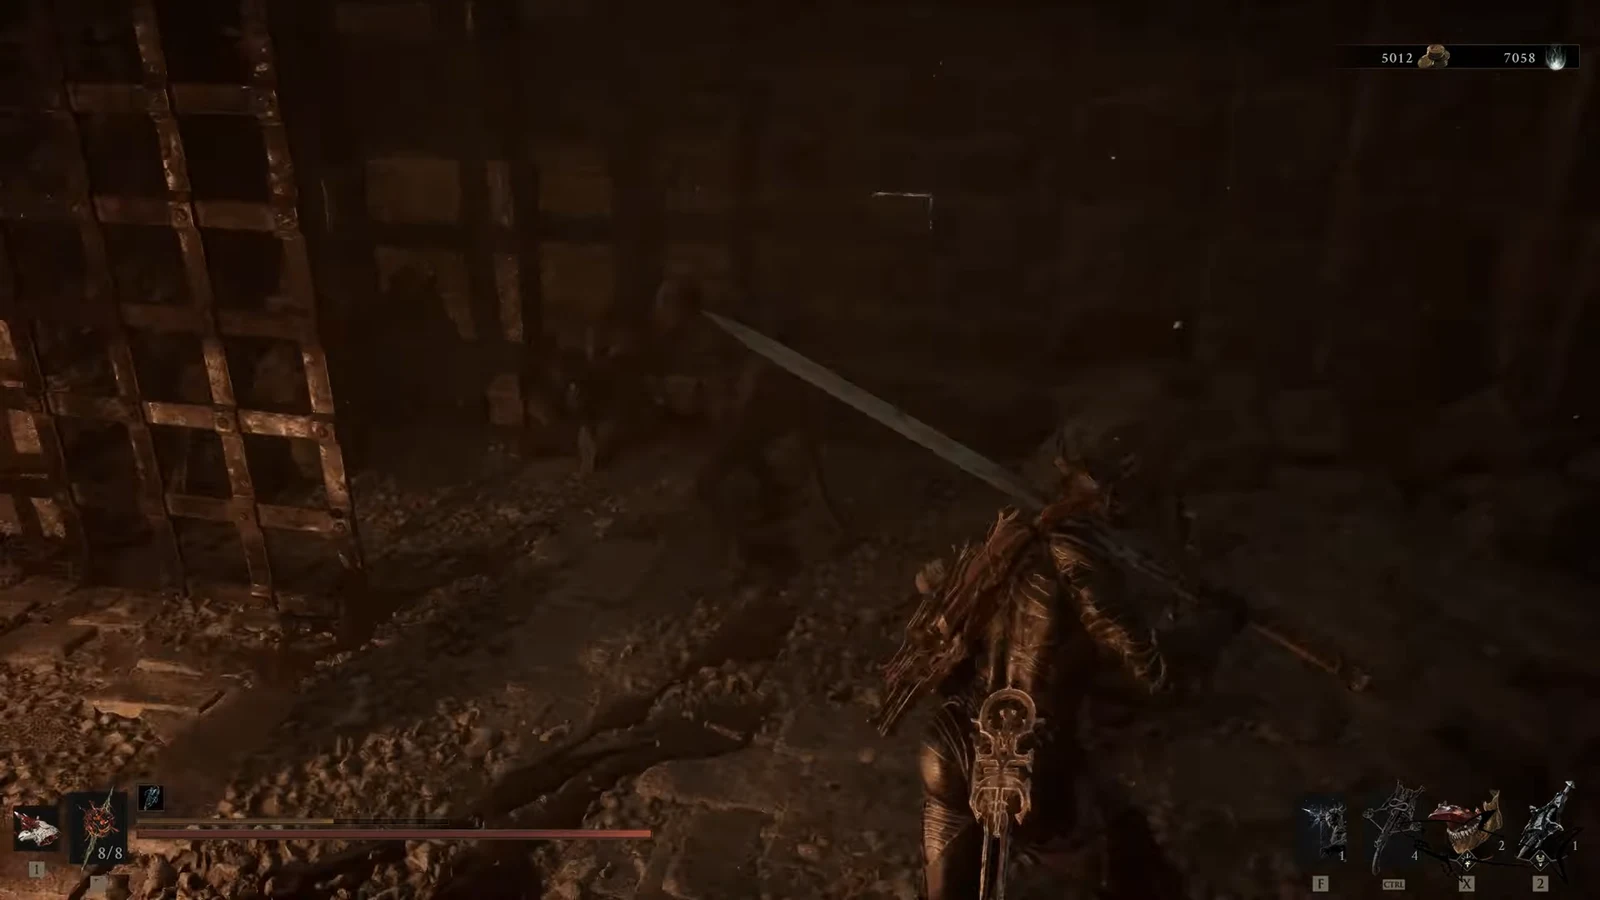
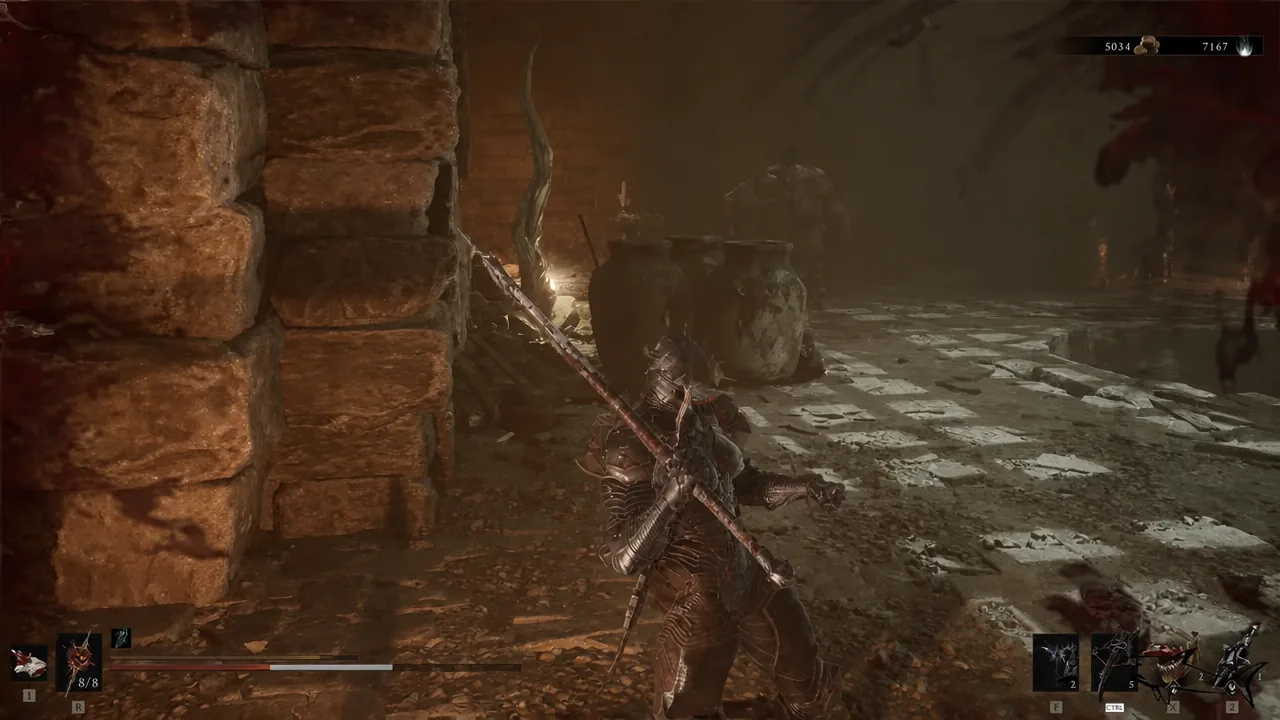
Cleansing in Mortal Shell 2 is not a menu toggle. Choosing Cleanse Beacon opens a portal into a self-contained dungeon with enemies and a light puzzle, and you only finish it by cleansing the corruption at the far end. For this beacon, that dungeon is the Central Sewers.
Rewards for clearing the Central Sewers
| Reward | Amount |
|---|---|
| Ova | x1 |
| Glimpse | x1 |
| Squall Stone (tarstone) | x1 |
Every cleansed beacon hands over at least one Ova and one Glimpse. The extras vary per dungeon, and here the standout is the Squall Stone, which can be equipped to a weapon or a sidearm as soon as you leave.
How to confirm the beacon is cleansed
Interacting with the Ovum triggers a New Ovum Found prompt and fades the screen to white as you are returned to the surface, followed by the Beacon Cleansed confirmation. The black tendrils wrapped around the beacon disappear in the world, and its icon changes to the cleansed version.
Since beacons inside Gates never show on the map, the reliable check is the Mether’s Breath fast travel list. Open it at any beacon and look at the icon next to Executioner’s Pulpit to see whether it registered.
Common reasons the trial does not finish
- Skipping the plate in the first left-hand cell, which leaves the stone doorway shut and the route blocked.
- Leaving the lever in the large chamber unpulled, so the barred passages near the entrance never rise.
- Grabbing the Squall Stone and walking off without pressing the plate behind the chest, which is what opens the gate to the corruption.
- Falling into the floor holes during either fight, which is an instant death rather than a drop to a lower level in the combat rooms.
Nothing here is missable. If you push ahead through Prisoners’ Domain toward the Nameless Captive without cleansing this beacon, you can come back for it later, including in free roam after the final boss and before starting New Game+.