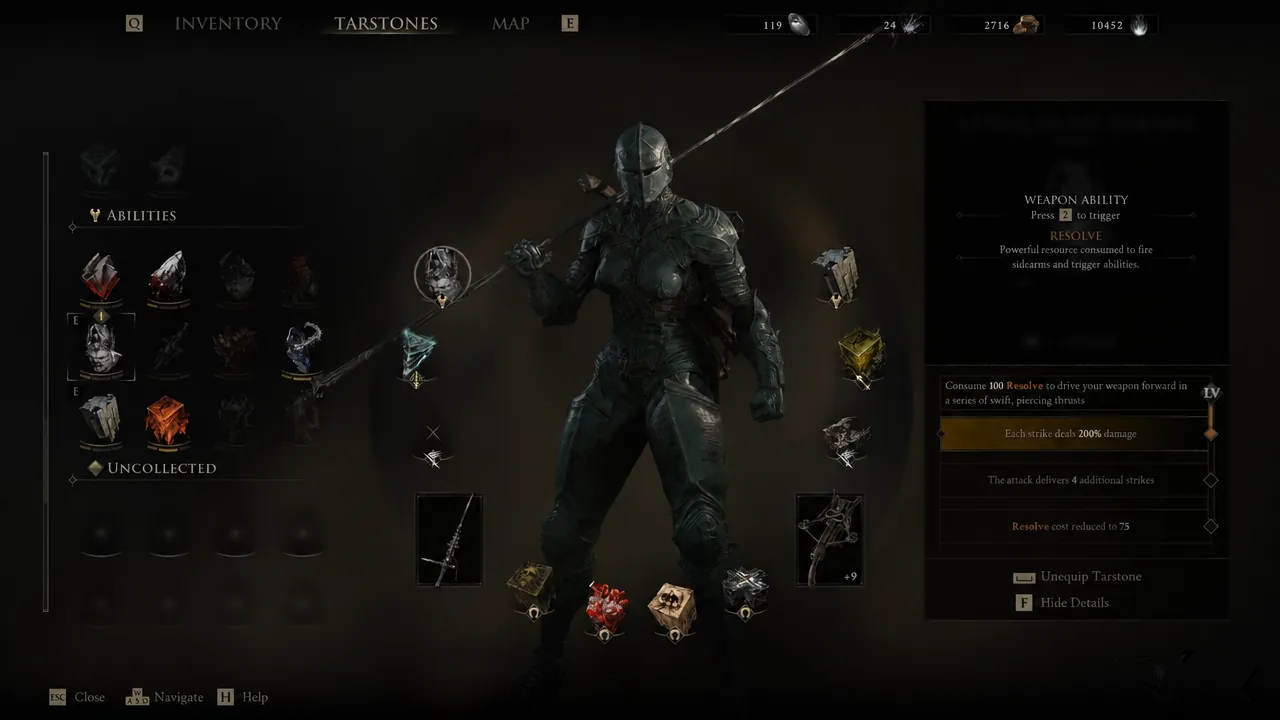
Conqueror’s Reward is the Ability Tarstone that turns the Black Needle into a burst weapon, letting you spend Resolve on a rapid chain of piercing thrusts. It is not hidden in a chest and it cannot be bought. One boss holds it, and beating that boss is the only way to add it to your collection.
Quick answer: Defeat Droeg, the Conqueror in the Conquered Temple, reached through the Corrupted Gate portal at Sester’s Gate. The Tarstone lands in your inventory automatically when he dies.
Conqueror’s Reward effects and Black Needle compatibility
The base ability costs 100 Resolve and drives your weapon forward in a run of swift thrusts. Each upgrade layer stacks onto that same move rather than replacing it, so the finished version hits harder, hits more times, and costs less.
| Tier | What it does |
|---|---|
| Base effect | Consume 100 Resolve to drive your weapon forward in a series of swift, piercing thrusts |
| First upgrade | Each strike deals 200% damage |
| Second upgrade | The attack delivers 4 additional strikes |
| Final upgrade | Resolve cost reduced to 75 |
Compatibility is narrow. Conqueror’s Reward slots only into the Black Needle, so it sits idle if you are running the Iconoclast, the Axatana, the Obsidian Hammer, or anything else. Ability Tarstones occupy one of your two ability slots, and the thrust chain is at its best during stagger windows, when the enemy is locked in place long enough to eat every hit.
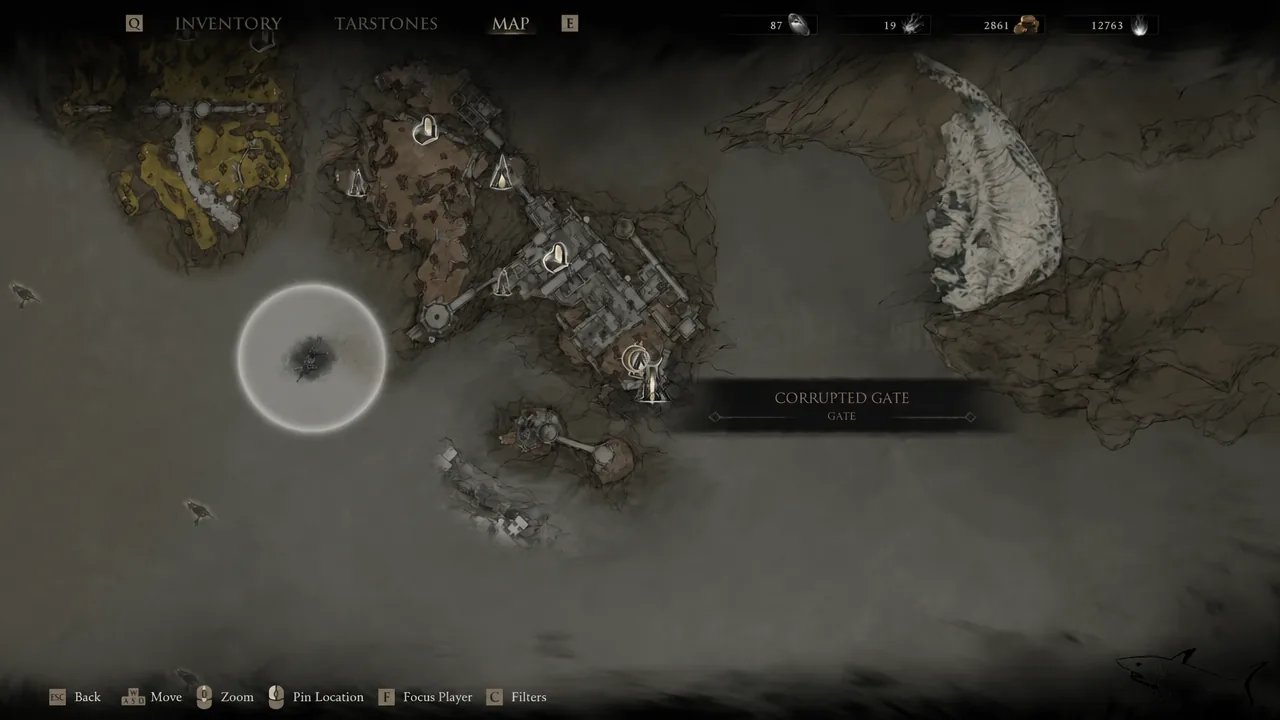
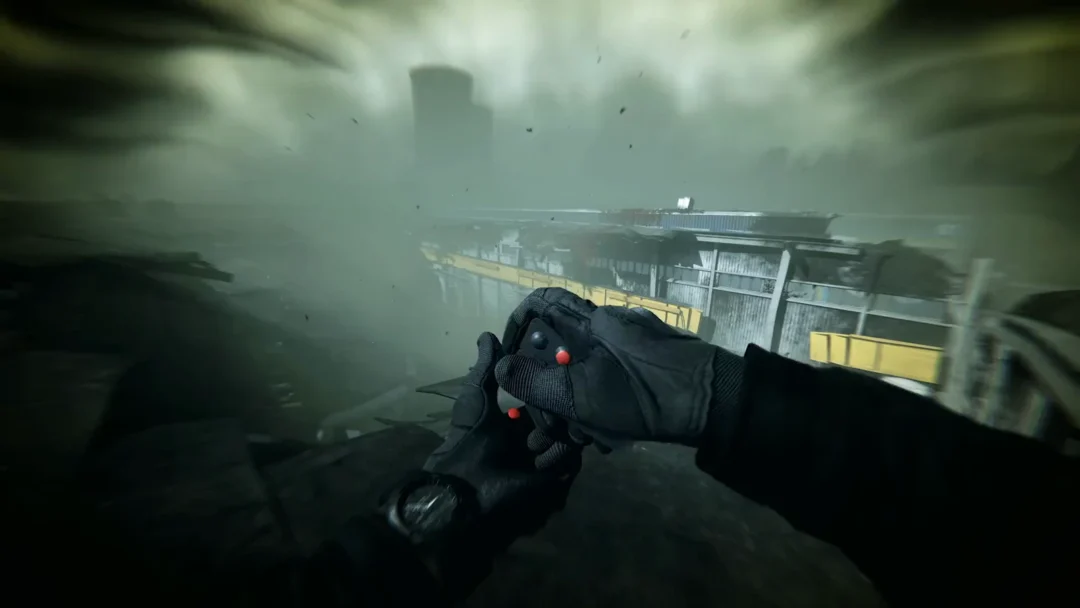
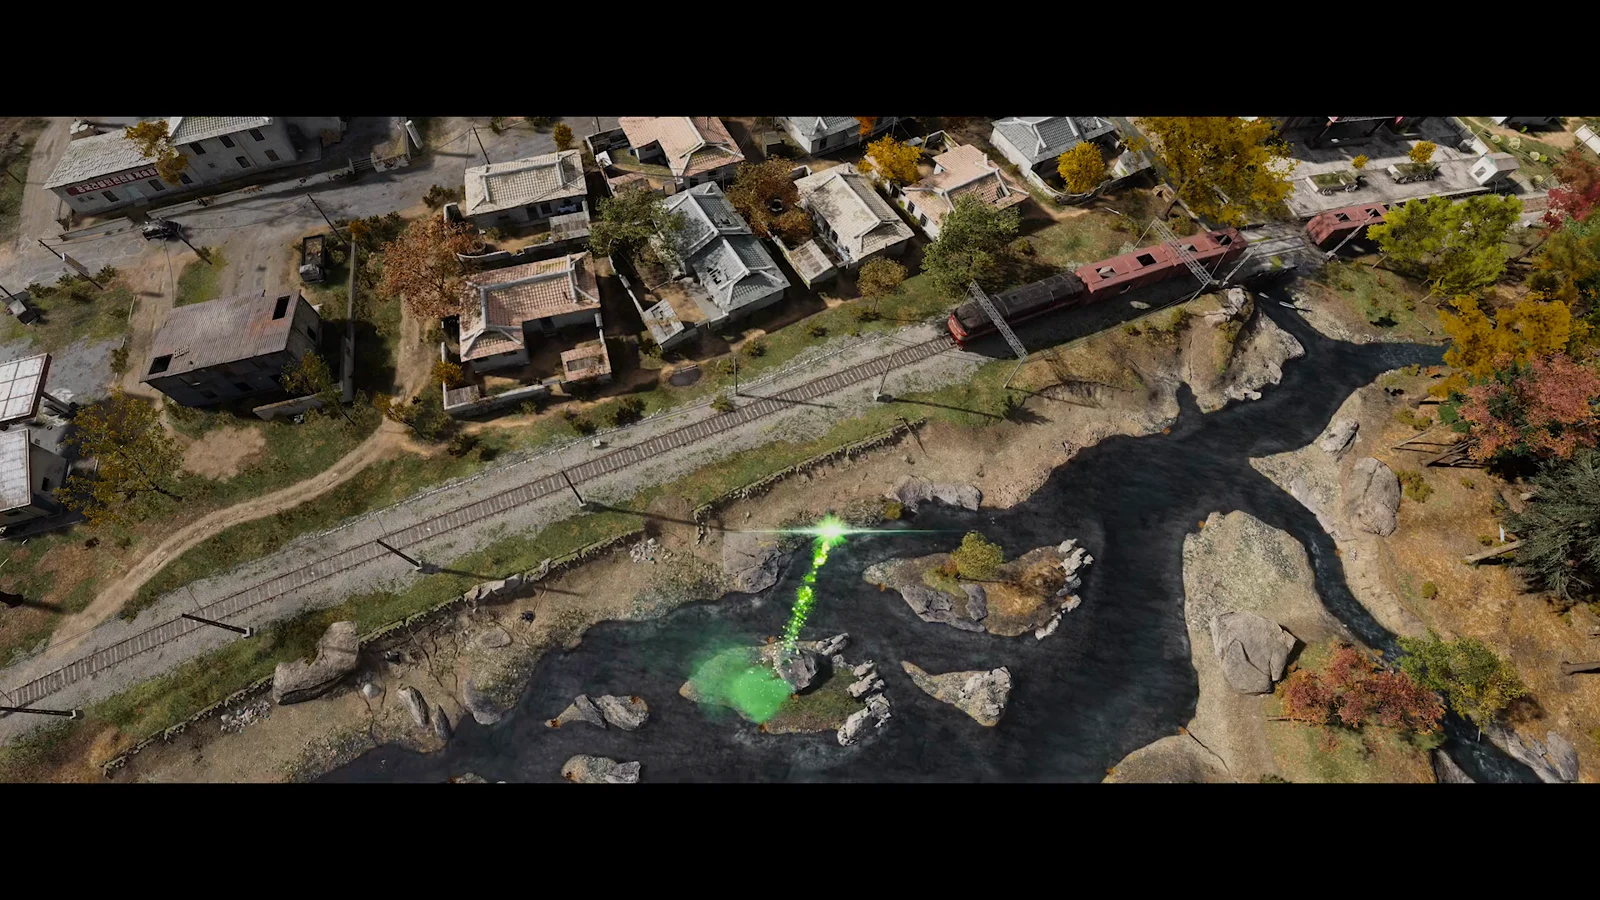
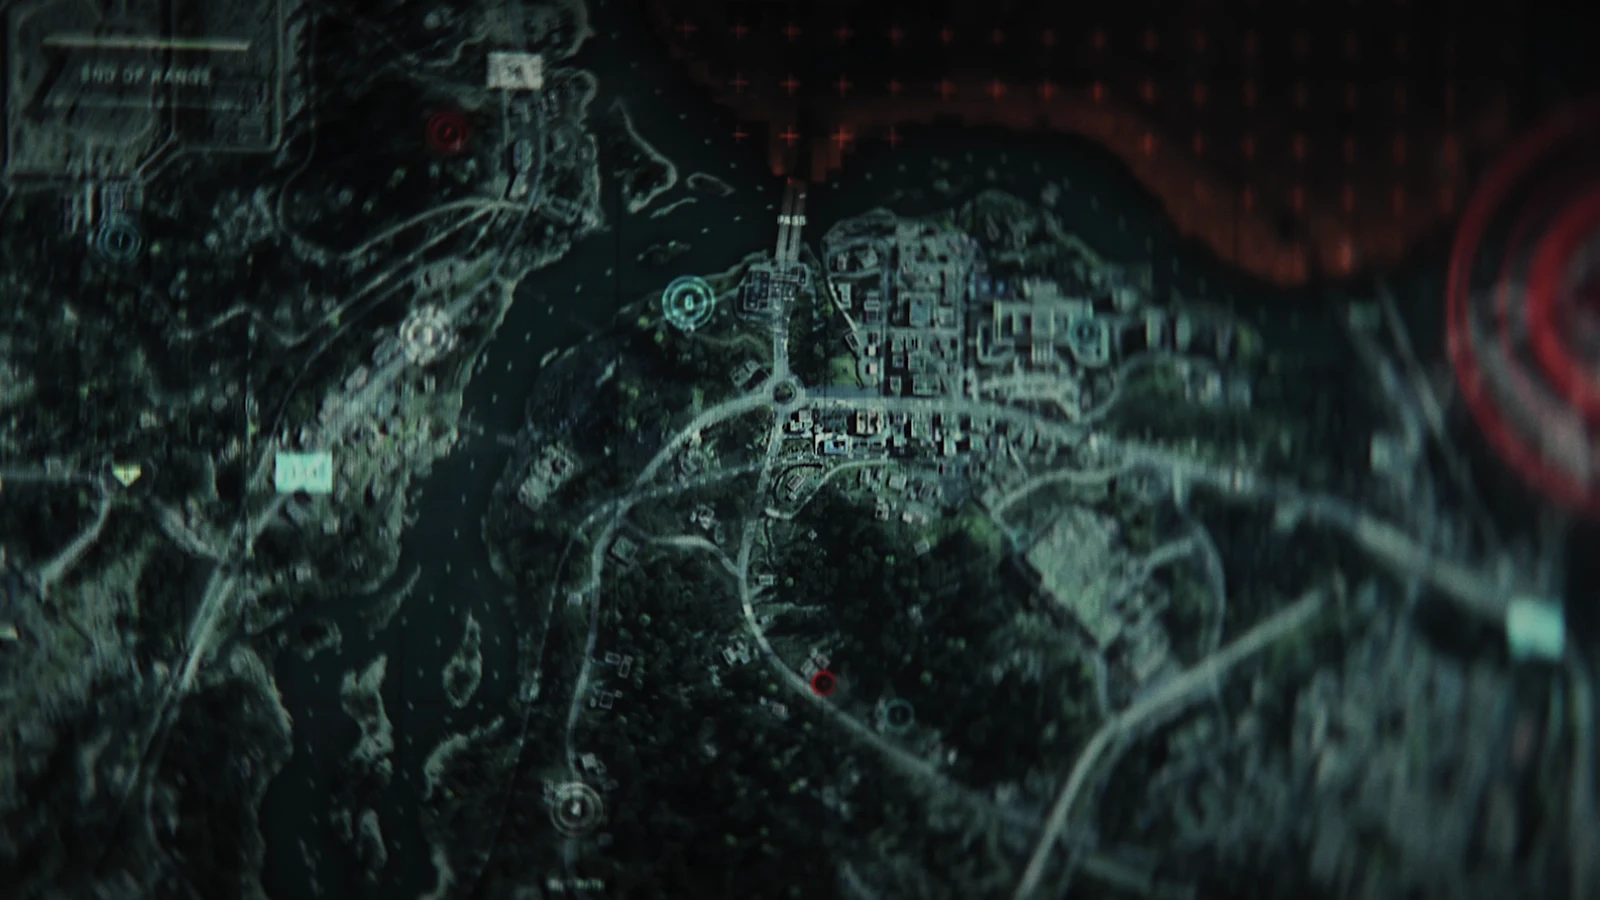
Route to Droeg, the Conqueror from Outskirts of Mammon
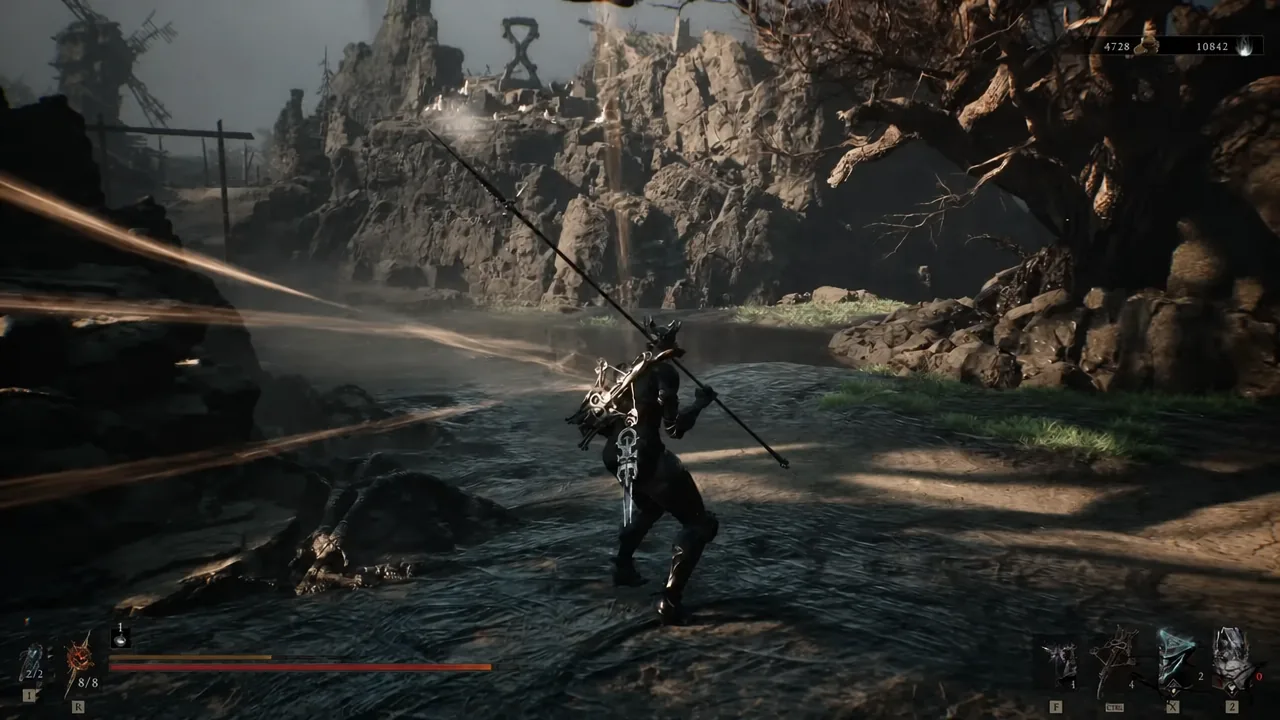
What to expect from the Droeg fight
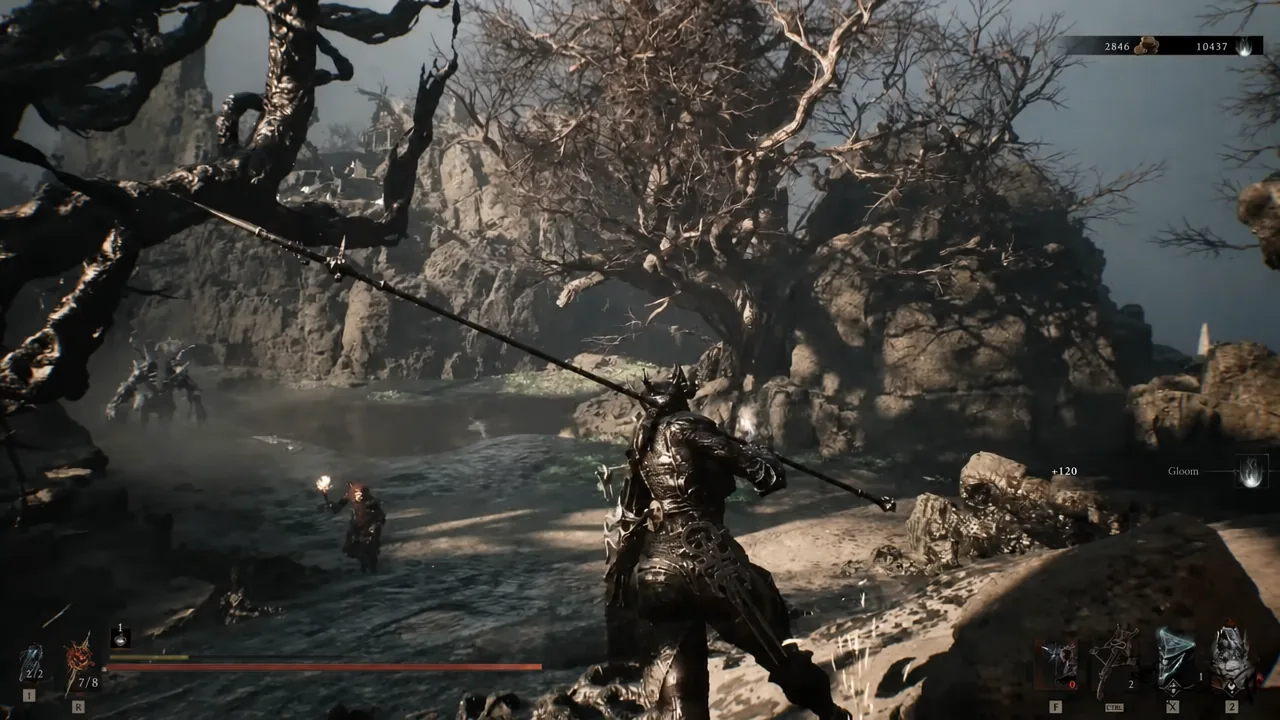
Droeg is a heavily armored brawler who swings a huge bone and deals blunt physical damage. His signature move slams the blunt end into the ground with a long windup, and he can chain it up to five times, so count the repeats rather than committing after the first slam. He also sweeps the bone in wide arcs and stomps with his legs, both of which cover more ground than they look like they should.
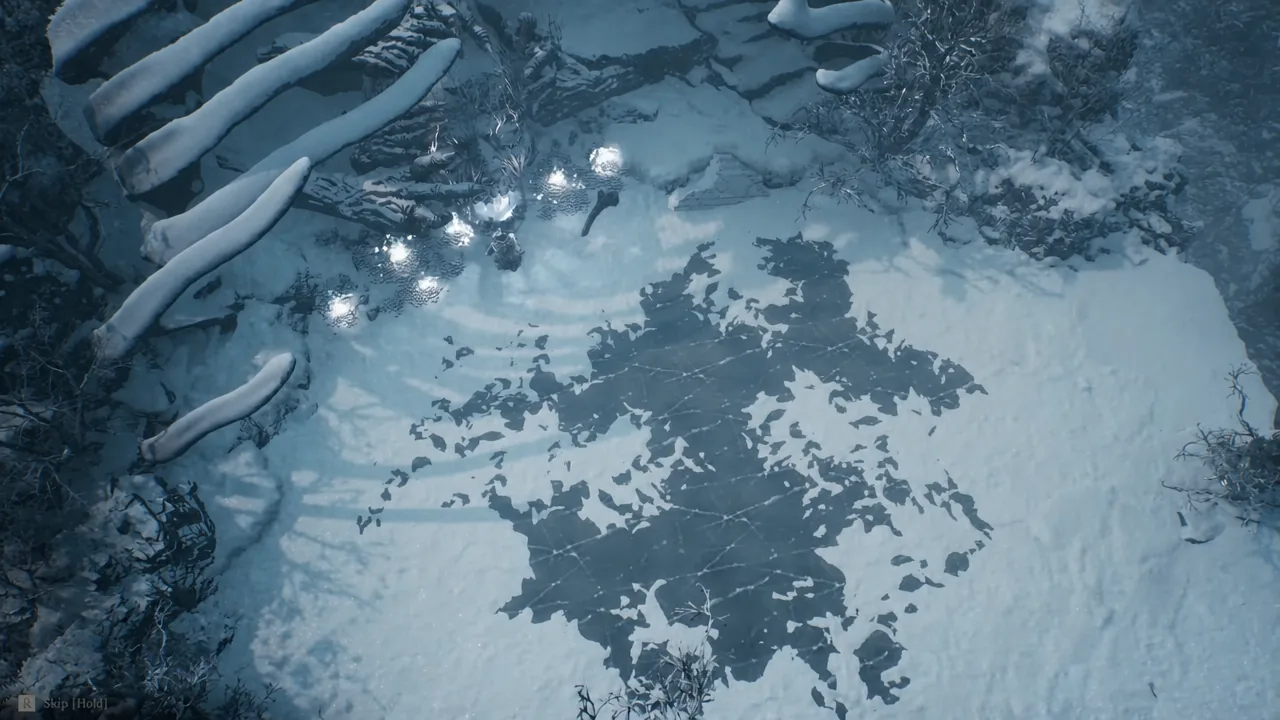
Once his health drops, white flames appear on his head and weapon, marking the second phase. From there he pulls icy rocks out of the arena floor and hurls them at you. He drops to the ground first, which is your cue to keep moving and stop standing still until the volley ends.
Confirming you picked up the Tarstone
There is no chest to open and no loot to sweep for after the kill. Conqueror’s Reward is handed to you the moment Droeg goes down, and it shows up under Ability Tarstones in your menu at Level 1 with an XP bar reading 0 / 10000. If it is not there, the fight was not finished, since nothing else in the Conquered Temple grants it.
The Tarstone carries across shells, so switching characters does not lose it. It only becomes usable once the Black Needle is equipped as your primary weapon.
Upgrading Conqueror’s Reward at the Tarforge
Upgrades run through Franz at the Tarforge in Marrow Keep, but his full upgrade options stay locked until you hand him the Etching Needle. That quest item sits in a chest just before the Magdalena, the Lady of the Woods fight. When you spot Ruk past the bridge, drop through the opening and turn right before the tunnel to find a small side area with a bone chest holding it.
After that, the Tarstone has to earn its own experience. Equip it, kill enemies until the XP bar fills, then return to Franz and pay Coin for each level. Repeat that cycle to reach the final tier, where the Resolve cost drops from 100 to 75.
Equip Conqueror’s Reward as soon as you have it, even before the Etching Needle is in hand. Progress only builds while the stone is slotted, so the sooner it goes in, the sooner the upgrades are ready to buy.
Conqueror’s Reward is one of 75 Tarstones in the game, and it belongs to the group of Ability stones tied to a single weapon. If the Black Needle is your main, this is the drop that gives it a real damage spike, and Droeg is the only obstacle between you and it.